Main tutorial
Lesson Overview
This lesson is about turning a darkside top loop into a pitch-driven, warm tape-grit layer that sits on top of your drum-and-bass groove without sounding thin, fake, or overly processed. In oldskool jungle and darker rollers, the top loop is often doing more than just keeping time: it adds attitude, movement, memory, and that slightly unstable “sucked through tape” energy that makes the whole drop feel lived-in.
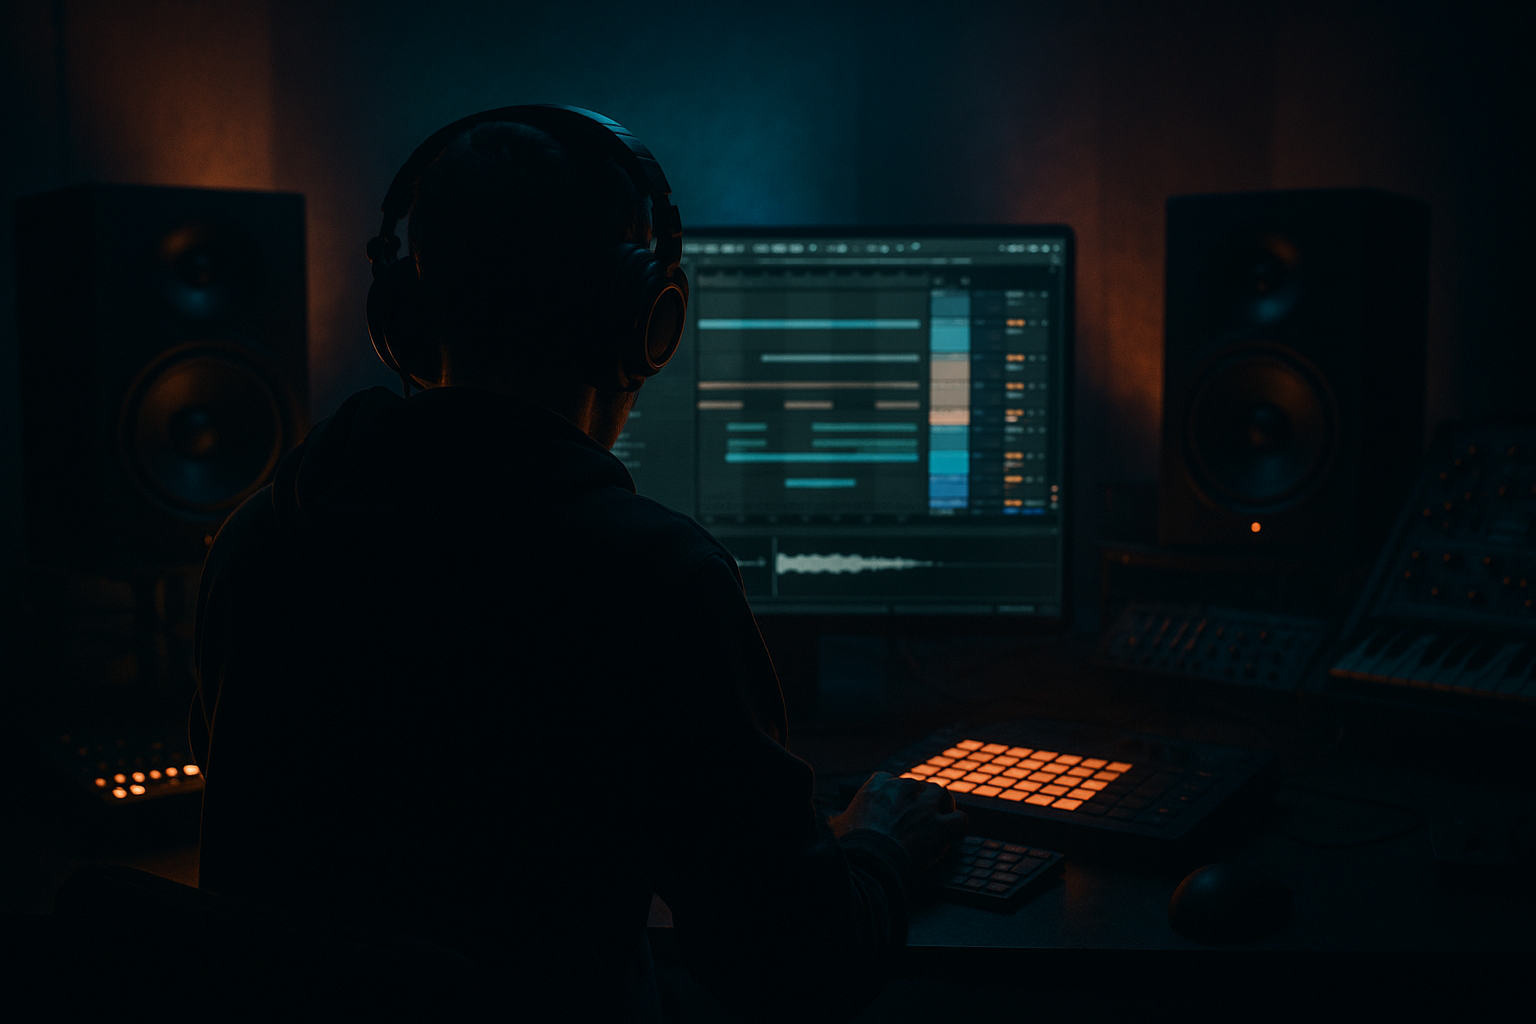
In Ableton Live 12, this technique is especially useful when you want a loop to feel like it’s been sampled, pushed, and re-committed into the arrangement rather than just copy-pasted. The goal is to create a top loop that can be pitched in performance, automated across phrases, and resampled into a gritty, musical layer that supports the bassline instead of cluttering it.
Why this matters in DnB: dark tracks live and die on how the top-end percussion interacts with the bass. If the loop is too static, the drop feels looped. If it’s too bright or too wide, it steals space from the reese, sub, and snare crack. A warm tape-style pitch session gives you controlled instability: enough grime for jungle character, enough repeatability for arrangement precision, and enough tonal movement to build tension before a switch-up.
What You Will Build
You will build a resampled dark top loop chain that:
- starts as a raw jungle-style top loop or percussion break
- is warped and pitched in a controlled way
- passes through a warm, tape-like processing chain
- gets resampled into a new audio layer with gritty tonal movement
- can be automated across a 16- or 32-bar DnB arrangement
- supports a heavy bassline without fighting the sub or snare
- Pitching the loop too far
- Leaving too much low-mid in the loop
- Over-widening the processed loop
- Using too much delay smear
- Not resampling the performance
- Letting the loop fight the snare transient
- Use clip envelopes for “drop sag”
- Layer two versions of the same loop
- Automate filter and drive together
- Make the loop answer the bassline
- Use transient control sparingly
- Print variations for different energy zones
- Check mono often
- keep the loop top-heavy and bass-friendly
- use subtle pitch motion for tension
- add saturation and a touch of smear for tape character
- resample and edit for real arrangement power
- protect the sub, snare, and reese with filtering, mono discipline, and smart phrasing
Musically, the result should feel like a dusty, pitch-bent top texture that sits above the kick/snare foundation. Think oldskool pressure with modern mix discipline: a loop that can ride during the intro, thicken the first drop, then open up or destabilize in a breakdown or second-drop variation.
Step-by-Step Walkthrough
1. Choose the right source loop and phrase it for the track
Start with a top loop that already has movement: hats, shuffled percussion, chopped break tops, or a thin section of a classic break. For this technique, avoid overly full loops with too much low-mid content. You want a loop that can be pitched and saturated without turning muddy.
In Ableton Live, drop the loop into an audio track and warp it manually so the transients lock to your project grid. For jungle and oldskool DnB, a loop at 170–174 BPM often works well if you preserve its natural bounce. Use Complex Pro only if the loop is tonal or heavily pitched; otherwise Beats or Tones can keep the transient edge cleaner.
Practical move: slice the loop into a 2- or 4-bar phrase. Duplicate it across 8 or 16 bars so you can audition it in context with your bassline and drums. The point is not just “does the loop sound good solo?” but “does it leave room for the sub and snare punch?”
2. Shape the loop before pitching it
Before any creative effects, clean the loop so the pitch process reacts well.
Use EQ Eight to high-pass around 180–300 Hz depending on the source. If the loop is already thin, keep the filter gentler and closer to 150–180 Hz; if it’s a busy break top, push higher. Then use a narrow cut if there’s a harsh ring around 6–9 kHz.
Add Drum Buss lightly if the loop needs density. Start with:
- Drive: 5–15%
- Crunch: 5–10%
- Boom: off or very low on top loops
- Damp: adjust to keep brightness under control
The point here is to set the loop up so pitch motion later feels like a musical effect rather than a messy artifact. If the source is too wide, consider Utility and reduce width slightly before the heavier processing chain. In DnB, a controlled top loop is easier to place around a mono bass than a stereo one.
3. Build the pitch session with Clip Envelopes or automation
The core of the lesson is pitch movement. You can do this in two ways inside Live: clip envelopes for precise internal motion, or track automation for arrangement-wide movement.
For a clip-based approach, open the audio clip envelope and automate Transpose in small steps across the phrase. Keep it subtle for warmth and movement:
- micro shifts of -1 to -3 semitones for tension
- occasional jumps of +2 semitones for lift
- short dip-and-return moves over 1 to 2 beats for oldskool wobble
For an advanced jungle feel, try a repeating pitch contour over 4 bars:
- bar 1: 0 semitones
- bar 2: -1 semitone
- bar 3: -2 semitones
- bar 4: back to 0 or +1 semitone
That slight downward sag gives a tape-like drag, especially if the loop contains hats or shakers with strong transients. Why this works in DnB: the pitch motion creates forward tension without needing more notes, so the groove stays minimal while the ear stays engaged.
4. Add tape-style saturation and instability
After pitch, add the “warm tape” character with Ableton stock devices. A strong chain here is Saturator into Echo or a subtle modulation device, but keep it controlled.
Try this order:
- Saturator
- Echo
- EQ Eight
- Utility
Saturator settings to start:
- Drive: 2–6 dB
- Soft Clip: on
- Curve mode: Analog Clip or Soft Sine depending on how gnarly you want it
- Output: trim to match level
On Echo, use it less as a delay and more as a tone-stabilizer:
- Delay time: very short or synced at 1/16
- Feedback: 5–15%
- Filter: roll off lows below roughly 300 Hz and tame highs above 7–9 kHz
- Noise: low if you want dust; higher only if the arrangement can take it
- Modulation: subtle, just enough for flutter
If you want more tape wobble, automate Echo’s modulation depth or subtly vary its feedback over the phrase. The combination of pitched loop + soft saturation + tiny delay smear gives the impression that the loop was lifted from tape, bounced, and re-locked into the track.
5. Resample the processed loop into a new audio track
Once the pitch movement and tape character feel right, resample the loop. Route the processed track to a new audio track with Resampling or Internal routing, then record the result as audio.
This step is important for advanced workflow because it commits the feel. You’re no longer “designing” a loop in real time; you’re capturing a performance. That makes it easier to edit transients, reverse fragments, or create fills later.
After resampling, consolidate the best 4- or 8-bar region and immediately audition it against the bassline. You may find that the resampled version has better groove than the live automated version because the playback now has a fixed, musical contour.
Advanced move: duplicate the resampled audio and create two variations:
- Version A: cleaner, more present
- Version B: more saturated, filtered, or pitched down
Use these across different sections so the track evolves without adding entirely new elements.
6. Lock the bassline against the loop so the low end stays serious
The top loop is only useful if the bassline remains the star in the low end. Route your sub and reese elements carefully so the top loop doesn’t blur their impact.
Keep the bassline mono or near-mono below about 120 Hz using Utility. If your reese has stereo movement, high-pass its width-heavy content and leave the sub centered. A darkside bassline usually works best when the note phrasing leaves holes for the snare and top loop to breathe.
Use this relationship:
- kick/snare: clean transient anchor
- sub: stable, mono foundation
- reese or mid-bass: movement and pressure
- top loop: pitch and grit above the conflict zone
If the loop starts masking bass articulation, notch a little around 200–400 Hz on the loop, or use sidechain compression keyed from the kick and snare with Compressor or Glue Compressor. Even light ducking, around 1–3 dB, can help the loop sit in the pocket without flattening the drums.
7. Arrange the pitch session as a phrase tool, not a static layer
In DnB, arrangement is everything. Don’t leave the loop running identically through the whole drop. Treat it like a DJ-ready phrase enhancer.
A strong arrangement approach:
- Intro: filtered loop with pitch motion and low-volume tape grit
- First 8 bars of drop: loop is present but restrained
- Bar 9 or 17: pitch dips down briefly to create a darker turn
- Bar 13 or 29: add a fill with reversed loop slices or a one-bar pitch-up
- Second drop: switch the loop variation or increase saturation slightly
This creates tension and release without changing the core groove. For oldskool jungle vibes, let the loop “sag” into transitions. For darker rollers, use shorter pitch movements and tighter automation so the loop feels more controlled and oppressive.
8. Use resampling and editing for fills, stabs, and call-and-response
Once the loop is resampled, chop it into small fragments with Simpler or directly in the Arrangement View. You can trigger 1/4-bar or 1/8-bar slices as fills between snare hits or at the end of a bass phrase.
Try:
- reverse a 1-beat fragment before a snare
- pitch a single slice up 3 semitones for a tension stab
- mute the loop for one beat and let the bassline answer alone
- bring the loop back with a filter opening over 2 bars
This is where the top loop becomes arrangement language. It’s not just texture; it’s part of the call-and-response system between drums and bass. That keeps the track moving in a way that feels authentic to jungle and dark DnB sequencing.
Common Mistakes
- Fix: keep most movements within ±1 to ±3 semitones. Large jumps can sound gimmicky unless you’re intentionally doing a switch-up.
- Fix: high-pass more aggressively with EQ Eight or carve 200–400 Hz so the bassline and snare remain clear.
- Fix: use Utility to reduce width or keep key lows mono. Wide tops can make the drop feel less focused.
- Fix: keep Echo subtle. If you can clearly hear a delay line in the groove, it’s probably too much for a top loop layer.
- Fix: commit the best pass to audio. Advanced DnB arrangement often improves when you can edit the exact audio result.
- Fix: use a small dip around the snare’s crack area if needed, or sidechain the loop lightly from the snare.
Pro Tips for Darker / Heavier DnB
- Automate tiny pitch dips just before key snare hits or phrase endings. That falling feeling adds menace without adding notes.
- Keep one cleaner and one more saturated. Blend them to taste across different sections. The clean layer gives definition; the dirty one gives mood.
- Open the EQ high-pass slightly as you increase Saturator drive. This keeps the loop exciting without building low-mid mush.
- If the bassline has a two-bar phrase, let the loop become busier on the empty half and thinner on the active half. That interaction makes the arrangement feel intentional.
- If the loop is too spiky, soften it with Drum Buss or a gentle transient reduction through envelope shaping via clip gain and fades. You want groove, not clicky clutter.
- A darker intro version, a denser drop version, and a broken-up fill version are often enough to carry a whole tune.
- The loop can sound big in stereo but collapse the mix in mono. Keep checking against the bass and snare so the track stays club-safe.
Mini Practice Exercise
Spend 15 minutes building a two-version top loop system.
1. Pick one dark top loop or break top and warp it cleanly.
2. High-pass it and add a light Saturator.
3. Create a 4-bar pitch envelope using small semitone moves.
4. Resample the result.
5. Make two edits:
- Version A: cleaner and more restrained
- Version B: more saturated, slightly darker, or pitched down a touch
6. Place Version A in the first 8 bars of a drop and Version B in the next 8 bars.
7. Add a bassline beneath it and test whether the loop supports the groove without masking the sub.
Goal: by the end, you should have a loop that evolves across the arrangement while staying firmly in the DnB pocket.
Recap
The core idea is simple: pitch the top loop in small, musical moves, add warm tape-style grit with stock Ableton devices, and resample it so it becomes a controllable arrangement tool.
Remember the essentials:
Do that well, and your darkside top loop stops sounding like a loop — it starts sounding like part of the track’s identity.

