Main tutorial
Darkside: Transition Bounce Using Stock Devices Only in Ableton Live 12
Jungle / oldskool DnB groove lesson for advanced producers 🥁⚡
1. Lesson overview
In this lesson you’ll build a darkside transition bounce: that short, nasty, tension-building phrase that pushes a jungle / oldskool DnB track from one section into the next without killing the groove.
We’re aiming for that classic feel where:
- the drums keep rolling
- the bass stutters and rebounds
- the energy dips for half a bar, then snaps back
- the transition feels movement-heavy, not “effects-heavy”
- drum fill fragments
- bass note displacement
- filter movement
- pitch or envelope tension
- small delay throws / reverb tails
- a clean drop-in back to the main groove
- dark alleyway bass pressure
- chopped break funk
- subs that “duck and reply”
- minimal but effective FX
- tension without losing shuffle
- 172 BPM as a solid starting point
- 4/4
- Load it into Simpler
- Switch to Slice mode for break chopping
- Use Transient or Beat slicing depending on the source
- Play slices from a MIDI clip and create:
- kick
- snare
- closed hat
- ride or shaker
- ghost snare/percussion
- Snare on 2 and 4
- Kick variations around the offbeats
- Ghost notes before and after the snare
- Busy top-end, but controlled
- Drum Rack
- Simpler
- EQ Eight
- Drum Buss
- Glue Compressor
- Saturator
- EQ Eight:
- Glue Compressor:
- Drum Buss:
- Sub + mid bass split
- Reese-style mid layer
- Stabby bass notes with gaps
- Osc A: Sine
- No extra harmonics
- Velocity off or minimal influence
- Keep it mono
- two detuned saws or a complex wavetable
- low-pass filter movement
- subtle unison if needed, but don’t blur the groove
- a brief reduction in weight
- a syncopated bass rebound
- a subtle rhythmic reset
- tension before the groove returns
- reduce kick density slightly
- keep snare pulse
- introduce short bass stabs on offbeats
- add a filtered break fragment
- strip the low end for the first half
- let a bass pickup bounce in on the “and”
- add a reverse-ish motion or reverb swell
- hit the downbeat of the next section with full force
- call-and-response
- negative space
- syncopated 1/16 and 1/8 hits
- tiny gaps before the snare
- a final pickup into beat 1
- Note 1: short hit on the “and” of 2
- Note 2: short hit on beat 3
- Note 3: muted or filtered hit on the “and” of 3
- Note 4: strong pickup just before beat 1
- shorter note lengths
- velocity variation
- slight timing offsets
- alternating octaves
- filtered repeated notes
- MIDI Note Length variations
- Groove Pool
- Velocity MIDI effect
- Random MIDI effect sparingly
- Arpeggiator only if used very subtly for motion, not obvious arps
- Bass mono: Width 0%
- Use Bass Mono if you’re on a version/device supporting this behavior via utility strategy
- Keep the sub centered
- High-pass very gently only if needed, around 20–30 Hz
- Don’t carve too much out of the sub unless the kick demands it
- Threshold: set for 2–4 dB gain reduction
- Attack: fast, but not so fast that it clicks
- Release: timed to the groove, often 80–160 ms
- Low-pass or band-pass movement during the transition
- Automate cutoff from:
- cutoff: 300 Hz to 3–6 kHz depending on bass tone
- resonance: modest, around 10–25%
- Drive: 2–6 dB
- Soft Clip: On
- Use to keep the bass audible when filtered
- Use lightly for harmonic grit
- Keep it controlled — you want menace, not mush
- cut mud around 200–400 Hz
- tame harsh bite if needed around 2–5 kHz
- keep the bass readable on small speakers
- Reverb
- Echo
- Filter Delay
- Frequency Shifter
- Auto Filter
- Simpler reversed samples if you want a textural swell
- Reverb decay: 0.6–1.2 s
- Pre-delay: 10–25 ms
- Low cut: 150–300 Hz
- High cut: 5–8 kHz
- Reverb decay: 2–4 s
- Low cut: 250 Hz+
- Use only on selected hits
- Time: 1/8 Dotted or 1/4
- Feedback: 15–35%
- Filter the repeats heavily
- Automate send only at the end of the phrase
- use tiny amounts of shifting
- automate a few Hz only
- combine with reverb or delay on a hit
- makes the transition feel alien and unstable 👀
- bass filter starts slightly closing
- drum bus reduces by 1–2 dB
- increase reverb send on a ghost snare or percussion hit
- add a short delay throw on the last bass note
- pull out sub volume briefly
- keep mid-bass filtered
- let the break fragment carry the groove
- leave space before the reset
- reopen bass filter
- restore sub
- add a quick downbeat pickup
- hit the next section hard
- density to space
- low-end to emptiness
- dry hits to wet tails
- filtered tension to open release
- Use the Groove Pool to apply subtle swing
- Try:
- Don’t over-swing the kick/snare foundation
- nudge ghost notes slightly late
- pull a pickup bass note slightly early
- leave the downbeat solid and clean
- Bars 1–4: full groove
- Bars 5–6: groove variation, bass call-and-response
- Bar 7: transition begins, low-end starts thinning
- Bar 8: bounce phrase, tension, drop reset
- Bars 1–8: main riff
- Bars 9–12: variation
- Bars 13–14: tension build
- Bars 15–16: transition bounce into next phrase
- snare drag
- kick/snare flam
- reversed hat stab
- tom-style break fragment
- tiny chopped amen-style burst
- Mode: Slice
- Envelope: short decay
- Filter: low-pass automate as needed
- Glide: subtle if you want legato movement
- Does the transition still feel like DnB when the FX are muted?
- Is the bounce created by rhythm and space, not just sound design?
- Does the return hit feel stronger because of the transition?
- rolling drum energy
- short, syncopated bass movement
- controlled subtraction
- filter and saturation automation
- subtle FX throws
- a powerful reset back into the groove
- Simpler
- Drum Rack
- Operator
- Wavetable
- Auto Filter
- Echo
- Reverb
- Saturator
- Drum Buss
- Glue Compressor
- Utility
- EQ Eight
- a bar-by-bar MIDI example
- a device-chain diagram
- or a full 8-bar Ableton arrangement template for oldskool DnB.
This is very much about groove psychology in DnB: the listener should feel the floor shift under them, not hear a generic riser. We’ll do it using stock Ableton Live 12 devices only, with a focus on tools that preserve that raw, modular jungle energy.
Core idea
A good darkside bounce transition usually combines:
We’ll create it in a way that works in a 170–174 BPM jungle / oldskool DnB context.
---
2. What you will build
You’ll build a 2-bar transition phrase that can sit at the end of an 8-bar or 16-bar section.
The parts
1. Main loop
A rolling breakbeat + sub/bass pattern in the style of oldskool jungle / DnB.
2. Transition bounce layer
A short phrase on the last 1–2 bars that:
- removes weight from the kick/snare pocket
- adds bounce through syncopated bass hits
- creates tension using movement and spacing
3. Return impact
A drop back into the main groove with:
- a stronger downbeat
- restored low-end
- the original break energy
- a clean sense of “release”
Sound aesthetic
Think:
---
3. Step-by-step walkthrough
Step 1: Set up the project correctly
Tempo
Set the project to:
(You can also work at 170–174 depending on your style.)
Meter
Session or Arrangement?
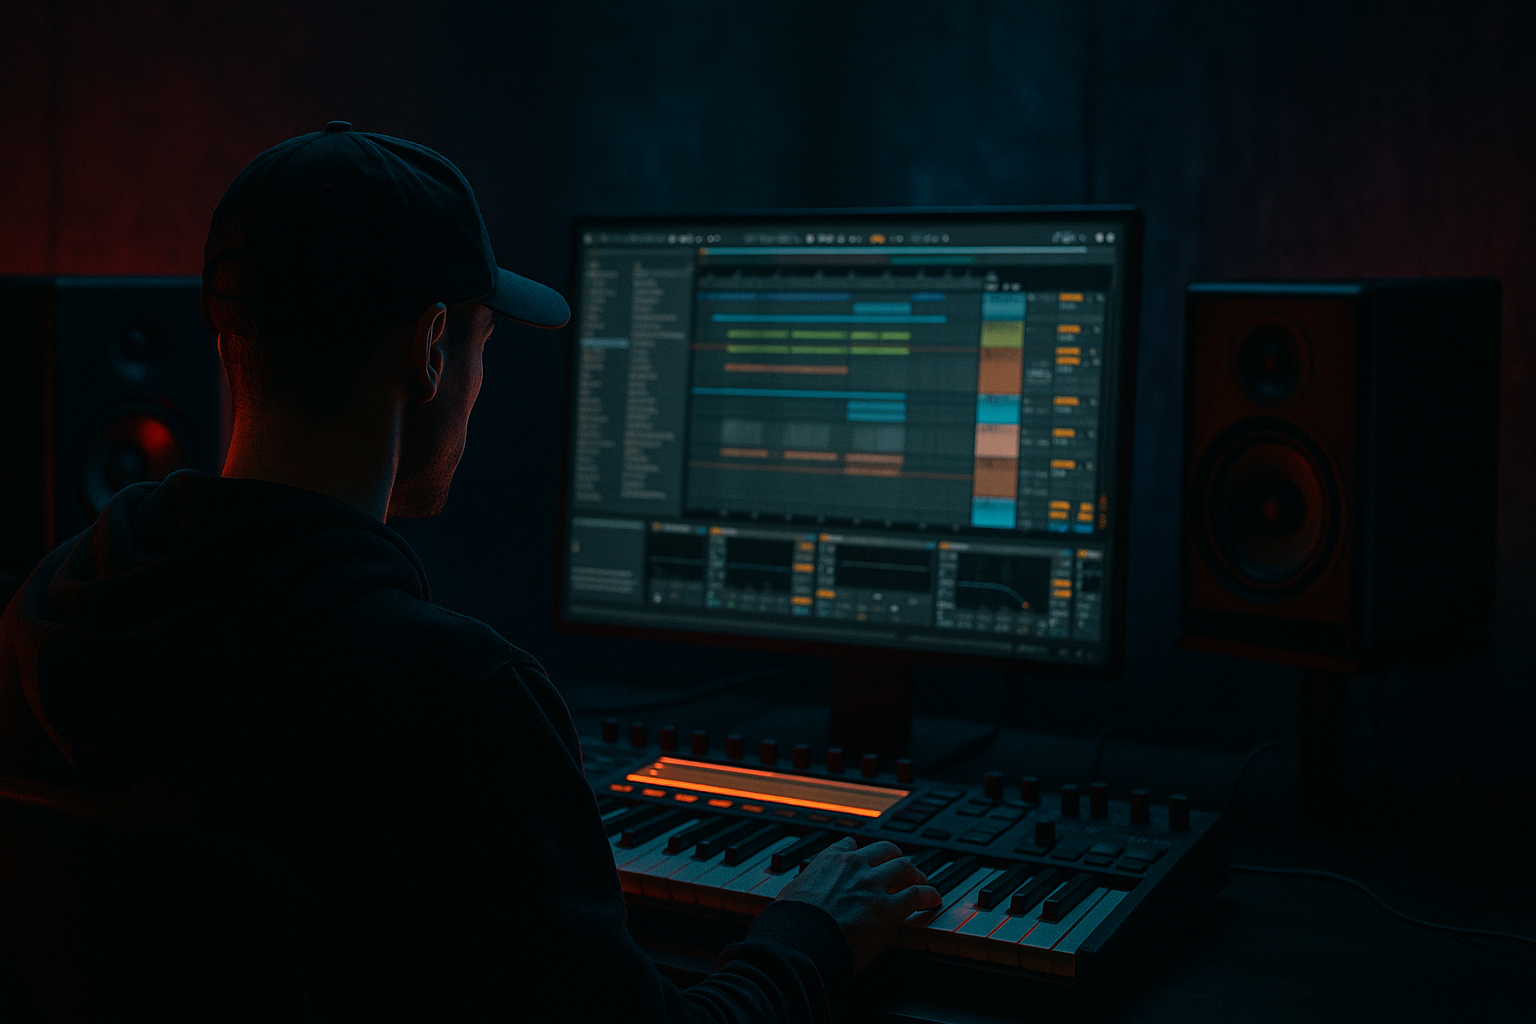
For this lesson, work in Arrangement View so you can design the transition precisely across bars.
Recommended track layout
Create these tracks:
1. Drums Main
Breakbeat / drum loop or programmed break slices
2. Snare Layer
3. Bass Sub
4. Bass Mid / Reece Layer
5. Transition FX
6. Return Impact / Drop Reset
---
Step 2: Build a solid rolling DnB foundation
Before the transition, the groove has to already feel good.
Drum base
Use a chopped break or programmed break-inspired pattern.
#### If you’re using a break sample:
- strong kick/snare anchors
- ghost hits
- small hat pickups
#### If you’re programming from scratch:
Use layered drum hits:
Suggested drum groove
At 172 BPM, keep the skeleton grounded:
Stock devices for drums
Drum chain suggestion on the drum bus
EQ Eight → Glue Compressor → Drum Buss
Settings to start:
- low cut if needed at ~25–30 Hz
- tame harsh hats around 7–10 kHz if necessary
- Ratio: 2:1
- Attack: 10–30 ms
- Release: Auto or 0.3 s
- Keep gain reduction subtle: 1–2 dB
- Drive: 5–15%
- Crunch: light
- Boom: careful — only if your kick needs extra weight
---
Step 3: Design the bass movement
This is where the transition bounce starts to feel like darkside DnB.
Bass type
Use one of these approaches:
For this lesson, make a two-layer bass system:
#### Bass Sub
Use Operator or Wavetable with a pure sine.
Suggested Operator setup:
#### Bass Mid
Use Wavetable or Analog for a gritty reese or detuned mid.
Suggested starting point:
Important
The transition bounce is not about constant bass. It’s about bass phrases that “answer” the drums.
---
Step 4: Create the transition phrase
Now design the last 1–2 bars before the drop or section change.
Goal
We want:
Example 2-bar concept
Let’s say the main loop runs bars 1–8, and bars 7–8 are the transition.
#### Bar 7
#### Bar 8
---
Step 5: Program the bounce rhythmically
This is the heart of the lesson.
A good transition bounce pattern often uses:
Practical MIDI idea for bass
In the transition bars, try this kind of logic:
This creates a bounce/rebound sensation rather than a straight bass line.
How to make it feel “darkside”
Use:
Ableton tools to help
---
Step 6: Shape the bass with stock devices
Bass Sub chain
Utility → EQ Eight → Compressor
#### Utility
#### EQ Eight
#### Compressor
Use sidechain from kick or main drum bus:
Bass Mid chain
Auto Filter → Saturator → Dynamic Tube → EQ Eight
#### Auto Filter
- more open in the main section
- slightly darker in the build
- then reopen on the return
Suggested filter movement:
#### Saturator
#### Dynamic Tube
#### EQ Eight
---
Step 7: Build the transition FX without losing the groove
Darkside transitions should feel integrated, not pasted on.
Use stock FX sparingly:
Reverb strategy
Use Return Tracks for shared space.
#### Return A: Short dark room
#### Return B: Longer tension tail
Echo strategy
Use Echo for occasional throw-ins:
Frequency Shifter trick
This is great for dark tension:
---
Step 8: Create the “bounce” through automation
This is where the transition really comes alive.
Automate these parameters:
1. Bass filter cutoff
2. Bass send to reverb/delay
3. Drum bus volume
4. Transition FX volume
5. Utility gain for the low end
6. Snare/rebreak density
7. Reverb return send on the final hit
Example automation flow
#### Bar 7
#### Bar 8, first half
#### Bar 8, last quarter
Why this works
You’re using contrast:
That contrast gives you the classic transition bounce.
---
Step 9: Use clip-level groove and micro-timing
Oldskool jungle relies on imperfect funk.
In Ableton:
- MPC 16 Swing 55–60
- very light application on hats or percussion only
Micro-timing ideas
That tiny push-pull is a huge part of the bounce.
Important
The transition should feel like it leans forward, then snaps back into center.
---
Step 10: Arrangement ideas for oldskool DnB energy
Here’s a practical arrangement template:
8-bar cycle
For a 16-bar section
Common oldskool trick
Use a one-bar drum drop very carefully.
If the arrangement becomes too dense, briefly remove the kick or sub for half a bar, then restore them on the next phrase. This creates huge perceived impact without needing an aggressive riser.
---
Step 11: Use Simpler for chopped transition fills
This is very jungle.
Method
1. Drop a break hit or small percussion phrase into Simpler
2. Warp or slice it
3. Sequence it as a short fill at the end of the 8-bar phrase
4. Automate a filter sweep or volume dip
Good fill types
Simpler settings
This gives you a really convincing jungle transition without resorting to big FX clichés.
---
4. Common mistakes
1. Overusing risers
A transition bounce is not a festival riser moment. If the FX are too obvious, the groove loses its identity.
2. Killing the drum swing
If you quantize everything hard, the transition becomes stiff. Keep ghost notes and break fragments alive.
3. Too much sub during the fill
If the bass never steps back, there’s no contrast. The bounce needs a dip and rebound.
4. Making the bass too long
Long sustained bass notes can blur the transition. Use short, rhythmic note lengths.
5. Over-processing the drum bus
DnB drums need punch. If your drum bus compression is too heavy, the fill will flatten out.
6. Ignoring the return
A transition is only as good as the first hit after it. Make sure the drop-back is clean, confident, and weighted.
---
5. Pro tips for darker/heavier DnB
Tip 1: Sidechain the mid-bass, not just the sub
Dark rolling DnB often benefits from the mid layer breathing with the kick. It keeps the groove moving.
Tip 2: Layer reverb with a filter
Use a return reverb, then place Auto Filter after it on the return. This lets the tail feel smoky instead of washing out the mix.
Tip 3: Automate harmonic grit, not just volume
A slight boost in saturation on the transition can make the bounce feel more aggressive without getting louder.
Tip 4: Use tiny gaps before important hits
A few milliseconds of silence before the downbeat can make the return hit much harder than adding more sound.
Tip 5: Keep the low end mono and the movement up top
Darkside transitions are strongest when the sub stays disciplined and the motion happens in the mids/highs.
Tip 6: Try utility mutes for “fake drops”
Automate Utility gain or Bass Mono behavior to briefly hollow out the groove before the return. Very effective in jungle contexts.
---
6. Mini practice exercise
Build this in one 2-bar loop:
Exercise goal
Create a transition bounce that feels like a classic jungle reset.
Steps
1. Set project to 172 BPM
2. Program a rolling breakbeat
3. Create a sub bass line with short notes
4. In the final bar:
- remove one kick
- shorten the bass notes
- add one filtered break fill
- automate a reverb throw on the last snare or percussion hit
5. On the next downbeat:
- restore the full sub
- reopen the bass filter
- hit with a clean snare and kick anchor
Self-check questions
If yes, you’re doing it right.
---
7. Recap
A strong darkside transition bounce in Ableton Live 12 is built from:
Use stock devices like:
The key is not to make the transition feel like an interruption. Make it feel like the track is bending, inhaling, and snapping back into the next phrase. That’s the darkside bounce. That’s the jungle pressure. 🔥
If you want, I can also turn this into:

