Main tutorial
Lesson Overview
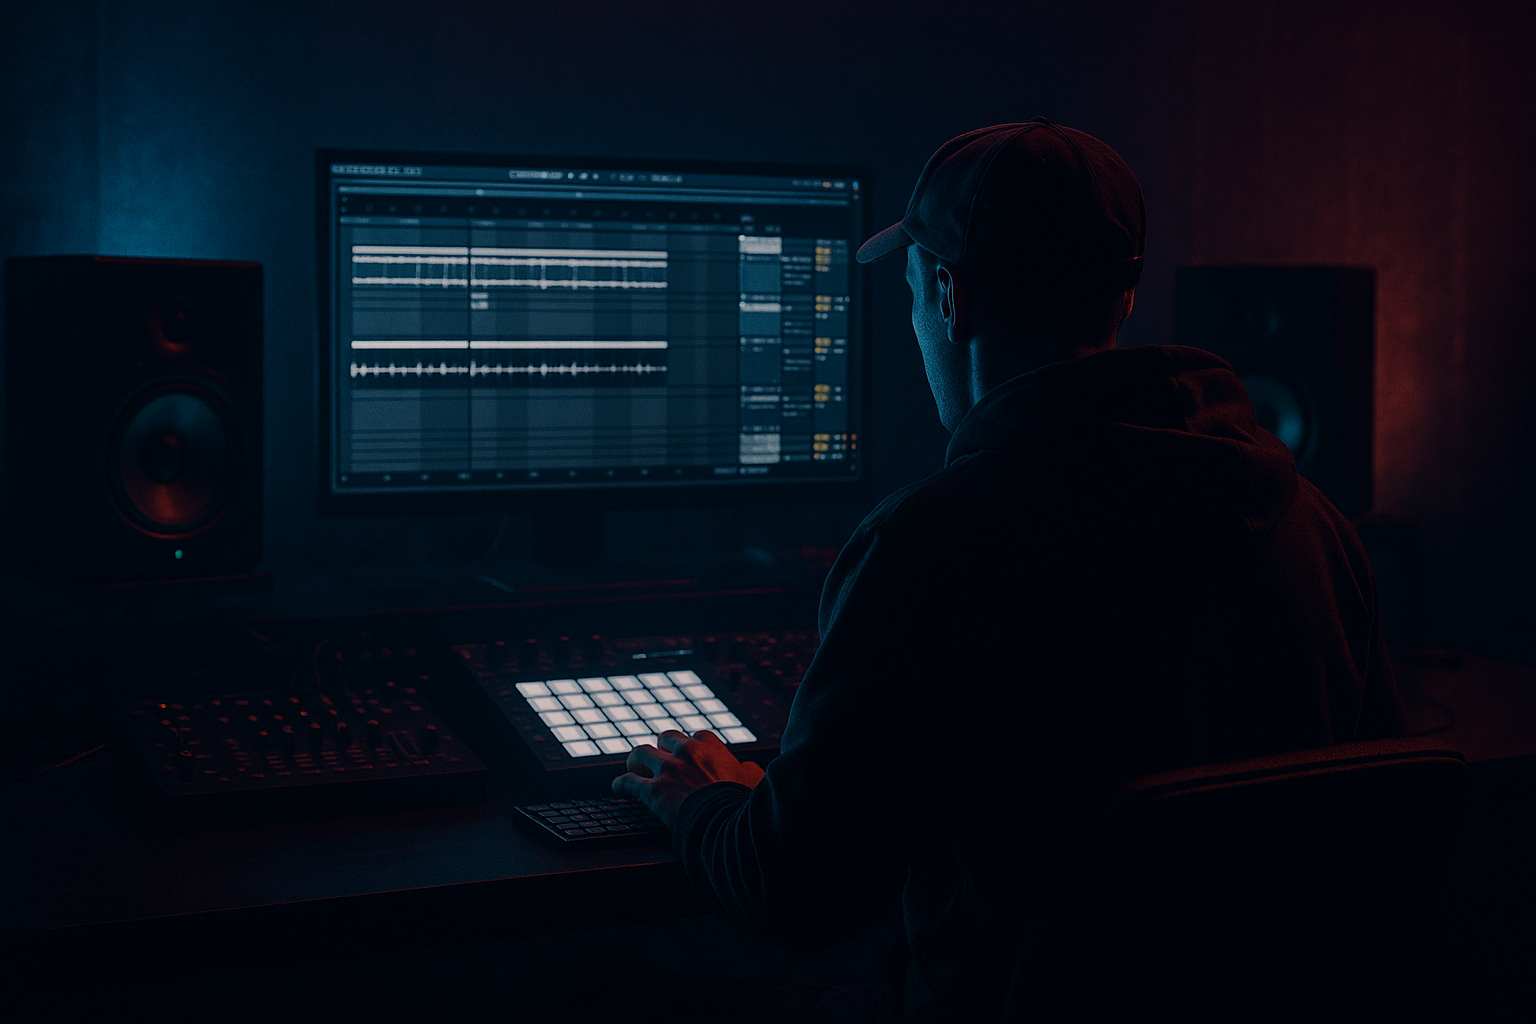
This lesson is about using Ableton Live 12’s Groove Pool as a creative edit tool for transition sections in a Jungle / oldskool DnB track. Instead of thinking of groove as something you only use to “humanize” drums, we’ll treat it like a shape-shifter for tension: pulling, pushing, and offsetting break edits so your fills, turnarounds, and pre-drop bars feel like they’re breathing with real swing and history.
In DnB, transitions matter because the energy is often built in very short windows: 1 bar, 2 bars, sometimes just 1/2 bar before the drop. If those moments feel stiff, the whole tune can lose urgency. Groove Pool tricks let you make a transition feel like it’s being “played” rather than drawn on a grid. That’s especially effective for jungle oldskool vibes where imperfect timing, shuffled break edits, and call-and-response drum phrasing are part of the character.
We’ll focus on how to use groove on:
- chopped breakbeats
- snare fills and ghost notes
- percussion stabs and FX hits
- automation-linked transitions
- break-edit phrasing leading into drops or switch-ups
- a 2-bar pre-drop breakdown built from a chopped break and filtered atmospheres
- a grooved snare pickup with off-grid ghosts that ramps into the drop
- a break edit fill that uses groove variation for tension
- a drum-bass interaction where the break shift makes the reese/sub feel heavier
- a DJ-friendly turnaround that can lead cleanly into the next phrase
- a main roller/drop in the key of F minor or G minor
- a classic break such as an Amen-style chop or an oldskool two-step break layer
- a transition that strips down to drums, atmos, and a filtered bass tail, then snaps back with a swung fill
- Applying one groove to everything
- Over-swinging the drums
- Letting the sub follow the groove too much
- Using too many FX layers at once
- Making the fill too busy
- Ignoring context
- Use slightly late snare ghosts in the transition to create tension, then hit the drop snare dead on the grid for contrast.
- On a Reese bass, automate a tiny bit of Filter cutoff or Phaser-Flanger depth in the final bar, but keep it subtle so the mix stays focused.
- Put Saturator on your drum bus with a modest drive, around 1–4 dB, to thicken the fill without flattening the transients.
- Try a parallel drum return with Drum Buss for the transition only:
- Keep the transition drums a little darker than the drop. Oldskool jungle often feels heavier when the brightness is saved for the payoff.
- If the transition needs menace, use a short Echo throw on a snare or rim hit with low feedback and filtered repeats, then cut it before the downbeat.
- For a more underground feel, let one break slice stay imperfect rather than correcting every transient. Small rhythmic roughness can make the edit feel authentic.
- If your arrangement feels flat, create a call-and-response between chopped break fills and bass stabs in the final 2 bars. That’s a classic DnB language move.
- groove the transition, not everything
- keep sub and main drop elements more stable
- use break edits, ghost notes, and FX timing together
- resample when you want the edit to feel more human
- always test the transition in arrangement context
This is not about making everything sloppy. It’s about creating controlled movement: enough swing to feel alive, enough precision to keep the low end locked.
What You Will Build
By the end, you’ll have a transition section in Ableton Live that sounds like a classic jungle/DnB edit with modern control:
Musically, think of a track sitting around 172–174 BPM with:
The result should feel like a proper edit moment: something you’d hear in a label tune that knows how to move from one section to the next without sounding copy-pasted.
Step-by-Step Walkthrough
1. Choose a transition zone and define the phrase
Open your arrangement and find a spot where your drop, break, or main roller changes energy. For this lesson, work with a 2-bar transition before a drop or after a 16-bar phrase.
In DnB, the most useful transition zones are:
- bar 15–16 before a drop
- bar 31–32 before a switch-up
- the final 2 bars of a 16-bar loop for DJ-friendly editing
Set a locator at the start and end of the transition. Keep the rest of the track muted or greyed out mentally so you can focus on the edit.
Why this works in DnB: most DnB phrasing is built around strong 8/16-bar symmetry. A controlled transition gives the listener a clear sense of “something is about to happen,” which is crucial in jungle and oldskool styles where the edit itself is part of the groove.
2. Build a break-based transition layer and extract groove
Take a drum break from your project or resample a break into audio if needed. Use a classic-style chopped loop, but don’t fully quantize it yet.
Do this:
- chop the break into 1/8, 1/16, or even transient-based slices
- leave a few hits slightly late or early by ear
- focus especially on snare ghosts and pickup hats
Now create groove from something with character:
- drag in a source break that already has swing
- or use a clip with the feel you want as a reference
- in Clip View, use the groove selector to assign a groove
- then open the Groove Pool and tweak it before applying
Good starting settings:
- Timing: 55–70%
- Random: 3–12%
- Velocity: 15–35%
- Base: try 1/16 for chopped breaks, or 1/8 if the edit is more open
If the break is too stiff, raise Timing gradually. If it gets lazy, pull it back and let Velocity do more of the work. Keep the kick and sub relationship in mind: the groove should bend the drums, not derail the low-end grid.
3. Apply groove selectively to only the transition elements
This is the first real “groove pool trick”: don’t apply the same feel to the whole track. Use groove as a transition-specific tool.
In Ableton Live 12:
- select your transition break slices, snare rolls, hats, and percussion fills
- apply the groove only to those clips
- leave the main drop drums more rigid or lightly grooved for contrast
A strong DnB move is to have:
- main drop drums: tighter, more driving
- transition drums: more swung, broken, and alive
Try this contrast:
- main drum loop groove at 15–25% timing
- transition fill groove at 55–65% timing
- use a higher velocity deviation on ghost hits for more human feel
This creates a “pull” into the drop. The ear hears the transition loosen, then the drop locks back in harder. That contrast is what makes the drop feel bigger.
4. Program a 1-bar fill with ghost notes and groove offsets
Build a fill at the end of the 2-bar transition using MIDI or sliced audio. Use a snare-led phrase that references oldskool jungle energy:
- kick on the downbeat
- ghost snares before the main backbeat
- a short hat pickup into the drop
If you’re using MIDI, put your fill on a Drum Rack with:
- Snare layer 1: clean body
- Snare layer 2: noise/texture
- Ghost snare: lower velocity, shorter decay
Suggested settings:
- snare decay: 120–240 ms
- ghost snare velocity: 25–60
- clap/snare layer transient: keep sharp, but not over-boosted
Now assign a groove with a slightly stronger swing than the main drums. If the fill is too robotic, reduce grid reliance and let the groove do the phrasing. If it feels too random, simplify the pattern so only 2–4 notes are actually doing the work.
The key edit trick here is that the groove should make the fill feel like it is “leaning” into the drop rather than just counting down to it.
5. Use groove to shape FX timing, not just drums
This is where transitions start sounding premium. Put your transition FX—riser, noise sweep, reverse crash, downlifter, reverb tail—onto tracks that can follow the same groove logic.
Example workflow:
- place a white noise riser in the last 2 bars
- bounce or automate a reverse crash before the drop
- create a short impact on the downbeat of the new section
- nudge the FX clips so they aren’t perfectly straight if the groove supports the feel
Helpful Ableton stock devices:
- Auto Filter for riser movement and cutoff automation
- Reverb for pre-drop wash
- Echo for dubby tails and rhythmic repeats
- Utility for mono/width control on low-end impacts
Try these parameter ideas:
- Auto Filter cutoff automation: 250 Hz to 12–16 kHz
- Reverb decay on transition wash: 2.5–6.5 s
- Echo feedback: 15–35%
Why this works in DnB: when the FX timing follows the same groove logic as the drums, the entire transition feels like one performance. That cohesion makes oldskool edits sound intentional instead of pasted together.
6. Create a groove contrast between break edits and bass stabs
For jungle and rollers, the bass often hits in conversation with the drums. Use the transition to create a temporary groove mismatch that resolves hard on the drop.
In your bass track:
- keep sub notes clean and simple
- use a Reese or dark mid-bass for movement
- let the final bass stab of the transition sit slightly behind or ahead of the drum edit, depending on the mood
Stock Ableton devices to shape this:
- Wavetable or Operator for a basic bass layer
- Saturator for harmonics
- EQ Eight to clean the sub region
- Compressor or Glue Compressor for control
- Utility to keep sub mono
Practical settings:
- sub under 120 Hz in mono
- Saturator Drive: 2–6 dB
- EQ Eight low cut on non-sub layers: around 100–150 Hz
A nice transition trick is to make the bass stabs in the last bar slightly less quantized than the drop bass. Then the drop bass comes back fully locked. That shift makes the drop feel like it “snaps” into place.
7. Automate groove-relevant movement with clip and device automation
Groove Pool is powerful, but it gets even better when combined with automation. Use transition automation to make the edit feel like it’s accelerating, collapsing, or opening up.
Ideas:
- automate Auto Filter cutoff on break chops
- automate Reverb dry/wet up in the last 1–2 beats
- automate Saturator Drive slightly upward on the final fill
- automate Utility width on FX only, not on sub or kick
- automate clip gain for a snare roll crescendo
Recommended movement:
- 2 bars out: light filtering, more space
- 1 bar out: stronger groove and more percussion
- final 1/2 bar: maximum tension, then hard reset on the drop
If your transition is not feeling dramatic enough, automate the Groove Amount idea indirectly by increasing the density of sliced notes and the contrast in velocity, rather than trying to overcomplicate the rhythm.
8. Resample the transition and edit it like a drum performance
One of the best intermediate moves is to resample your transition and then treat the result like new material.
Steps:
- route your drum transition bus to a resampling track
- record the 2-bar edit
- chop the audio result into smaller pieces
- move slices slightly to strengthen the groove
- add one or two reverse fragments for glue
This gives you more control than MIDI alone and often sounds more authentic for jungle edits.
Use Live’s Warp tools carefully:
- don’t over-straighten the slices
- preserve transient shape on snares and kicks
- let a few ghost hits stay messy if they add energy
This is excellent for oldskool DnB because resampling turns a programmed transition into something that feels performed, which is exactly what a lot of classic breaks were about.
9. Check the transition in context with the drop and the previous 8 bars
Always audition the edit in full context:
- 8 bars before the transition
- the transition itself
- 4 bars after the drop
Ask:
- Does the groove create anticipation?
- Does the drop feel bigger because the transition loosened?
- Is the sub staying stable?
- Are the drums still readable on first listen?
Use Utility and EQ Eight to keep the low end clean:
- mono below roughly 120 Hz
- cut unnecessary mud around 200–400 Hz on transition FX if they cloud the drums
- tame harshness around 3–6 kHz if the snare fill gets painful
This step matters because a great transition only works if it improves the arrangement’s energy curve. It should not feel like an isolated cool moment.
Common Mistakes
- Fix: use groove selectively on transition clips, not the whole arrangement.
- Fix: keep the main drop tighter and make the transition the “looser” section.
- Fix: keep sub notes stable and mono; groove the upper drum edits instead.
- Fix: pick one main riser, one impact, one tail, and let the drum edit do most of the work.
- Fix: reduce note density. A strong jungle fill often needs only 3–6 well-placed hits.
- Fix: always compare the transition to the previous phrase and the drop after it.
Pro Tips for Darker / Heavier DnB
- Drive: light to medium
- Crunch: low to moderate
- Boom: avoid overdoing it if the sub is already strong
Mini Practice Exercise
Set a timer for 15 minutes and build a transition in a blank 2-bar section.
1. Import or program a break loop and chop it into 8–12 slices.
2. Pick a groove in the Groove Pool with moderate swing.
3. Apply it only to the transition break slices, not the whole drum loop.
4. Add a snare fill with 2 ghost notes and 1 main accent.
5. Add one FX riser and one impact using stock samples.
6. Automate an Auto Filter on the break or FX.
7. Resample the full transition to audio and make one final edit pass.
8. Loop the 4 bars around it and test whether the drop feels bigger.
Goal: by the end, your transition should feel like a real drum performance rather than a programmed count-in.
Recap
The core idea is simple: use Groove Pool to make your transition sections move differently from the rest of the track. In jungle and oldskool DnB, that contrast is gold.
Remember:
If the groove makes the drop feel harder, you’ve done it right.

