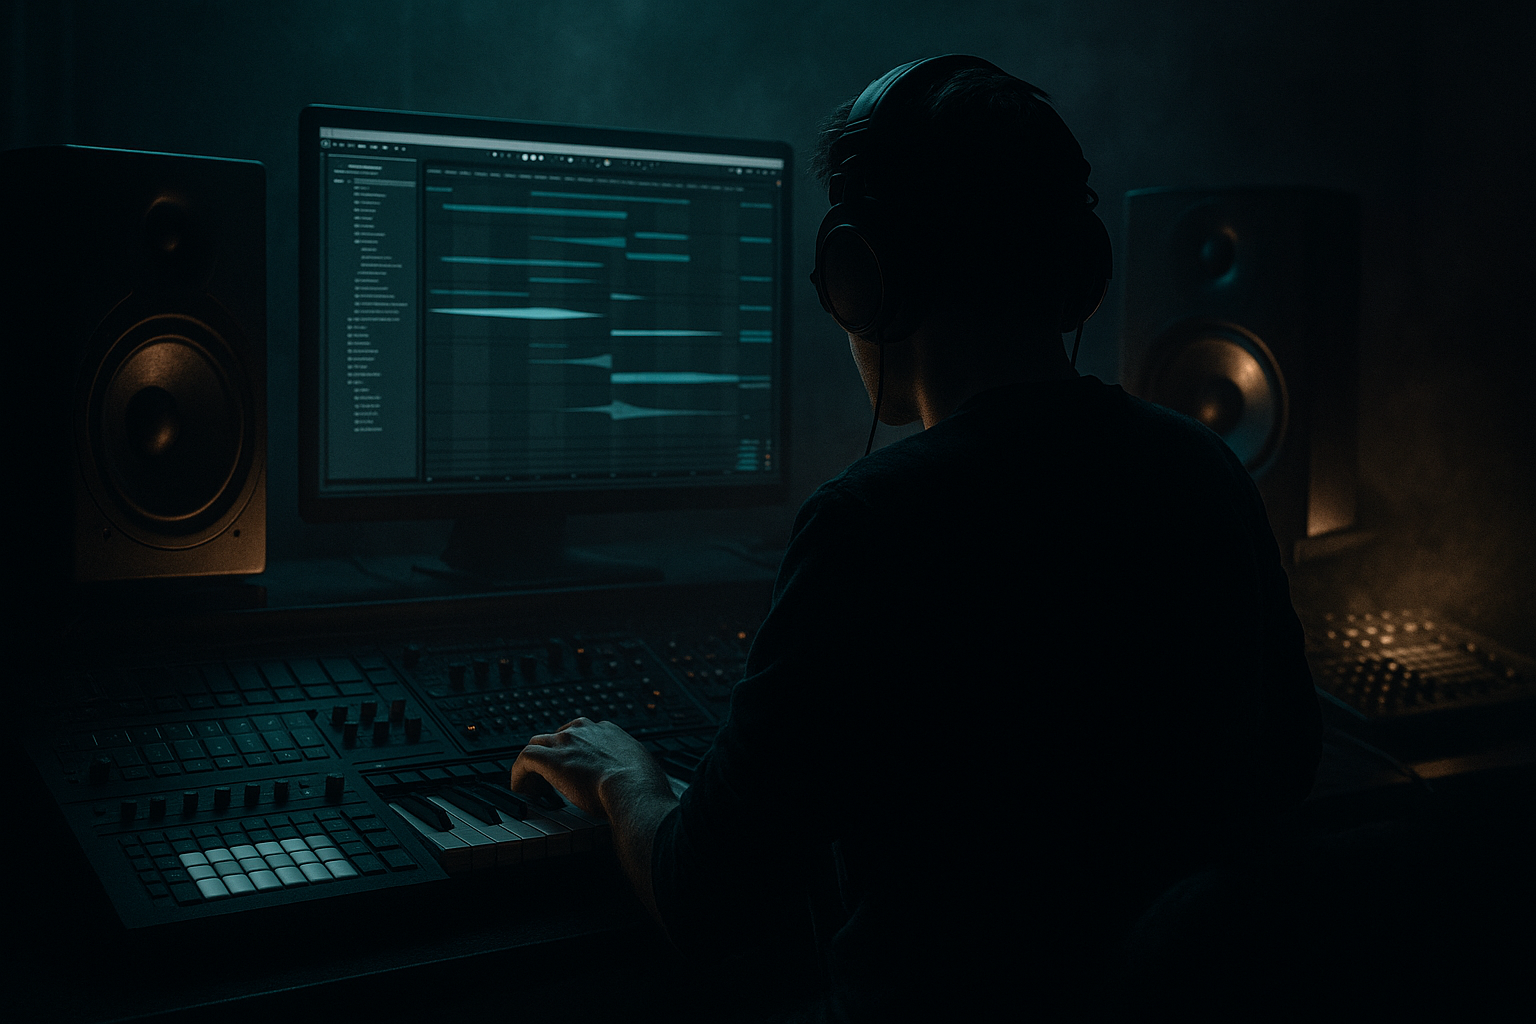
DNB COLLEGE

Drum & Bass Ableton Live 12 Tutorials

LESSON DETAIL

Delay modulation for haunted echoes (Advanced)

An AI-generated advanced Ableton lesson focused on Delay modulation for haunted echoes in the FX area of drum and bass production.

Back to lessons
Delay modulation for haunted echoes (Advanced) cover image

Narrated lesson audio

The voice track includes the tutorial plus extra teacher commentary.

Open audio file

Main tutorial

```markdown

Delay Modulation for Haunted Echoes (DnB / Jungle) — Ableton Live (Advanced) 👻🔁

1) Lesson overview

In rolling drum & bass, delay isn’t just space—it’s rhythm, movement, and menace. “Haunted echoes” come from modulated delay time + filtered feedback + subtle pitch drift, usually in parallel, then re-sampled into fills and transitions.

In this lesson you’ll design a modulated delay rack that can:

  • Make ghostly, pitching echoes behind vocals, snares, and atmospheres
  • Create runaway dub-style feedback swells safely (with a limiter)
  • Sit tight in a fast DnB mix (170–176 BPM) without washing your drums
  • We’ll do it with Ableton stock devices (Echo, Delay, Chorus-Ensemble, Auto Filter, Saturator, Redux, Utility, Limiter, LFO).

    ---

    2) What you will build

    A reusable Audio Effect Rack: “Haunted Echo Bus” with 3 parallel chains:

    1. Ghost Tap (clean-ish): tight, tempo-synced, filtered, subtle modulation

    2. Warped Tape (pitchy): wobble + saturation, darker, more character

    3. Runaway Swell (dangerous but controlled): high feedback for builds, but safety-limited

    Plus an arrangement workflow for DnB:

  • Send/Return delay for snares, vocal chops, stabs
  • Resample “echo tails” into one-shots for fills and jungle edits
  • Automate delay time/mod depth for “haunted pitch bends” at phrase ends
  • ---

    3) Step-by-step walkthrough

    A) Set up the bus (Return track workflow) 🚌

    1. Create a Return Track: `Create → Insert Return Track`

    2. Name it: Rtn A – Haunted Echo

    3. Keep it a true send effect:

    - Put Utility first, set Width = 100% (we’ll manage width later)

    - Make sure the return is 100% wet inside delay devices (we’ll handle dry on source tracks)

    Why Return track in DnB: you want consistent spatial character across drums/stabs, and you want to automate send levels rhythmically.

    ---

    B) Build the “Haunted Echo” rack (3 parallel chains) 🧰

    Drop an Audio Effect Rack onto the Return. Create 3 Chains:

  • `Ghost Tap`
  • `Warped Tape`
  • `Runaway Swell`
  • #### Chain 1: Ghost Tap (tight, rhythmic, spooky)

    Devices (in this order):

    1. Echo (stock)

    - Sync: ON

    - Time: `1/8` (or `3/16` for more jungle swing)

    - Feedback: `25–40%`

    - Filter: HP around `250–400 Hz`, LP around `6–10 kHz`

    - Modulation:

    - Rate: `0.20–0.60 Hz`

    - Amount: `5–12%`

    - Stereo: `60–120%` (careful on subs)

    - Reverb (inside Echo): very small, `5–10%` (just to smear)

    2. Auto Filter (post-delay shaping)

    - Mode: LP12

    - Cutoff: `4–8 kHz`

    - Resonance: `0.6–1.2` (a little “whistle” = haunted vibe)

    - Optional: Envelope amount tiny (`2–5`) so loud hits open the filter slightly

    3. Utility

    - Bass Mono: ON, Freq = 150–200 Hz

    - Gain: adjust so this chain sits subtle

    Use case: snare sends at phrase ends, vocal chop tails that “repeat into the dark.”

    ---

    #### Chain 2: Warped Tape (pitch drift + grit)

    Devices:

    1. Echo

    - Sync: ON

    - Time: `1/4` or `1/8D` (dotted eighth = classic rolling movement)

    - Feedback: `35–55%`

    - Character: increase Noise slightly if you want texture (tasteful)

    - Mod Rate: `0.10–0.35 Hz`

    - Mod Amount: `12–25%` (this is where pitchy haunting starts)

    - Wobble: `5–15%` (subtle; too much = seasick)

    - Output: ensure Wet 100%

    2. Saturator

    - Mode: Soft Clip ON

    - Drive: `2–6 dB`

    - Color: ON (for extra density)

    - Goal: delays feel closer and more threatening without getting louder

    3. Chorus-Ensemble (micro-modulation, not 90s cheese)

    - Mode: Chorus

    - Rate: `0.15–0.40 Hz`

    - Amount: `10–25%`

    - Dry/Wet: `10–25%`

    - This adds “paranormal width” 😈 without masking the main signal

    4. Auto Filter

    - HP: `200–500 Hz` (keep sub clean)

    - LP: `3–7 kHz` (darkness)

    Use case: mid-bass stabs, reese one-shots, eerie atmos, vocal ad-libs.

    ---

    #### Chain 3: Runaway Swell (controlled chaos)

    This is for builds, fills, and those “feedback ghosts” before drops. Safety first.

    Devices:

    1. Echo

    - Sync: ON

    - Time: `1/8` or `1/16` (fast, tense)

    - Feedback: `65–85%` (high)

    - Filter: HP `300–600 Hz`, LP `2–5 kHz` (keeps it ominous + avoids harshness)

    - Mod Amount: `10–18%`

    - Mod Rate: `0.20–0.80 Hz`

    2. Redux (lo-fi horror edge)

    - Bit Reduction: `8–12`

    - Sample Rate: `8–15 kHz` (adjust to taste)

    - Dry/Wet: `10–30%` (don’t obliterate—just corrode)

    3. Limiter (the seatbelt)

    - Ceiling: `-0.8 dB`

    - Lookahead: default

    - This prevents “oops I melted my master” moments 🔥

    4. Utility

    - Gain: pull down `-3 to -10 dB` if needed (this chain can get intense)

    - Optional: Width `80–120%` depending on mix

    Use case: automate send up during a 1–2 bar fill, then mute it right before the drop for a vacuum effect.

    ---

    C) Add macro controls (performance + automation) 🎛️

    In the Rack, map key parameters to Macros so you can “play” the haunted echoes:

    Suggested macros:

    1. Ghost Send Tone → Chain 1 Auto Filter cutoff

    2. Warp Depth → Chain 2 Echo Mod Amount

    3. Tape Time → Chain 2 Echo Time (keep Sync ON)

    4. Swell Feedback → Chain 3 Echo Feedback (limit range: 60–88%)

    5. Darkness → All chains’ LP cutoff (map in parallel)

    6. Width → Utility Width (post-rack if you want global control)

    Advanced mapping tip: restrict ranges so you can’t accidentally go bright + harsh or runaway infinite feedback.

    ---

    D) DnB arrangement moves (where haunted echoes actually shine) 🥁⚡

    #### 1) Snare “afterimage” on 2 and 4

  • Send snare to Haunted Echo at -18 to -10 dB send level.
  • On the last snare of a 4/8/16 bar phrase, automate send up for one hit only.
  • Result: a ghost tail that says “end of phrase” without a riser.
  • #### 2) Vocal chop “haunt throws” (classic DnB trick)

  • For a single vocal word, automate send up sharply then back down.
  • Pair with Gate on the return before Echo if you want chopped, stuttering entrances:
  • - Gate threshold so only the loud throw enters the delay.

    #### 3) Reese / stab punctuations

  • Send short stabs, not sustained notes.
  • Haunted echo should answer the stab rhythmically:
  • - Try `3/16` or `1/8D` on Echo for syncopation against a 2-step.

    ---

    E) Resampling for jungle edits (turn tails into weapons) 🧪✂️

    1. Create an Audio track named Resample Echo.

    2. Set its input to: “Resampling” (or specifically the return track if you route it).

    3. Arm it, record during a section where you automate Swell/Feedback.

    4. Chop the recorded tail:

    - Make one-shots for reverse hits, pre-drop swells, ghost fills

    5. Process the resampled audio like a DnB asset:

    - EQ Eight: cut below 150–250 Hz

    - Reverb tiny room + Auto Filter sweep

    - Fade-outs to avoid clicks

    This is how you get that “sampled-from-a-rave-void” character without cluttering the main mix.

    ---

    F) Optional: Add LFO modulation (Ableton LFO) for evolving horror 👁️

    If you have Max for Live:

    1. Drop LFO before Echo (or map it to Echo parameters).

    2. Map LFO to:

    - Echo Mod Rate (tiny range)

    - Echo Filter Frequency (slow, subtle movement)

    3. Settings:

    - Shape: Sine or Random (Smooth)

    - Rate: `0.05–0.20 Hz` (slow)

    - Amount: small; you want creep, not wobble

    ---

    4) Common mistakes

  • Too much low end in the feedback loop: your mix will turn to mud fast. High-pass the delay returns (`200–600 Hz` depending on source).
  • Over-modulating delay time: big Mod Amount makes audible pitch warble—great for horror, awful for groove if constant. Automate it for moments.
  • Leaving feedback high across the drop: haunted echoes are sick… until they fight your snare and lead. Use automation or clip envelopes.
  • Stereo chaos in the subs: keep low frequencies mono on the return (Utility Bass Mono).
  • Using delay on everything: pick 1–3 hero elements (snare throws, vocals, a stab), not the entire drum buss.
  • ---

    5) Pro tips for darker/heavier DnB 🖤

  • Sidechain the return to the kick/snare (subtle):
  • - Add Compressor on the return, Sidechain from your Drum Buss.

    - Ratio `2:1–4:1`, fast attack, medium release.

    - This keeps echoes present but not masking transients.

  • Put Saturator after the delay, not before: post-saturation makes repeats denser each pass—more “cursed tape machine.”
  • Use band-limited feedback: darker echoes feel larger and more ominous.
  • - Aim LP `3–7 kHz` depending on how aggressive your tops are.

  • Automate “momentary infinity” safely:
  • - Push feedback high only for 1/2 bar, then hard pull it down.

    - Combine with a filter sweep down to “bury” the echo.

  • For jungle authenticity: try `3/16` delays on chopped Amen fills—instant ghost syncopation.
  • ---

    6) Mini practice exercise (15 minutes) ⏱️

    1. Load a classic DnB loop (kick/snare + hats) at 174 BPM.

    2. Pick one element: snare.

    3. On bar 8, automate:

    - Snare send to Haunted Echo from `-inf → -8 dB` for the last snare hit only

    - Macro Swell Feedback from `65% → 82%` over the last 1/2 bar

    - Macro Darkness sweep down slightly during the tail

    4. Record 4 bars of output via Resampling.

    5. Chop the best tail, reverse it, place it 1/8 before the drop.

    Deliverable: a short pre-drop moment with a pitchy, dark echo ghost that doesn’t muddy the first downbeat.

    ---

    7) Recap

  • Haunted echoes in DnB come from tempo-synced delays + modulated time + filtered feedback.
  • Build in parallel chains: tight ghost taps, warped tape, controlled runaway.
  • High-pass the return, manage width, and sidechain if needed.
  • The real sauce is automation + resampling: print the weirdness, then edit it like jungle.

If you want, tell me your BPM and which element you want to haunt (snare, vocal, reese, pads), and I’ll suggest exact time divisions + macro ranges for your specific groove. 👻

```

Ask GPT about this lesson

Chat with the lesson tutor, get follow-up help, or use quick actions.

Bigup 👽 Ask me anything about this lesson and I’ll answer in context.

Narration script

Show spoken script
Title: Delay Modulation for Haunted Echoes, Advanced Ableton Live for Drum and Bass

Alright, welcome back. This is an advanced Ableton Live lesson, and we’re going deep on delay modulation for that haunted echo vibe in drum and bass and jungle.

And I want to set the mindset right away: in rolling DnB, delay is not just “space.” Delay is rhythm. It’s movement. It’s tension. It’s a shadow groove sitting behind your drums. Haunted echoes happen when you combine three things: modulated delay time, filtered feedback, and just a touch of pitch drift. And the real pro move is doing it in parallel, then resampling the best moments into fills and transitions.

By the end, you’ll have a reusable Audio Effect Rack called Haunted Echo Bus with three parallel chains: a tight ghost tap, a warped tape echo, and a runaway swell that’s dangerous but controlled. Then we’ll talk about where to place it in a DnB arrangement, and how to print those tails into weapons you can edit like jungle.

Let’s build it.

First, set up the bus. We’re doing this on a Return track because in drum and bass, consistency matters. You want one shared spatial character across your snare throws, your vocal chops, your stabs. And you want to automate send levels rhythmically without committing an insert effect to every track.

So create a return track. Name it something like Return A – Haunted Echo.

Now, before we even drop any delays in, put a Utility at the very start. Keep Width at 100 for now. The point is not that Utility is doing magic yet, it’s that we’re thinking like mix engineers: we’ll manage width deliberately later, and we’ll also have a clear place to control the return if we need it.

And a key rule: this is a true send effect workflow. Inside the delay devices, we want wet at 100%. We do not want dry signal coming through the return. The dry lives on your source tracks. The return is the ghost only.

Next, drop an Audio Effect Rack onto the return. Create three chains and name them Ghost Tap, Warped Tape, and Runaway Swell.

Chain one: Ghost Tap. This is your tight, rhythmic, spooky repeat. The kind of thing that makes a snare feel like it left an afterimage in the room.

Start with Echo. Turn Sync on. Set the time to one eighth note. If you want more jungle swing, try three sixteenths. Keep feedback controlled, around 25 to 40 percent. Then filter inside Echo: high-pass around 250 to 400 Hertz, and low-pass around 6 to 10k. We’re basically saying: no low-end mud, no brittle top-end, just that midrange ghost.

Now modulation. Keep it subtle here. Set mod rate somewhere around 0.2 to 0.6 Hertz, and mod amount around 5 to 12 percent. This is one of those places where less equals “haunted,” and more equals “broken tape machine in the worst way.” We want movement, not seasickness.

Stereo width inside Echo can be around 60 to 120 percent, but you’re going to be careful with anything that creates width in the low end. Haunted doesn’t mean your subs disappear in mono.

And add a tiny bit of Echo’s internal reverb, like 5 to 10 percent. We’re not trying to make it a reverb effect. We’re smearing the repeat edges so it feels like a presence rather than a metronome.

After Echo, put an Auto Filter. Set it to a low-pass 12 dB slope. Put cutoff around 4 to 8k. Add a little resonance, like 0.6 to 1.2. That slight whistle on the repeats is part of what reads as eerie. And if you want it to respond to dynamics, add a tiny envelope amount, maybe 2 to 5, so louder hits open the filter a touch. That gives you that “the ghost reacts” vibe.

Then put a Utility. Turn Bass Mono on around 150 to 200 Hertz. This is a club-safety move. You can widen the tops, but your low mids and subs shouldn’t be flapping around in stereo.

And level-wise, keep this chain subtle. It’s the chain you should almost miss when you mute it, but definitely feel when it’s gone.

Chain two: Warped Tape. This is the pitch-uneasy one. It’s darker, grittier, and it’s the one that makes vocal ad-libs or stabs sound like they’re being replayed by an unstable machine.

Start again with Echo. Sync on. Set time to one quarter note, or try dotted eighth, one eighth dotted. That dotted timing is classic for rolling movement because it pushes against the grid in a musical way.

Set feedback around 35 to 55 percent. Add a hint of character noise if you want texture, but be tasteful. The real haunted energy is modulation and wobble.

Set mod rate around 0.1 to 0.35 Hertz. Mod amount can come up, 12 to 25 percent. This is where the pitchy haunting really starts. Then wobble: keep it subtle, 5 to 15 percent. Past that, it can go from “paranormal” to “seasick,” and in drum and bass you can ruin the groove fast if the delay sounds like it’s falling down stairs.

Make sure wet is 100% again.

After Echo, add Saturator. Turn Soft Clip on. Drive around 2 to 6 dB. And turn Color on for density. Here’s what you’re aiming for: the repeats feel closer and more threatening, without the return getting way louder. In fact, a lot of good delay design is psychological. You’re increasing perceived intensity without increasing peak level.

Then add Chorus-Ensemble, but use it like micro-modulation, not a 90s super-wide chorus. Set it to Chorus mode. Rate around 0.15 to 0.4 Hertz, amount 10 to 25 percent, and dry/wet 10 to 25 percent. You’re creating a little paranormal width and instability, but the original source still needs to feel like the leader.

Then Auto Filter for cleanup. High-pass 200 to 500 Hertz, low-pass 3 to 7k. Dark is big in DnB. Bright delays can sound small and annoying, and they fight hats and snares.

Chain three: Runaway Swell. This is controlled chaos. This is for builds, fills, and those moments where the echo feels like it’s trying to escape the track.

Safety first: this chain gets a limiter. No debate.

Start with Echo. Sync on. Set time to one eighth or one sixteenth. One sixteenth is tense and fast, great right before a drop. Set feedback high, like 65 to 85 percent. Then filter it hard: high-pass 300 to 600 Hertz, low-pass 2 to 5k. Ominous, band-limited, not harsh. Mod amount 10 to 18 percent, mod rate 0.2 to 0.8 Hertz. This is one of those where faster rates can become a special effect, so you’ll probably automate it rather than leave it wild all the time.

After Echo, put Redux for lo-fi horror edge. Bit reduction around 8 to 12, sample rate around 8 to 15k. Keep dry/wet around 10 to 30 percent. The goal is corrosion, not total destruction.

Then put the Limiter. Ceiling at minus 0.8 dB is a good starting point. Default lookahead is fine. This limiter is your seatbelt. It lets you experiment without your master getting nuked.

Then Utility after that. Pull gain down minus 3 to minus 10 if needed. This chain can easily dominate. You can optionally adjust width here, but keep checking mono compatibility.

Now, teacher moment: gain staging inside feedback systems matters more than almost anything else. Treat each chain like a mini mix bus. You want roughly minus 18 to minus 12 dBFS RMS on the return before the final limiter. Don’t just crank until it sounds cool. In Echo, output level and feedback interact. If you want longer tails, try lowering output a couple dB and raising feedback slightly, instead of boosting both. That keeps the loop stable.

And throw a Spectrum at the end of the rack while you tune it. If your ghost gets louder every repeat, you’re probably feeding energy into resonant bands. Filters and saturation are usually the culprits. You either tame the resonance, darken the loop, or reduce gain.

Next, we’re going to make this rack playable with macros, because haunted echoes are not meant to be static. They’re meant to be performed and automated.

Open the rack’s Macro controls. Map these:

Macro one: Ghost Send Tone. Map that to the cutoff of the Ghost Tap Auto Filter.

Macro two: Warp Depth. Map that to Warped Tape Echo Mod Amount.

Macro three: Tape Time. Map that to Warped Tape Echo Time, with Sync still on. And yes, you can map synced time. It’ll step through divisions, so it’s great for phrase changes.

Macro four: Swell Feedback. Map that to Runaway Swell Echo Feedback. And here’s an advanced tip: set the macro range so it never goes truly infinite. Keep it something like 60 to 88 percent. That way you can get “momentary infinity” vibes without accidentally making a loop that lives forever.

Macro five: Darkness. Map it to the low-pass cutoff across all chains. This is huge. One knob to make the whole ghost world retreat into the shadows.

Macro six: Width. Ideally, put one more Utility after the entire rack on the return, and map Width there. Give yourself a range like 0 to 140 percent. And every so often, hit mono and listen. If the echo disappears in mono, you’ve got too much stereo trickery inside Echo or Chorus, and you should simplify, then re-widen later with Utility.

Now let’s talk modulation musicality at 174 BPM, because this is where advanced people separate from “random knob turning.”

If the groove starts feeling nauseous, it’s often mod rate interacting with your sync division. Here’s the rule of thumb:
Slow drift, around 0.03 to 0.12 Hertz, reads as creepy movement.
Mid wobble, 0.15 to 0.45, is audible pitch sway. Use sparingly.
Fast, above 0.6, is special FX only. Otherwise it starts reading like chorus, not haunted space.

Now the arrangement moves. Because honestly, the rack is only half the story. Haunted echoes shine when you choreograph them.

Move one: snare afterimage on two and four. Send your snare into the Haunted Echo return at a low level, like minus 18 to minus 10 dB. Then on the last snare of a 4, 8, or 16 bar phrase, automate the send up for one hit only. That’s the key phrase: one hit only. The result is a ghost tail that signals “end of phrase” without needing a riser.

Move two: vocal chop haunt throws. Pick one word, one syllable. Automate the send sharply up, then immediately back down. If you want it even tighter, you can put a Gate before Echo on the return, so only that loud throw triggers the delay. Then the return stays quiet until you “summon” it.

Move three: reese or stab punctuations. Send short stabs, not sustained notes. The haunted echo should answer the stab rhythmically. Try three sixteenths or dotted eighth so it syncopates against a two-step. You’re basically writing a call-and-response between the dry element and the ghost.

Now, the big DnB unlock: resampling. This is where you stop being “a person with a delay” and start being “a person who manufactures samples.”

Create an audio track named Resample Echo. Set its input to Resampling, or route it specifically from the return if you prefer. Arm it. Then record while you automate Swell Feedback or Warp Depth.

After you record, chop the best tail moments. Make one-shots. Make reverse hits. Make ghost fills. Then process the resampled audio like a proper DnB asset: EQ Eight to cut below 150 to 250 Hertz, a tiny room reverb if you want it to sit, an Auto Filter sweep, and fade-outs to avoid clicks.

This is how you get that “sampled from a rave void” character without cluttering the mix with constant long delays.

Optional advanced move: if you have Max for Live, add an LFO. Map it subtly to Echo mod rate, or to Echo filter frequency. Use a sine or random smooth shape, rate around 0.05 to 0.2 Hertz. Keep the amount small. You want creep, not wobble.

And here are a few pro-level variations if you want to push it further.

One: dual-time detuned echoes. In the Warped Tape chain, try two delays in series. Echo one at dotted eighth, modest feedback. Echo two at one sixteenth or even three thirty-seconds, lower feedback, and darker filtering than the first. It creates a shifting polyrhythm that still locks to tempo, and it feels supernatural.

Two: mid-side feedback sculpting. Put EQ Eight in M/S mode inside a chain. On the Mid channel, high-pass harder, like 300 to 600, and low-pass lower, like 3 to 5k. On the Side channel, let it be a little brighter, maybe 5 to 9k, and maybe slightly less high-pass. That gives you a dark, controlled center while the mist lives on the sides.

Three: sidechain the feedback, not just the return. Instead of compressing the whole return after the delay, put a compressor before Echo and sidechain it from kick or snare. Now the input to the delay ducks on hits, and the repeats bloom between transients. It’s insanely clean for busy drum patterns.

Now, common mistakes to avoid, because these will ruin your track fast.

Too much low end in the feedback loop equals instant mud. High-pass the return, often 200 to 600 Hertz depending on the source.

Over-modulating delay time is another one. Big mod amount makes audible pitch warble. That can be amazing for horror, but awful for groove if it’s constant. Automate it for moments instead of leaving it on.

Leaving feedback high across the drop. Haunted echoes are sick until they fight your snare and your lead. Use automation. Pull it down, mute it, or clip-envelope it.

Stereo chaos in the subs. Always keep low frequencies mono on the return with Bass Mono, and do occasional mono checks.

And don’t put this on everything. Pick one to three hero elements per section: snare throws, a vocal, maybe a stab. Not your entire drum bus.

Now let’s do a 15-minute practice exercise, and I want you to actually do this, because it will teach you more than tweaking for an hour.

Set your project to 174 BPM. Load a classic DnB loop. Choose one element: the snare.

On bar 8, automate the snare send into Haunted Echo from minus infinity up to around minus 8 dB for the last snare hit only. Over the last half bar, automate Swell Feedback from about 65 percent up to about 82 percent. Then sweep Darkness down slightly during the tail so it sinks into the shadows.

Record four bars of output via Resampling. Chop the best tail, reverse it, and place it one eighth note before the drop. Then listen carefully: the ghost should be dramatic, but the first downbeat of the drop should still hit clean.

Before we wrap, one last advanced coaching idea: think in phrases, not presets. Rotate roles across phrases so the effect stays intentional. Phrase one, Ghost Tap answers snares. Phrase two, Warped Tape answers vocals. Phrase three, Runaway Swell only on the final hit before a transition. That’s call-and-response delay choreography, and it’s the difference between “cool effect” and “this track has direction.”

And if you want a really nasty pre-drop trick: create a tail with a send throw, then immediately slam a high-pass up to one or two kHz while reducing feedback. The ear perceives the space collapsing upward, then the drop hits clean. That’s the vacuum.

Recap: haunted echoes in DnB come from tempo-synced delays plus modulated time plus filtered feedback. Build in parallel: tight ghost taps, warped tape, controlled runaway. High-pass the return, manage width, sidechain if you need it. And the real sauce is automation and resampling. Print the weirdness, then edit it like jungle.

If you tell me your exact BPM and what you want to haunt, like snare, vocal, reese, pads, I can suggest specific time divisions and safe macro ranges that match your groove.

mickeybeam

Go to drumbasscd.com for +100 drum and bass YouTube channels all in one place - tune in!

Generating PDF preview…