Main tutorial
Lesson Overview
A ragga vocal layer is one of the quickest ways to make a DnB tune feel older, darker, and more dangerous without overcrowding the mix. In 90s-inspired jungle and early rollers, short vocal chops, gruff one-shots, and call-and-response phrases helped glue the energy together between drums and bass. They also gave tracks personality: a human voice cutting through the machine pressure of the break.
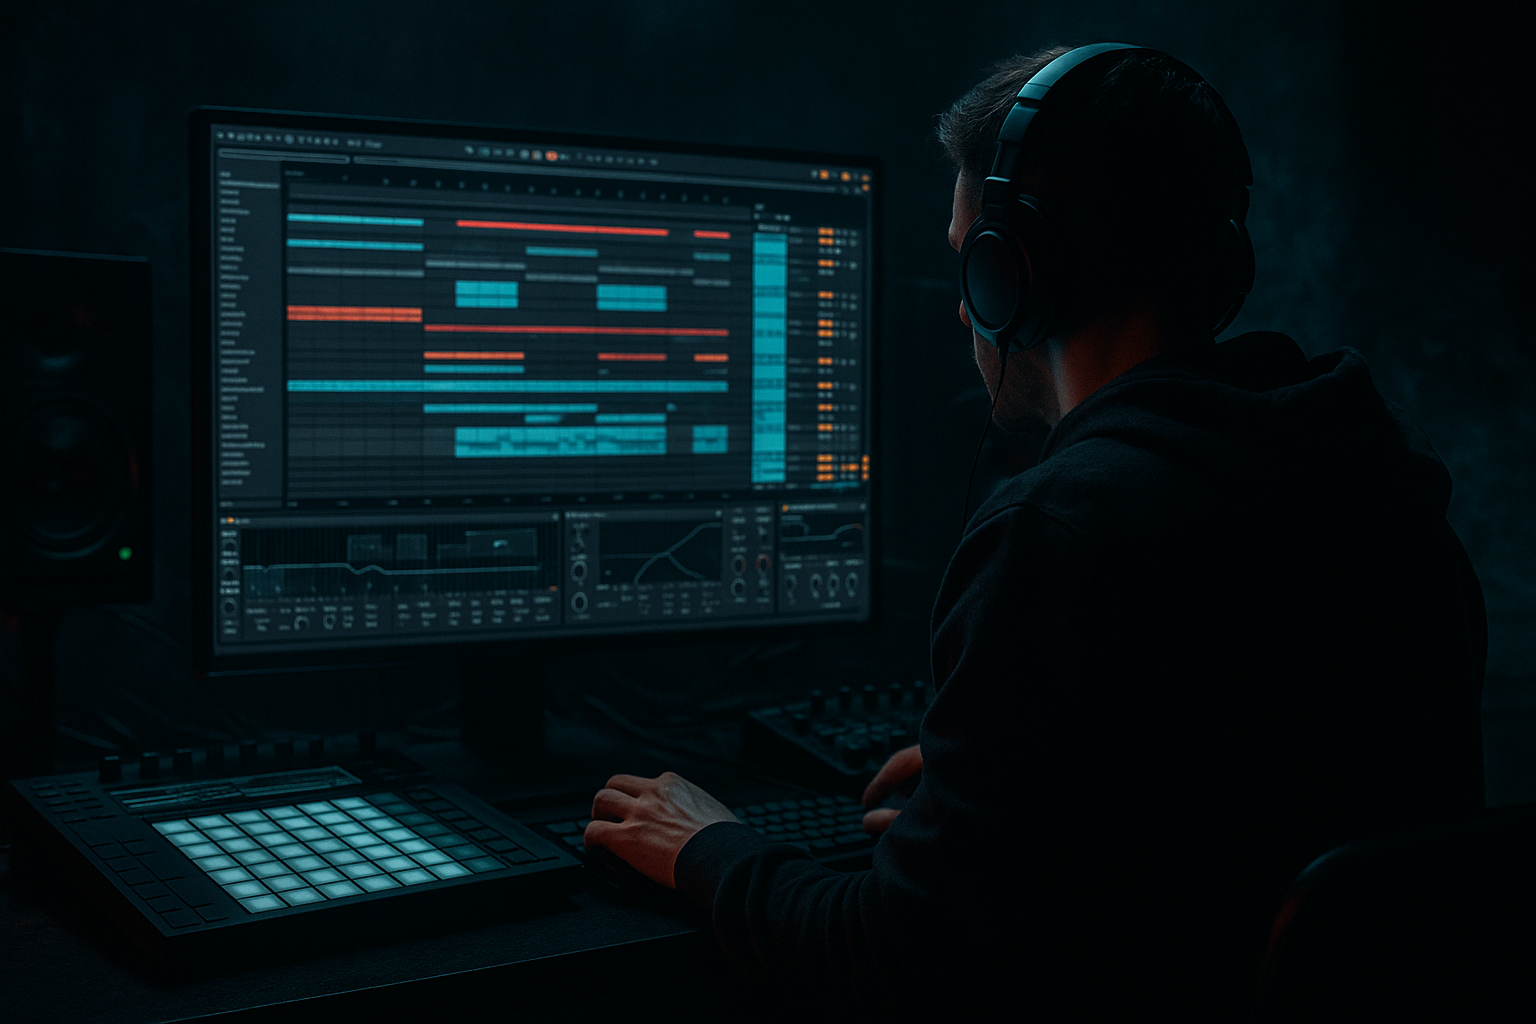
In this lesson, you’ll build a dark ragga vocal layer in Ableton Live 12 that can sit under a drop, answer the snare, or act as a tension tool before a switch-up. The focus is Workflow: fast selection, simple processing, clean routing, and arrangement choices that make the vocal feel like part of a proper DnB record, not just a random sample dropped on top.
Why this matters in DnB: the best vocal layers don’t just “sound cool” — they create rhythmic identity. In a roller or jungle tune, a raw ragga phrase can reinforce the swing of the drums, add attitude over a sparse bassline, and make a 2-step section feel more like a classic sound system track. That’s especially useful when the arrangement is intentionally minimal and the bassline needs space to breathe.
---
What You Will Build
By the end, you’ll have a short, gritty ragga vocal layer that sounds like it belongs in a 90s-inspired dark DnB track.
Specifically, you’ll make:
- A chopped vocal phrase with a rough, urgent character
- A processed layer that feels darker, narrower, and more atmospheric
- A version that can work as:
- A simple Ableton Live 12 routing setup so you can keep the vocal under control and easy to automate
- short spoken lines
- half-sung phrases
- crowd-style shouts
- aggressive one-liners
- Drag the sample into an audio track
- Open the Clip View and trim the sample so you’re working with the most useful phrase
- If the sample is too long, split it into smaller chunks using Cmd/Ctrl + E
- Turn Warp on
- Try Beats mode for short, rhythmic phrases
- Set Preserve to 1/16 or 1/8 if the chop is punchy
- For more flowing material, try Complex Pro, but keep it subtle
- Transients: slightly up if the phrase has clear consonants
- Gain: adjust so the vocal sits roughly in a healthy level range without clipping
- Start marker: tighten the phrase so the first consonant lands exactly on the beat or just before it
- Manually duplicate the clip and trim each copy
- Or right-click and choose Slice to New MIDI Track if the phrase has clearly defined hits
- Make 3 to 6 chops from the phrase
- Keep one short “answer” chop, one longer “lead-in” chop, and one gritty tail or shout
- Place them on a new audio track or a Drum Rack if you want finger-drumming later
- 1/8 to 1/2 bar for rhythmic hits
- very short 1-shot fragments for fills
- one longer phrase for intros or breakdowns
- EQ Eight
- Utility
- optional Gate
- EQ Eight:
- Utility:
- Gate:
- Saturator
- Drum Buss
- Redux or Erosion
- optional Glue Compressor
- Saturator:
- Drum Buss:
- Redux:
- Glue Compressor:
- Hybrid Reverb or Reverb
- Echo
- Reverb:
- Echo:
- Let the vocal hit on the off-beat
- Answer the snare with a short phrase
- Leave empty space for the kick and sub
- Bar 1: vocal chop on beat 4
- Bar 2: vocal answer on the “and” of 2
- Bar 3: no vocal, let the drums and bass breathe
- Bar 4: vocal phrase leading into the next section
- automate filter frequency on EQ Eight
- automate reverb send higher in the intro and lower in the drop
- automate Utility width from wider in the breakdown to narrower in the drop
- automate volume so the vocal only pops when needed
- EQ Eight
- Saturator
- Reverb send control
- Echo send control
- Utility
- a Macro for “Darkness” or “Grit”
- Macro 1: Filter cutoff
- Macro 2: Saturation drive
- Macro 3: Reverb amount
- Macro 4: Width
- Intro: wider, wetter, more atmospheric
- Drop: narrower, drier, more forward
- Breakdown: more delay and longer tails
- Fill: quick filtered burst or echo throw
- Using a vocal that’s too melodic
- Leaving too much low end in the vocal
- Over-widening the vocal
- Too much reverb in the drop
- Distorting before cleaning
- Placing vocal phrases randomly
- Forgetting headroom
- Make the vocal a call-and-response tool
- Use a narrow, dry drop version and a wetter intro version
- Try tiny pitch shifts for menace
- Add movement with Auto Filter
- Resample the vocal after processing
- Use short gaps
- Keep the vocal out of the sub zone
- Use one signature phrase, not too many
- A ragga vocal layer can give dark DnB instant personality, tension, and classic jungle attitude.
- Keep the phrase short, rhythmic, and easy to place against the drums.
- Clean first, then add grit with stock Ableton devices like EQ Eight, Saturator, Drum Buss, Echo, Reverb, and Utility.
- Use automation and arrangement choices to make the vocal feel alive across intro, drop, and switch-up.
- In DnB, the best vocal layers work because they support the groove, leave space for the sub, and amplify the atmosphere without taking over.
- a drop layer under the drums
- a call-and-response answer to the bass
- a transitional phrase before a fill or switch-up
Musically, think of a phrase that might appear on the last half of a 16-bar intro, then return in the drop as a repeating callout every 4 bars. The vocal should support the groove, not dominate it.
---
Step-by-Step Walkthrough
1. Pick a vocal with attitude, not too much melody
Start with a ragga, dancehall, or jungle-style vocal sample. You want something with strong rhythm and character, such as:
For this lesson, avoid long lead vocals or highly melodic hooks. In darker DnB, the best layers are usually short, repetitive, and loopable.
In Ableton Live:
Beginner rule: choose a vocal that already sounds gritty. That makes the processing easier and keeps the workflow fast.
2. Warp the vocal so it locks to the DnB grid
DnB is fast, so timing matters. Even a cool ragga vocal will feel weak if it drifts over the drums.
In the Clip View:
Useful starting points:
Why this works in DnB: the groove comes from tight interaction between drums and accents. If the vocal hits with the snare or just ahead of it, the track feels more intentional and energetic.
3. Slice the phrase into usable chops
Instead of treating the vocal as one full clip, turn it into a set of performance-friendly chops.
Two simple ways in Ableton:
For beginners, manual chopping is often easier:
Good chop lengths for dark DnB:
Arrangement idea: use a 2-bar vocal motif that repeats in bars 1–2, then mute it in bars 3–4 so the drums and bass can take the spotlight. That contrast is classic in rollers and jungle.
4. Clean the vocal before adding aggression
Before distorting it, clean up the obvious problems. This keeps the result punchy instead of messy.
Add these stock devices in order:
Suggested starting settings:
- High-pass around 120–200 Hz to remove low rumble
- Cut any harsh resonance around 2.5–5 kHz if the vocal is piercing
- If it sounds boxy, try a gentle dip around 250–500 Hz
- Reduce width to 0–50% if you want it more focused and underground
- Use only if there’s noise between phrases
- Keep it gentle so it doesn’t chop off natural word endings
Why this works in DnB: the kick and sub need clean low-end space. Ragga vocals often have room noise, mic hiss, or low-mid buildup, so filtering early makes room for the drums and bassline.
5. Add grit and weight with stock Ableton devices
Now shape the vocal into something more shadowy and system-ready.
A strong beginner chain:
Suggested settings:
- Drive around 2–6 dB
- Turn on Soft Clip if it helps tame peaks
- Drive around 5–15%
- Boom very low or off for vocals; this is about body and aggression, not extra sub
- Very light use for texture, not full-bit destruction
- Try a subtle reduction if the vocal needs extra roughness
- Ratio around 2:1
- Slow-ish attack, medium release
- Only 1–3 dB of gain reduction
Keep checking whether the vocal still sounds like a vocal. If the words disappear completely, back off the distortion.
A good dark DnB vocal often sounds slightly crushed, slightly overdriven, and a bit worn out — like it’s been pulled from a dub plate or a cassette rip.
6. Shape the space with reverb and delay, but keep it controlled
Darker DnB vocals usually need atmosphere, but too much space can blur the drop.
Use sends or place devices directly on the track:
Starting points:
- Decay: 0.8 to 2.0 s
- Pre-delay: 10–25 ms
- Low cut: fairly high, so the reverb doesn’t muddy the sub
- Delay time synced to 1/8 or 1/4
- Feedback low to medium
- Filter the repeats so they don’t steal attention
For darker jungle vibes, try a short, smoky slap or a delayed echo tucked behind the vocal, not a huge lush hall.
Workflow tip: put reverb and delay on return tracks so you can automate send amounts per section. That keeps the vocal layer flexible across intro, drop, and switch-up.
7. Make the vocal sit in the groove with rhythmic placement and automation
This is where the layer starts feeling like DnB, not just a loop.
Place the vocal against the drums in a deliberate pattern:
Try this arrangement idea:
Use automation to create movement:
This works especially well in 90s-inspired dark DnB because the arrangement often relies on tension and release rather than constant density.
8. Build a small vocal rack for speed and variation
If you want to work faster, save the key processing into an Audio Effect Rack.
A simple rack can include:
Map useful Macros:
This gives you fast control when arranging sections:
For beginner workflow, the goal is not complexity — it’s speed. You want to reach for the vocal layer like a proper arrangement tool, not rebuild it every session.
---
Common Mistakes
- Fix: choose shorter, rougher phrases with rhythm and attitude, not a full topline.
- Fix: high-pass with EQ Eight around 120–200 Hz so the sub and kick stay clean.
- Fix: keep the main vocal layer fairly centered or only slightly wide. DnB drops often need mono discipline in the low-mid area.
- Fix: use automation or a return track and reduce send levels when the bass and drums enter.
- Fix: remove rumble and harshness first, then add saturation so the grit sounds intentional.
- Fix: lock them to the snare, off-beats, or phrase endings. In DnB, rhythm matters as much as tone.
- Fix: keep the vocal under control so it doesn’t fight the bassline or clip the master.
---
Pro Tips for Darker / Heavier DnB
- Let the bassline answer the vocal, or vice versa. This is huge in rollers and classic jungle arrangements.
- Same vocal, different processing. That’s fast and professional.
- Duplicate the vocal and detune one layer by a few semitones up or down, then keep it low in the mix. A subtle lower layer can make the phrase feel more threatening.
- A slow filter sweep from darker to brighter over 8 or 16 bars can build tension before the drop. Keep it subtle: roughly 200 Hz to 2–4 kHz is often enough.
- Once you like the chain, freeze it into audio and chop it again. That “finished” texture often feels more authentic in darker DnB.
- Silence between vocal hits is powerful. In underground DnB, space makes the drums hit harder.
- The vocal should live mostly in the midrange. Let the sub bass own the bottom.
- A single repeated ragga hook often feels stronger than a bunch of different lines. Repetition creates identity.
---
Mini Practice Exercise
Spend 10–20 minutes making a dark ragga vocal layer for a 16-bar DnB loop.
1. Find one short vocal phrase with attitude.
2. Warp it to the grid.
3. Chop it into 3–5 pieces.
4. High-pass it with EQ Eight.
5. Add Saturator and make it a little grittier.
6. Add a small amount of Echo or Reverb on returns.
7. Place the chops so they answer the snare or sit between drum hits.
8. Automate the reverb send so the intro is wetter than the drop.
9. Bounce or resample the result if it feels good.
10. Loop it over drums and a simple bassline to check whether it adds tension without clutter.
Bonus challenge: make two versions — one wet and spooky for the breakdown, one dry and heavy for the drop.
---

