Main tutorial
Lesson Overview
An oldskool hoover stab is one of the fastest ways to give a Drum & Bass idea that VHS-rave, warehouse, late-night energy. In DnB, it usually works best as a midrange hook: a short, angry, pitch-bending synth hit that cuts through drums and bass without stepping on the sub. Think of it as a tension tool for intros, drop call-and-response, or those little “oh no” moments before the next 16 bars land.
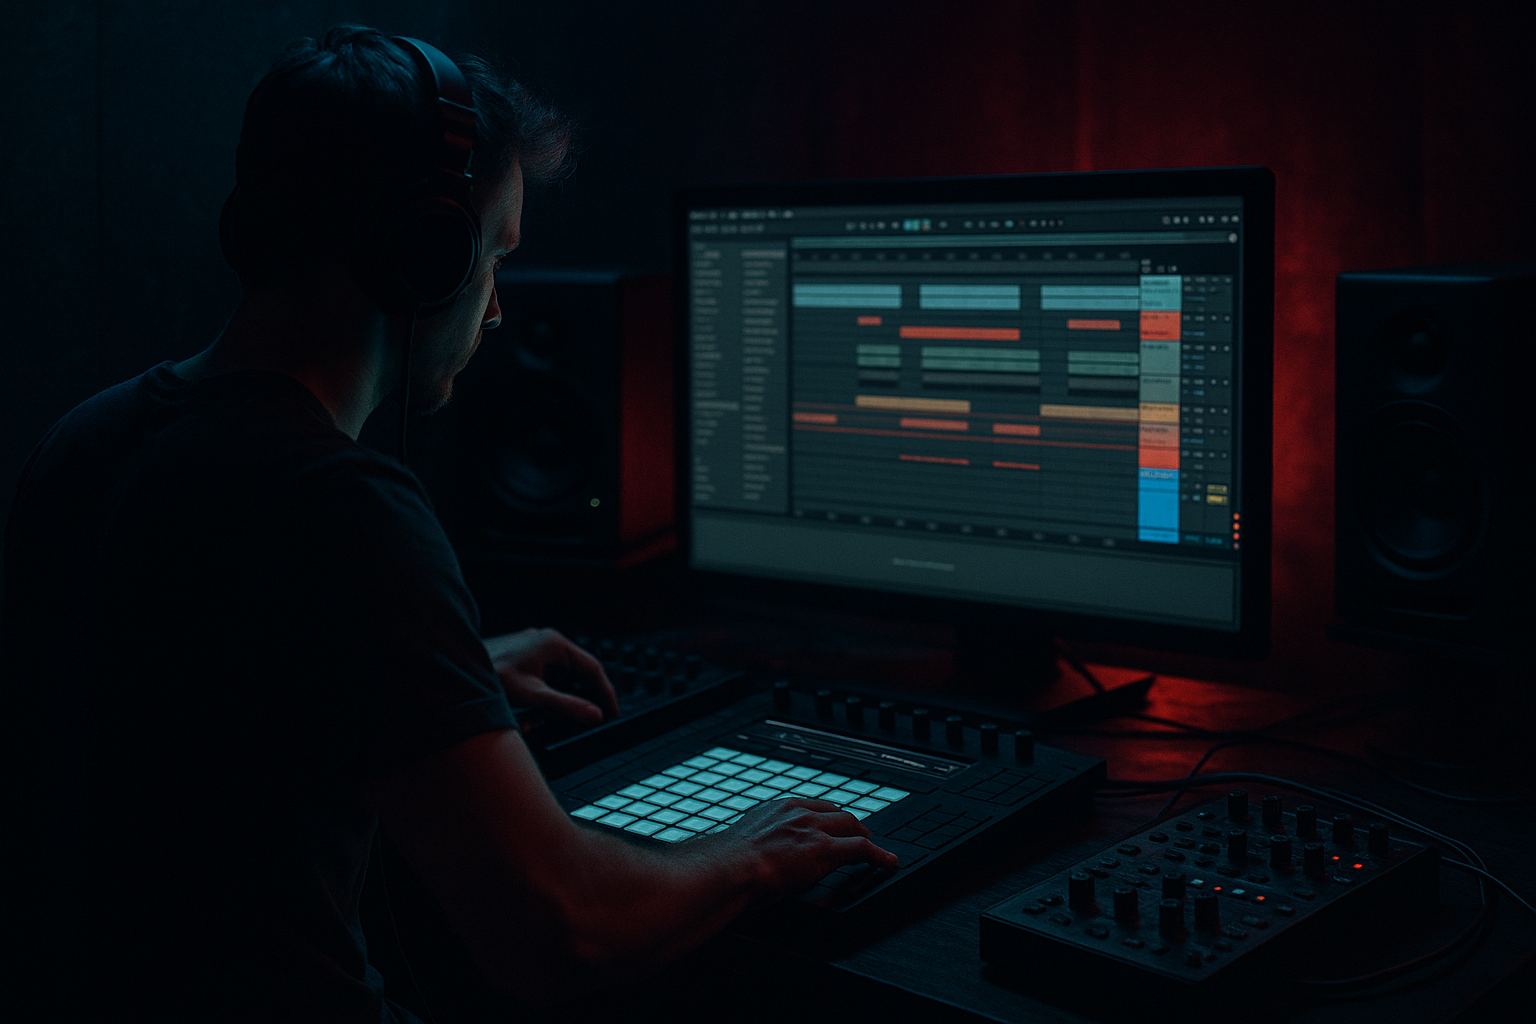
In Ableton Live 12, you do not need a huge synth setup to get this sound. You can build a convincing hoover stab using stock devices, then make it feel oldskool with smart filtering, movement, saturation, and controlled lo-fi texture. For beginner producers, this lesson matters because it teaches a full DnB workflow: make a sound, make it sit with drums and bass, and shape it for arrangement. That is the difference between a cool synth patch and something that actually works in a track.
The mixing angle is key here. A hoover stab is often bright, wide, and aggressive, which means it can clash with snares, hats, reese bass, and vocal chops if you do not manage its spectrum. We will keep the sound punchy, a bit dirty, and very “rave memory,” while staying practical for modern DnB 🖤
What You Will Build
You will build a short, oldskool-inspired hoover stab that sounds:
- wide but controlled
- slightly detuned and nasal in the midrange
- gritty, with VHS-style color
- punchy enough to cut over a 174 BPM DnB groove
- easy to place as a one-shot, offbeat stab, or filtered accent in a drop
- a 16-bar intro as a teased motif
- a drop as a response to the snare
- a breakdown as a tension riser with automation
- a switch-up section for darker rollers or jungle-inspired breaks
- Making the stab too bassy
- Using too much unison width
- Overdoing reverb
- Leaving harsh frequencies unchecked
- Making it too smooth
- Not testing it against drums
- Overcomplicating the MIDI
- Layer a very quiet noise attack under the stab using Operator or the synth’s noise source. This can add bite without making the sound bigger in the low end.
- Use Utility to narrow the stab in the intro, then widen it slightly for the drop. That contrast makes the section feel more powerful.
- Try a gentle Auto Pan on the return track only, not on the main stab, for a slow VHS wobble.
- For neuro or darker bass music vibes, lightly distort the midrange and keep the sub completely separate. Heavy music sounds bigger when each layer has a job.
- If the stab fights the snare, carve a small dip around the snare crack area instead of turning the whole sound down.
- Send a small amount to a short room reverb or slap delay, then high-pass the return. This gives space without washing the mix.
- In a roller, use the stab sparingly as punctuation. Too many hits can flatten the groove; one well-placed hit every 2 bars often feels heavier.
- If you want more menace, lower the note choice by a few semitones and shorten the release. Darkness often comes from restraint, not size.
- kick and snare
- one break loop
- a simple sub or reese
- Build the hoover from a simple saw-style synth with a fast, short envelope.
- Shape it with filter movement, saturation, and subtle lo-fi texture.
- Keep it out of the sub range and focused in the midrange.
- Use it as a DnB arrangement tool: call-and-response, tension, and hooks.
- Test it with drums and bass early, then automate for energy and resample for flexibility.
By the end, you’ll have a stab that can work in:
This is not a lush trance lead. It is a rough, functional DnB hook with attitude.
Step-by-Step Walkthrough
1. Create a clean starting point and set the track context
Open a new MIDI track in Ableton Live and load Operator or Wavetable. For beginners, Operator is the simplest route because it is stable, direct, and easy to control. Set your project around 170–174 BPM if you want the sound to feel like classic DnB.
Before sound design, drop in a basic drum loop and a temporary sub or reese bass. This matters because the stab must work in context, not in isolation. Put the hoover on its own MIDI track and leave headroom on the master. A good starting target is to keep the master peaking around -6 dB while you build.
Why this works in DnB: DnB is arrangement-driven. The stab has to live alongside hard drums and low-end weight, so you want to hear immediately if the sound is fighting the kick, snare, or sub.
2. Build the basic synth shape with a detuned saw-style voice
In Operator, use Oscillator A as your main sound source. Set it to a saw waveform or a bright, harmonically rich starting shape. If you prefer Wavetable, choose a saw-heavy wavetable and keep it simple.
Suggested starting settings:
- Oscillator detune: subtle, around 5–15 cents if available
- Unison/voices: 3–6 voices for width
- Slight stereo spread, not extreme
- Amp envelope: fast attack, short decay, low sustain, short release
For a classic stab feel, the sound should hit fast and fade quickly. Try:
- Attack: 0–5 ms
- Decay: 200–500 ms
- Sustain: 0–20%
- Release: 60–150 ms
Keep the MIDI notes short at first, around 1/16 or 1/8 length. The sound should feel like a burst, not a pad. If it feels too smooth, reduce sustain and shorten decay.
3. Add the “hoover” movement with modulation and a little pitch attitude
The hoover character usually comes from motion, not just waveform choice. In Ableton, add a small amount of pitch or filter movement so the stab feels alive and slightly unruly.
A beginner-friendly approach:
- Add Auto Filter after the synth
- Use a low-pass or band-pass filter
- Set cutoff around 300 Hz to 2.5 kHz depending on brightness
- Add resonance around 10–25% for a bit of bite
- Use the filter envelope or automate cutoff by hand
If you are using Wavetable, you can also automate wavetable position slightly over the stab. If you are using Operator, try a tiny pitch envelope on the oscillator or use Frequency Shifter very subtly for unstable character.
Keep the movement obvious enough to hear, but not so extreme that the stab turns into a siren. In oldskool rave-inspired DnB, the charm is in the slight wobble and clash.
4. Shape the tone with saturation and midrange focus
Add Saturator after the synth and filter. This is where the sound starts to feel like it belongs in a track instead of a demo patch. Saturation gives the hoover presence, edge, and that “played through a hot mixer or old sampler” feel.
Suggested Saturator settings:
- Drive: 2 to 8 dB
- Soft Clip: On
- Output trimmed so the level stays controlled
- If needed, keep Dry/Wet around 50–80%
Then add EQ Eight to clean and focus the stab:
- High-pass around 120–200 Hz to stay out of the sub
- Cut mud around 250–500 Hz if it feels boxy
- Boost gently around 1.5–3 kHz if it needs cut
- Tame harshness around 4–7 kHz if the top gets sharp
Mixing note: the hoover should live mostly in the low-mid to upper-mid zone. Your sub owns the bottom, your kick owns the punch, and your stab owns the attitude. That separation is what keeps the DnB mix powerful instead of crowded.
5. Add VHS-rave color with simple lo-fi texture
The “VHS” part comes from subtle degradation, not trashing the sound. Use stock Ableton devices to add memory and grit in a controlled way.
Good stock chain ideas:
- Redux for gentle bit reduction
- Auto Filter with a moving cutoff for old sampler behavior
- Chorus-Ensemble for a slightly smeared stereo image
- Echo very quietly for trailing haze
Try Redux carefully:
- Downsample only a little
- Bit reduction low to moderate
- Keep it subtle; you want character, not broken audio
A practical chain order could be: Instrument → Auto Filter → Saturator → EQ Eight → Redux → Chorus-Ensemble.
If the sound gets too harsh, reduce the order of distortion and filtering rather than stacking more processing. The goal is a slightly worn, tape-tinted rave stab, not a lo-fi mess.
6. Make it sit in a DnB mix with drum and bass priorities
Now check the stab against your drums and bass. In DnB, the groove usually lives in the break and snare placement, while the bass carries drive and weight. The stab should support that energy, not compete with it.
Use these practical mixing moves:
- Keep the hoover below sub territory with a high-pass
- Check the track in mono using Utility on the stab bus
- Pull the volume down until it sits behind the snare, then bring it up only as needed
- If it masks the snare crack, cut a small dip around 2–4 kHz
- If it makes hats feel painful, reduce 6–8 kHz or soften with Saturator drive reduction
A useful beginner rule: if the stab feels huge solo but disappears in the mix, that is normal. Bring it back with midrange clarity, not just volume. In DnB, the best hooks often live by being aggressive in the right frequency zone, not by being loud everywhere.
7. Write a musical pattern that works in real DnB arrangement
Now place the stab in a way that feels like a track, not a loop. A very effective DnB pattern is call-and-response with the snare. For example:
- Bar 1: stab hits on the “and” of 2
- Bar 2: silence or a filtered tail
- Bar 3: repeat with a variation
- Bar 4: a higher note or a shorter hit before the drop reset
Try a 2-bar motif in a minor key. Keep the MIDI simple:
- use 1–3 notes max
- move the last note up by 2 or 3 semitones for tension
- leave gaps so the breaks breathe
Musical context example: In a darker roller, the hoover can answer the snare every second bar while the bassline stays constant. In a jungle-inflected track, you can use the stab as a call after a break fill, then mute it before the next drum phrase lands.
This arrangement approach works because DnB thrives on contrast: heavy drums, empty space, then a sharp hook. The stab becomes part of the groove logic, not a random lead.
8. Automate for energy, not chaos
Automation is where the sound becomes exciting across a full section. Keep it simple and musical.
Good beginner automations:
- Filter cutoff opening over 8 or 16 bars
- Resonance increase before a drop
- Saturator Drive rising slightly in the last 2 bars
- Reverb send increasing only on the final hit
- Stereo width narrowing in the intro, widening at the drop
If you use Reverb, keep it short and controlled:
- Decay: 0.6 to 1.5 seconds
- Pre-delay: 10–30 ms
- Low cut inside the reverb to keep low-end clean
For a VHS-rave feel, automate a little more filter movement and a touch more grit in the build, then strip it back when the drop arrives. That contrast makes the drop feel bigger without needing more layers.
9. Resample if you want a more authentic rave texture
When the patch is working, resample a few hits to audio. In Ableton, solo the hoover and record it into a new audio track, or freeze and flatten if you want to commit. This is useful because audio gives you more control for chopping, reversing, and placing tiny accents.
Once resampled, try:
- Reverse one hit before a snare
- Slice the stab into shorter pieces
- Add a tiny fade on the tail
- Pitch one copy down a few semitones for a darker answer
Resampling is a classic DnB workflow because it helps you turn one synth sound into several arrangement tools. A single hoover stab can become a hook, a fill, and a transition element.
Common Mistakes
Fix: high-pass it. Let the sub handle the bottom.
Fix: reduce voice spread and check mono. Wide is good, but unstable low-mids are not.
Fix: shorten decay and lower the send. DnB needs punch and space.
Fix: use EQ Eight to tame 4–8 kHz if the stab hurts the ears.
Fix: add a little Saturator, slight filter movement, or small pitch instability.
Fix: always audition with kick, snare, break, and bass. Solo lies.
Fix: keep the phrase short. Oldskool energy often comes from a simple motif with strong placement.
Pro Tips for Darker / Heavier DnB
Mini Practice Exercise
Spend 10–20 minutes making three versions of the same hoover stab in Ableton Live:
1. Version A: clean and punchy
Use Operator, a short envelope, and only light EQ.
2. Version B: rave-worn
Add Saturator, Redux, and a little filter movement.
3. Version C: dark and heavy
Make it narrower, slightly lower in pitch, and more mid-focused.
Then place each version into a 2-bar DnB loop with:
Do a quick mono check and compare which version cuts best without getting harsh. Finally, automate the filter on one version across 8 bars and listen to how the energy changes.
Goal: by the end, you should be able to make one hoover stab that works as an intro tease, a drop accent, or a switch-up hit.
Recap
If you remember only one thing: in DnB, a hoover stab is not just a sound — it is a rhythm, a contrast, and a piece of mix space control.

