Main tutorial
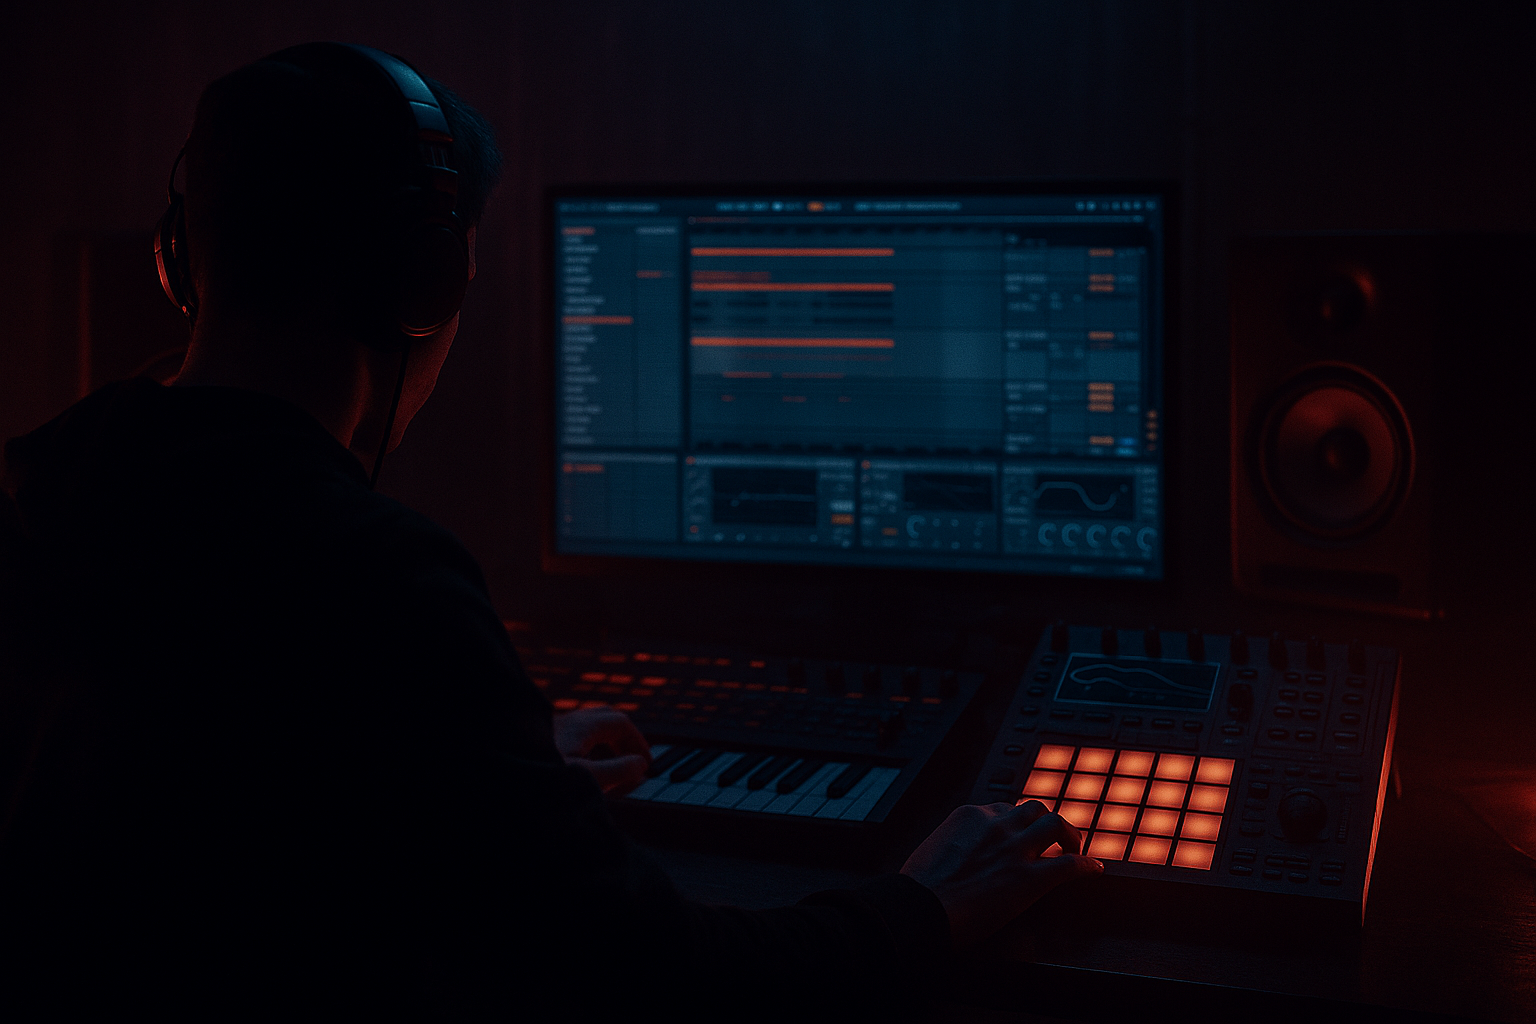
Designing Rave Stabs — Drum & Bass Sound Design in Ableton Live
Energetic, punchy, and gritty stabs are a huge part of classic rave / jungle / rolling DnB vocabulary. In this lesson (intermediate) we’ll build practical, Ableton-specific workflows and chains to design those stabs, arrange them into a loop, and make them sit powerfully in a 174 BPM mix. Expect concrete device chains, parameter values, automation ideas, and arrangement tips. Let’s get stompy. ⚡️
---
1. Lesson overview
What you’ll learn:
- Core synthesis approaches for rave stabs using Live’s stock devices (Wavetable / Operator / Simpler / Sampler).
- Practical device chains: transient hit, body, and air layers; saturation, filtering, and width tricks.
- How to map macros and use MIDI/Audio effects for rhythmic character.
- Arrangement ideas for classic jungle/DnB placement and variations.
- Transient click/noise (for attack)
- Mid / body saw-based stab (harmonic core)
- Air/texture layer (noise/pad or sampled vocal chop)
- Macro 1: “Filter Cutoff” – map Wavetable filter cutoff and Simpler filter cutoff (range -12 to +24 semitones of cutoff frequency mapping so you can sweep).
- Macro 2: “Decay” – map Body amp decay and Filter decay (values 50–400 ms).
- Macro 3: “Drive” – map Saturator Drive across Body and Transient.
- Macro 4: “Reverb Send” – map send to a Return track.
- Macro 5: “Stereo Width” – map Utility width in Transient and Body.
- Sidechain the stab bus lightly to the kick/snare with Compressor: Threshold -24 dB, Ratio 3:1, Attack 1–10 ms, Release 80–140 ms. This will duck the stab slightly when drums hit.
- Group the stab tracks (if you used separate tracks) and apply gentle bus compression and a small high-shelf boost at 6–10 kHz (+1.5–2 dB) for presence.
- Avoid below 120 Hz in stabs—let bass hold that area.
- Too much low-frequency information in stabs — they clash with bass. HPF under ~120 Hz is your friend.
- Over-long release times at 174 BPM — smears the transient and muddies percussion. Keep decay short (100–350 ms) for most stabs.
- Excessive stereo widening on the low/mid content — causes mono collapse on club systems. Widen only the high layer.
- Over-compression that kills attack — preserve 0–5 ms attack in the bus compressor so stabs remain punchy.
- Using too many effects at once — builds clutter. Start dry, then add one saturator and one time effect.
- Not layering — single-source stabs can sound thin. Use transient/body/air layers.
- Pitch everything down an octave for a darker vibe, then tune the top “air” layer up an octave to preserve clarity.
- Use aggressive saturation/bit crushing on a parallel bus:
- Use Frequency Shifter subtly on the transient layer (mix low) to add metallic edge and width.
- Map a Macro to shift the entire rack pitch in semitones (Macro Range ±12) to quickly test darker tonality; push a half-step tritone voicing for unsettling tension.
- Add Corpus (stock device) with “Metal Plate” or “Large Chamber” to introduce metallic resonances — increase Damping to taste.
- Use Multiband Dynamics: compress low-mids harder than highs to tighten the punch while leaving sheen free.
- For a more “jungly” feel, randomize note start times micro amounts (6–18 ms) to create off-grid swing.
- Rave stabs = transient + harmonic body + air layers. Stack, map macros, and use moderate filtering and saturation. ⚡️
- Keep decay tight (100–350 ms at 174 BPM), cut low-end under ~120 Hz, preserve attack via short attack times and careful compression.
- Use Auto Pan / Beat Repeat / Arp / Chord for rhythmic interest, and parallel saturation + Corpus for darker weight.
- Save your rack and experiment with voicings (sus2, minor7, quartal stacks) and off-grid placements for classic jungle swing.
Skill level: Intermediate — you should be comfortable with Ableton’s synths, routing, and basic envelopes.
---
2. What you will build
A versatile “Rave Stab Rack” (Instrument Rack) made of 3 stacked layers:
Plus return effects for reverb/delay and a macro-driven master chain (filter, drive, decay, width). Then we’ll sequence it in a 2-bar pattern typical for DnB at 174 BPM and add variation with MIDI effects.
You’ll end up with a preset usable across tracks — tight, energetic, and able to be darkened into heavy DnB.
---
3. Step-by-step walkthrough
A. Project setup
1. Set tempo to 174 BPM (typical rolling DnB).
2. Create a new MIDI track: rename to “Rave Stab Rack”.
3. Drop an empty Instrument Rack into the track.
B. Layer 1 — Transient (attack)
Goal: short click/edge to cut through the drums.
1. In Instrument Rack, create a chain named “Transient”.
2. Drop Simpler (Classic mode) into that chain.
3. Load a short click or white-noise sample (you can use a clap transient or white noise short shot). If none available, generate noise with Operator: one oscillator set to Noise, very short amp envelope.
4. Simpler settings:
- Start offset: trim to the sharpest transient
- Loop off, Warp off
- Filter: Lowpass 12 dB, cutoff 6–8 kHz to remove harshness
- ADSR (Sample tab): Attack 0–3 ms, Decay 70–140 ms, Sustain 0–12%, Release 30–80 ms
- Volume: -6 to -12 dB (blend later)
5. Add effects in chain (after Simpler):
- EQ Eight: High-pass at 250 Hz (shelve low) — stabs shouldn’t hold low energy
- Saturator: Drive 3–6 dB, Type “Soft Sine” or “Analog Clip” to add grit
- Utility (optional): Slightly boost width to taste (width 110–140%)
C. Layer 2 — Body (main harmonic stab) — Wavetable example
Goal: the harmonic character and chord voicings.
1. In Instrument Rack, create a chain named “Body”.
2. Drop Wavetable (Live Suite) into it.
3. Wavetable preset (starting point):
- Oscillator 1: Classic Saw (partial position low)
- Oscillator 2: Saw or Square, octave -12 or detune for thickness
- Unison: 2–4 voices, Detune 0.04–0.12 (watch phasing)
- Oscillator Mix: 60% Osc1 / 40% Osc2
4. Filter:
- Filter Type: Lowpass 24 dB (or MG Low)
- Cutoff: start ~1.2–1.8 kHz (depends on voicing)
- Resonance: 0.06–0.15
- Drive: 3–6 (gives warmth)
5. Envelopes:
- Amp Env: Attack 0–5 ms, Decay 140–320 ms, Sustain 0, Release 60–160 ms (short, punchy)
- Filter Env (Env 2): Amount 20–50%, Decay tuned to Amp Decay (e.g., 200–300 ms)
6. Voicing & pitch:
- For classic rave stabs, use spread voicings: play 3-note chords like 1 + 5 + b7 (minor 7), sus2, or stacked fourths.
- Try raising the top note an octave for a more screechy stab.
7. Add after Wavetable:
- EQ Eight: high-pass under 120 Hz, slight boost at 2–4 kHz for presence (+1.5 dB)
- Saturator: Drive 2–6 dB, Mode “Soft Sine” and Dry/Wet 60%
- Glue Compressor: Threshold -6 to -12 dB, Ratio 2:1–3:1, Attack 1–5 ms, Release auto — glue notes together.
D. Layer 3 — Air / Texture
Goal: shimmer, breath, and atmosphere (helps stabs feel massive).
1. Chain named “Air”.
2. Two options:
- Wavetable pad with high-passed noise and long-ish release (Attack 6–30 ms, Decay 400–900 ms).
- Or a sampled vocal or chopped stab in Simpler/Sampler pitched across keyboard.
3. Filter: High-pass at 1–2 kHz to keep only top end; add Chorus or Phaser lightly for stereo movement.
4. Reverb send heavy on this layer (we’ll use sends later), keep level low in mix so it’s airy not muddy.
E. Macro mapping and Instrument Rack polish
Map these to macros (click “Map”):
Label macros and set ranges sensibly. Save the rack as “Rave Stab Rack”.
F. Master track processing inside the track (after Instrument Rack)
1. EQ Eight: HP at 80–120 Hz to remove rumble.
2. Multiband Dynamics (optional): tame low mids or tame top-end transients.
3. Drum Buss: Distortion 15–30%, Boom minimal, Pitch -12–24% (subtle), Drive 3–6 dB. This is for character.
4. Glue Compressor (post): fast attack ~5 ms for punch, release 100–200 ms, ratio 2:1.
G. Create a pattern and MIDI effects
1. Create a 2-bar MIDI clip at 174 BPM.
2. Put stabs on beats: classic placements:
- Simple pattern (for rolling DnB): stabs on bar 1.2 (the “and” of 1) and bar 1.4; or stabs at 1.2 and 2.2 for call-and-response.
- For jungle vibe: off-grid placement, swing or nudge MIDI notes slightly earlier (~6–15 ms) for human feel.
3. On the track, insert MIDI effects before the Instrument Rack:
- Arpeggiator (optional): Sync rate 1/16 or 1/32 for fast motion
- Chord: quickly try adding +7, +10 for bigger harmony
- Random: set chance small (5–20%) to occasionally pitch notes for chaos
- Velocity: map to sample filter cutoff if you want dynamic filter response
4. For gated/stutter effects, use Auto Pan:
- Put Auto Pan after Rack set to Shape = Square, Phase 0°, Rate = 1/8 (sync), Amount = 40–60% to create a tremolo/gate in time with the beat.
5. For fills/stutters: use Beat Repeat on a return with Repeat Interval 1/32, Grid 1/32, Chance 30–60% for controlled stutter send.
H. Reverb / Delay send buses
1. Create Return A: Hybrid Reverb / Reverb
- Pre-Delay 12–40 ms
- Size small to medium for stabs (Decay 0.6–1.8 s)
- Low-cut reverb to around 800–1200 Hz so reverb doesn’t muddy low end
2. Create Return B: Ping Pong Delay
- Time synced to 1/8 or 1/16 dotted, Feedback 20–35%, Filter high-pass at 600 Hz
3. Use the Rack Macro “Reverb Send” to push Air layer more into the wet bus.
I. Final mixing tips
---
4. Common mistakes
---
5. Pro tips for darker/heavier DnB
- Duplicate the Instrument Rack, put Redux (bitcrush), Saturator (Drive 8–14 dB), and soft clip. Blend in 10–25% for heaviness.
---
6. Mini practice exercise (20–30 minutes) 🥁
Goal: Build one usable stab preset and a 2-bar DnB loop.
Steps:
1. Create a new MIDI track, load an Instrument Rack.
2. Build three chains: Transient (Simpler noise), Body (Wavetable saw), Air (Simpler vocal or high noise).
3. Set Body amp decay 200 ms, filter cutoff ~1.5 kHz, Env -> Filter amount 35%.
4. Map Macro 1 to Filter Cutoff, Macro 2 to Decay, Macro 3 to Drive.
5. Make a 2-bar clip at 174 BPM: program a minor 7 chord (C, E♭, B♭) hitting on the “and” of 1 and on 2.3 (experiment).
6. Add Auto Pan post-Rack set to Square at 1/8 to give sub-gated feel.
7. Send Air to a Return with Reverb (Decay 1.2 s, HP 800 Hz).
8. Duplicate the pattern and automate Filter Cutoff on bar 2 for motion.
9. Bounce a loop and compare A/B with and without parallel distortion. Save the Instrument Rack preset.
If you have time, repeat using Operator instead of Wavetable and compare results.
---
7. Recap
Go make stabs that cut through the break and rattle the subs. If you want, send me your Ableton Rack or MIDI clip and I’ll suggest specific tweaks for mix and arrangement. 👊🎛️

