Main tutorial
Lesson Overview
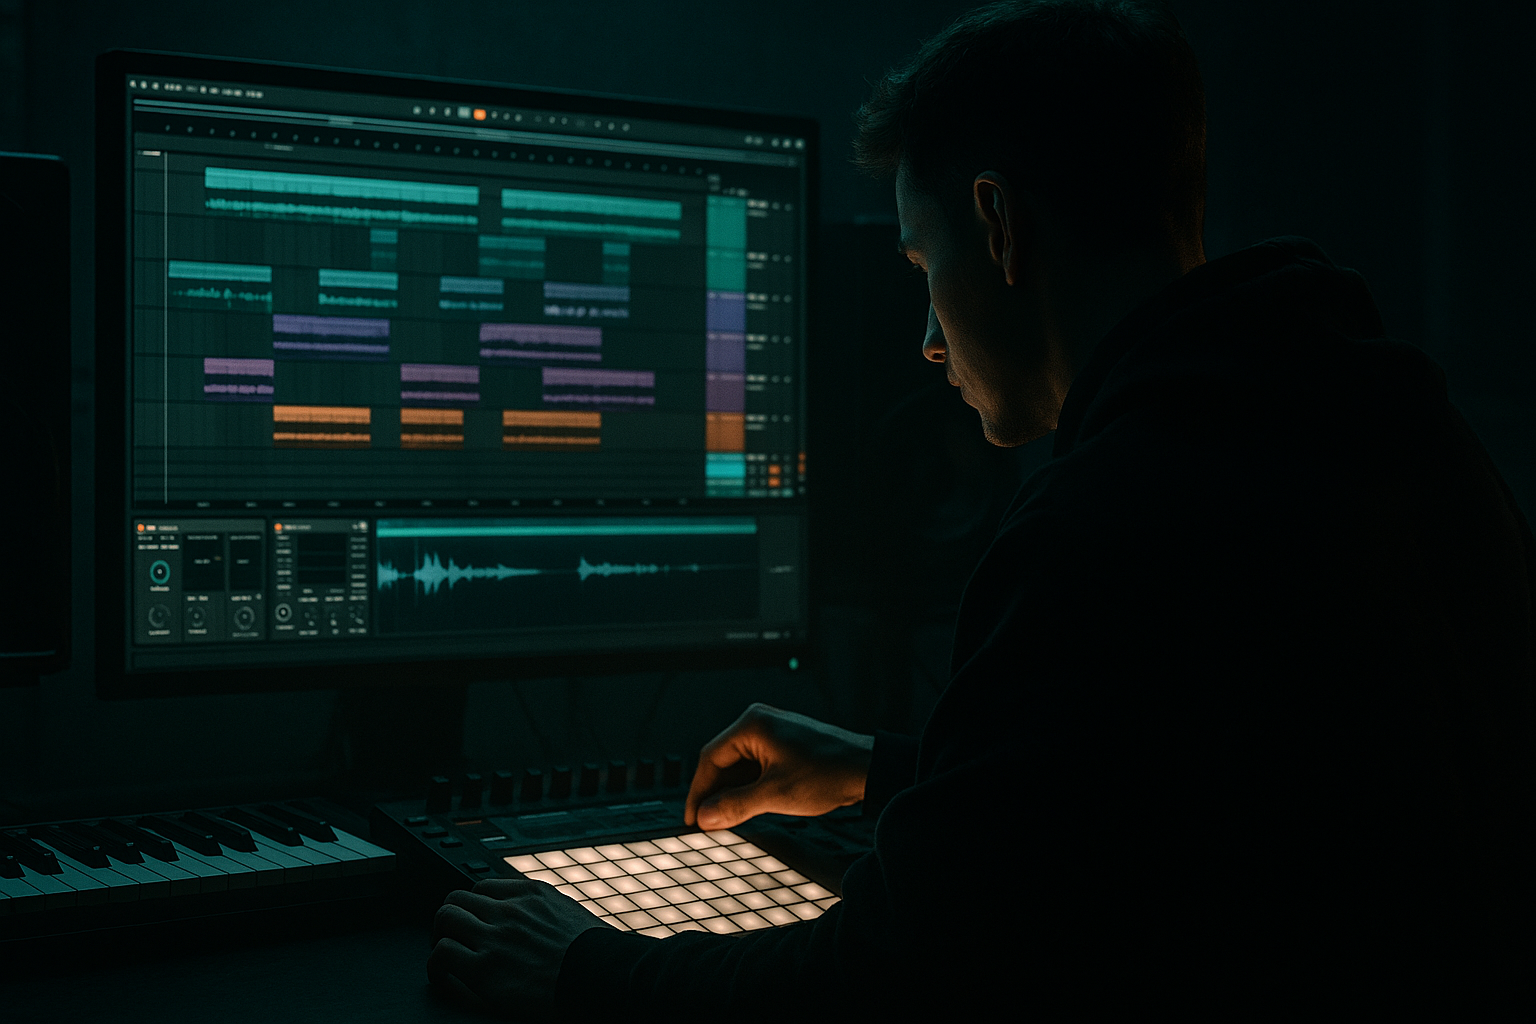
This lesson is about taking an Amen-style pad — a sustained, atmospheric layer built from the character of the Amen break — and pushing it into darker, more aggressive territory using distortion, swing, and careful rhythmic control inside Ableton Live 12. In DnB, this kind of sound sits between percussion, texture, and harmony: it can fill the intro, support a drop, or act as a DJ-tool transition layer that makes a mix feel alive without stealing focus from the drum programming.
Why this matters: in jungle, rollers, and heavier neuro-adjacent DnB, the difference between “just noisy ambience” and “pro-level movement” is often groove and modulation. A distorted Amen pad gives you the break’s DNA, but when you swing it properly and shape the transients, it becomes a useful DJ tool — something that can glue sections together, create tension before the drop, or give an outro that keeps the crowd moving while the track is being mixed out. The key is to preserve the recognisable Amen energy while pushing the pad into a controlled, mix-ready texture.
You’ll be working with stock Ableton devices, resampling mindset, groove timing, and arrangement discipline. The goal is not just a cool sound — it’s a sound that functions in an actual DnB arrangement. 🔥
What You Will Build
By the end, you’ll have a distorted Amen-style pad that feels like a hybrid of:
- a chopped jungle break ghosting inside a sustained drone
- a gritty midrange texture with rhythmic swing
- a stereo-controlled atmospheric layer that can open an intro, bridge a breakdown, or run under a DJ mix
- a version that can be automated into more distortion for a drop, then thinned out for transition sections
- Over-distorting the low end
- Making the pad too bright and fizzy
- Copying the main break groove too literally
- Letting stereo width ruin mono compatibility
- Using one static filter setting for the whole track
- Forgetting the role of the pad in the mix
- Put an Auto Pan on the high-frequency layer only, set to very slow movement, and reduce phase if the swirl gets too obvious. This can create haunted motion without smearing the center image.
- Use Drum Buss on a parallel chain rather than the main pad if you want extra knock and crunch without destroying the original texture.
- Try Echo with short delay times and low feedback, then filter the repeats heavily. This makes a pad feel like it’s living in a tunnel or warehouse.
- Add a very subtle sidechain from the kick or the full drum bus using Compressor. Even 1–3 dB of ducking can create cleaner pocketing around the drums.
- For more neuro-adjacent tension, automate small EQ movements rather than huge filter sweeps. Tiny shifts in 1–2 kHz and 250–400 Hz can feel more menacing than obvious rises.
- If the pad needs more menace, resample through a second pass of Saturator + EQ instead of pushing one device harder. Multiple moderate stages often sound more controlled.
- For a serious roller vibe, keep the pad darker in the first 8 bars and only reveal upper harmonics right before the drop. Restraint creates impact.
- Use silent automation on a return track for reverb or echo sends so the pad can bloom only in selected transitions.
- 8 bars intro
- 8 bars pre-drop
- 8 bars drop
- whether the pad still leaves space for kick and sub
- whether the swing makes the groove feel human
- whether the distortion adds tension without turning into noise
- Build the pad from Amen source material, not random ambience.
- Use distortion in stages, with EQ control after each major tonal shift.
- Apply jungle swing through groove, micro-timing, and selective offsetting.
- Automate filters and width so the pad evolves across the arrangement.
- Keep the low end clean, the stereo field disciplined, and the function clear.
- Resample once it works so you can use it as a fast, reusable DJ tool in real DnB arrangements.
Musically, think of a 174 BPM tune where the intro starts with filtered atmos and a distant Amen pad pulsing on the off-grid, then the pad swells wider into the 16-bar pre-drop, and finally collapses into a tighter, mono-safe texture underneath the full drums and bass. The pad should feel “played” even though it’s built from one break source — like a living rhythmic wash rather than a loop pasted on top.
You’ll end with a chain you can reuse in rollers, dark jungle, halftime breakdowns, and DJ-friendly edits.
Step-by-Step Walkthrough
1. Prepare the Amen source and isolate the pad character
Start with a clean Amen break in an audio track. If you already have an Amen recording, trim it so the strongest hits are easy to work with. For this lesson, the easiest path is to create the pad from a looped slice of the Amen rather than from a fully open break.
In Ableton Live 12:
- Drop the Amen break into Simpler.
- Switch Simpler to Slice mode if you want to build a more controllable pad from selected hits, or keep it in Classic mode if you want a continuous looped texture.
- For a pad-like result, focus on the less transient parts of the break: ghost notes, hats, and tail noise.
- Filter the source first with Auto Filter:
- Low-pass around 3–8 kHz to tame bright snap
- High-pass around 120–250 Hz to leave room for sub and kick
- If you want more movement, duplicate the track and use one lane for the original break character and one for an atmospherically stretched version.
Advanced choice: resample a single bar of the break into a new audio clip, then consolidate. This gives you a custom source that feels less loop-like and more like a designed texture.
2. Turn the break into a pad-like texture using warping and envelope shaping
Load the audio into a fresh audio track and warp it to the project tempo. Since this is DnB, 174 BPM is the sweet spot, but the technique works anywhere in the 170–176 range.
Use Ableton’s Warp mode strategically:
- For a smeared, pad-like texture, try Complex Pro
- Reduce transient sharpness by increasing Grain Size slightly if needed
- If the source gets too artificial, shorten the warp markers and preserve only the rhythmic feel, not every transient
Then shape the clip:
- Add a fade-in of 50–200 ms to remove clicks
- Use clip gain to keep the pad 6–10 dB under the drums in the initial design phase
- If the source is too busy, loop a 1/2-bar or 1-bar region and let the repetition become the groove
The aim here is to create a “breathing bed” that still hints at the Amen’s syncopation. This matters in DnB because the break’s identity is often the groove fingerprint — you don’t need every transient, just enough to imply the original break while giving the pad space to distort later.
3. Add controlled distortion and saturation in stages
Don’t slam one distortion device and call it done. In DnB, better results usually come from layered gain staging and tone stages.
Build a device chain like this:
- Saturator
- Pedal or Roar
- EQ Eight
- optional Drum Buss
Suggested settings:
- Saturator: Drive 2–8 dB, Soft Clip ON, Output trimmed to keep level stable
- Pedal: experiment with Distortion or Amp-style colour, Drive around 10–35%, Tone kept mid-forward
- Drum Buss: Drive 5–20, Crunch subtle, Transients reduced if the pad is too spiky
- EQ Eight after distortion:
- cut mud around 200–400 Hz if the pad clouds the mix
- tame harshness around 2.5–5 kHz if the distortion gets brittle
- high-pass 100–180 Hz depending on how much low-mid weight you need
If you want a dirtier jungle character, drive the midrange harder and then use EQ to carve it back into shape. If you want a more modern neuro-leaning edge, keep the distortion tighter and use band-limited saturation so the pad feels focused rather than fuzzy.
Why this works in DnB: the Amen break already carries strong transient identity. Distortion exaggerates its rhythmic texture, but if you manage the frequency bands carefully, you keep the groove readable while adding aggression and density.
4. Create jungle swing with groove, micro-timing, and clip manipulation
This is where the pad stops sounding static. Apply swing like a drummer would, not like a random delay.
In Ableton Live:
- Use Groove Pool and audition classic swing percentages
- Start with a groove around 54–58% if you want a subtle shuffle
- Push up to 60–62% for more obvious jungle drag, especially on offbeat hat-rich material
- Apply groove lightly to the pad track rather than the whole session so the drums can remain punchy and precise
For additional movement:
- Nudge selected slices forward or backward by 5–15 ms
- Delay some ghost-note accents manually while leaving the main hits on-grid
- Use velocity variation if the source is MIDI-triggered via Simpler slices
- If using a MIDI rack, vary note lengths between short stabs and long holds to keep the pad breathing
A useful approach is to let the pad sit slightly behind the main drums. That creates the classic jungle pocket: the drums land hard, while the texture trails them just enough to feel swampy and human.
Advanced note: if the track already has a swung break pattern, your pad should not mirror it exactly. Offset it enough to create internal contrast. Matching swing too closely can make the arrangement feel flat.
5. Shape the movement with modulation and filtering
Use modulation to make the pad evolve across a phrase. The best DnB textures don’t sit at one intensity level for long.
Add Auto Filter or filter movement inside Instrument/Audio Rack chains:
- Low-pass filter cutoff between 400 Hz and 6 kHz depending on section
- Resonance modest, around 10–25%, unless you want a sharper resonant sweep
- Map cutoff to an LFO-style modulation source if using Max for Live tools, or automate the cutoff manually across bars
Stock Ableton movement options:
- Auto Filter envelope follower for dynamic response
- Chorus-Ensemble for width and phase shimmer, but keep depth moderate
- Phaser-Flanger for industrial motion, used subtly
- Echo with short delays and low feedback to create rhythmic haze
A strong workflow is to automate the filter opening in the 8-bar lead-up to the drop:
- bars 1–4: low-pass around 700–1.5 kHz, darker and more hidden
- bars 5–8: open toward 3–6 kHz, distortion becomes more audible
- final bar: momentary peak in cutoff or resonance to create lift
For darker rollers, keep the filter motion slow and heavy. For jungle intros, make it more obvious and unstable. The pad should feel like it’s pushing against the mix, not just filling dead air.
6. Tighten the low end and stereo field so it works in a real DnB mix
An Amen-style pad can easily wreck low-end clarity if you’re not disciplined. In DnB, the kick and sub need to remain dominant and stable.
Do this:
- High-pass the pad aggressively if needed: 120–250 Hz is a common working range
- Check the pad in mono
- Use Utility to narrow the width below the mids if the sound gets too phasey
- If the distortion creates unwanted low-mid bloom, cut 180–300 Hz with EQ Eight before the bus compression stage
Suggested stereo strategy:
- Keep the pad wider above 500 Hz
- Keep the low-mids more centred
- If needed, split the sound into two chains using Audio Effect Rack:
- Chain 1: low-mid body, narrower and cleaner
- Chain 2: high texture, wider and more effected
Use Compressor or Glue Compressor gently on the pad bus:
- Ratio 2:1 to 4:1
- Attack 10–30 ms
- Release 80–200 ms or Auto
- Aim for only a few dB of gain reduction
This keeps the pad from jumping out unpredictably once the full drums arrive. In a DnB context, the texture should support the kick/snare engine, not compete with it.
7. Design it as a DJ tool with arrangement logic
Since this is category: DJ Tools, think like a mixing engineer and selector. The pad should have practical intro/outro functionality.
Use it in one of these roles:
- Intro atmosphere: start filtered and narrow, then gradually expose the rhythm
- Pre-drop tension bed: automate distortion and filter opening over 8 or 16 bars
- Breakdown bridge: remove the kick/sub and let the pad carry the Amen DNA into the next section
- Outro tool: strip away the bass and drums, leaving the pad as a DJ-friendly atmospheric bed
A strong arrangement example:
- Bars 1–8: filtered pad only, with light delay and low distortion
- Bars 9–16: add rim/ghost percussion, slightly more swing, pad opens up
- Bars 17–24: full drum intro approaches, pad ducks slightly with sidechain
- Drop: pad becomes a dark bed under the main drums and bass, then fades or filters out
- Outro: return to wider version, maybe with long Echo feedback to help a mix transition
For a DJ tool, keep transitions clean. Automate a final 1–2 bar filter down or reverb tail so the sound can be mixed into another tune without cluttering the low end.
8. Finish with resampling and versioning for speed
Once the chain works, resample the result to audio. This is essential in advanced DnB workflows because it lets you commit to a vibe and move faster.
Do this:
- Freeze/Flatten or resample the pad output
- Keep a dry-ish version and a fully cooked version
- Name versions clearly: “AmenPad_DarkWide,” “AmenPad_IntroMono,” “AmenPad_DropGrime”
- If you need fills, duplicate 1-bar variations and automate one extra distortion spike or reverse tail
Resampling helps because it turns a complex chain into a playable object. You can then use the audio clip like a DJ tool: reverse it, chop it, stretch it, or automate it into risers and transition hits.
Common Mistakes
Fix: high-pass before heavy distortion or split the signal into bands. Keep sub responsibilities elsewhere.
Fix: use EQ Eight to cut harshness around 3–5 kHz and reduce Pedal/Saturator drive. Jungle grit should feel weighty, not brittle.
Fix: offset the pad’s swing or micro-timing so it complements the drum pattern instead of cloning it.
Fix: check Utility in mono and reduce width below the mids. Wider is not always better in DnB.
Fix: automate cutoff and resonance across the arrangement. DnB needs tension curves, not static loops.
Fix: decide whether it is an intro tool, transition layer, or drop texture. Design accordingly.
Pro Tips for Darker / Heavier DnB
Mini Practice Exercise
Spend 15 minutes building two versions of the same Amen-style pad:
1. Version A: “Intro Tool”
- Keep it filtered, narrow, and lightly distorted
- Make it DJ-friendly
- Automate a slow 8-bar opening
2. Version B: “Drop Texture”
- Increase saturation and midrange presence
- Tighten the stereo image below 500 Hz
- Add slightly stronger swing and a touch of sidechain
Then place both versions into a simple 16-bar DnB arrangement:
Listen for:
Bounce both and compare them in mono. Choose the version that holds character while staying mixable.

