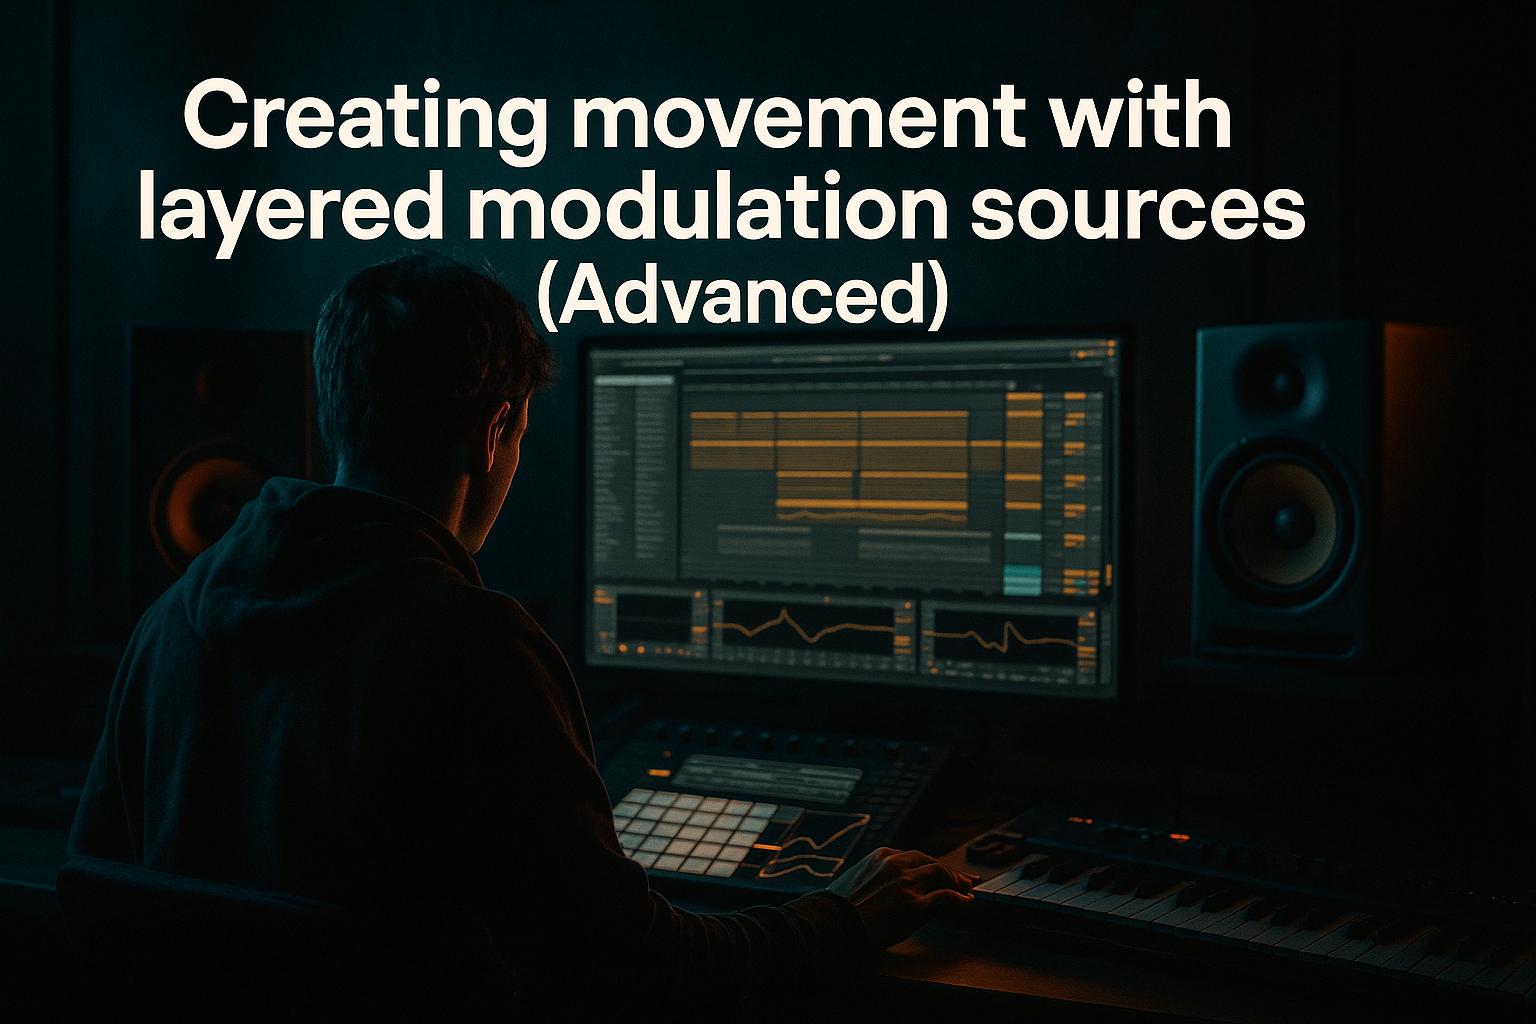
DNB COLLEGE

Drum & Bass Ableton Live 12 Tutorials

LESSON DETAIL

Distorted bass stability: for pirate-radio energy (Beginner)

An AI-generated beginner Ableton lesson focused on Distorted bass stability: for pirate-radio energy in the Basslines area of drum and bass production.

Back to lessons
Distorted bass stability: for pirate-radio energy (Beginner) cover image

Narrated lesson audio

The voice track includes the tutorial plus extra teacher commentary.

Open audio file

Main tutorial

Distorted Bass Stability (Pirate-Radio Energy) — Ableton Live (Beginner) 📻🔊

Category: Basslines | Drum & Bass / Jungle

---

1. Lesson overview

Distorted bass in DnB is supposed to feel wild… but it still has to be stable: consistent loudness, controlled low-end, and predictable tone when you hit different notes. This lesson shows you how to get that pirate-radio “signal overload” energy without your mix collapsing.

You’ll learn how to:

  • Build a two-layer bass (clean sub + distorted mid) that translates on any system
  • Control distortion so it doesn’t jump in volume from note to note
  • Lock the bass to the groove using sidechain + saturation discipline
  • Make it feel like a rolling jungle/DnB system (tight subs, rude mids)
  • ---

    2. What you will build

    A classic DnB “stable distorted roller” bass rack:

  • Sub layer: clean sine/triangle holding the weight (mono, consistent)
  • Mid layer: gritty distortion + filtering for “pirate transmitter” character
  • Glue/control: compression, limiting, and sidechain to the kick
  • End result: a bassline that feels heavy and distorted, but doesn’t wobble in level or distort the sub unpredictably.

    ---

    3. Step-by-step walkthrough

    Step 0 — Set the session like DnB

    1. Set tempo: 174 BPM (170–176 is common).

    2. Drop in a basic drum loop (or build one):

    - Kick on 1 and (sometimes) the “and” of 2

    - Snare on 2 and 4

    3. Keep drums peaking around -6 dB on the Drum Bus to leave headroom.

    ---

    Step 1 — Create the bass MIDI and keep it simple 🎛️

    1. Create a MIDI track → name it `BASS`.

    2. Add a MIDI clip (start with 2 bars).

    3. Write a classic rolling pattern:

    - Notes: F1–G1–Ab1 (or any dark key like F / F# / G)

    - Rhythm idea: 1/8 notes with a few gaps to breathe

    - Keep most notes the same length (e.g. ~1/8), so distortion reacts consistently.

    Beginner stability rule: fewer note-length variations = more predictable distortion.

    ---

    Step 2 — Split into SUB and MID (this is the stability cheat code) ✅

    Option A (clean and simple): two tracks

    1. Duplicate the BASS track:

    - `BASS SUB`

    - `BASS MID`

    Option B: one track with an Audio Effect Rack (advanced-ish, but neat)

    Use a Rack with two chains: SUB + MID. (I’ll explain with the two-track method—easier to see.)

    ---

    Step 3 — Build the SUB (clean, mono, controlled) 🧱

    On `BASS SUB`:

    1. Add Operator (stock Ableton instrument).

    2. Settings:

    - Oscillator A: Sine (or Triangle if you want a hair more harmonics)

    - Voices: 1

    3. Amp Envelope:

    - Attack: 0–5 ms

    - Decay: 0

    - Sustain: -inf / 0 depending on your taste (typically sustain full)

    - Release: 50–120 ms (don’t click; don’t smear)

    4. Add EQ Eight:

    - Low-pass around 90–120 Hz (24 dB/oct if needed)

    - Optional tiny dip around 200–300 Hz if it boxes up

    5. Add Utility:

    - Bass Mono ON (or Width = 0%)

    - Gain: adjust so sub feels solid but not dominating

    Goal: sub should be boring but unstoppable.

    ---

    Step 4 — Build the MID (distortion + control) 🔥

    On `BASS MID`:

    #### 4A) Start with a harmonically friendly source

    1. Add Wavetable (or Operator with a saw/square).

    - If Wavetable:

    - Osc 1: Basic Shapes

    - Position: closer to saw (brighter) or square (hollower)

    - Filter in Wavetable: gentle low-pass to avoid fizz overload

    2. Add EQ Eight (first in chain):

    - High-pass at ~120 Hz (24 dB/oct)

    - This keeps distortion from wrecking your sub space.

    #### 4B) Add distortion in a “stable” order

    A good beginner chain:

    1. Saturator

    - Mode: Analog Clip

    - Drive: 3–8 dB

    - Soft Clip: ON

    - Output: reduce to keep similar loudness when toggling on/off

    2. Overdrive (for rude mids)

    - Freq: 700–1200 Hz

    - Drive: 20–45%

    - Tone: mid to bright

    - Dry/Wet: 30–60% (don’t go 100% instantly)

    3. Auto Filter (to “tune” the aggression)

    - Filter type: Low-pass 12 or 24 dB

    - Cutoff: 1–4 kHz depending on how fizzy it is

    - Resonance: low (0.5–1.5) unless you want a whistle edge

    4. Glue Compressor (stability clamp)

    - Attack: 3 ms

    - Release: Auto

    - Ratio: 4:1

    - Aim for 1–3 dB gain reduction on peaks

    - Makeup OFF (adjust output manually)

    5. Limiter (final safety)

    - Ceiling: -0.5 to -1.0 dB

    - Use only to catch spikes, not to squash everything

    Why this works: you’re generating harmonics, shaping them, then controlling peaks so the bass doesn’t “jump” depending on note or velocity.

    ---

    Step 5 — Add “pirate-radio” movement without losing stability 📡

    We want energy, not chaos.

    #### Add subtle amplitude consistency

    On BOTH `BASS SUB` and `BASS MID`:

  • Use MIDI velocity fairly consistent (or set notes around similar velocities).
  • If your bass changes level wildly, reduce distortion drive and rely more on compression.
  • #### Add controlled modulation (MID only)

    1. Add Auto Filter (if you don’t already have one):

    - Map Cutoff to a Macro (or just automate it)

    2. Automation idea (DnB friendly):

    - Bar 1: slightly closed (darker)

    - Bar 2: open a bit more (hype)

    3. Keep modulation subtle: small cutoff moves read as “radio tuning” without wrecking balance.

    ---

    Step 6 — Sidechain to the kick (the bounce + clarity step) 🥊

    On each bass track (or on a Bass Group), add Compressor:

  • Sidechain: ON
  • Input: your Kick track
  • Ratio: 4:1
  • Attack: 1–10 ms (slower attack = more punch; faster = cleaner)
  • Release: 80–160 ms (tune to groove)
  • Threshold: aim for 2–6 dB reduction when kick hits
  • DnB feel tip: set release so the bass swells back right after the kick—this creates that rolling push.

    ---

    Step 7 — Group and balance like a pro 🎚️

    1. Select `BASS SUB` + `BASS MID` → Group them (`Cmd/Ctrl+G`).

    2. On the Bass Group:

    - EQ Eight:

    - Check overall balance

    - If muddy, try a gentle dip around 250–400 Hz

    - Glue Compressor (optional):

    - Very light, 1–2 dB GR

    - Utility:

    - Keep low end mono (again): Width slightly reduced if needed

    Mix target:

  • Sub should be felt; mid should be heard.
  • If you hear “farting” or unstable pumping, your mid layer probably has too much low content or distortion is overdriven.
  • ---

    Step 8 — Arrangement ideas (pirate energy in a DnB context) 🧨

    Try this simple 32-bar structure:

  • Bars 1–8 (Intro):
  • - Sub only + filtered breaks

    - Mid layer muted or heavily filtered (tease it)

  • Bars 9–16 (Build):
  • - Bring in mid layer quietly

    - Automate filter opening + add a short riser

  • Bars 17–32 (Drop):
  • - Full bass (sub + mid)

    - Every 4 bars: quick “radio choke” moment

    - automate MID filter cutoff down for 1 beat, then snap back 🎚️

    This creates that “transmitter struggling but powerful” vibe.

    ---

    4. Common mistakes ❌

    1. Distorting the sub layer

    - Makes low-end inconsistent and eats headroom fast. Keep sub clean.

    2. No high-pass before distortion on the MID

    - Distortion reacts to low frequencies and causes random level jumps.

    3. Too much distortion, not enough control

    - If it sounds cool solo but collapses with drums, you need less drive + more controlled compression.

    4. Over-wide bass

    - Stereo low-end = weak club translation. Keep sub mono.

    5. Sidechain too extreme

    - If bass disappears, lower threshold or use shorter release.

    ---

    5. Pro tips for darker/heavier DnB 🖤

  • Use a darker key and lower register: F, F#, G around F1–G1 hits hard.
  • Add subtle noise texture (MID only):
  • - Wavetable noise or a tiny hi-passed noise layer adds “air” like old radio circuitry.

  • Saturator “waveshaper” for gnarlier tone:
  • - Try Saturator → Waveshaper mode with small drive. Keep output matched.

  • Make space for the snare crack:
  • - If your snare loses impact, notch the MID around 180–220 Hz or 2–4 kHz depending on snare tone.

  • Resampling for stability:
  • - Once it hits right, Freeze/Flatten the MID, then re-import as audio. You’ll get consistent playback and easier edits.

    ---

    6. Mini practice exercise 🧪

    Do this in 15–20 minutes:

    1. Create `BASS SUB` (Operator sine) and `BASS MID` (Wavetable saw-ish).

    2. Write a 2-bar rolling pattern using only 3 notes.

    3. On MID, insert:

    - EQ Eight (HP 120 Hz) → Saturator (Analog Clip, Drive 5 dB) → Overdrive (Freq 900 Hz, Drive 35%, Wet 45%) → Glue (2 dB GR)

    4. Sidechain both layers to the kick (2–6 dB GR).

    5. Automate MID filter cutoff:

    - Bar 1: slightly closed

    - Bar 2: slightly open

    6. Export a quick loop and listen on:

    - Headphones

    - Phone speaker (you should still hear the MID character)

    - If possible, a bassy system (sub should stay even)

    ---

    7. Recap ✅

  • Stable distorted DnB bass comes from splitting sub and mid, not from “one mega distortion plugin.”
  • Keep sub clean + mono, and high-pass the MID before distortion.
  • Use compression/limiting to stop distortion from causing random loudness jumps.
  • Add controlled filter automation for pirate-radio excitement without ruining the mix.
  • Sidechain locks it into that rolling bounce that defines jungle/DnB.

If you tell me your target vibe (e.g., Dillinja-style rude bass, modern neuro edge, or jungle dubplate warmth), I can suggest a tighter device chain and exact note pattern to match it.

Ask GPT about this lesson

Chat with the lesson tutor, get follow-up help, or use quick actions.

Bigup 👽 Ask me anything about this lesson and I’ll answer in context.

Narration script

Show spoken script
Welcome back. Today we’re going for distorted bass that feels like pirate radio: overloaded, rude, and hyped… but still stable. Because in drum and bass, the bass can be wild, but it can’t be random. If the level jumps every time you change notes, your whole mix starts doing that panicky “is something broken?” thing.

So the goal is simple: heavy distortion energy, predictable loudness, clean low end. And we’re doing it the beginner-friendly way in Ableton Live with stock devices.

First, set the vibe of the session.

Set your tempo to 174 BPM. Anywhere from 170 to 176 is home territory, but 174 is a sweet spot for this lesson.

Now get some drums in. You can drop in a basic loop or quickly build one. Classic setup: kick on 1, snare on 2 and 4. Add an extra kick sometimes on the “and” of 2 if you want that extra push. And here’s an underrated beginner win: keep your drums peaking around minus 6 dB on your drum bus. That headroom is going to save you later, especially once distortion starts multiplying loudness.

Now let’s write the bass MIDI, and we’re keeping it intentionally simple.

Create a MIDI track and name it BASS. Make a two-bar MIDI clip. Write a rolling pattern with mostly eighth notes, but leave a few gaps so it breathes. For pitch, pick three notes in a dark zone: F1, G1, and Ab1 is a classic set. You can do other keys, but keep it down there around F1 to G1 for that weight.

Here’s the stability rule that people learn the hard way: the more you vary note lengths and velocities, the more your distortion reacts differently every hit. So for now, keep the notes mostly the same length, roughly an eighth note, and keep velocities fairly consistent. We can add swagger later after we’ve got control.

Now we do the cheat code. We split the bass into sub and mid.

Duplicate that BASS track twice, or duplicate it once and keep both copies. Name one BASS SUB and the other BASS MID. Same MIDI on both. This is the entire concept of stable distorted bass: the sub stays clean and boring, and the mid does the nasty stuff. If you distort your sub, you might get cool sound for five seconds… and then your low end turns into a wobbly mess that eats headroom and collapses on real speakers.

Let’s build the sub.

On BASS SUB, load Operator. Set Oscillator A to a sine wave. If you want just a tiny bit more tone, you can use triangle, but sine is the most reliable for stability.

Set voices to 1. For the amp envelope: attack basically zero, like 0 to 5 milliseconds. Release somewhere around 50 to 120 milliseconds. You want it to stop cleanly without clicking, and without smearing into the next note.

Now add EQ Eight. Put a low-pass around 90 to 120 Hz. If you want it extra clean, use a steeper slope. The idea is: the sub track does not need upper harmonics. It is pure weight.

Then add Utility. Make it mono. Either turn on Bass Mono or set width to 0 percent. Adjust the gain so it feels solid but not like it’s taking over the entire track.

A good mental target: the sub should be boring but unstoppable. If it sounds “exciting” on its own, it’s probably too bright.

Now let’s build the mid layer, where the pirate-radio attitude lives.

On BASS MID, load Wavetable. Choose Basic Shapes and move the position toward saw if you want brighter aggression, or toward square if you want a hollower, throatier tone. Don’t overthink it. We’re going to shape it with distortion and filters anyway.

Before we distort anything, we do the most important stability move on the MID: high-pass before distortion.

Add EQ Eight first in the chain. High-pass at around 120 Hz with a fairly steep slope, like 24 dB per octave. This stops the distortion from reacting to low frequencies and creating those note-to-note loudness jumps. This one step alone solves a huge chunk of “why is my bass inconsistent?” problems.

Now we build the distortion chain in a stable order: generate harmonics, shape them, then clamp peaks.

First, add Saturator. Set it to Analog Clip. Turn Soft Clip on. Drive somewhere around 3 to 8 dB. Now pause for a really important teacher moment: gain staging. Every time you add distortion, match the output loudness. Toggle the device on and off, and adjust the output so it’s roughly the same volume either way. Otherwise you’ll think “wow it’s better” when it’s just louder, and your compressors later will start behaving differently and you won’t know why.

Next, add Overdrive for that rude midrange bite. Set the frequency somewhere around 700 to 1200 Hz. Start at like 900. Drive around 20 to 45 percent, and keep Dry/Wet around 30 to 60 percent. Don’t slam it to 100 percent right away. We’re building a bass that sits in a mix, not a bass that wins a loudness contest in solo.

Now add Auto Filter after distortion to tune the aggression. Use a low-pass filter, either 12 or 24 dB. Set the cutoff somewhere in the 1 to 4 kHz range depending on how fizzy it is. Keep resonance low unless you deliberately want a whistle edge. This filter is your “radio tuning” control. Close it a bit for darker pirate warmth, open it for hype.

Now add Glue Compressor. Ratio 4 to 1. Attack around 3 milliseconds. Release on Auto. Aim for about 1 to 3 dB of gain reduction on peaks. Makeup off, and set output manually.

Then add a Limiter at the end just as a safety net. Ceiling minus 0.5 to minus 1 dB. And use it to catch spikes, not to flatten the whole sound. If you’re doing like 6 dB of limiting here, something earlier in the chain is too wild.

Quick extra stability fix that beginners love: distortion can recreate low end, even if you high-passed before it. So if the MID starts getting muddy again, add another EQ Eight at the very end of the MID chain and high-pass again around 120 to 160 Hz. Gentle slope is fine. This stops the MID from fighting your SUB.

Now, let’s make it feel like pirate radio without losing control.

On the MID, we’ll do subtle filter movement. If you already have Auto Filter, great. If not, add one. Automate the cutoff over two bars: bar one slightly more closed, bar two slightly more open. Keep the movement small. Small moves read like “tuning a transmitter.” Big moves read like “my bass is changing into a different instrument every bar,” and that usually wrecks stability.

Also, keep MIDI velocities consistent for now. If your bass feels like it’s randomly changing level, the fix usually isn’t “more limiter.” It’s reducing drive, reducing note-to-note tonal differences, and then adding bite back with EQ after distortion, like a gentle boost around 1 to 2 kHz instead of more drive.

Now we lock it to the groove with sidechain. This is where it starts rolling.

Add a Compressor on BASS SUB and BASS MID, or put one compressor on a Bass Group later. Turn on Sidechain, select your Kick as the input.

Set ratio to 4 to 1. Attack between 1 and 10 milliseconds. Faster attack is cleaner; slower attack lets a tiny bit of bass poke through and can feel punchier. Release between 80 and 160 milliseconds. And set the threshold so you’re getting around 2 to 6 dB of gain reduction when the kick hits.

Here’s the feel tip: don’t duck the sub and mid equally. Duck the SUB a little less, just enough to make room for the kick. Duck the MID a bit more so the punch stays clean and the bass “talks” around the drums instead of smearing on top of them. If both layers duck hard, the entire track breathes too obviously.

Now group and balance.

Select BASS SUB and BASS MID and group them. On the Bass Group, add Spectrum. Yes, even as a beginner, you’re going to meter like a grown-up.

What you want to see: the sub should show a clean fundamental hump, often somewhere around 40 to 60 Hz depending on the note. The mid should mostly live above about 150 Hz, with energy and character up there, not a giant low-frequency mountain. If you see the MID stacking up below 120, you’re practically guaranteeing instability.

On the Bass Group, you can add EQ Eight and do a gentle dip around 250 to 400 Hz if it’s muddy. And if you want a nice final glue without pumping, try a Saturator on the group with Soft Clip on and just 1 to 3 dB of drive. That can shave spikes in a musical way and make it feel louder without chaos.

Now do a quick phase alignment check. Put Utility on the SUB, and try inverting phase left or right while the loop plays. Choose the setting that gives you the most solid low end. If one option makes the bass noticeably hollow, you had cancellation between sub and mid. This is a fast, practical test.

Now we do the stability check that catches problems immediately: same note, same loudness.

Make a one-bar clip of repeated eighth notes on F1. Loop it. Listen, and look at the bass group level. Then change that clip to G1. Then Ab1. If the level changes a lot between notes, don’t try to “fix” it by smashing a limiter. Fix the source.

What to adjust?
On the MID synth, reduce filter keytracking if the tone gets brighter as notes go up. Also reduce extreme filter envelope behavior if you’re using it. And consider adding a gentle compressor before distortion on the MID: ratio 2 to 1 or 3 to 1, fast-ish attack, medium release, just 1 to 2 dB of reduction. That little bit of leveling stops distortion from reacting wildly to different notes.

Now, arrangement. Let’s turn this into pirate-radio energy in a DnB context.

Try a simple 32-bar idea. Bars 1 to 8: sub only, filtered drums, and tease the mid by muting it or low-passing it hard. Bars 9 to 16: bring in the mid quietly and automate the filter opening. Bars 17 to 32: full bass, sub and mid together.

And every four or eight bars, do a quick “radio choke” moment: for one beat, automate the MID filter cutoff down, like someone grabbed the transmitter, then snap it back. That tiny moment creates a hook without rewriting the bassline.

Here’s a drop impact trick: on the first hit of the drop, let the MID hit alone for an eighth or a quarter bar, then bring the SUB in immediately after. That micro-delay makes the sub arrival feel massive.

If you want the bass to translate to phones and laptops, add a controlled noise layer.

Create a separate track called BASS AIR. Use noise from Operator or Wavetable, or a noise sample. High-pass it at 2 to 4 kHz, saturate lightly, and blend it so you barely hear it on small speakers. You don’t want obvious hiss. You want the illusion that the bass has “air” and circuitry around it.

Before we wrap, a few common mistakes to avoid.

Don’t distort the sub. Don’t skip the high-pass before distortion on the mid. Don’t crank drive without matching output level. Don’t make the bass super wide in the low end; keep the sub mono. And don’t overdo sidechain until the bass disappears; DnB bounce is about timing, not absence.

Now your mini practice, quick and focused.

Build SUB with Operator sine, MID with Wavetable saw-ish. Write a two-bar pattern with only three notes. On MID: EQ Eight high-pass at 120, Saturator Analog Clip about 5 dB drive with soft clip, Overdrive around 900 Hz, about 35 percent drive, around 45 percent wet, then Glue for about 2 dB gain reduction. Sidechain both layers to the kick, but slightly less on sub, slightly more on mid. Automate the MID filter so bar two is a little brighter than bar one. Export a short loop and listen on headphones and your phone speaker. You should still hear the MID character on the phone, and on a bassy system the sub should stay even.

If you want to go one level further for real-world stability, once the MID is sounding right, freeze and flatten it, or resample to audio. That locks in the sound and makes it easier to edit and mix.

That’s it: pirate-radio distortion energy, but stable. Clean sub carrying the weight, high-passed mid doing the filth, controlled with compression and a safety limiter, and sidechained so it rolls with the drums.

If you tell me what reference you’re chasing—classic jungle roller warmth, Dillinja-style rude mids, foghorn-ish heaviness, or neuro edge—I can suggest exact crossover points, a tighter distortion pairing, and a note pattern that lands right in that lane.

mickeybeam

Go to drumbasscd.com for +100 drum and bass YouTube channels all in one place - tune in!

Generating PDF preview…