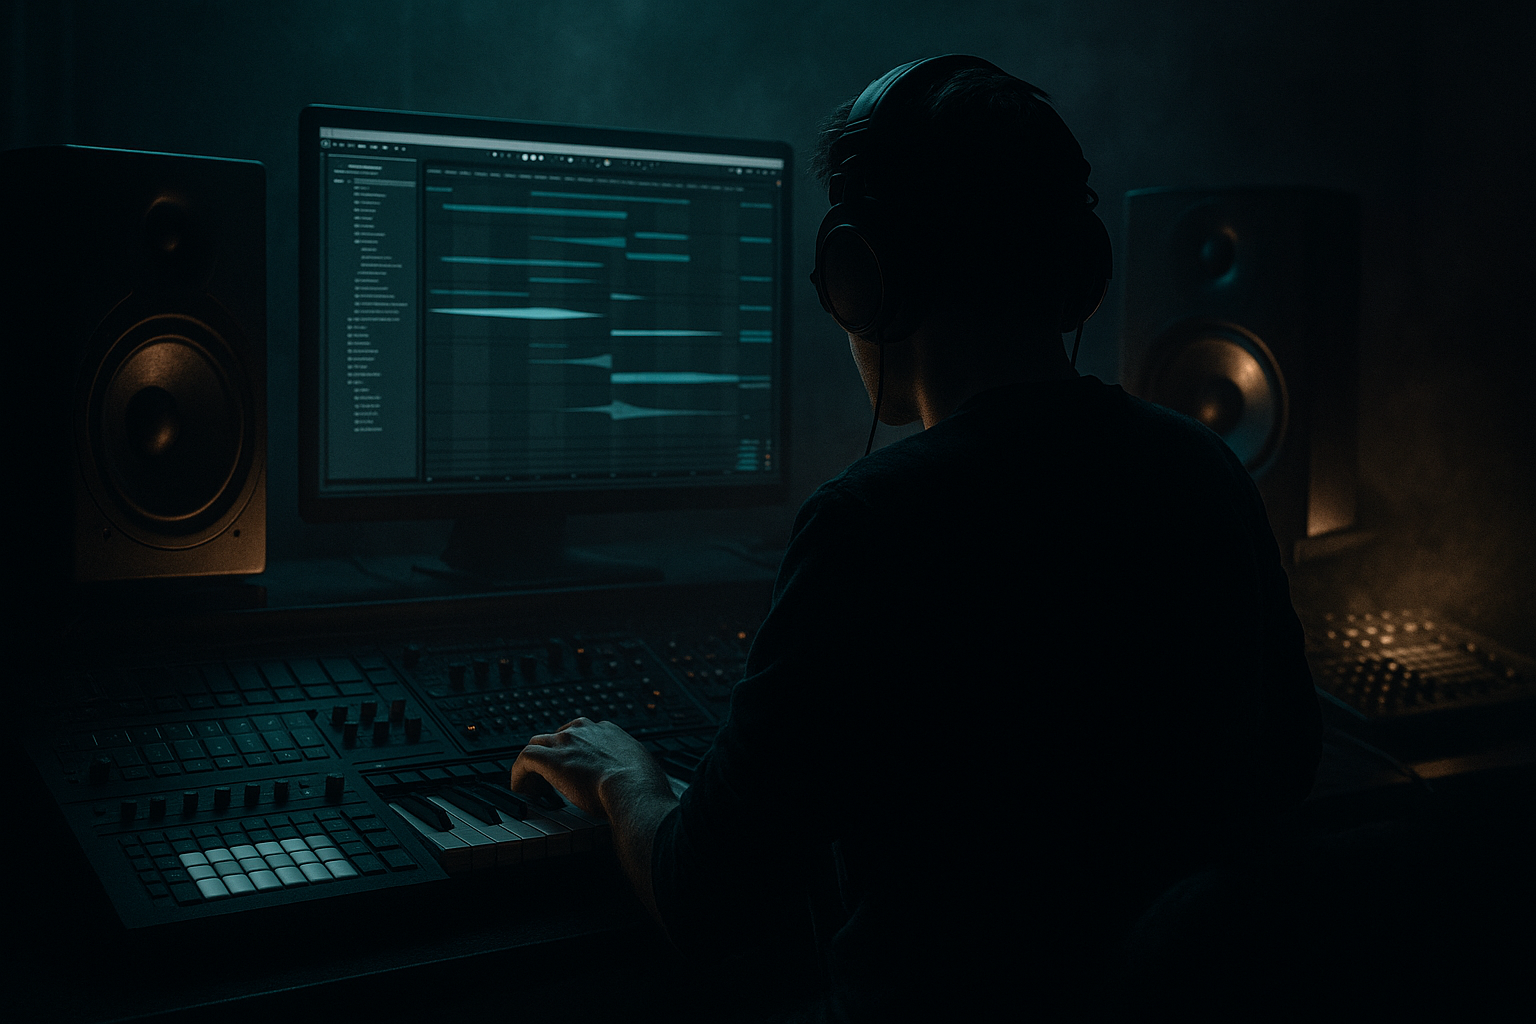
Main tutorial
Distorted Bass Stability From Scratch (Ableton Live 12 Stock Only) 🔥
Skill level: Intermediate
Category: Basslines (Drum & Bass / Jungle / Rolling)
---
1) Lesson overview
Distorted bass in DnB is supposed to feel aggressive—but it still has to be stable, meaning:
- Consistent sub weight (even when distortion gets wild)
- Controlled dynamics (no random spikes, no disappearing notes)
- Predictable tone across the pattern (so it “rolls” instead of flapping around)
- Mix-ready mono sub + wide mid (club translation)
- Sub layer (clean + mono + consistent)
- Mid layer (distorted + moving + wide-ish)
- Bass bus (glue + sidechain + final control)
- Algorithm: A only (single oscillator)
- Oscillator A:
- Envelope (Amp):
- Osc 1: choose a harmonically rich table
- Osc 2: Off (start simple)
- Unison: 2 voices, Amount low (avoid pitch smear)
- Filter: MS2 / PRD style (any character filter works)
- Amp envelope:
- Pre-EQ shapes what distortion reacts to (less randomness).
- Post-filter removes harsh instability.
- Compression/limiting pins the result into a stable lane.
- Sidechain: On
- Input: your Kick (and optionally a second compressor for Snare)
- Settings (starting point):
- Bars 1–4: Bass MID filtered down (Auto Filter cutoff ~400–800 Hz), SUB full
- Bars 5–8: Open MID filter, add more Roar drive (+5–10%)
- Bar 9: Micro-break (1 beat gap) + bass re-entry
- Bars 9–16: Add variation:
- Parallel grit: Duplicate `BASS MID` → make one “cleaner mid” and one “filthy mid,” then blend. Use Utility gain staging so it doesn’t jump in level.
- Formant-ish bite with Auto Filter: Add a second Auto Filter in bandpass mode around 500–1.2k and automate cutoff slightly for “speech” tones.
- Resample for control: Once you like the mid tone, Resample it to audio. Then:
- Darkness without mud:
- Tighten the transient: If the bass feels late, shorten release and use Glue soft clip lightly—this makes it “speak” sooner.
- Stability comes from layering: clean mono sub + controlled distorted mid.
- Use pre-EQ → distortion (Roar) → post-filter → compression → limiter to stop random tone jumps.
- Mono the sub (Utility / Bass Mono) and sidechain the bass to kick/snare for DnB clarity.
- Arrange in 16 bars with small, intentional variations—keep the roller hypnotic.
In this lesson you’ll build a two-layer bass using only Live 12 stock devices and stock packs (no third-party synths, no plugins). You’ll end with a bass that can do modern rollers, techy neuro-ish grit, and jungle pressure.
---
2) What you will build
A stable distorted DnB bass with this architecture:
- Pure sine/triangle with controlled envelope
- Optional gentle saturation to help translation
- Wavetable/Operator into distortion/filtering
- Movement via LFO/Envelope without ruining fundamentals
- Controlled with compression, EQ, and limiting
- Sidechain from kick/snare (DnB-tight)
- Final EQ + soft clip/limit to keep it pinned
You’ll also build a simple 8–16 bar rolling arrangement that feels like real DnB.
---
3) Step-by-step walkthrough
Project setup (DnB-ready)
1. Tempo: 172–176 BPM (pick 174 BPM)
2. Groove pool: optional later—start straight for stability
3. Routing plan: create 3 MIDI tracks:
- `BASS SUB`
- `BASS MID`
- `BASS BUS` (Audio track or Group track receiving both)
Best practice: Group SUB + MID into a Group called `BASS` and do final processing on the Group.
---
Step A — Write a stable rolling bassline (MIDI first) 🎯
Use a classic DnB pattern that leaves space for kick/snare.
1. In a 1-bar loop, write notes like:
- Root note (e.g., F, F#, G—choose one for the tune)
- Rhythm idea (16ths with gaps):
- Hits on 1, 1e, 1a, 2&, 3, 3a, 4&
2. Keep most notes short (1/8 to 1/16), with one longer note occasionally for tension.
3. Velocity: keep consistent (around 90–110) at first—stability comes from consistency.
DnB tip: If your bass feels “late,” shorten note lengths rather than moving them early.
---
Step B — Build the SUB layer (clean, consistent, mono) 🧱
On `BASS SUB`, load Operator (stock).
Operator settings (simple, reliable sub):
- Wave: Sine (or Triangle for slightly more harmonics)
- Level: 0 dB (adjust later)
- Attack: 0.0–2.0 ms
- Decay: 150–250 ms (depends on pattern)
- Sustain: -inf (or very low) for punchy notes
- Release: 40–90 ms (avoid clicks but keep tight)
Add stability processing (SUB chain):
1. EQ Eight
- HP filter at 20–25 Hz (gentle, 12 dB/oct)
- Optional tiny dip if boxy: 200–300 Hz -2 dB (wide Q)
2. Saturator (very subtle)
- Drive: 1–3 dB
- Soft Clip: On
- Keep it subtle—this is about translation, not fuzz.
3. Utility
- Width: 0% (mono)
- Gain: adjust so SUB peaks are controlled (leave headroom)
✅ Result: a sub that stays exactly where you put it.
---
Step C — Build the MID layer (distorted grit + controlled movement) ⚙️
On `BASS MID`, use Wavetable (or Operator if you prefer). Wavetable tends to be faster for modern DnB mids.
Wavetable settings (starting point):
- Try: Basic Shapes (square-ish) or something growlier from stock tables
- Cutoff: start around 200–600 Hz
- Resonance: 10–20%
- Attack: 0–5 ms
- Decay: 200–400 ms
- Sustain: -inf (for stabby roll) or low for longer notes
- Release: 60–120 ms
Add controlled movement (without ruining stability):
1. Enable LFO 1 → map to Filter Cutoff
- Rate: 1/8 (sync) for rolling motion
- Amount: small (start 5–15%)
- Shape: sine/triangle (smooth = more stable)
2. Optional: LFO → Wavetable position very slightly for “talk”
- Keep it subtle; aggressive movement can destabilize perception of pitch.
---
Step D — Distortion chain that stays consistent (the core lesson) 😈
This is where most basses become unstable. We’ll build a chain that adds aggression while pinning level + tone.
MID device chain (in this order):
1. EQ Eight (pre-distortion “tightener”)
- HP @ 80–120 Hz (24 dB/oct) → keeps sub out of mid layer
- Gentle bell boost @ 700–1.5k +2 dB (optional) to excite distortion
2. Roar (Live 12 stock!)
- Mode: start with something musical (tube/drive style); if you go brutal, compensate later
- Drive: 10–25% to start
- Tone/Color: slightly dark (avoid fizz)
- Mix: 60–100% depending on how strong you want it
- If Roar has dynamics/feedback options visible: keep them conservative for stability.
3. Auto Filter (post-distortion tone control)
- LP 12 or 24 dB
- Cutoff: 2–6 kHz (tame harshness)
- Slight resonance for bite (5–15%)
4. Compressor (level stabilizer)
- Ratio: 3:1 to 5:1
- Attack: 10–30 ms (let transient through)
- Release: 60–120 ms (bounce musically)
- Aim for 3–6 dB gain reduction on peaks
5. Limiter (safety)
- Ceiling: -0.8 dB
- Don’t slam it; it’s a seatbelt.
Why this works:
---
Step E — Make SUB + MID feel like one instrument (Bass Group / Bus) 🚌
Group `BASS SUB` + `BASS MID` into a Group called `BASS`.
On the BASS Group, add:
1. EQ Eight
- Check low-end overlap:
- If muddy around 120–250 Hz, dip -2 to -4 dB, wide Q
- Optional shelf down above 8–10 kHz if fizzy
2. Glue Compressor (cohesion)
- Attack: 3–10 ms
- Release: Auto
- Ratio: 2:1
- Soft Clip: On
- Aim: 1–3 dB gain reduction
3. Utility
- Bass Mono: On (set around 120 Hz)
- Width: keep near 100% (don’t over-widen bass group)
---
Step F — Sidechain like real DnB (kick + snare discipline) 🥁
DnB bass stability is partly space management. Sidechain keeps your bass consistent by preventing random masking.
On the BASS Group (or just MID if you want the sub steadier), add Compressor:
- Ratio: 4:1
- Attack: 0.3–2 ms (fast)
- Release: 60–120 ms (tune to tempo)
- Threshold: adjust for 2–5 dB reduction on kick hits
Optional: add a second sidechain compressor for snare, but lighter (1–3 dB GR). This keeps the backbeat punching through.
---
Step G — Arrangement that sells the bass (8–16 bars) 🎛️
Make it feel like a roller, not a loop.
Example 16-bar plan:
- Change last 2 notes of the bassline
- Increase LFO rate for 1 bar (1/8 → 1/16) for energy
- Add a short “fill” note at the end of bar 16
DnB realism: Keep variation subtle—rollers thrive on hypnotic consistency with small tension moves.
---
4) Common mistakes 🚫
1. Distorting the sub (or not separating layers)
- Result: low-end becomes inconsistent and “flappy”
2. Too much unison / detune in the bass source
- Sounds wide but loses punch and pitch stability
3. Random LFO modulation depth
- If cutoff swings too far, the bass disappears every other note
4. No pre-EQ before distortion
- Distortion reacts unpredictably to resonances = unstable tone
5. Over-limiting the mid
- Makes it flat and harsh; the bass stops breathing in the groove
6. Stereo bass below 120 Hz
- Club systems and mono playback will punish it
---
5) Pro tips for darker/heavier DnB 🕶️
- Warp: Beats or Complex (try both)
- Slice/rearrange for fills
- Add Fade-ins to avoid clicks
- Low-pass the mid at 4–7 kHz (depends on distortion)
- Add aggression with 1–3 kHz presence, not 10 kHz fizz.
---
6) Mini practice exercise ✅
Goal: Build 3 versions of the same bassline with stable sub but different mid characters.
1. Keep `BASS SUB` identical.
2. Duplicate `BASS MID` three times:
- MID A (Roller Clean): mild Roar (10–15%), LP at 6–8k
- MID B (Dark Techy): more Roar (20–30%), LP at 3–5k, boost 1k a touch
- MID C (Aggro): Roar heavier + stronger compressor, but keep HP at 100 Hz
3. Level-match them:
- Use Utility and keep perceived loudness similar (avoid being fooled by “louder = better”).
4. Export a 16-bar loop and compare on:
- small speakers
- headphones
- mono (Utility width 0% on Master temporarily)
---
7) Recap 🎯
If you want, tell me your target sub note (e.g., F or G) and whether you’re going for roller, jump-up, or neuro-ish, and I’ll suggest a specific Wavetable choice + Roar mode + automation moves to match that vibe.

