Main tutorial
DJ-Friendly Arrangement for Doubles for Dark Rollers
1. Lesson overview
In this lesson, we’re focusing on a very specific advanced DnB arrangement skill: building a dark roller that DJs can comfortably double-drop, layer, and mix for longer phrases 🎛️
A lot of strong producers can write a heavy drop, but not all of them arrange in a way that works in the booth. If your tune is too crowded, too unpredictable, or too “full-spectrum” all the time, it becomes hard to double with another record. Dark rollers live or die on groove, restraint, and utility.
We’re going to build an arrangement in Ableton Live that is:
- DJ-friendly
- Double-drop compatible
- Dark, rolling, and spacious
- Designed for blendability with other DnB tunes
- Structured around clear 16-bar and 32-bar phrasing
- A clean DJ intro for beatmatching and phrasing
- A first drop that hits hard but leaves space for doubles
- A mid-drop variation that adds interest without ruining compatibility
- A breakdown / reset section that gives DJs a place to transition
- A second drop with controlled added energy
- A functional outro for clean mixing out
- Bars 1–17: DJ intro
- Bars 17–33: Build / pre-drop tension
- Bars 33–65: Drop 1
- Bars 65–81: Breakdown / switch section
- Bars 81–113: Drop 2
- Bars 113–129: DJ outro
- enough room for phrase-based mixing
- multiple entry points for doubles
- a predictable but powerful club format
- Tempo: `174 BPM`
- Time signature: `4/4`
- Global quantization: `1 Bar`
- In Arrangement View, turn on:
- Kick
- Snare
- Main Hats
- Top Percs
- Break Layer
- Drum FX
- Sub
- Mid Bass 1
- Mid Bass 2
- Bass FX / Reeses
- Pads
- Drones
- Texture Foley
- Stabs
- Riser / Downlifter
- Reference track
- Vox marker track
- Arrangement marker audio track
- Glue Compressor
- EQ Eight
- EQ Eight
- Saturator
- Compressor or Glue
- Limiter only for protection, not loudness
- Optional Spectrum for visual low-end management
- `1 - Intro`
- `17 - Build`
- `33 - Drop 1`
- `49 - Drop 1 Variation`
- `65 - Breakdown`
- `81 - Drop 2`
- `97 - Drop 2 Lift`
- `113 - Outro`
- 8 bars minimum
- usually 16 bars
- with subtle fills every 4 bars
- easy to beatmatch
- spectrally balanced
- not too busy
- useful when layered with another track
- full kick + snare pattern
- hats and a little top percussion
- subtle filtered bass texture or distant reese ghost
- atmospheres and vinyl/air texture
- main hook bass
- heavy lead stab
- dominant vocal phrase
- too much sub energy
- one bass teaser every 4 or 8 bars
- filtered FX riser
- a tiny fill before bar 17
- Use Auto Filter
- Add Utility
- Optional Reverb
- Main drum loop
- One ghosted break underneath at low volume
- Atmos loop high-passed above `300 Hz`
- Optional shaker loop tucked low
- High-pass around `150–250 Hz`
- Low-pass around `6–10 kHz` if it’s cluttering your hats
- sub space
- lead focus
- vocal dominance
- heavy
- stripped
- confident
- repetitive in a good way
- kick
- snare
- hats
- sub
- main mid bass
- one call-and-response texture
- sparse atmos
- kick/snare
- sub
- one main bass phrase
- reese tail
- stab hit
- percussion switch
- impact FX
- full vocal
- huge fills
- long cinematic effects
- wide stereo lead that fills the whole top end
- hat mute for half a bar
- snare fill into bar 41 or 49
- bass tail reverse
- one extra ghost kick
- short reese answer at the end of a phrase
- swap the mid-bass rhythm, keep sub pattern
- introduce a second bass texture for 4 bars only
- remove top hats for 2 bars, then bring them back
- add a jungle break layer slightly louder
- automate distortion or filter on bass tails
- add a cold stab or eerie pad shot on the turnaround
- changing the snare
- introducing an unrelated melodic lead
- suddenly filling every gap with FX
- rewriting the groove completely
- groove consistency
- low-end reliability
- DJ-readable structure
- Auto Pan
- Redux
- Corpus
- create tension
- lower density
- signal phrase change clearly
- prepare the second drop or a transition
- drums stripped to kick/snare or percussion-only loop
- filtered bass residue
- drones and atmos
- one vocal chop or spoken phrase
- uplifter and reverse textures
- sub removed or heavily reduced for part of the section
- automate Auto Filter low-pass from `5–8 kHz` down to `300–700 Hz`
- automate Utility Gain down by `2–4 dB`
- mute sub completely for a phrase
- use Beat Repeat very sparingly on a fill
- or print one resampled drum fill and place it before the re-drop
- full drums
- sub
- main bass
- one new energy layer
- extra hat loop
- more audible break layer
- second reese tucked behind main bass
- sharper snare ghosting
- stab response every 8 bars
- automate hats brighter using EQ Eight shelf above `8 kHz`
- increase break layer by `1–2 dB`
- add call-and-response bass answer in the second half
- add fills every 8 bars
- automate reverb send slightly on transition hits
- adding 4 new leads
- filling every quarter note with bass edits
- widening the low mids too much
- making the sub pattern too busy
- midrange density
- vocal presence
- stereo width
- transient count
- keep full drums
- simplify bass phrase
- reduce fills
- remove standout melodic content
- drums + light bass residue + atmos only
- no dominant hooks
- controlled sub or no sub in final bars
- usable in
- usable out
- consistent identity
- lead stab
- vocal
- signature FX
- Utility Gain
- optional Auto Filter low-pass closing
- dark rollers
- techy DnB
- stripped dancefloor steppers
- minimal jungle-influenced rollers
- Does your sub dominate too early?
- Are there too many vocal or lead moments?
- Is your snare too wide or too saturated to blend?
- Do phrase changes happen where a DJ expects?
- Does the tune offer any “safe” 16-bar windows?
- intro = utility
- drop 1 = groove
- breakdown = reset
- drop 2 = lift
- outro = utility
- top hats for half a phrase
- sub for 4 bars
- bass tails before a snare turnaround
- air beds
- industrial hum
- distant rave noise
- jungle room tone
- reversed foley
- Simpler
- Hybrid Reverb
- EQ Eight
- Auto Filter
- Utility
- tails
- ghost hits
- fills
- pre-snare FX
- bar 1: main phrase
- bar 2: answer with shorter stab
- bar 3: repeat
- bar 4: slight variation/fill
- solo drums + bass tail + FX
- resample 1-bar fill
- reverse part of it
- chop and place before bar 65 or 81
- reese movement
- minor 2nd / tritone tension
- pitch bends
- one-note stabs with filtered harmonics
- 1
- 17
- 33
- 49
- 65
- 81
- 97
- 113
- 1 kick
- 1 snare
- 1 hats loop
- 1 break layer
- 1 sub
- 1 main bass
- 1 texture loop
- 2 FX sounds
- 16-bar intro
- 32-bar drop
- 16-bar breakdown
- 32-bar second drop
- 16-bar outro
- Intro: no full sub phrase
- Drop 1: only essential bass groove
- Breakdown: remove sub for at least 4 bars
- Drop 2: add only one new energy layer
- Outro: remove hooks by final 8 bars
- Where does it clash?
- Where does it breathe?
- Which 16-bar sections are safest for a DJ?
- Use clear 16- and 32-bar phrases
- Build a functional intro and outro
- Keep Drop 1 stripped and blendable
- Add controlled variation, not chaos
- Use the breakdown as a reset tool
- Make Drop 2 bigger by contrast, not clutter
- Test the tune against other DnB tracks in Ableton
- a bar-by-bar arrangement template
- an Ableton session layout
- or a dark roller checklist for finishing tracks.
This is not about making your track simpler. It’s about making it more effective.
---
2. What you will build
You’ll build an advanced dark roller arrangement with:
Target structure
Here’s a very reliable structure for dark roller DnB at 174 BPM:
This gives you:
---
3. Step-by-step walkthrough
Step 1: Set the project up for arrangement decisions
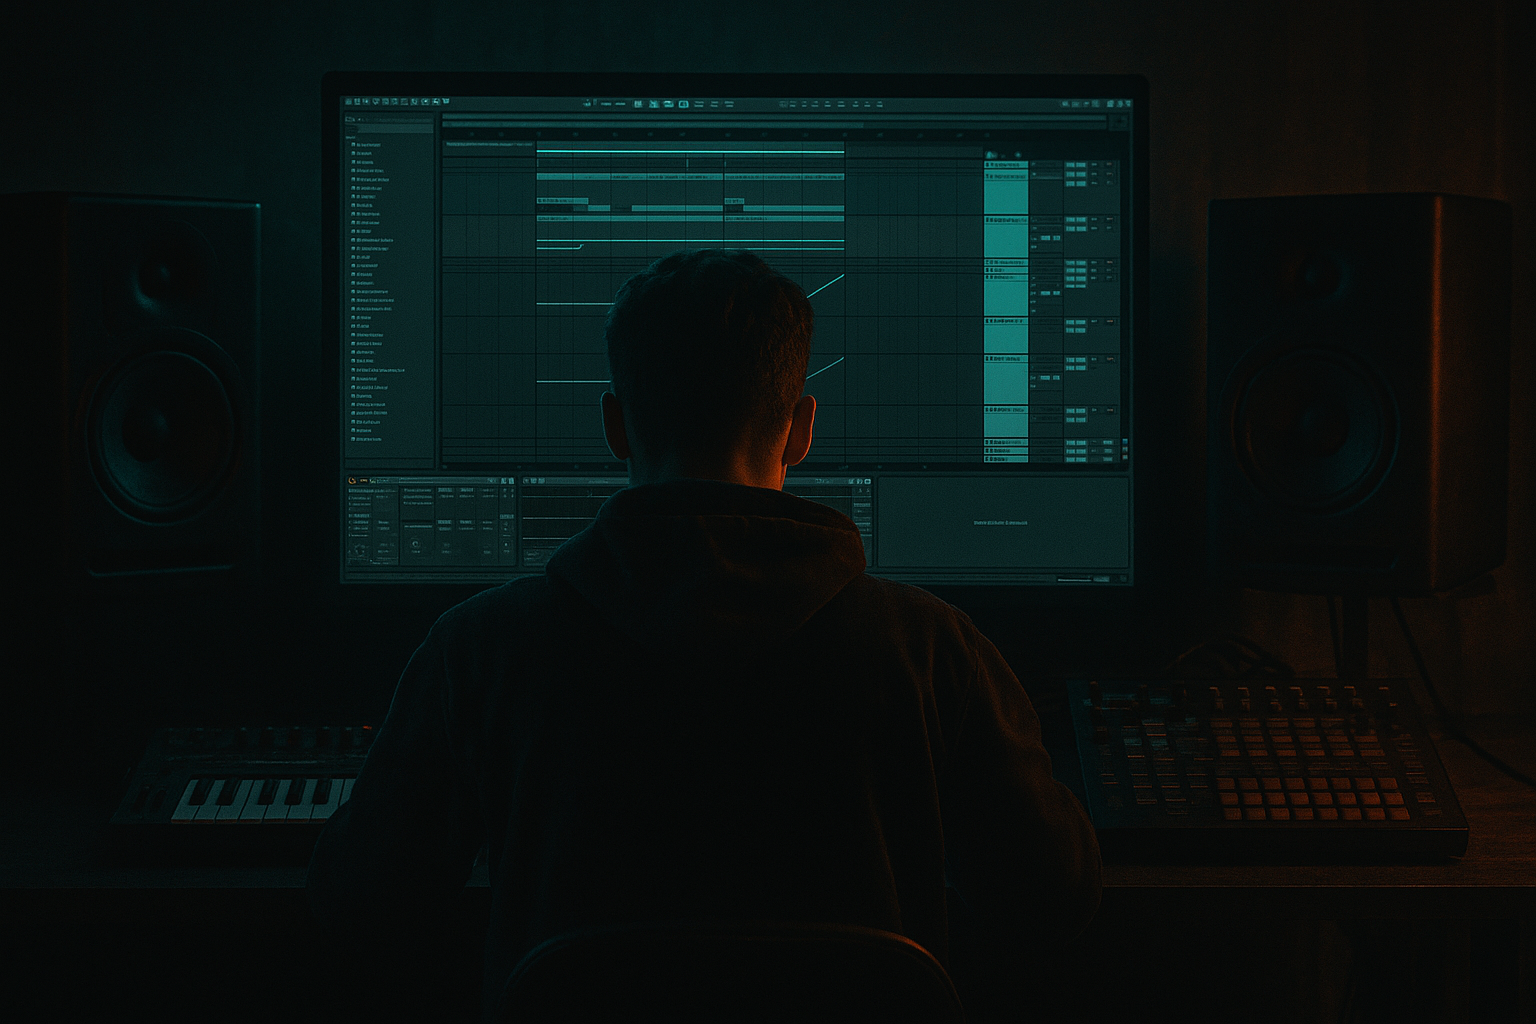
Before you even place clips, set your session up to make arrangement judgments easy.
Project settings
- Grid: Fixed Grid, `1 Bar`
- Then zoom in/out between `1 Bar` and `1/4` depending on edit detail
Track layout suggestion
Color-code and group your tracks like this:
Drums
Bass
Music / Atmos
Utility
Useful Ableton devices on groups
On your Drum Group:
- Attack: `3 ms`
- Release: `Auto`
- Ratio: `2:1`
- Gain reduction: around `1–2 dB`
- Small dip around harsh cymbal build-up if needed (`8–10 kHz`)
On your Bass Group:
- Keep sub lane clean below ~`100 Hz`
- Soft Clip on
- Drive: `1–3 dB`
- very light control only
On your Master while arranging:
---
Step 2: Create an arrangement marker system
Advanced arrangement gets easier when the timeline is labelled.
Use Locator markers in Arrangement View:
This helps you evaluate if the tune is readable in DJ phrases. In DnB, phrase clarity matters massively.
Rule for dark rollers
Try to make your major changes happen every:
That’s the sweet spot for DJ usability.
---
Step 3: Build the DJ intro properly
A DJ-friendly intro is not just “drums for a bit.” It needs to be:
Intro formula: 16 bars
For bars 1–17, try this:
#### Bars 1–9
Use:
Do not fully reveal:
#### Bars 9–17
Add:
This helps a DJ know the tune is moving toward a phrase transition.
Practical Ableton setup
On intro bass teaser:
- Filter type: Low-pass
- Frequency: start around `250–400 Hz`
- Automate open to `1–2 kHz` by the end of intro
- Width: `0–50%` for mono-safe teaser
- Short room
- Dry/Wet: `5–10%`
Drum intro layering idea
Use EQ Eight on the break layer:
This gives movement without crowding the mix.
Why this works for doubles
When another DJ tune is playing under or over your intro, this section won’t fight too hard for:
That’s the whole point.
---
Step 4: Design Drop 1 for blendability, not maximum density
This is where advanced producers often go wrong. They make Drop 1 so packed that it sounds impressive solo, but useless in a mix.
For dark rollers, Drop 1 should feel:
Bars 33–49: core groove
Use the essential elements only:
Arrangement rule
Ask yourself:
Can another tune sit over this for 16 bars without total chaos?
If not, strip something out.
Good Drop 1 density
Try this as a guide:
Always on
Intermittent
Rare
Practical bass chain example
For a dark rolling mid bass:
Mid Bass Track
1. EQ Eight
- HP around `80–120 Hz` if sub is separate
- small cut around muddy `250–400 Hz`
2. Saturator
- Analog Clip or Soft Sine flavor
- Drive: `2–5 dB`
3. Auto Filter
- automate frequency slightly for phrase movement
4. Compressor
- light control, `2:1`
5. Utility
- automate width narrower in denser sections
Sub chain
Sub Track
1. Operator or Wavetable
- pure sine or lightly harmonically enriched sine
2. EQ Eight
- low-pass around `80–120 Hz`
3. Utility
- Bass Mono on
- Width `0%`
4. Optional Saturator
- Drive `1–2 dB`
- keep it subtle
Phrase movement in Drop 1
Use micro-variation every 4 or 8 bars:
Keep the core loop recognizable.
---
Step 5: Build variation without killing the roller
Bars 49–65 should introduce variation, but not a whole new tune.
Strong variation ideas for dark rollers
Avoid this in variation
Ableton workflow tip
Duplicate the first 16 bars of the drop to make the second 16-bar phrase. Then edit the duplicate.
This is the best way to keep:
Variation automation examples
On bass variation layer:
- very subtle
- Amount: `10–20%`
- Rate: synced `1/4` or `1/8`
- Phase: `0°` if you want volume movement, not stereo drift
- very low amount for grit on selected fills
- tiny blend on stabs or metallic bass shots for industrial tone
Use these only on short moments, not the whole drop.
---
Step 6: Build a useful breakdown/reset section
After Drop 1, give DJs room.
Bars 65–81 are a critical reset area. This section should:
Effective reset ingredients
Great dark roller move
Let the sub disappear for 4–8 bars in the breakdown.
When it returns, the second drop feels much larger.
Practical breakdown device moves
On your bass group:
On drums:
Atmos chain
For eerie transition atmos:
1. Simpler with a found sound / drone
2. Auto Filter
3. Hybrid Reverb
- algorithmic or convolution
- long tail `3–8 sec`
4. Erosion
- tiny amount
5. EQ Eight
- carve lows below `150 Hz`
This can give you that hostile warehouse space without muddying the mix.
---
Step 7: Make Drop 2 feel bigger while staying mixable
Drop 2 should be more exciting, but still functional for DJs.
Bars 81–97: re-entry
Bring back:
Examples of “new energy layer”:
Bars 97–113: lift section
This is where you can push harder, but stay disciplined.
#### Good ways to increase energy
#### Bad ways
Doubles logic for Drop 2
If Drop 2 is busier than Drop 1, that’s fine. But keep one of these controlled:
You need at least one dimension to remain open so another tune can coexist.
---
Step 8: Build a real DJ outro
A lot of producers forget this. Don’t.
Bars 113–129 should help the next DJ blend out cleanly.
Outro structure
Start removing elements in layers:
#### Bars 113–121
#### Bars 121–129
Best practice
Make the outro feel like the intro’s cousin.
That gives the track a professional loop:
Helpful Ableton trick
Group your “hook” elements:
Automate the whole group down in the outro with:
This creates a tidy, natural mix-out zone.
---
Step 9: Check arrangement in DJ conditions
Now test the track like a DJ would.
In Ableton
Import 1–2 reference DnB tracks into audio tracks and warp them.
Choose references that sit in a similar world:
Test these scenarios
1. Your intro over another tune’s outro
2. Your Drop 1 doubled with another drop
3. Your breakdown mixed into another tune’s second phrase
4. Your outro under another intro
What to listen for
If the answer is no, revise the arrangement, not just the mix.
---
4. Common mistakes
1. Overwriting the drop
Too many bass edits, fills, impacts, and switch-ups.
Fix: Mute 20–30% of your drop layers and check if the groove improves.
2. No clean intro/outro
The tune starts with full cinematic content or ends abruptly.
Fix: Build dedicated 16-bar DJ utility sections.
3. Sub all the time
Constant sub pressure leaves no contrast and makes doubles hard.
Fix: pull sub out briefly in transitions and breakdowns.
4. Phrase confusion
Changes happen at weird bar lengths like 6, 10, or 12 bars for no reason.
Fix: lock major changes to 16-bar blocks, with 4- or 8-bar internal movement.
5. Too much stereo low-mid information
Wide reeses and pads around `120–400 Hz` can wreck blendability.
Fix: narrow low-mids using Utility or split bands with EQ decisions.
6. Every section tries to be the “main part”
No hierarchy, no restraint.
Fix: designate:
---
5. Pro tips for darker/heavier DnB
Tip 1: Let tension come from absence
Dark rollers often hit harder because of what they don’t play.
Try removing:
That negative space feels dangerous.
Tip 2: Use atmospheres as glue
Don’t leave dead air between drum and bass hits.
Use low-level:
Ableton tools:
Tip 3: Keep the snare relationship stable
In doubles, the snare is one of the first things to clash.
For dark rollers, don’t radically change your main snare tone every section. Instead vary:
Tip 4: Make the bass speak in phrases
Instead of random edits, make your bass answer itself every 2 or 4 bars.
Example:
That’s classic rolling logic.
Tip 5: Resample transitions
For dark/heavy DnB, resampled transitions sound more cohesive than stacking endless plugins live.
Try this:
This usually sounds more “record” and less “DAW.”
Tip 6: Use controlled harmonic ambiguity
Dark rollers often feel sinister because the tonal center is implied, not spelled out.
Use:
Avoid over-composing chords unless you’re deliberately going cinematic.
---
6. Mini practice exercise
Here’s a focused arrangement drill you can do in 30–45 minutes.
Exercise: Build a double-friendly roller skeleton
Step A: Set timeline markers
Create locators at:
Step B: Use only these elements
No extra leads. No vocals.
Step C: Arrange a full skeleton
Build:
Step D: Apply density rules
Step E: Double-test it
Drag in a reference roller and play your arrangement against it.
Ask:
That exercise will teach you more than endlessly tweaking one drop.
---
7. Recap
A strong dark roller arrangement is not just about sounding heavy on your speakers. It’s about being usable in the mix, especially for doubles.
Key takeaways
Golden rule
If you want your dark roller to get played in doubles, make it feel like a weapon and a tool 🔥
A tune that leaves room wins in the club.
If you want, I can also turn this into:

