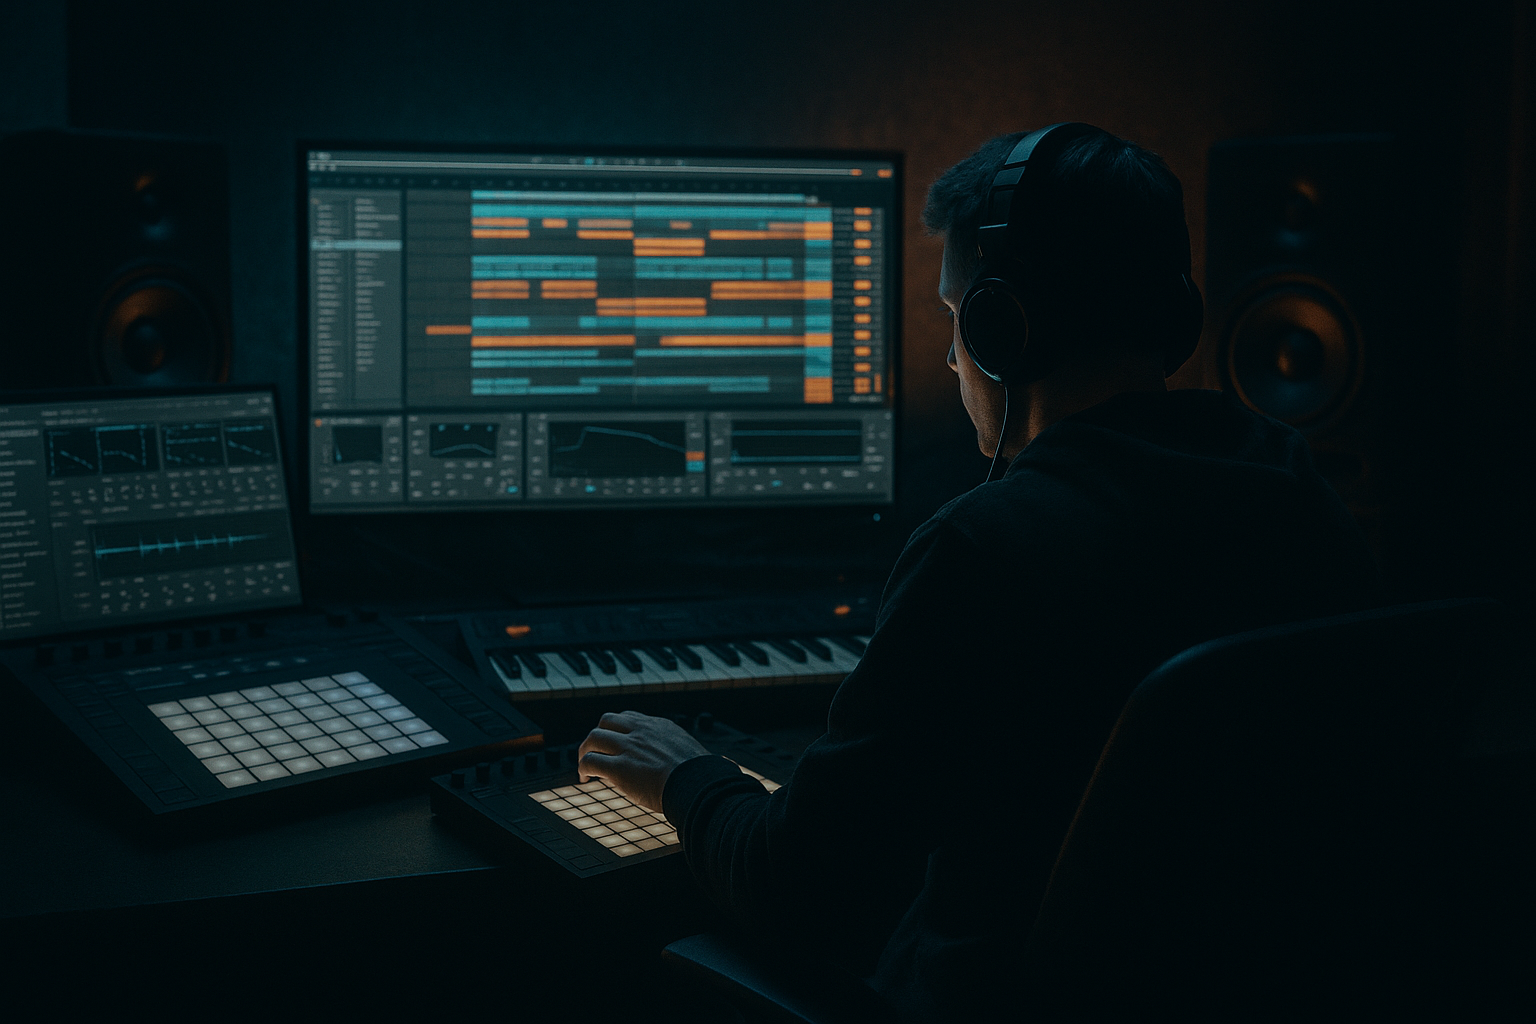
Main tutorial
```markdown
Downlifter Basics for Faster Workflow (DnB in Ableton Live) 🎛️⚡
1. Lesson overview
Downlifters are descending FX sweeps that help you transition into drops, fills, breakdowns, and switch-ups—a must in drum & bass where energy changes are fast and frequent. In this lesson you’ll build a reliable, repeatable downlifter chain using mostly Ableton stock devices, then turn it into a workflow template you can drop into any project in seconds.
You’ll learn:
- A 3-layer downlifter that works in most rolling/jungle contexts
- How to shape movement with pitch, filters, reverb, and noise
- A fast arrangement method for 1-bar and 2-bar transitions (classic DnB timing)
- A single macro-controlled rack you can reuse
- A downlifter that sits properly around 170–176 BPM and doesn’t fight your drums/bass 🔥
- Press `A` to show automation lanes.
- Automate Auto Filter Frequency down over the clip.
- Optionally automate Reverb Dry/Wet slightly up toward the end (e.g., 30% → 45%) for a more dramatic pull.
- Osc 1: Basic Shapes (sine/triangle region)
- Unison: 2–4 voices, Amount low (subtle)
- Filter: LP24, drive light
- In the MIDI clip, draw a sustained note (e.g., F2 or G2).
- Add pitch drop using Pitch Bend:
- Auto Filter:
- Saturator:
- Utility:
- Put the impact on the “and” before the drop (e.g., last 1/8 or 1/16)
- Bar 33: kick/snare pattern thins out (remove hats)
- Bar 33: downlifter starts
- Bar 34: drop hits, downlifter ends right on beat 1
- Bar 49–50: tone downlift + noise
- Automate “Darkness” to get progressively duller
- End with impact tail, then cut drums hard for the breakdown
- Half-bar downlifter + impact
- Use a sharper resonance and shorter verb to keep it snappy
- Too loud: Downlifters should support the transition, not replace the drums. Keep peaks controlled.
- Too much sub/low-mid: Noise or tonal layers can creep into 200–500 Hz and muddy the mix. Highpass where needed.
- Over-wide FX: Big stereo reverb can wreck punch at the drop. Keep tonal layer fairly centered.
- Ends late: If the downlifter overlaps the drop too much, it steals impact. Usually end right on beat 1.
- No automation: A static downlifter is just a sound effect. Movement is the whole point.
- Add grain + grit: Put Redux very lightly on the tonal layer
- Make it “pull down” harder: Automate Saturator Drive up slightly as pitch drops.
- Sidechain it to the kick/snare: Use Compressor with sidechain from your drum bus
- Filter into silence: For dark DnB, automate cutoff down to 200–400 Hz near the end, so it “disappears” into the drop.
- Add a reverse reverb trick (quick):
- A strong DnB downlifter is usually noise + tone + a tiny impact tail.
- The key controls are filter sweep down, pitch drop, and reverb/echo tail.
- Turning it into a macro rack preset is the fastest workflow upgrade.
- Arrange them around common DnB timing: 1-bar transitions are your bread and butter.
---
2. What you will build
A Downlifter FX Group with:
1. Noise Downlift (white noise + filter + reverb tail)
2. Tonal Downlift (simple synth tone pitched down for character)
3. Impact Tail (short hit + reverb/echo to “pull” into the next section)
You’ll end up with:
---
3. Step-by-step walkthrough
Step A — Set up a dedicated FX track (fast workflow)
1. Create a new MIDI Track and name it: `FX - Downlifter`.
2. Set your project to a DnB tempo (e.g., 174 BPM).
3. Create a 1-bar MIDI clip (or 2 bars for bigger transitions).
- Common DnB usage: 1 bar before drop, 2 bars before breakdown, half-bar before a fill.
Tip: Put all transition FX on their own track(s) so you can mute/arrange quickly without touching drums.
---
Step B — Build Layer 1: Noise Downlift (the “air”)
This is the workhorse layer that reads clearly on any system.
1. Drop Operator on the track.
2. In Operator:
- Click A oscillator and set waveform to Noise (or use a noise-like tone).
- Turn Filter ON in Operator.
3. Operator Filter settings:
- Type: LP24
- Freq: start around 12 kHz
- Res: 10–20% (just a little “whistle”)
- Drive (if available): light, or leave off for now
4. Add Auto Filter after Operator (yes, filter twice—fast control + extra slope):
- Type: Lowpass 24
- Frequency: automate from ~14 kHz down to ~400–1kHz over 1 bar
- Resonance: 15–25%
- Drive: 2–6 dB (adds urgency)
5. Add Reverb after Auto Filter:
- Size: 80–120
- Decay Time: 2.5–5.0 s
- Pre-Delay: 5–20 ms
- High Cut: 6–10 kHz (so it’s not hissy)
- Dry/Wet: 25–45%
✅ Result: a controlled “shhh” that falls downward and leaves a tail.
Automation (fast method):
---
Step C — Build Layer 2: Tonal Downlift (the “character”)
This gives the downlifter that DnB sci-fi / tech vibe.
1. Create an Instrument Rack (Cmd/Ctrl + G) to keep it tidy.
2. Inside the rack, create a new chain called `Tone`.
3. Add Wavetable (or Operator if you prefer pure stock simplicity).
If using Wavetable:
Pitch movement:
- Enable Pitch Bend range in Wavetable: -12 / +12 (or -24 for more extreme)
- Draw a bend that goes from 0 down to -6 or -12 semitones across 1 bar
Tonal shaping chain (after synth):
- Lowpass 12 or 24
- Automate cutoff down slightly (e.g., 6k → 1.5k)
- Mode: Soft Sine or Analog Clip
- Drive: 2–6 dB
- Turn Soft Clip ON
- Width: 0–40% (keep it mono-ish so it doesn’t smear your stereo drums)
✅ Result: a downward “womp/pew” that feels like it belongs next to rolling bass.
---
Step D — Build Layer 3: Impact Tail (the “pull into the next bar”)
This is subtle but super effective in jungle/DnB: a tiny hit with a tail that sucks you into the drop.
1. Add a third chain in the rack called `Impact`.
2. Use a short sample (recommended):
- Drag a rimshot, clap, foley click, or short stab into Simpler
(Pick something short—no long cymbals.)
3. In Simpler:
- Mode: One-Shot
- Start: tighten if needed
- Decay/Release: short (you want the reverb tail to do the work)
4. Add Reverb after Simpler:
- Decay: 1.8–3.5 s
- Pre-delay: 0–10 ms
- Dry/Wet: 35–60%
5. Add Echo after Reverb:
- Time: 1/8 or 1/4
- Feedback: 10–25%
- Filter: Highpass around 200–400 Hz
- Dry/Wet: 10–25%
Placement idea (DnB classic):
so the tail leads into beat 1.
✅ Result: a clean “tick + tail” that glues transitions without needing big risers.
---
Step E — Glue it together with macros (the speed upgrade) 🚀
Now we turn this into a reusable tool.
1. Select the whole rack and map macros:
- Macro 1: “Sweep Depth” → map to Noise Auto Filter Frequency (min/max)
- Macro 2: “Tone Drop” → map to Wavetable Pitch Bend amount (or transpose)
- Macro 3: “Verb Tail” → map to Noise Reverb Dry/Wet + Tone Reverb Dry/Wet
- Macro 4: “Darkness” → map to Reverb High Cut + Auto Filter cutoff
- Macro 5: “Impact Level” → map to Impact chain volume
2. Right-click the rack → Save Preset as:
`DnB Downlifter - 1Bar - Stock.adg`
Now every project: drag it in, draw a 1-bar MIDI note, automate one macro. Done.
---
Step F — Arrangement examples (rooted in DnB)
1-bar pre-drop (most common):
2-bar breakdown entry (bigger drama):
Jungle switch-up (quick):
---
4. Common mistakes
---
5. Pro tips for darker/heavier DnB 🖤
(e.g., Downsample a tiny amount) to get that techy edge.
so the downlifter breathes around the groove (subtle 1–3 dB gain reduction).
- Resample your downlifter to audio
- Reverse it
- Add reverb
- Freeze/flatten
- Reverse back
This creates a super smooth “suck” into transitions.
---
6. Mini practice exercise (10 minutes)
1. Load your favorite rolling drum loop at 174 BPM.
2. Insert the downlifter rack you built.
3. Create three versions:
- A: 1-bar subtle (noise only, light verb)
- B: 1-bar heavy (tone + noise, more resonance)
- C: 2-bar cinematic (more tail, darker cutoff)
4. Place them:
- Before a drop
- Before a breakdown
- Before a quick 1/2-bar drum fill
5. Export a quick bounce and listen on low volume—does it still read without overpowering the snare?
---
7. Recap ✅
If you want, tell me what subgenre you’re aiming for (liquid, jump-up, neuro, jungle) and I’ll suggest exact macro ranges + a “go-to” preset that fits that sound.
```

