Main tutorial
Lesson Overview
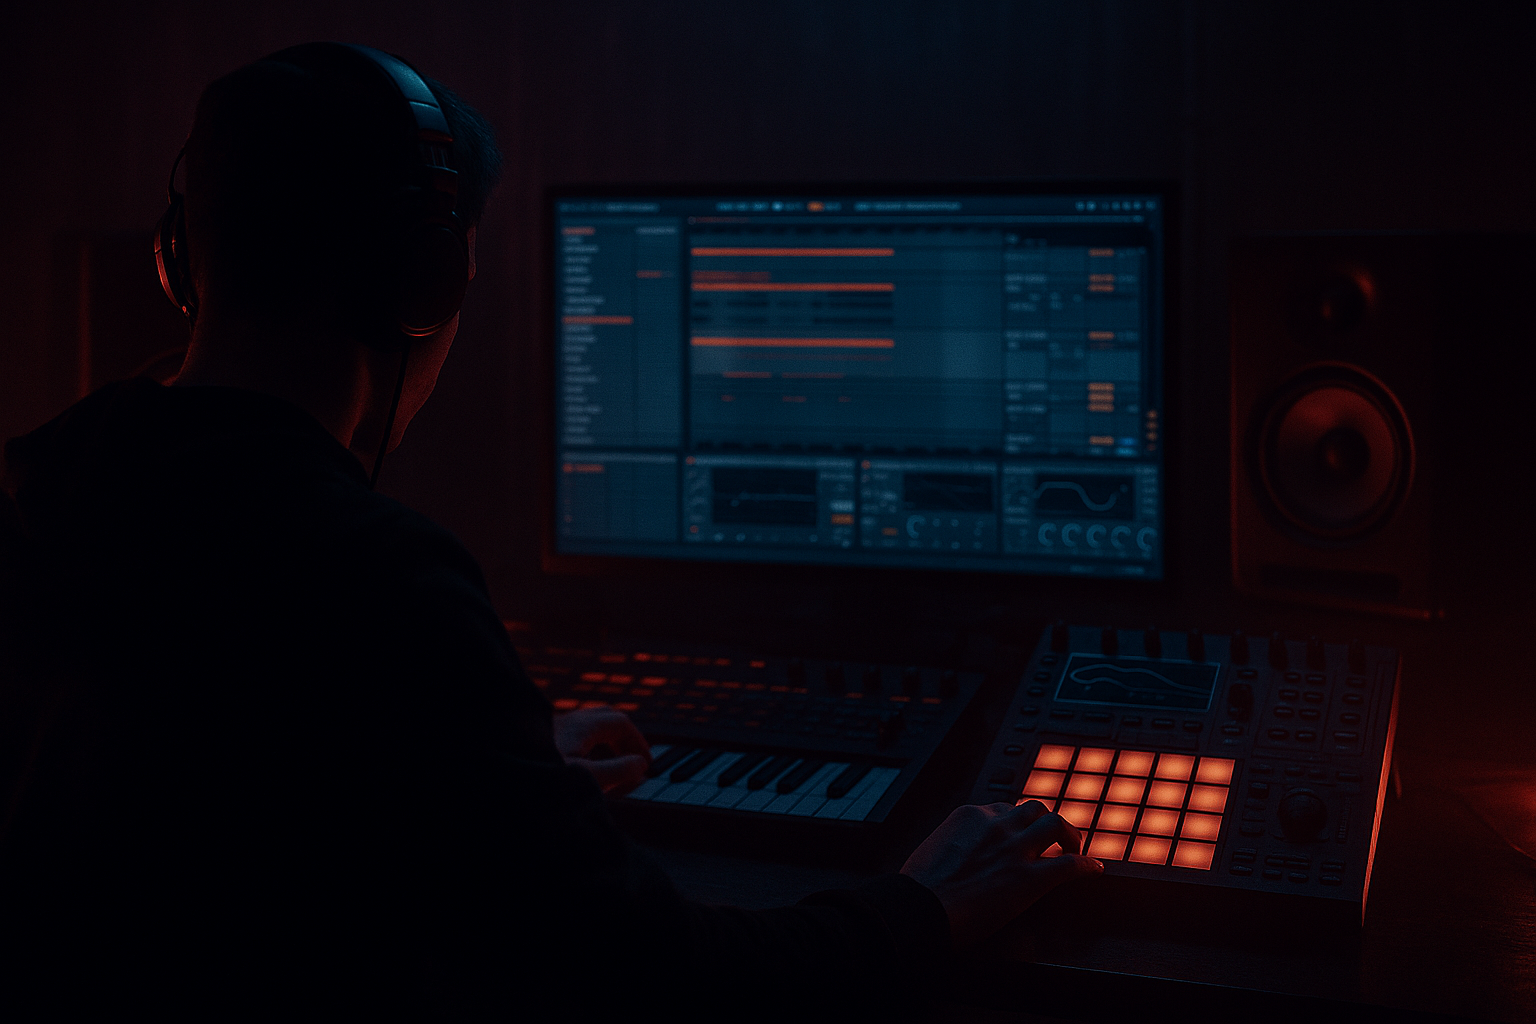
In jungle and oldskool DnB, a fill is not just a drum flourish — it is often the moment that re-weights the whole drop. For this lesson, the goal is to build a fill in Ableton Live 12 that drives the listener into the next phrase with floor-shaking low end, while still feeling authentic to classic jungle energy and modern dark rollers discipline.
This sits right on the edge of edits: you are taking an existing loop, bass phrase, and break, then reshaping them into a transition that feels like a live arrangement decision rather than a generic FX throw. In advanced DnB work, that matters because the fill has to do three jobs at once:
- create forward motion,
- preserve sub impact,
- and make the next downbeat feel heavier than the last.
- a chopped break edit with classic jungle syncopation,
- a sub or low bass pickup that rises or tightens into the downbeat,
- a short distorted/reese-based movement layer for pressure,
- a filtered tension layer that opens into the drop,
- and a controlled return to the main bassline on the one.
- Making the fill too busy
- Letting the sub smear under the break edit
- Using too much stereo width in the low end
- Overcooking distortion
- Ignoring the phrase structure
- Making the fill louder instead of more effective
- Use a resampled reese tail with a very short filter opening right before the drop. A subtle harmonic rise can feel heavier than a big sweep.
- Layer a tiny pitched-down tom or kick ghost under the last snare hit to reinforce the floor-shaking sensation.
- Try Erosion very lightly on a mid-bass fill layer to introduce gritty upper harmonics without destroying the fundamental.
- Put a Frequency Shifter on a parallel return and automate only a few cents of movement for unstable, underground tension.
- For neuro-leaning darkness, use short, rhythmic filter automation rather than long risers. Quick modulation reads as more intentional and more aggressive.
- Keep the fill’s sub note simpler than the main bassline. In heavy DnB, restraint in the lowest octave usually makes the impact bigger.
- If the break edit feels thin, use Drum Buss on a return track rather than on the whole break. Parallel weight keeps transients alive.
- Use Clip Gain to emphasize the last 1–2 hits of the fill instead of turning up the whole section.
- Test the fill at low volume. If you still hear the pulse and the sub intent, it is likely working on a big system too.
- chopped break motion,
- a dedicated low-end pickup,
- controlled saturation and filtering,
- tight arrangement placement,
- and disciplined mono-compatible sub management.
The trick is not to “add more stuff.” It is to edit the relationship between drums, sub, and texture so the fill feels like a controlled destabilization. Think oldskool break chops, a filtered reese pickup, a sub swell, and a short burst of distortion or pitch movement — all locked to groove and leaving enough space for the drop to hit clean. 🔥
Why this matters in DnB: the low end is usually doing the emotional heavy lifting. If the fill steals focus from the sub, the drop weakens. If it is too clean, it feels flat. The best fills in jungle and darker DnB shake the room while still protecting headroom and mono compatibility.
What You Will Build
You will build a one-bar to two-bar driving fill designed for an 85–87 BPM half-time feel or a 170–174 BPM full-rate DnB grid. The result will be:
Musically, this will work like a call-and-response edit: the drums pull away for a moment, the low end bends and surges, then the full groove slams back in. In a tune with an 8-bar phrase, this kind of fill usually lands in bar 7 or 15, right before the drop repeat, or at the end of a 16-bar bass cycle before a switch-up.
Step-by-Step Walkthrough
1. Choose the phrase position and decide what the fill must “fix”
In Ableton’s Arrangement View, place the fill at a phrase edge: typically the last 1 or 2 beats of bar 8, 16, or 24. In oldskool jungle, this is often where the break edit leads the ear into a new section. In rollers or dark neuro-leaning DnB, it may be the last half-bar before the bass loop resets.
Before editing anything, answer three questions:
- Does the fill need to increase tension?
- Does it need to create space for a bigger kick/snare return?
- Does it need to make the sub feel heavier by contrast?
For advanced workflow, duplicate the section to a new track group called something like “FILL EDITS” so you can compare variations quickly without breaking the main arrangement.
2. Build the drum edit first with chopped breaks and transient discipline
Start with your core break loop — an Amen, Think, or similar jungle-style source — and create a dedicated edit lane. Slice it to MIDI using Ableton’s slicing workflow, or manually cut in Arrangement View for precision. The point is to create a fill that sounds edited, not looped.
Useful stock devices:
- Simpler in Slice mode for fast break triggering,
- Drum Buss for added smack and glue,
- EQ Eight to control low-end clutter,
- Transient shaping via the device chain using careful gain and clip edits.
Shape the fill so the final half-bar has a slight acceleration in density:
- first beat: leave a pocket,
- second beat: add a ghost snare or ghost kick,
- final two 16ths: tighten the break with a snare drag or hat flam.
Parameter suggestions:
- In Drum Buss, keep Drive around 5–15% for bite, Crunch low to medium, and Boom only if your break needs reinforcement rather than extra mud.
- In EQ Eight, high-pass break layers around 90–140 Hz if the sub is separate, to avoid fighting the bass pickup.
Why this works in DnB: oldskool jungle energy comes from micro-edits inside the break, especially before a drop. The listener senses momentum from rhythmic density even if the bar count stays strict.
3. Create a dedicated low-end pickup, not just a bass note change
Now build the bass side of the fill. Do not rely only on the main bassline; create a separate “pickup” clip or layer. This can be:
- a sub note glide,
- a short reese tail,
- or a distorted mid-bass stab that resolves into the next phrase.
In Ableton Live 12, keep this on a separate MIDI track or nested group so you can automate it independently.
For the sub:
- use Operator or Wavetable with a sine or clean low oscillator,
- keep it mono,
- and automate pitch or filter rather than making it overly busy.
Suggested settings:
- Operator: sine oscillator, no unneeded unison, short decay if it is a triggered pickup.
- Auto Filter: low-pass cutoff moving from roughly 120 Hz down to 60–80 Hz if you want a brief tightening effect, or the opposite if you want a rising sweep into release.
- Saturator: Drive around 1–4 dB for audibility on smaller systems, but watch sub headroom.
For jungle oldskool vibes, a slight sub glide into the downbeat can feel immense. For more modern rollers or neuro-adjacent darkness, a pitch dip or brief filter choke right before the drop can make the return feel brutal.
4. Use resampling or layered bass edits to add weight without overcrowding
The biggest advanced move here is to resample the bass movement into a single, editable clip. Render your bass pickup and low-end movement to audio, then chop it like an edit. This lets you treat the fill as a performance element rather than a static synth patch.
Workflow:
- solo the bass pickup and any reese texture,
- record to a new audio track,
- then cut the audio clip so the final 1/4 or 1/2 bar can be shaped with fades and warps.
Use Warp carefully:
- if you need tight timing, keep warp on and nudge transient markers,
- if the sound loses weight, try less aggressive warp stretching or render the clip at the exact length.
Add Utility to the resampled bass layer and keep it mono below the crossover area. If you want width in the upper harmonics only, split the bass into two tracks:
- one sub track mono,
- one mid-bass texture track with width and movement.
Advanced move: group them and use Audio Effect Rack macros to control both at once:
- Macro 1: filter cutoff,
- Macro 2: saturation drive,
- Macro 3: stereo width on the mid layer only.
5. Automate tension with filters, noise, and short FX bursts
The fill needs motion beyond note content. Add a short automation pass across the final bar or half-bar using stock Ableton devices.
Strong options:
- Auto Filter on the bass or reese layer,
- Redux for a quick bit-depth bite,
- Frequency Shifter for metallic movement,
- Erosion for gritty edge in the high mids,
- Reverb or Echo for tiny send throws.
Keep the automation surgical:
- automate a low-pass filter closing on the bass pickup, then reopen on the drop,
- automate a small volume dip before the downbeat to make the impact feel bigger,
- automate send levels for a very short delay tail on the last snare or break slice.
A practical range:
- Auto Filter resonance: light to moderate; too much resonance can make the fill whistle and lose weight.
- Echo feedback: keep it short, often under 25–35%, unless you want a very obvious transition.
In a jungle context, a short reversed texture or filtered break stab can be enough. In darker modern DnB, a controlled noise rise or metallic flutter can help the fill feel more engineered.
6. Shape the groove so the fill still “dances”
Advanced DnB edits fail when they become mathematically perfect but rhythmically dead. Use Ableton’s Groove Pool or manual nudging to keep the fill human and forward-driving.
Try:
- applying a subtle swing from a classic MPC-style groove to the break edit,
- offsetting ghost notes slightly ahead of the grid,
- or delaying a bass pickup by a few milliseconds so it drags into the one.
Important: don’t swing the sub too hard. Leave the low-end anchor tighter than the drum decoration.
A good split:
- drums: slight swing or humanized micro-timing,
- sub: nearly locked to the grid,
- mid-bass texture: can sit a little loose for feel.
This is where the edit becomes musical. The listener should feel the fill leaning forward, not stumbling.
7. Control the low end with sidechain, mono discipline, and arrangement contrast
If the fill is meant to drive the drop, it must leave the actual drop room to hit. Use stock Ableton tools to keep low-end separation intact.
Try this chain on the bass group:
- Compressor with sidechain from kick or ghost kick,
- Utility for mono control,
- EQ Eight to remove unnecessary low-mid buildup around 180–350 Hz if the fill feels cloudy.
Suggested sidechain settings:
- Attack: fast,
- Release: set to the tempo so it recovers before the next beat,
- Ratio: moderate to strong depending on how much pump you want.
Arrangement idea:
- strip the kick for the last half-bar,
- let the sub pickup carry the tension,
- then bring the full kick-snare-bass combo back on the one.
Why this works in DnB: the audience perceives the next downbeat as bigger when the fill temporarily clears the low-end lane. The drop feels floor-shaking because the groove had a moment of pressure release immediately before it.
8. Finish the edit with mix-safe aggression
The final stage is balancing energy and clarity. Route your fill elements to a dedicated Fill Bus so you can shape them as a unit.
On the Fill Bus, try:
- Glue Compressor with gentle gain reduction for cohesion,
- Saturator or Drum Buss for edge,
- EQ Eight to trim low-mid haze,
- optional Limiter only for catching peaks, not smashing the transient life out of it.
Practical mix targets:
- keep the fill louder than the surrounding phrase only by enough to feel deliberate, not blown out,
- maintain headroom so the drop still has space,
- check the fill in mono to ensure the sub remains stable and the bass motion doesn’t disappear.
In Arrangement View, compare the fill against the previous 8 bars. If the fill sounds “cool” in solo but weak in context, increase contrast rather than adding more layers:
- remove a drum hit,
- simplify the sub movement,
- or make the final snare more exposed.
Common Mistakes
- Fix: remove one element. In DnB, density only works if the listener can track the pulse.
- Fix: high-pass the break layer more aggressively, or shorten the bass tail with tighter envelopes.
- Fix: keep sub mono with Utility; put width only in the mid-bass texture.
- Fix: use saturation for harmonics, not fuzz for its own sake. If the fill loses punch, back off the drive and add arrangement contrast instead.
- Fix: place the fill at the end of a meaningful 4/8/16-bar cycle. Random fills feel disconnected in DnB.
- Fix: use cut-outs, filter automation, and a temporary reduction in drum density to create impact.
Pro Tips for Darker / Heavier DnB
Mini Practice Exercise
Spend 10–20 minutes building three variations of the same fill:
1. Start with an 8-bar drum and bass loop at 172 BPM.
2. Make a 1-bar fill at the end of bar 8 using only:
- one chopped break edit,
- one sub pickup,
- one automation move.
3. Create three versions:
- Version A: more jungle, using break density and a simple sub glide.
- Version B: darker and heavier, using filter choke and saturation.
- Version C: minimal roller-style, using only one ghost snare, a bass cutoff move, and a brief delay throw.
4. Bounce each version to audio and compare them in context.
5. Decide which one hits hardest on the next downbeat and why.
Goal: in under 20 minutes, train yourself to choose contrast over clutter and to hear how the fill changes the perceived weight of the drop.
Recap
A great DnB fill is an edit that rebalances energy. Build it from:
If the fill makes the next downbeat feel bigger, deeper, and more dangerous without muddying the mix, you nailed it.

