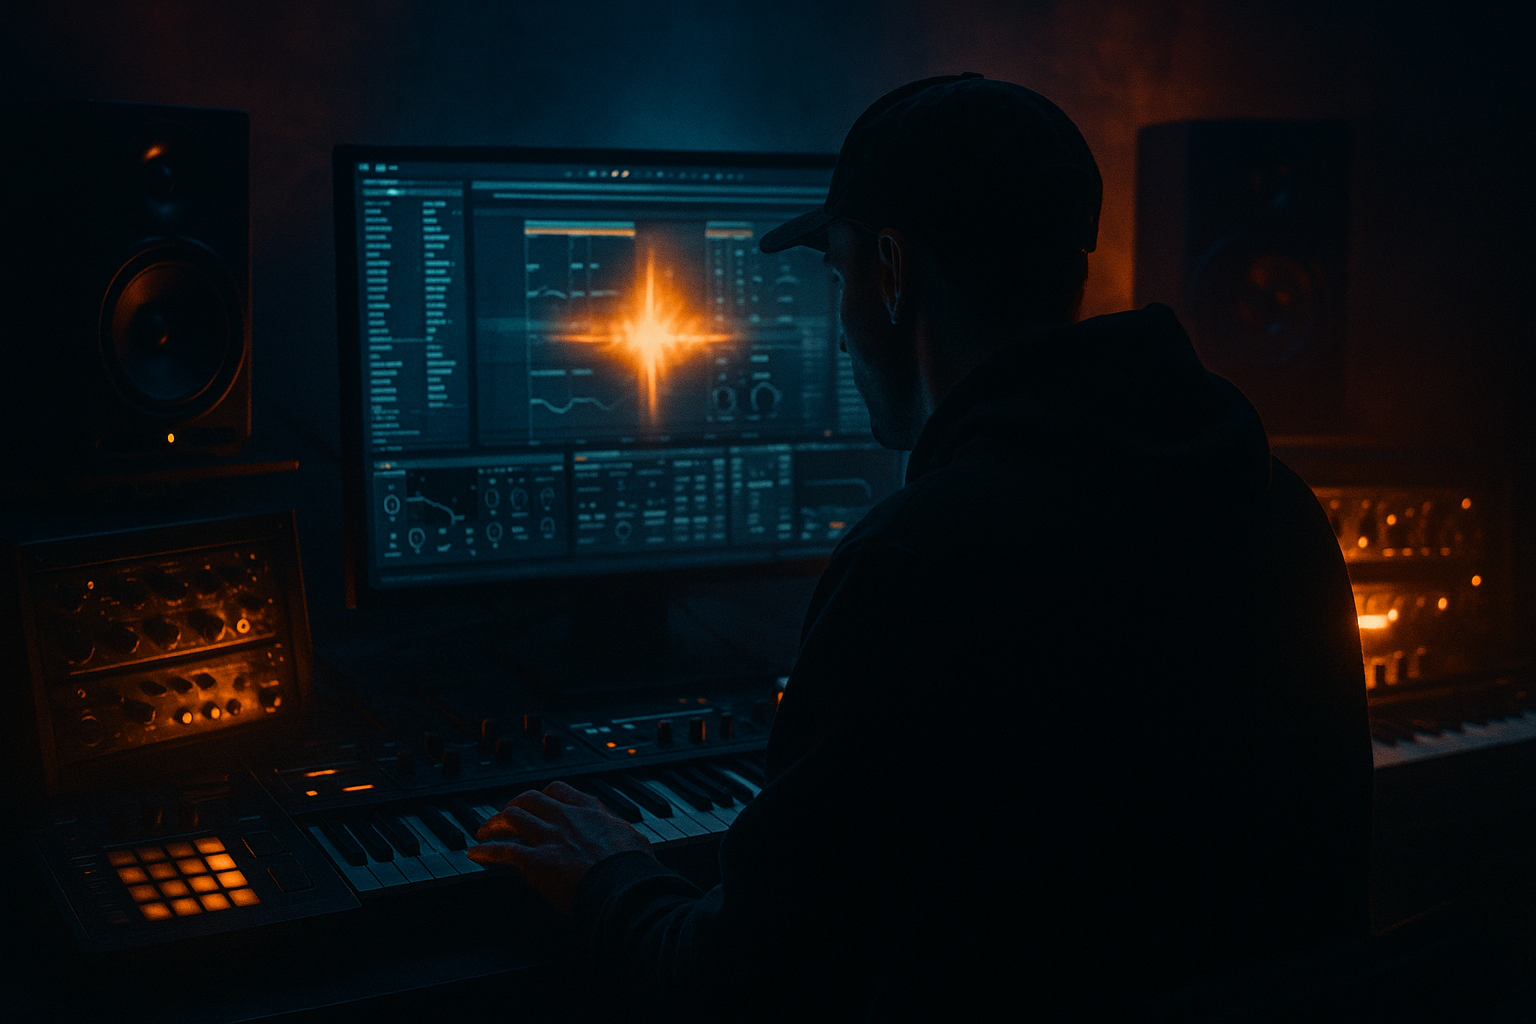
Main tutorial
Drop Impact Automation From Scratch (DJ‑Friendly) — Ableton Live (DnB) ⚡️
1) Lesson overview
In drum & bass, the drop isn’t just “when the beat comes in”—it’s a controlled moment of contrast. The secret weapon is automation: you pull energy out right before the drop, then slam it back in with intention.
In this lesson you’ll learn a beginner-friendly, repeatable method to build drop impact automation in Ableton Live that also stays DJ-friendly (clean phrasing, predictable energy, no weird level jumps).
---
2) What you will build
You’ll create a simple DnB arrangement with:
- A 16-bar intro (DJ mix-in friendly)
- A 16-bar buildup/pre-drop
- A drop with impact that hits harder without just turning it up
- Pre-drop tension: filter + reverb throw + stereo narrowing
- Drop slam: remove reverb, restore sub, widen top, transient punch
- DJ-friendly transitions: clear 8/16-bar phrasing, controlled lows, no chaotic tails
- Keep Master peaking around -6 dB (rough target).
- Your kick + snare should be the loudest elements.
- Keep sub clean and not clipping.
- Put Utility on your Sub track, set Gain so the sub sits solid without pushing the master.
- Put Limiter on the Master only as safety for now, not for loudness:
- Put Utility on Sub track:
- Don’t widen the sub. Widen hats, rides, reese tops, atmos.
- Automate Drum Buss Transients slightly:
- In the last 1/2 bar before drop, automate:
- Bars 1–17: Intro (drums + minimal bass, filtered)
- Bars 17–33: Buildup (add elements every 4/8 bars)
- Bar 33: Drop (full drums + bass)
- Bars 33–49: Drop A (16 bars)
- Bars 49–65: Drop B (variation)
- Bars 65–81: Breakdown / mix-out
- Big moves happen at bar lines (8/16 bars)
- Small ear candy can happen every 2 or 4 bars (fills, throws)
- Use darker reverb: In Hybrid Reverb, high-cut down to 5–8 kHz and low-cut up to 300–600 Hz for gritty, controlled space.
- Automate distortion post-drop: A tiny rise in Saturator Drive or Drum Buss Drive over the first 8 bars makes the drop feel like it “grows teeth.”
- Low-pass the buildup aggressively: Dark DnB loves that “underwater” pre-drop. Try ending the LP around 250 Hz, then snap to full.
- Add a short “impact” layer: A tight cinematic hit or metal slam at the drop, high-passed at 150–300 Hz, adds smack without muddying sub.
- Break edits for jungle energy: Automate a quick beat repeat-style stutter (use Beat Repeat very subtly) in the last 1 bar—then hard stop.
- Drop impact comes from contrast, not just volume.
- Use group automation for control: Auto Filter (tension), Hybrid Reverb throws (space), Utility width (focus → release).
- Keep it DJ-friendly: 16-bar phrasing, predictable low end, no messy tails.
- Keep sub mono, leave headroom, and make the first kick/snare after the drop the main event.
And you’ll build these automation moves:
---
3) Step-by-step walkthrough
Step 0 — Session setup (so it feels like DnB immediately) 🥁
1. Set tempo to 174 BPM.
2. In Arrangement View, create these tracks:
- DRUMS (Group): Kick, Snare, Hats/Break
- BASS (Group): Sub, Mid bass
- MUSIC/FX: Pads/Atmos, Risers, Impacts
- MASTER (optional automation helper): You can automate on Master, but use it carefully.
3. Create a simple structure:
- Intro: 1–17 (16 bars)
- Buildup: 17–33 (16 bars)
- Drop: 33 onward
> DJ-friendly tip: DnB DJs love clear 16-bar blocks. If your intro is clean and predictable, it mixes easily.
---
Step 1 — Gain staging first (impact starts with headroom) 🎚️
Before automating anything:
Practical:
- Ceiling: -0.3 dB
- Keep it barely working (1–2 dB max during peaks).
---
Step 2 — Build the “pre-drop vacuum” with a group filter (fast + clean) 🌪️
You’ll automate a filter on a group so the whole mix “sucks out” right before the drop.
1. Group your musical elements (or even everything except maybe the kick/snare if you prefer).
- Common DnB approach: automate Music + Bass together, keep drums punchy or reduce them intentionally.
2. On the Music Group (or “ALL EXCEPT DRUMS” group), add:
- Auto Filter
- Mode: Lowpass (LP)
- Slope: 24 dB
- Drive: 0–20% (subtle—don’t distort yet)
3. Automation:
- Press A to show automation lanes.
- Automate Auto Filter Frequency in the last 2 bars before the drop (bar 31–33 in our example):
- Start: around 18 kHz
- End: around 200–500 Hz
- Optional: automate Resonance up slightly right before drop:
- From 0.7 → 1.2 (small moves—resonance can whistle fast)
Why it works: you’re removing brightness and excitement, so when the drop restores full range, it feels huge.
---
Step 3 — Reverb “throw” into the drop (classic jungle/DnB tension) 🫧
The easiest way: use a Return track so it stays controlled.
1. Create Return A: add Hybrid Reverb (stock).
- Start with a Plate or Hall
- Decay: 2.5–5.0 s
- Pre-delay: 10–25 ms
- High Cut: 6–10 kHz (keeps it darker/cleaner)
- Low Cut: 200–400 Hz (prevents sub mud)
2. Send your snare (and maybe a vocal stab/atmo) to Return A.
3. Automate the Send amount on the snare:
- Most of the buildup: low (e.g., -18 dB send)
- Final 1 bar before drop: ramp up (e.g., to -6 dB or even 0 dB briefly)
4. Critical: Cut the reverb right on the drop
- Either automate the Return track volume down at the drop
- Or automate Hybrid Reverb Dry/Wet down to near 0%
- Or automate a Gate after the reverb (more advanced)
This creates a big “splash” that vanishes when the drop hits—super effective for impact.
---
Step 4 — Stereo narrowing before the drop, then widen on the drop 📏
DnB drops hit harder when the center (kick/snare/sub) is strong, and the sides open up on impact.
Option A (Beginner-safe): Utility Width automation
1. Put Utility on your Music Group (not the sub).
2. Automate Width:
- During buildup last 2 bars: 100% → 0–30%
- At the drop: snap back to 100–120%
Option B (Even better): Keep sub mono always
- Width: 0% (mono)
---
Step 5 — Create the “drop slam” with transient punch (without clipping) 👊
Impact is often a micro moment: the first kick/snare after the drop needs to feel like it’s breaking the room.
Drum Group chain (stock devices):
1. On DRUMS Group, add:
- Drum Buss
- Drive: 5–15%
- Crunch: 0–10%
- Boom: Off or very low (DnB subs are usually managed elsewhere)
- Transients: +5 to +20 (tasteful)
- Glue Compressor
- Attack: 3 ms
- Release: Auto
- Ratio: 2:1
- Aim for 1–2 dB gain reduction max
- (Optional) Saturator
- Soft Clip: On
- Drive: 1–3 dB (subtle)
Automation idea:
- Buildup: +5
- First 1–2 bars of drop: +15
- Then back to +8–10 for consistent groove
This gives the drop a “first punch” without making the whole track harsh.
---
Step 6 — Control the low end for DJ-friendly mixing (this is huge) 🔊
DJs need predictable bass behavior. Your automation should help, not sabotage.
Intro/Break low-cut (DJ mix-in friendly):
1. On the BASS Group, add EQ Eight.
2. Enable a high-pass filter (HP) around 30–40 Hz always (clean rumble).
3. For intro (first 16 bars), optionally automate a stronger high-pass:
- HP frequency: 120 Hz → 40 Hz over 16 bars
This lets a DJ mix your tune over another track without bass fighting.
Pre-drop bass “mute” trick (impact builder):
- Sub track Utility Gain to dip quickly (e.g., 0 dB → -inf → 0 dB)
- Or automate a Gate / Volume down briefly
That tiny silence makes the drop feel louder even at the same peak level.
---
Step 7 — Add a “riser + stop” moment (classic DnB drama) 🚦
1. Add a noise riser (audio sample or Operator):
- If using Operator:
- Oscillator: Noise
- Filter: Band-pass, automate frequency up
2. Automate it into the drop.
3. Add a micro-gap:
- Cut everything for 1/8 or 1/4 note before the drop (except a reverb tail or a vocal chop)
DnB/jungle loves these tight edits—just keep them on the grid so DJs can predict phrasing.
---
Step 8 — Arrange like a DJ would expect (clean 8/16 bar language) 🧭
A simple DJ-friendly DnB map:
Automation checkpoints:
---
4) Common mistakes
1. Automating the Master too much
Master filter sweeps can wreck DJ mixing and cause unexpected tonal shifts. Prefer groups (Music, Bass, FX).
2. Widening the sub
Stereo sub = weak club translation and phase issues. Keep sub mono (Utility Width 0%).
3. Reverb tails spilling into the drop
A massive tail can blur your first kick/snare. Gate it, low-cut it, or automate it off.
4. No headroom, so automation just causes clipping
If you’re already slamming 0 dB, “impact” becomes “distortion.” Leave space.
5. Too many simultaneous big changes
If filter + volume + reverb + width + distortion all change at once, it can feel messy. Pick 2–3 main moves.
---
5) Pro tips for darker/heavier DnB 🖤
---
6) Mini practice exercise (15–20 minutes) 🧪
Goal: Make a 32-bar clip with a convincing pre-drop and drop.
1. Create a basic loop:
- 2-step kick/snare
- Rolling hats
- Simple sub note (root note)
- Reese or mid bass stab
2. Arrange:
- Bars 1–17 intro
- Bars 17–33 buildup
- Bar 33 drop
3. Add only these 3 automations:
- Music Group Auto Filter Frequency: 18k → 300 Hz (last 2 bars)
- Snare Send to Hybrid Reverb: ramp up last bar, hard off at drop
- Music Group Utility Width: 100% → 20%, snap to 110% at drop
4. Bounce and listen:
- Does the drop feel louder without actually being louder?
- Does the first snare feel clean and “forward”?
---
7) Recap ✅
If you want, tell me your current project layout (tracks/groups) and whether you’re aiming for liquid, rollers, jungle, or neuro, and I’ll suggest a specific automation map (bars + exact parameter moves) for your style.

