Main tutorial
```markdown
Drop Placement for DJ‑Friendly Mixing (DnB in Ableton Live) 🎛️🔥
1) Lesson overview
In drum & bass, drop placement is about making your track predictable and mixable for DJs while still feeling exciting for listeners. DJs rely on 8/16/32‑bar phrasing, clean intros/outros, and clear cues (like fills and risers) so they can blend two tracks smoothly.
In this lesson you’ll learn:
- The most DJ‑friendly bar counts for DnB arrangements
- Where to place your first drop, second drop, and outro
- How to build mixable intros/outros without killing your vibe
- Practical Ableton Live workflow: markers, locators, device chains, and arrangement templates
- 32‑bar intro (easy to beatmatch + mix in)
- 16‑bar build (energy lift + clear “incoming drop” signal)
- 64‑bar drop 1 (main groove, mix‑ready phrasing)
- 32‑bar breakdown / bridge
- 64‑bar drop 2 (variation / heavier switch)
- 32‑bar outro (mix out cleanly)
- Intro: 32 bars
- Build: 16 bars
- Drop 1: 64 bars (often split as 32 + 32 variation)
- Bridge: 32 bars (or 16)
- Drop 2: 64 bars
- Outro: 32 bars
- If you’re unsure, put the first drop at bar 49 (after 32 + 16).
- DJs love that predictability.
- Bars 1–16: Drums + minimal ear candy
- Bars 17–32: Add bass hints / percussion / atmos, but keep it mixable
- Keep the sub bass muted for the first 16 bars.
- DJs often have another track’s sub playing—two subs = mud.
- A crash, reverse cymbal, short fill, or vocal stab at bar 9, 17, 25, 33.
- Keep them short and not too melodic.
- Risers/noise
- Snare roll / drum fill
- Filter automation
- Tension chord/atmo (keep it simple)
- Add a Noise layer (Operator or Analog):
- Auto Filter on your drum group:
- Snare roll: duplicate snare and increase rate (1/8 → 1/16 → 1/32) in last 2 bars
- Put a Reverb (stock) on a return track:
- Last 1 bar: quick fill + “air suck” (reverb tail cut) to create a clean impact.
- Full drums
- Sub + bass groove
- A clear lead hook or reese movement
- Minimal clutter
- Bars 49–80: Main groove (establish the idea)
- Bars 81–112: Variation (switch drums, bass fill, extra stab, or new counter-rhythm)
- Every 16 bars, do a small change:
- EQ Eight (shape: small cut 250–400 Hz if boxy)
- Glue Compressor (2:1, Attack 10 ms, Release Auto, 1–3 dB GR)
- Drum Buss (Crunch 5–15, Drive to taste)
- 16 bars “pullback” (drums reduce, bass filtered)
- 16 bars rebuild (tension returns)
- Automate width (0–30% on bass group to keep it mono)
- Automate gain dips (‑1 to ‑2 dB) before Drop 2 for perceived impact
- Same “song,” but more intense
- A new bass patch / new call-and-response
- A different drum texture (more breaks, more ride, more distortion)
- Add a break layer (classic jungle chopped break) under your main drums
- Change bass rhythm (stabs → longer notes, or vice versa)
- Add a new mid-bass texture (Resample your bass, warp it, slice it)
- Saturator (Drive 3–8 dB, Soft Clip ON)
- Amp (subtle, try Clean or Bass settings)
- EQ Eight to control harshness (narrow cut around 2–4 kHz if needed)
- First 16 bars: remove lead/hook, keep drums + bass simplified
- Last 16 bars: remove sub, keep drums + tops + minimal FX
- High-pass your bass group gradually with Auto Filter (but don’t ruin punch—do it subtly)
- Remove the busiest drum layers (rides, extra snares)
- End with a clean 1-bar drum fill then let it loop-friendly
- Keep bass mono below ~120 Hz
- Use “negative space” right before the drop
- Tease the bass in the build
- Switch the snare tone for Drop 2
- Controlled aggression chain (stock)
- DJ-friendly DnB relies on predictable phrasing: changes every 8/16/32 bars
- A safe blueprint: 32 intro + 16 build + 64 drop + 32 bridge + 64 drop + 32 outro
- Keep intros/outros clean: minimal hook, minimal sub early/late
- Use Ableton tools like Locators, Auto Filter, Utility, EQ Eight, Glue Compressor, Drum Buss to shape energy and transitions
- Make the drop land cleanly and confidently—bar 49 is your best friend for beginner arrangements 🎯
---
2) What you will build
A DJ‑friendly rolling DnB arrangement at ~174 BPM with:
You’ll end up with a track a DJ can mix confidently in a club set 🕺💿
---
3) Step-by-step walkthrough
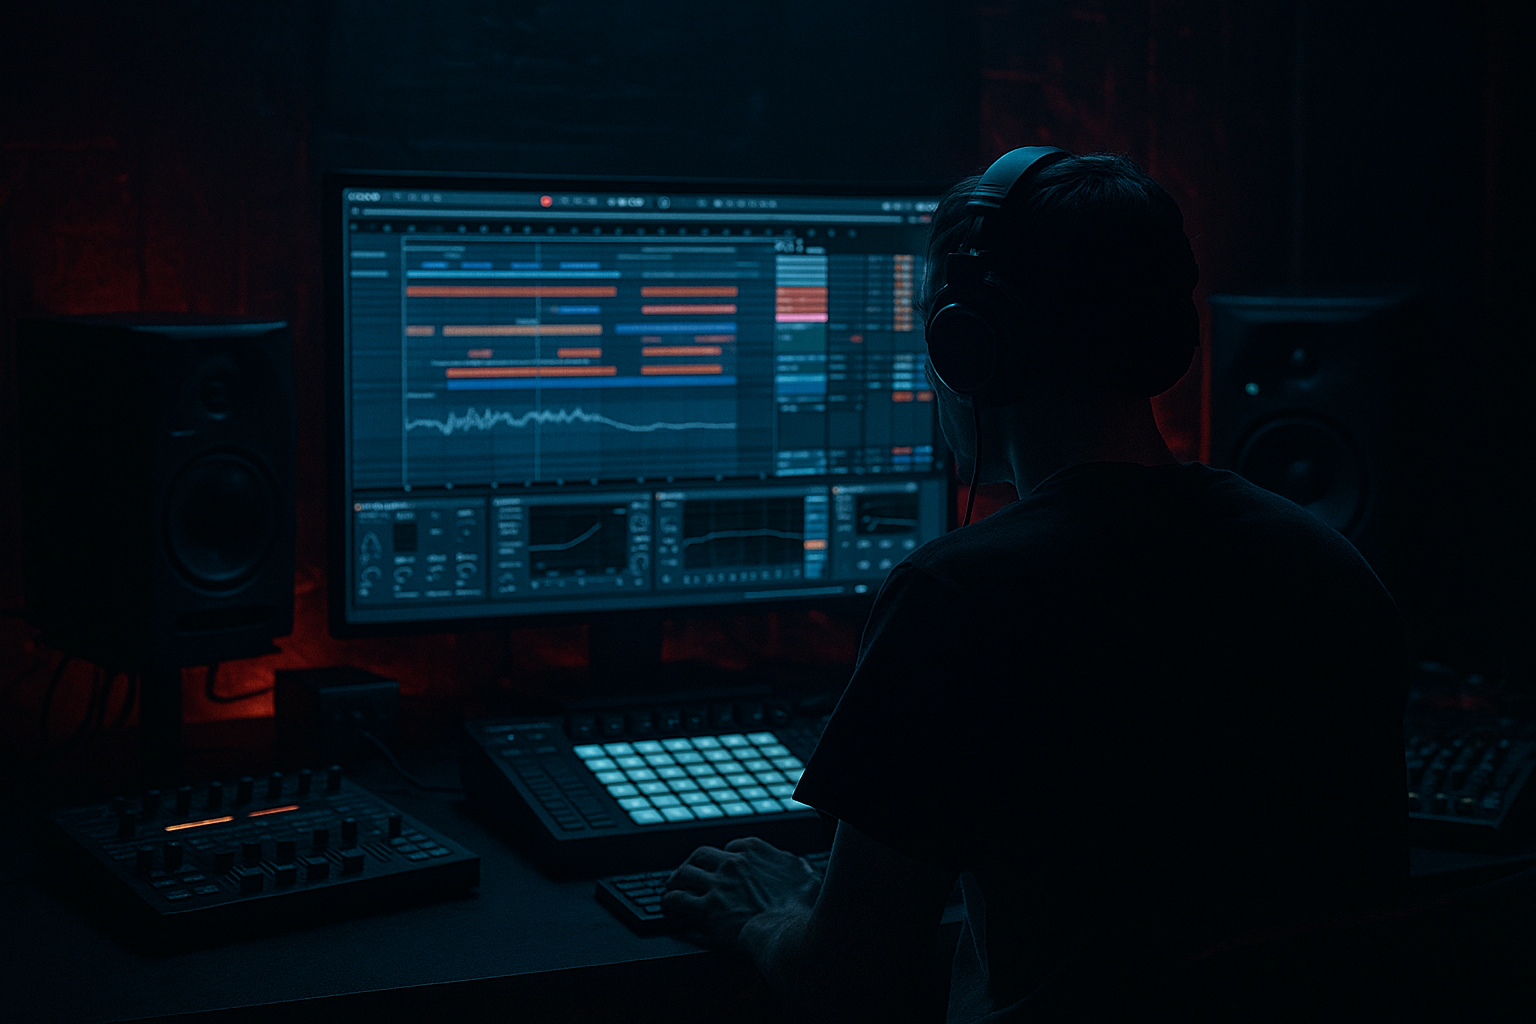
Step 0 — Set your project up like a pro (Ableton workflow)
1. Set tempo to 174 BPM (or 172–176).
2. In Arrangement View:
- Turn on the Metronome.
- Right‑click the timeline → ensure you’re viewing Bars/Beats.
3. Add Locators (right‑click on the timeline → Add Locator):
- `Intro Start`
- `Build Start`
- `Drop 1`
- `Bridge`
- `Drop 2`
- `Outro`
4. Color code sections (select time range → right‑click → Assign Track Color or just color clips/tracks).
Why this matters: DJs mix by phrases. Your arrangement should “announce itself” every 16/32 bars.
---
Step 1 — Choose a proven DnB “DJ-friendly” structure
A common club-ready layout:
At 174 BPM, 32 bars is ~44 seconds. That’s a sweet spot for mixing.
Practical rule:
---
Step 2 — Build a clean 32‑bar intro (DJ mix-in zone) 🎚️
Goal: make it easy to layer your track over another without harmonic clashes.
Intro contents (typical DnB):
Do this in Ableton:
1. Start with kick + snare pattern and hats (no full sub yet).
2. Add a simple drum bus chain (stock devices):
- Drum Buss (Drive 5–15%, Boom low or off depending on sub)
- Saturator (Soft Clip on, Drive 1–4 dB)
- EQ Eight (HPF around 25–35 Hz to remove rumble)
Intro mix tip:
Add “DJ cues” every 8 or 16 bars:
---
Step 3 — Create a 16‑bar build that signals the drop 🚦
Bars 33–48 (if intro is 32 bars).
Build ingredients:
Ableton devices and moves:
- Operator: enable Noise oscillator → HP filter it with Auto Filter
- Automate cutoff from ~200 Hz → full open over 16 bars
- Add a touch of resonance (5–15%) for movement
- Decay 2–4s, Predelay 10–25ms, HP around 300 Hz
- Automate send up right before the drop, then cut it at drop
Classic DJ-friendly moment:
---
Step 4 — Place Drop 1 with strong phrasing (64 bars) 💥
Drop starts at bar 49.
Make the first 8 bars super readable:
Structure Drop 1 as 32 + 32:
Ableton arrangement ideas:
- Remove hats for 1 bar
- Add a ride layer
- Add a short bass fill at bar 64, 80, 96, 112
Practical drum group chain (stock):
DJ-friendly drop tip:
Keep the downbeat of bar 49 clean and punchy. No long vocal phrase starting exactly on the 1 unless it’s intentional and mix-safe.
---
Step 5 — Bridge/breakdown: give air but keep the DJ in mind 🌫️
After Drop 1, a 32‑bar bridge (bars 113–144) works well.
Options:
Important: Don’t make the bridge too long or too ambient unless you’re making deep/atmo jungle. DJs want to keep energy consistent.
Ableton trick:
Use Utility for quick automation:
---
Step 6 — Drop 2 placement: heavier switch or new angle (64 bars) 😈
Drop 2 starts at bar 145.
DJ-friendly expectation: Drop 2 often feels like:
Quick ways to differentiate Drop 2:
Stock device suggestion for heavier bass:
---
Step 7 — Make a clean 32‑bar outro (DJ mix-out zone) 🎧
Outro starts after Drop 2 finishes.
Outro goal: keep drums and groove, reduce elements that conflict with the incoming track.
Outro plan:
Practical method:
DJ-friendly ending:
Avoid long melodic outros. Give DJs clean drums to blend.
---
4) Common mistakes ❌
1. Drop lands on a weird bar number (not aligned to 16/32).
→ Fix: move drop start to bar 49/65/97, etc.
2. Intro has full sub and main hook too early.
→ DJs can’t mix cleanly; it clashes.
3. No clear cues (nothing changes every 8/16 bars).
→ DJs get lost; track feels “flat.”
4. Overlong breakdown (especially in rolling DnB).
→ Dancefloor energy collapses.
5. Drop impact masked by reverb tails.
→ Cut reverb sends right on the downbeat.
---
5) Pro tips for darker/heavier DnB 🖤
Use Utility on your sub channel: Width 0%.
Mute kick for half a beat or remove hats for 1 beat before bar 49.
Add a filtered reese (Auto Filter cutoff low) that opens up into Drop 1.
Drop 2 feels heavier instantly if snare is thicker or more distorted.
On bass group: EQ Eight → Saturator (Soft Clip) → Glue Compressor
Aim for loudness without turning everything into white noise.
---
6) Mini practice exercise 📝
1. Set tempo to 174 BPM.
2. Create locators at:
- Bar 1: Intro
- Bar 33: Build
- Bar 49: Drop 1
- Bar 113: Bridge
- Bar 145: Drop 2
- Bar 209: Outro
3. Using only drums + bass + one atmosphere, arrange:
- Intro: drums only first 16 bars, then add subtle perc + atmo
- Build: add riser + snare roll last 2 bars
- Drop 1: 32 bars main + 32 bars variation
- Bridge: 16 bars pullback + 16 bars rebuild
- Drop 2: add a break layer + heavier bass processing
- Outro: remove sub last 16 bars
4. Export a rough and listen while counting phrases:
Can you “feel” where a DJ would start mixing in and out?
---
7) Recap ✅
If you tell me your subgenre (liquid, jump-up, rollers, neuro, jungle), I can suggest an exact bar-by-bar template and what to remove/add at each 16-bar checkpoint.
```

