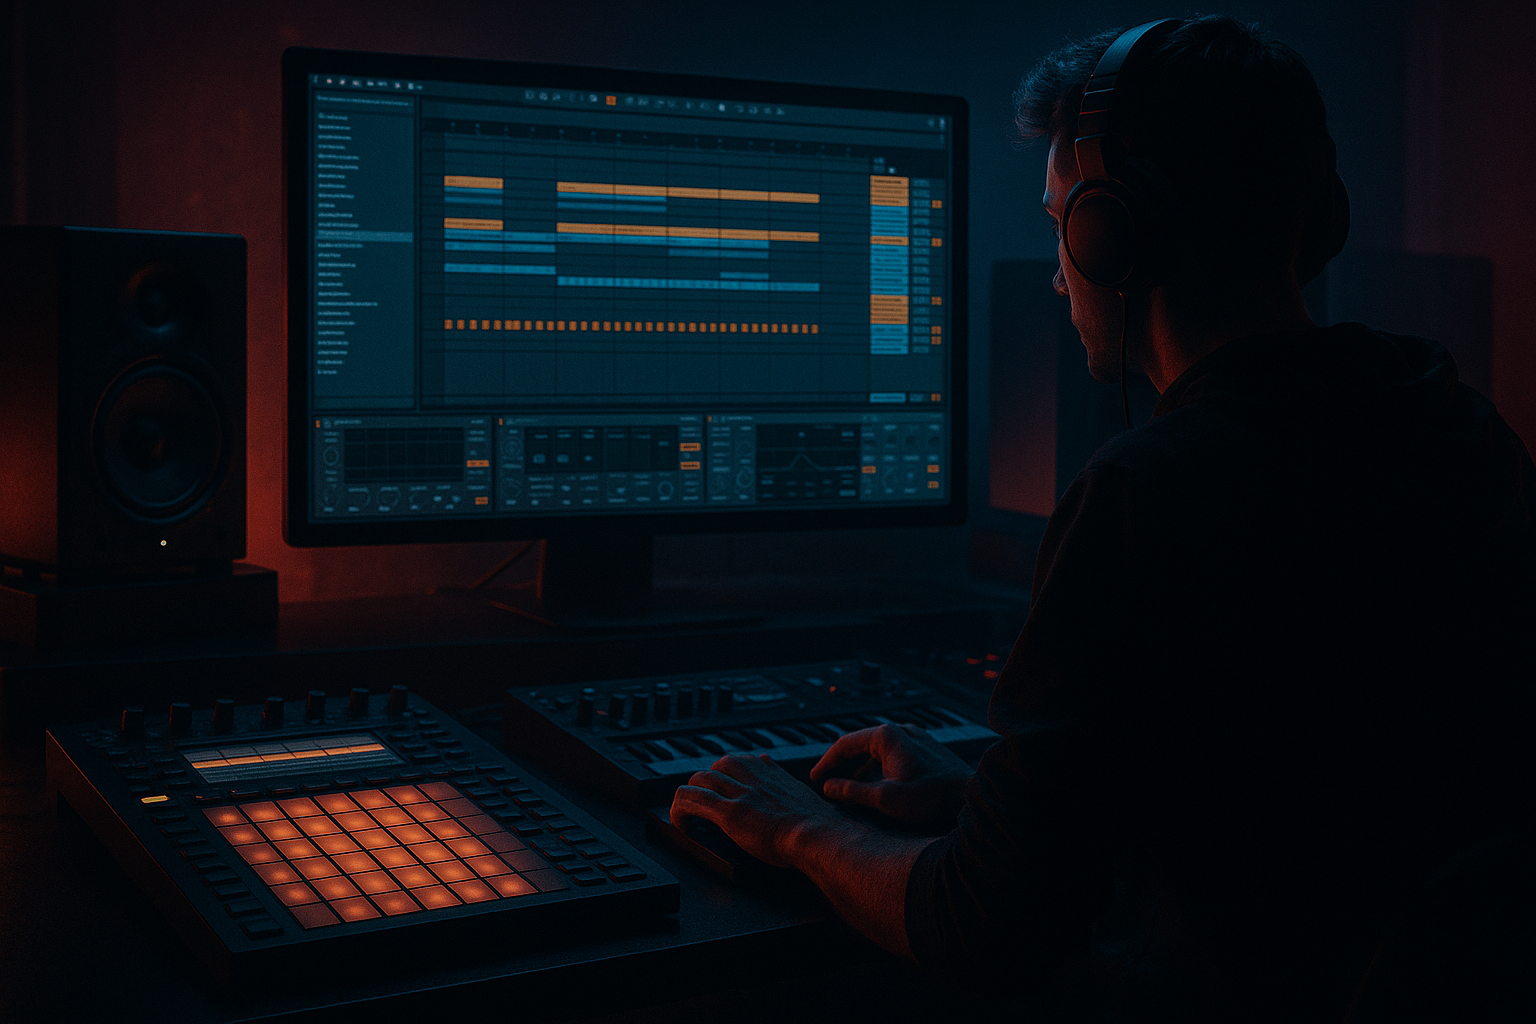
Main tutorial
Drum Rack Setup for Drum & Bass (Ableton Live) 🥁⚡
Skill level: Beginner
Category: Drums
---
1. Lesson overview
In this lesson you’ll build a proper Drum & Bass Drum Rack in Ableton Live that’s fast to program, easy to mix, and flexible for jungle breaks, rolling two-step, and heavier neuro-style drums.
You’ll learn how to:
- Pick and layer kick/snare/hat sounds the DnB way
- Set up a Drum Rack with smart routing and return chains (built-in reverb/delay)
- Add basic processing using Ableton stock devices (EQ, compression, saturation)
- Prep it for arrangement, fills, and quick variations
- Kick (with optional sub “thump” layer)
- Snare (plus clap layer)
- Closed hat / Open hat
- Ride / shaker (for roll + movement)
- Ghost snare (low velocity hits for groove)
- Break slice lane (classic Amen-style chopped layer)
- Return chains inside the Drum Rack:
- A clean internal mix using:
- Put a Limiter on the Master just to avoid accidental clipping while learning (don’t smash it).
- Closed hat on F#1
- Open hat on A#1 (or nearby—just keep it consistent)
- Warp OFF
- Use Decay to tighten: closed hat short, open hat medium-short
- If harsh: later we’ll EQ around 8–12 kHz gently
- Put EQ Eight on the clap layer and high-pass around 200–400 Hz so it doesn’t muddy the snare body.
- EQ Eight
- EQ Eight
- EQ Eight
- Kick: on 1 and 3 (sometimes extra variations)
- Snare: on 2 and 4 (this is sacred in most DnB)
- Closed hat: 1/8s or 1/16s, with velocity variation
- Add ghost snares just before or after the main snare (very quiet).
- Vary hat velocities (e.g., 70/45 alternating) for bounce.
- Add a break slice loop softly behind your clean drums for texture (we’ll prep that next).
- Program small break hits under your clean snare/kick
- Use it for fills at the end of 4/8/16 bars
- Bars 1–4: basic groove (intro to drums)
- Bars 5–8: add open hat or ride every 2 bars
- Bar 8: small fill (break slice or snare roll)
- Drop: remove elements right before drop (1/2 bar of tension), then slam back in
- Snare roll: 1/8 → 1/16 on last half-bar (increase velocity slightly)
- Break chop: 2–4 slices at the end of bar 8
- Warp ON for one-shots → can smear transients and reduce punch.
- Too much reverb on kick/snare → DnB needs tight impact; keep rooms short.
- No velocity variation → hats and ghost hits will sound robotic.
- Over-compressing the drum bus → you’ll lose snap; aim for light glue.
- Clipping inside the rack → multiple layers add up fast; gain-stage each pad.
- Break layer too loud → it should add texture, not dominate (unless you’re going full jungle).
- Parallel dirt on drums:
- Tighter, heavier snare:
- Dark cymbals:
- Controlled punch:
- Neuro-style tightness:
- Core kit (kick/snare/hats) + DnB layers (ghosts, ride, break slices)
- Drum Rack return chains for fast reverb/delay sends
- Clean stock processing with EQ Eight, Drum Buss, Glue Compressor, Saturator
- A pattern + arrangement approach rooted in two-step and jungle textures
---
2. What you will build
A Drum Rack that includes:
- Short room reverb for snare/perc 🏠
- Tempo-synced delay for ear candy/dubs 🔁
- EQ Eight, Saturator, Glue Compressor, Drum Buss, Transient shaping (Drum Buss)
---
3. Step-by-step walkthrough
Step 0 — Session prep (so your drums feel like DnB immediately)
1. Set tempo to 170–175 BPM (try 174 BPM).
2. Create a MIDI track: Cmd/Ctrl + Shift + T.
3. Drag in Drum Rack (from Instruments → Drum Rack).
Optional but recommended:
---
Step 1 — Load core one-shots (kick, snare, hats)
You can use your own samples, or Ableton stock packs if you have them.
#### 1A) Kick
1. Drag a kick sample onto C1 (default first pad).
2. Click the chain (the Simpler inside the pad). In Simpler → One-Shot mode:
- Warp: OFF (important for clean transient hits)
- Volume: adjust so it’s not clipping (aim peaks around -12 to -6 dB on the pad meter)
DnB kick tip: You usually want a kick with fast punch and not too much long sub tail (the bassline will own the sub).
#### 1B) Snare
1. Drag your snare onto D1.
2. In Simpler:
- Warp: OFF
- If the snare rings too long, reduce Decay slightly (or use the Fade Out control if available).
DnB target: Snare is the “lead” drum—make it confident and bright enough to cut through a loud bass.
#### 1C) Hats
In each hat Simpler:
---
Step 2 — Add classic DnB layers (clap, ghost, ride)
#### 2A) Snare + Clap layer (optional but very common)
1. Add a clap onto D#1 (next to snare).
2. Later you’ll trigger both together, or you can layer them inside one pad (Step 4).
Why: Clap adds width and “air”; snare adds crack/body.
#### 2B) Ghost snare lane
1. Add a quieter snare/ghost hit sample onto C#1.
2. Plan to program these at very low velocity (like 20–45) between main hits.
#### 2C) Ride / shaker lane (for rolling energy)
1. Put a ride or shaker on G#1.
2. Keep it tight—DnB rides often get busy fast.
---
Step 3 — Create Drum Rack Return chains (reverb + delay inside the rack) 🎛️
This is a game-changer for fast DnB workflow.
1. In the Drum Rack, click Show/Hide Chain List (left side).
2. Click Show/Hide Return Chains (small R icon area).
3. Create Return A:
- Add Reverb (stock)
- Settings (good starting point):
- Decay Time: 0.4–0.8 s
- Size: small/medium
- Pre-Delay: 10–25 ms (keeps snare punchy)
- High Cut: ~7–10 kHz (avoid fizzy reverb)
- Dry/Wet: 100% (returns should be wet)
4. Create Return B:
- Add Echo (stock)
- Settings:
- Time: 1/8 or 1/16 (sync)
- Feedback: 15–30%
- Filter: roll lows (HP around 200–400 Hz)
- Dry/Wet: 100%
5. Now go to individual drum pads and use the Send knobs (A/B) to taste:
- Snare: a little Reverb A (like 5–15)
- Percs: sprinkle Echo B for movement
- Keep kick mostly dry (0–3 max)
---
Step 4 — Layer sounds inside a single pad (Kick & Snare “macro layers”)
Instead of triggering multiple MIDI notes, you can stack layers on one pad.
#### 4A) Layer the snare (body + crack) inside D1
1. Click D1 pad chain.
2. Drag a second snare (or clap) into the same pad so you see two chains under D1.
3. Balance:
- Body snare slightly louder
- Crack/clap slightly quieter
Optional quick shaping:
#### 4B) Layer the kick (punch + click)
1. On C1, layer a clicky kick or transient layer.
2. EQ Eight on click layer:
- High-pass around 200 Hz
- Small boost around 2–5 kHz if needed (careful)
---
Step 5 — Add basic processing (clean, loud, controlled)
We’ll keep it beginner-friendly but real-world DnB-ready.
#### 5A) Per-pad EQ (quick cleanup)
On Kick (C1):
- Cut a little at 250–400 Hz if boxy (small dip 2–4 dB)
- If too boomy, gentle control around 60–90 Hz (don’t kill it)
On Snare (D1):
- High-pass around 90–120 Hz (removes rumble)
- If it’s honky, dip 400–800 Hz slightly
- If it needs snap, gentle boost 3–6 kHz
On Hats:
- High-pass 200–400 Hz
- If harsh, tiny dip 8–10 kHz
#### 5B) Group processing inside the Drum Rack
Click the Drum Rack’s main chain (top level) and add:
1. Drum Buss (stock)
- Drive: 3–10 (use ears)
- Boom: Off or very low for DnB (bassline needs space)
- Transient: +5 to +20 to add punch
- Output: watch levels (don’t clip)
2. Glue Compressor (light glue, not squashing)
- Attack: 3 ms
- Release: Auto or 0.1–0.3 s
- Ratio: 2:1
- Aim for 1–3 dB gain reduction on loud sections
- Turn on Soft Clip if it helps tame peaks
3. Saturator (optional)
- Mode: Soft Sine or Analog Clip
- Drive: 1–4 dB
- Keep it subtle—just density
---
Step 6 — Quick DnB pattern mapping (so the rack gets used correctly) 🧠
Create a MIDI clip (1 bar loop) and program:
#### Classic two-step (foundation)
Groove trick:
#### Jungle break layer idea
---
Step 7 — Add a break slice lane (simple beginner method) 🔪
1. Find a breakbeat loop (Amen, Think, etc.).
2. Drop it onto an empty Drum Rack pad (e.g., C2).
3. In Simpler, switch to Slice mode.
4. Choose Slice By: Transients.
5. Click “Slice” (creates slices mapped across MIDI notes).
Now you can:
Mix tip: Break layer should often be quiet and high-passed (so it adds grit without wrecking low-end).
---
Step 8 — Arrangement ideas (DnB structure using your rack) 🧱
Use 4-bar thinking:
Beginner-friendly fill options:
---
4. Common mistakes 🚫
---
5. Pro tips for darker/heavier DnB 😈🔩
- Create an Audio Effect Rack on the Drum Rack track:
- Chain 1: Dry
- Chain 2: “Dirt” with Saturator → Overdrive → EQ Eight (HP at 150 Hz)
- Blend the dirt chain quietly for aggression without mud.
- Add Drum Buss on the snare pad only with:
- Transient up, Drive moderate
- Then add EQ Eight to boost ~200 Hz slightly (body) and ~5 kHz (crack) if needed.
- Use Auto Filter (LP around 10–14 kHz) on hat group to remove shiny top.
- Use Limiter lightly on the drum group if peaks are wild, but don’t rely on it for loudness.
- Keep kick short, snare loud, and put most “room” on percussion—not the main transient hits.
---
6. Mini practice exercise 🎯
Goal: Build a 16-bar rolling drum loop with variation using your rack.
1. Program a 2-step beat for 8 bars.
2. Add:
- Ghost snares (velocity 20–45)
- Hat velocity variation (make every 2nd/4th hat quieter)
3. Bars 9–16: create development:
- Add an open hat every 2 bars
- Add a quiet break slice pattern on bars 13–16
4. Make a fill on bar 16 using either:
- Snare roll (increase density), or
- 3–5 break slices
Checkpoint: Your drum bus should not clip, and the snare should clearly lead the groove.
---
7. Recap ✅
You now have a practical DnB Drum Rack workflow in Ableton Live:
If you want, tell me what sub-genre you’re aiming for (liquid, jump-up, neuro, jungle) and what samples you’re using, and I’ll suggest a specific rack layout + processing starting points for that sound.

