DNB COLLEGE

AI Drum & Bass Ableton Tutorials

LESSON DETAIL

Dub delay timing at 170 BPM using Session View (Intermediate)

An AI-generated intermediate Ableton lesson focused on Dub delay timing at 170 BPM using Session View in the FX area of drum and bass production.

Free plan: 0 of 1 lesson views left today. Premium unlocks unlimited access.

Dub delay timing at 170 BPM using Session View (Intermediate) cover image

Narrated lesson audio

The full narrated lesson audio is available for premium members.

Go all in with Unlimited

Get full access to the complete dnb.college experience and sharpen your production with step-by-step Ableton guidance, genre-focused lessons, and training built for serious DnB producers.

Unlock full audio

Upgrade to premium to hear the complete narrated walkthrough and extra teacher commentary.

Sign in to unlock Premium

Main tutorial

```markdown

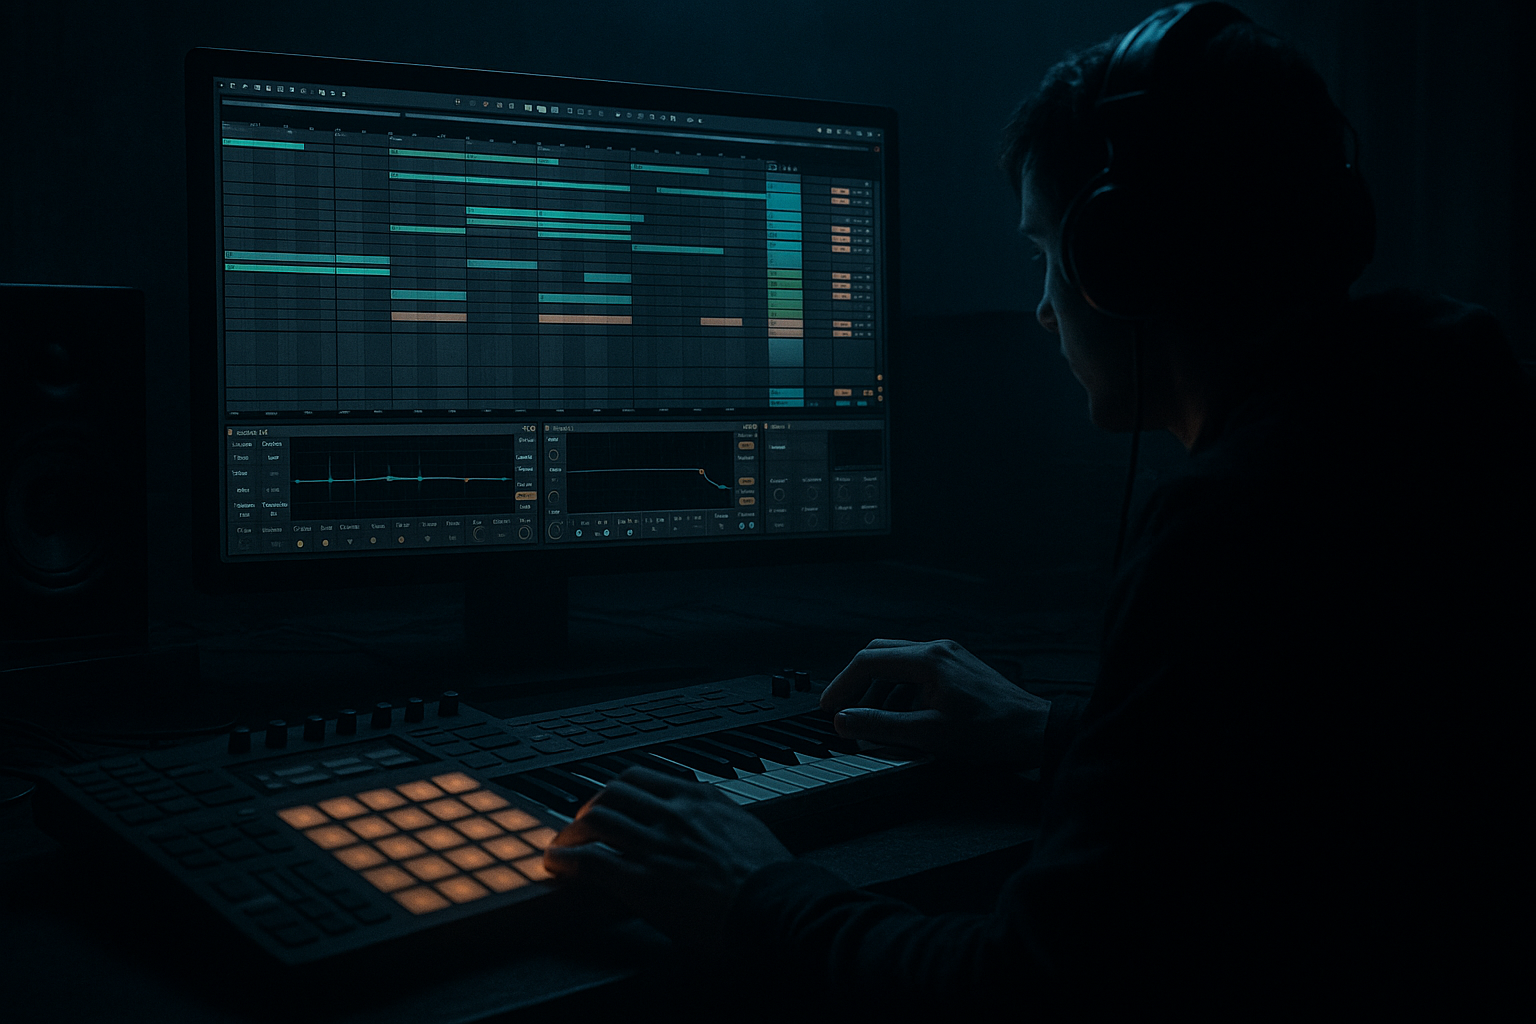
Dub Delay Timing at 170 BPM in Ableton Live Session View (DnB Focus) 🔥

1. Lesson overview

In drum & bass, dub delay isn’t just an effect—it’s groove, space, and attitude. At 170 BPM, delays can either sound razor-tight and rolling… or messy and off-grid.

You have used all 1 free lesson views for 2026-04-14. Sign in with Google and upgrade to premium to unlock the full lesson.

Unlock the full tutorial

Get the full step-by-step lesson, complete walkthrough, and premium-only content.

Ask GPT about this lesson

Lesson chat is a premium feature for fully unlocked lessons.

Unlock lesson chat

Upgrade to ask follow-up questions, get simpler explanations, and turn the lesson into step-by-step practice help.

Sign in to unlock Premium

Narration script

Show spoken script
Welcome in. Today we’re dialing in dub delay timing at 170 BPM in Ableton Live, specifically using Session View like a performance instrument. This is drum and bass territory, so the goal is simple: tight groove, big space, zero mud. At 170, delay can either sound like it’s glued to the rhythm… or it can instantly turn into a messy blur that fights your drums and your bass. We’re going to make the “glued” version, and we’ll do it in a way you can actually play live with clips.

Before we touch any devices, set your project tempo to 170 BPM. Stay in Session View. Load up a basic DnB starting point: a drum group with kick, snare, hats, maybe a few ghost notes, then a bass track with your sub and mid layer, and optionally a vocal stab or a jungle chop track. The mindset here is: we’re not just mixing an effect into an arrangement. We’re building a controllable FX station that stays consistent while we launch clips.

Now, instead of putting delay directly on your snare track or vocal track, we’re going to do the most stable DnB-friendly approach: a dedicated Return track.

Create a Return track and name it “A - Dub Delay”. This return is going to be your delay instrument. And we’re going to build the chain in a specific order so it behaves like a pro mix chain, not a random echo slapped on top.

On Return A, load these devices in order.

First, Echo. That’s the core delay.
Then Auto Filter, for dub-style tone shaping.
Then Saturator, to thicken it and control peaks.
Then a small Reverb, optional, just to glue it into space.
And then Utility at the end for final control, like gain staging and mono checks.

And quick teacher note: returns can get loud fast when you start playing with feedback. So later, we’ll add one safety net at the very end: a limiter. Not to crush the sound, just to prevent “oops I just blew up the return” moments when you get performative.

Alright. Open Echo.

Turn Sync on. This matters, because at 170 BPM, you want your repeats to land musically. Start with a time of one quarter note. That’s the classic dub bounce, and in DnB it tends to sit right behind a snare hit in a way that feels intentional.

Here are your main timing options to keep in your head:
One quarter is the safe classic. Great for snares and phrase endings.
One eighth is faster and rollier. Great for hats and little ghost stuff, but it can clutter quickly.
Three sixteenths is the spicy one. It adds forward momentum and swing-like movement even if your drums are straight.
One half is big and dramatic, but at 170 it can get huge fast. Use it for transitions, not for constant groove.

Set Feedback to a controlled starting point. Go for 30 to 45 percent. That gives you a throw that speaks, but doesn’t take over the track. If you want longer dub trails, you can push 55 to 70, but only if you’re also controlling tone and low end. Feedback without control is how you lose the mix.

Because this is a Return track, set Dry/Wet to 100 percent. Your dry signal stays on the source tracks, and the return is pure effect.

Now for character settings: keep modulation subtle. Think two to eight percent. You want movement, not seasick wobble. Noise can be off unless you’re intentionally doing lo-fi. And for Character, keep it clean or lightly colored. Most modern DnB wants clarity and impact, even when the delay is dirty.

Now we shape it like dub. After Echo, open Auto Filter. Choose a low-pass filter, 24 dB slope. This is the secret that makes delay throws sound expensive instead of amateur. Start the cutoff somewhere around 2.5 to 6 kHz. You’ll adjust by ear, but here’s the guiding idea: your mix already has a loud snare crack and a busy mid-bass. Filtering the delay keeps it out of the way. Add a little resonance, maybe 10 to 25 percent. Enough to give it a point, but not enough to whistle unless you want that on purpose.

Next device: Saturator. Drive it two to six dB. Turn Soft Clip on. Soft Clip is your friend on a return because delay repeats can stack up and spike. Saturation also helps the delay read on smaller speakers; it adds harmonics so you still feel the echo even when the low end is filtered out.

Now add Reverb, but keep it subtle. Small to medium size, decay around 0.6 to 1.4 seconds, and high cut somewhere around 4 to 8 kHz. This is not a big wash. It’s just a little air so the delay feels like it’s in the same world as your drums.

Then Utility at the end. Leave it at unity for now, but remember Utility is your “final hand on the fader” for the return. Also remember it’s your mono check tool. We’ll use that in a minute.

Now we do the most important DnB cleanup step: protect the low end. Put EQ Eight on the return, and put it before Utility. Engage a high-pass filter at around 120 to 250 Hz, with a steep slope, like 24 or even 48 dB per octave. This is non-negotiable if you want your kick and sub to stay clean while the delay tail rings. The delay does not need sub information. In DnB, that’s how you lose punch.

Optional but very professional: duck the delay return. Add a Compressor after EQ Eight. Turn on Sidechain, and set the input to your snare track, or your drum bus if that’s more convenient. You’re not trying to pump the life out of it. You want a small one to three dB of gain reduction on hits, so the delay steps out of the way of the transient and then blooms right after. That gives you that “big but still punchy” roller feel.

And now add that safety net I mentioned: put a Limiter at the very end, after Utility. Set it so it barely catches peaks. You’re not mastering the return. You’re preventing feedback moments from nuking your headroom.

Cool. The return is built. Now we make it playable in Session View.

Method one is send-based throws, and it’s the most stable way to work.

Go to your snare track and find Send A. Bring it up just a bit to test. You should hear the snare feeding the delay return. Then pull it back down. That’s the basic move: momentary sends.

But here’s where Session View becomes a weapon: clip-based send automation. Duplicate one of your drum loop clips into a few clip slots. In one clip, keep it dry. In another clip, create a throw.

Click the clip, go to Clip View, open Envelopes. Choose Mixer, then choose Send A. Now draw a quick spike or ramp up right at the end of the phrase. For DnB, think in 4s and 8s: throw at the end of bar 4, or the end of bar 8, so it answers the phrase and pulls you into the next one. Keep it momentary. A throw is like tossing a word into space, not leaving the mic open the whole time.

Do the same for a vocal chop clip. Make one clip that’s mostly dry, and another where the last word or last hit gets a send spike into the delay. Now, when you launch different clips, you’re launching different delay behavior without touching a knob. That’s the Session View advantage: each clip can carry its own mix automation.

Now, there’s a second approach that’s great when you want one-button chaos control: an Audio Effect Rack “Throw” on the source track.

On your snare track or vocal track, drop an Audio Effect Rack. Make two chains. One chain is Dry, with nothing on it. The second chain is Throw FX.

In the Throw FX chain, add Utility first. Set it so it’s basically muted at rest, either by setting gain super low or by controlling the chain volume. Then add Echo, synced to one quarter or three sixteenths. Then Auto Filter low-pass. Then Saturator.

Now map a macro called “THROW” to either the chain selector or the chain volume, so at zero you’re dry, and when you turn it up you jump into the throw chain. If you map Feedback and Filter Cutoff to other macros, now you have a mini dub instrument: throw amount, darkness, and ring.

This rack approach is awesome when you want to target one sound without affecting the whole track’s send balance. It’s also great if you want to keep your return delay setup consistent, but have special throw behavior for just vocals or just snare.

Now let’s talk about timing choices at 170 and why they feel different.

One quarter note on snare throws is the classic. It answers the snare with a repeat that feels natural in a 2-step pattern.
One eighth is a faster roll. Put it on hats or small percussion if you want shimmer, but be careful: it can fill every gap and reduce impact.
Three sixteenths is my go-to for “it grooves harder now” without changing the drums. It’s especially good on fills and jungle chops because it creates momentum and a kind of syncopated push.
One half note is for drama. Use it like a spotlight, not like a steady groove, especially at 170.

Now let’s add a really practical coach trick: know the milliseconds for when you want a non-synced moment.

At 170 BPM, a quarter note is about 352.9 milliseconds. An eighth is about 176.5 milliseconds. Three sixteenths is about 264.7 milliseconds. And a half note is about 705.9 milliseconds.

Why do you care? Because sometimes you’ll want to turn Sync off for a “dragging tape” moment, like you’re bending time, but you still want to land back in the pocket. Those millisecond values are your landing zones. You can modulate by ear, then snap back near one of those numbers and it’ll still feel musical.

Next, one of the most common reasons throws feel late has nothing to do with the delay device. It’s Session View quantization.

If you’re triggering throws by launching clips, or you make a dedicated “throw clip” or “dummy clip,” Global Quantization determines when that launch actually happens. If Global Quantization is set to 1 bar, your throw might wait until the next bar line, and you’ll swear your delay is off, when it’s really just launching later than you think.

Phrase-based dub gestures usually feel great at 1 bar quantization. But if you want instrument-like quick throws, try 1/4 quantization. And if something feels behind, check quantization before you start changing delay time.

Now let’s make this even more performable: dummy clips.

Create a new audio track and name it “DUB CTRL.” Put an empty clip in a slot. No audio in it. This clip exists purely to automate things.

To make this work smoothly, map key return parameters to macros in an Audio Effect Rack on the return, or map them to macros you can access easily. For example: Echo Feedback, Auto Filter cutoff, Utility gain, maybe Utility width. Then, in the dummy clip’s envelopes, automate those macros.

Make one dummy clip that pushes feedback up for one bar and snaps it back down.
Make another that sweeps the filter cutoff down so the tail disappears into darkness.
Make another that widens the return only during a fill, then returns to normal.

Now you can launch these dummy clips like scenes. Your delay becomes arrangement-aware. You’re not “twisting knobs randomly,” you’re launching planned dub moves that line up with your phrases.

Another upgrade that works beautifully at 170: two returns. One short and one long.

Return A could be “DUB TIGHT” with one eighth or three sixteenths, lower feedback, a bit brighter.
Return B could be “DUB LONG” with one quarter or one half, higher feedback, darker filtering.

Now you can send different elements to different delay personalities without constantly reconfiguring a single return. In Session View, this is huge, because you can “play” contrast: tight answers in the groove, long throws for transitions.

Let’s do a quick mono compatibility check, because wide delays can hollow out impact.

On the return, set Utility width to zero for about ten seconds while your track plays. Don’t leave it there forever; just check. If the delay collapses weirdly, or disappears, or gets phasey, you’ve got too much ping-pong or stereo trickery. Narrow it. In DnB, mono punch matters.

Now, a few common mistakes to avoid, because they’ll save you hours.

First, too much feedback at 170. It sounds sick when soloed. In context, it steamrolls the groove. Build up to high feedback with automation or dummy clips, then pull it back.
Second, forgetting the high-pass on the return. Delay tails eating the sub is one of the fastest ways to sound unfinished.
Third, going too wide. Huge stereo can feel impressive but kill your center impact. Check mono on the return.
Fourth, throwing on every snare. DnB needs contrast. Throws are punctuation, not constant narration.
And fifth, if your drum groove has swing or shuffle, straight delay timing might fight it. Three sixteenths can sometimes sit better, or you can adjust when the throw happens in the clip envelope rather than changing the delay time.

Now a mini practice exercise. This is where it really locks in.

Create a one-bar drum loop clip. Duplicate it into three clip slots.

Clip one: no throws. Just clean.
Clip two: a Send A spike only on the last snare hit of the phrase. If it’s a one-bar loop, think “end of bar” throw. If you’re working with four- or eight-bar loops, put it at the end of bar four or eight.
Clip three: two throws. One on a vocal stab, one on a snare fill.

On your return, start Echo at one quarter, feedback at about forty percent.

Then, when you launch clip three, try switching timing to three sixteenths for that clip’s moment. If you want to be extra clean, do it with a mapped macro or a dummy clip so it changes on-grid.

Now record yourself for two minutes by launching clips in Session View into Arrangement using Session Record. When you listen back, ask two questions.

One: do the delay tails clutter the kick and sub? If yes, raise your return high-pass frequency a bit, or increase ducking.
Two: does the groove feel tighter with one quarter or three sixteenths? There’s no universal winner, but you’ll hear which one supports your specific drum pattern.

Before we wrap, here’s a performance mentality that will level you up fast: assign roles to scenes. Don’t just spam throws.

Have a scene that’s dry and punchy.
A scene where you use small “answer” delays.
A scene for transition delays that are longer and darker.
And a breakdown scene where feedback is higher and the filter is lower.

Then, two bars before a drop, you can increase delay activity… and in the last half-bar, do the blackout trick: automate Utility gain on the return down so the tail hard-cuts, and the drop hits like a truck. That contrast makes the drop feel louder without you turning anything up.

Recap.

At 170 BPM, dub delay is groove control. Start with a return track, keep Echo synced, and begin with one quarter note timing. Shape the delay with low-pass filtering and saturation so it sits in the mix, and protect your low end with a steep high-pass on the return. Use Session View like it’s meant to be used: clip envelope send throws, dummy clips for parameter moves, and optionally two return tracks for tight versus long delay personalities. And always remember: if throws feel late, check global quantization before you blame the delay.

If you tell me what you’re mainly throwing—snare, vocals, or jungle chops—and whether you’re making a roller, dancefloor, jungle, or halftime, I can suggest a go-to two-return timing split and filter targets that usually just works at 170.

Background music

Premium Unlimted Access £14.99

Any 1 Tutorial FREE Everyday
Tutorial Explain
Generating PDF preview…