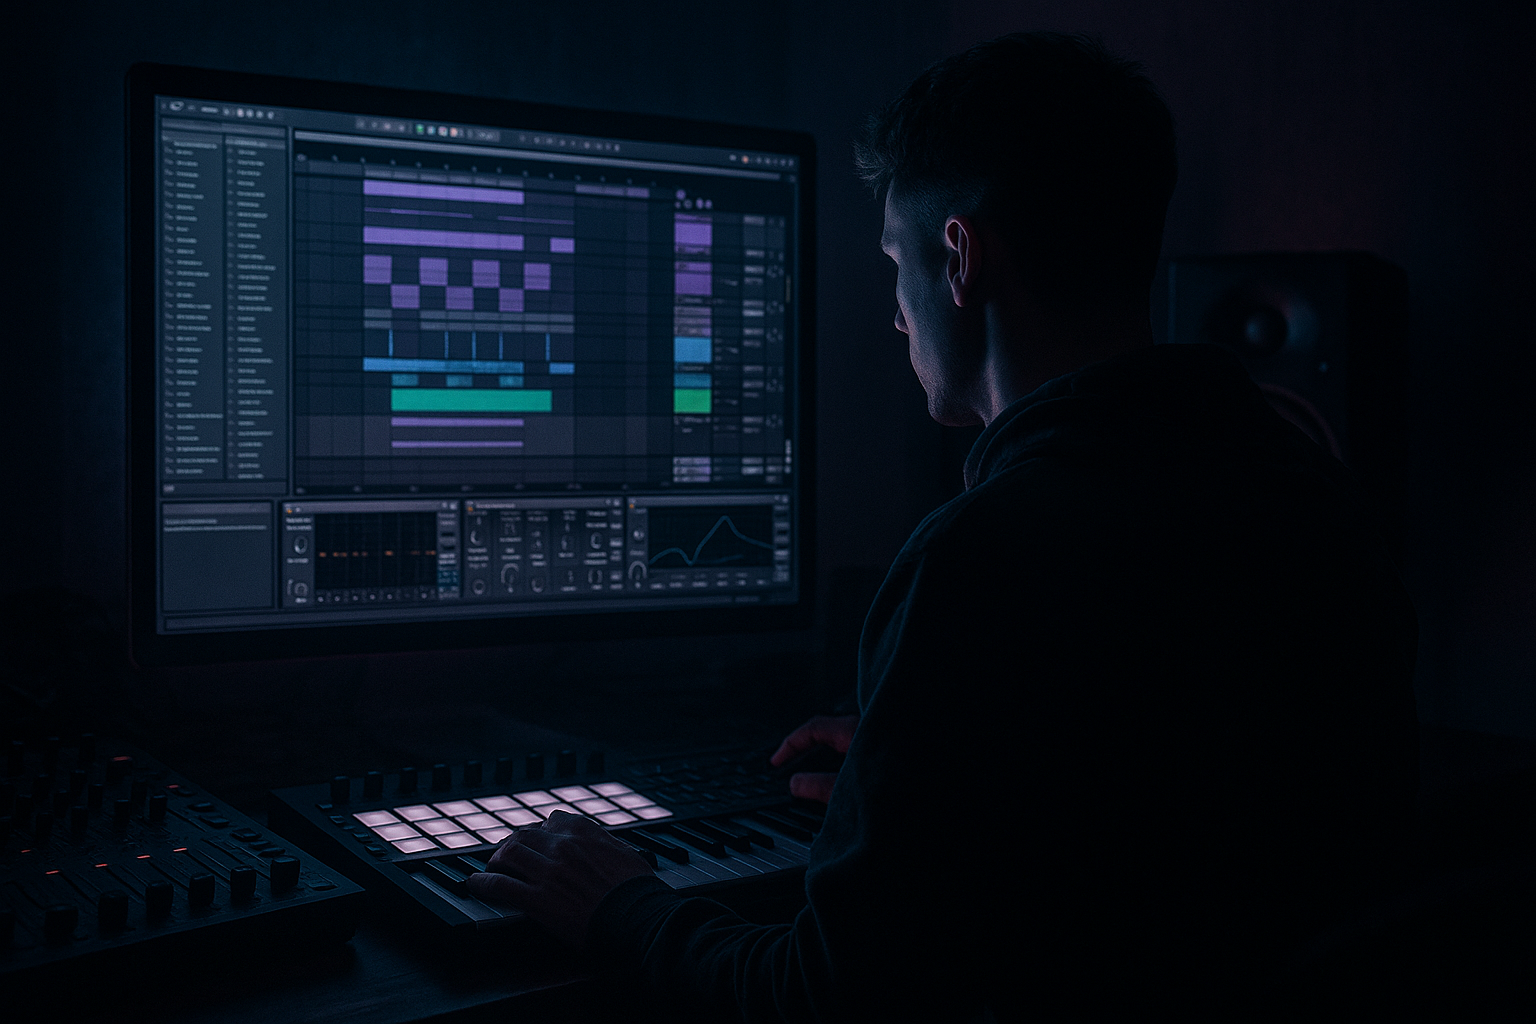
Main tutorial
Dub Siren in Ableton Live 12: Low-CPU Design for Jungle / Oldskool DnB
1. Lesson overview
A dub siren is one of those classic sounds that instantly signals soundsystem culture: reggae, dub, jungle, oldskool DnB, and fast-paced breakbeat pressure. In drum and bass, it works brilliantly for:
- Intro hooks
- Transition signals
- Call-and-response fills
- Rinse-out breakdowns
- Dark atmosphere over breaks and bass
- simple oscillator setup
- clean modulation
- dub delay
- gritty filtering
- arrangement ideas for DnB energy
- classic rising/falling siren sweeps
- short stabs for fills
- menacing pitch bends for darker jungle sections
- delay throws that sound wide and hype without eating CPU
- Mungo’s Hi Fi / vintage soundsystem intro energy
- oldskool jungle warning siren
- dark rave/DnB transition tool
- simple, raw, effective 🎛️
- In Ableton Live 12, create a new MIDI track
- Load Operator onto the track
- Rename the track to Dub Siren
- It’s very CPU-friendly
- It gives you clean basic waveforms
- It’s ideal for a simple but powerful siren tone
- Use Oscillator A only
- Set waveform to Sine or Saw
- Osc A: Saw
- Osc B/C/D: Off
- Attack: 0–5 ms
- Decay: 150–300 ms
- Sustain: 70–100%
- Release: 100–250 ms
- Assign LFO 1 to Osc A pitch
- Set:
- Rate: around 0.5 to 2 Hz
- Amount: small to medium, depending on how dramatic you want it
- Use a slow triangle LFO
- Increase amount until the pitch bend is obvious
- Keep it musical and not too random
- Use MIDI pitch automation
- Or map Macro controls if you place the siren in an Instrument Rack
- Filter type: Lowpass 24 or 12
- Cutoff: start around 200 Hz to 1.5 kHz depending on how bright you want it
- Resonance: 10–35%
- Drive: small amount if needed
- build-up tension
- movement in intros
- filter sweeps before drop sections
- Drive: 2 to 6 dB
- Soft Clip: On
- Output: adjust to avoid clipping
- Push drive slightly harder
- Then lower output to compensate
- delay
- filtering
- character
- stereo control
- Delay Time: 1/8 or 3/16
- Feedback: 25–45%
- Dry/Wet: 15–35%
- Filter: highpass and lowpass on
- Modulation: subtle
- Stereo width: moderate
- play a siren stab
- increase feedback for 1–2 bars
- pull it back before it gets messy
- Turn on Mono if the siren is meant to be center-focused
- Use Gain to balance the track
- If necessary, reduce width a little so the delay doesn’t overwhelm the stereo field
- 1/4 note stabs
- held notes over 1 or 2 bars
- syncopated offbeat hits before the drop
- filter cutoff
- pitch LFO amount
- Echo feedback
- Dry/Wet
- Macro 1: Pitch Sweep
- Macro 2: Filter Cutoff
- Macro 3: Delay Feedback
- Macro 4: Delay Wet
- Macro 5: Drive
- Macro 6: Output
- Intro: siren alone with vinyl crackle or atmosphere
- Pre-drop: automate rising pitch and increasing delay
- Breakdown: call-and-response with chopped breaks
- Drop transition: one short warning hit before the bass re-enters
- Outro: stripped-down siren and reverb tail
- chopped amen or funky break
- distant jungle atmospheres
- tape hiss / vinyl texture
- re-sampled vocal shouts or dubplates
- switch Operator from sine to saw
- add Saturator
- optionally follow with Overdrive at a very low amount
- Auto Filter lowpass
- or EQ Eight to reduce brittle highs
- use Auto Pan with phase at 0°
- set Rate to sync with the track
- keep depth modest
- lower CPU
- easier editing
- easier reversal
- easier slicing into fills
- rain ambience
- vinyl noise
- crowd noise
- distant thunder
- filtered break loop
- a chopped amen break
- a sub bass note
- a simple dub chord stab
- Use Operator for a lightweight sound source
- Keep the oscillator setup simple
- Shape the siren with envelope, LFO, and filter
- Add Saturator for grit
- Use Echo for dub-style delay throws
- Keep the low end clean with Utility or EQ Eight
- Resample if you want even less CPU and more arrangement freedom
- a macro-mapped Ableton rack preset layout
- a rack chain for darker Teknoid DnB sirens
- or a step-by-step resampling/chopping workflow for turning the siren into fills and risers.
In this lesson, you’ll build a lightweight dub siren in Ableton Live 12 using mostly stock devices, with a focus on minimal CPU load and a sound that fits jungle / oldskool DnB vibes.
We’ll keep it practical:
---
2. What you will build
You’ll create a one-track dub siren instrument that can do:
Final sound target
Think:
Device chain overview
You’ll build this chain:
1. Operator or Wavetable for the core tone
2. Auto Filter for movement and shape
3. Saturator for grit
4. Echo or Delay for dub space
5. Reverb if needed, but very lightly
6. Utility for mono control / level management
If you want the absolute lowest CPU load, Operator is the best starting point.
---
3. Step-by-step walkthrough
Step 1: Create a new MIDI track
Why Operator?
---
Step 2: Set Operator to a simple waveform
We want a basic tone that can be shaped by envelopes and filters.
Operator settings
- Sine = cleaner, more traditional, smoother siren
- Saw = harsher, more aggressive, more jungle-rave
Good starting choice
For oldskool DnB, try:
Keep it simple. A dub siren does not need a huge synth stack.
---
Step 3: Set the amplitude envelope
We want a siren that can be played as a held note with movement or short stabs.
Amp envelope starting point
If you want a stabby warning siren, shorten the decay and release.
If you want a longer atmospheric siren, raise the sustain and release.
Practical tip
For jungle intros, a longer release can let the siren trail into the break.
For transition hits, keep it shorter and punchier.
---
Step 4: Add pitch movement for the classic siren
The magic of a dub siren is the wobbling pitch gesture.
Easiest method: use an LFO
In Operator:
- Rate: sync off or very slow
- Waveform: triangle or sine
- Amount: subtle at first
Recommended settings
For a classic police-siren style sweep:
Better for arrangement control
If you want the siren to rise/fall only when you want it to:
---
Step 5: Shape it with Auto Filter
Now let’s make it more musical and more DnB-ready.
Add Auto Filter after Operator.
Suggested filter settings
Automation idea
Automate the cutoff to create:
DnB workflow tip
If your breakbeat and bass are busy, keep the siren fairly narrow and filtered so it doesn’t clash with the snare crack or sub.
---
Step 6: Add saturation for grit
Use Saturator after the filter.
This helps the siren sit in a jungle mix and gives it that worn, soundsystem edge.
Good Saturator settings
If you want a dirtier, more old tape/rave feel:
Why this matters in DnB
A clean siren can disappear once the break and bass kick in.
A little saturation helps it cut through without needing extreme volume.
---
Step 7: Add dub delay
This is where the sound becomes properly dubby.
Use Echo or the stock Delay device.
Best option: Echo
Echo is extremely useful because it gives:
Starter Echo settings
Dub-style move
Automate the Feedback up briefly for a “delay throw” at the end of a phrase.
That means:
That’s a classic jungle transition move.
---
Step 8: Control the low end with Utility
Use Utility at the end of the chain.
Utility settings
DnB mix logic
Keep the siren out of the sub zone.
Your kick and bass should own the low end, not the siren.
---
Step 9: Optional clip-based performance control
If you want the siren to feel more playable in a live-jam or arrangement context:
Option A: MIDI clips
Write short MIDI notes:
Option B: Automation lanes
Automate:
Option C: Macro rack
Group the devices into an Instrument Rack and map macros like:
This is a very good beginner workflow because it turns a complex chain into a few easy controls.
---
Step 10: Make it fit jungle / oldskool DnB arrangement
A dub siren is strongest when used sparingly.
Good placement ideas
Classic jungle vibe
Pair the siren with:
The siren should feel like part of a rave warning system, not a lead melody taking over the whole track.
---
4. Common mistakes
1. Making it too bright
A siren that is too sharp can clash with hats, snares, and ride patterns.
Fix:
Use Auto Filter and reduce high-end harshness.
You want presence, not pain.
---
2. Using too much delay feedback
It’s easy to turn the whole mix into delay soup.
Fix:
Keep feedback moderate and automate it only on specific hits.
---
3. Adding too many synth layers
This defeats the purpose of a low-CPU siren.
Fix:
Stick to one oscillator, one filter, one saturator, one delay.
Simple wins.
---
4. Letting the siren fight the sub
Low frequencies from the siren can muddy the kick and bass.
Fix:
Use a filter or EQ to cut unnecessary low end.
If needed, use EQ Eight with a steep high-pass around 120–200 Hz.
---
5. No automation
A static siren gets boring fast.
Fix:
Automate pitch, cutoff, feedback, or wet/dry to create movement across the arrangement.
---
5. Pro tips for darker/heavier DnB
Tip 1: Use a saw wave and distort it gently
If you want a darker jungle edge:
This gives a more aggressive, ravey horn quality.
---
Tip 2: Band-limit the siren
Dark DnB often sounds better when sources are constrained.
Try:
This helps the siren sit in a brooding mix with atmospheric pads, Reese basses, and chopped breaks.
---
Tip 3: Add rhythmic gating
If you want a more modern rolling DnB feel:
This creates movement without needing extra synth layers.
---
Tip 4: Resample it
Once your siren sounds good, resample it to audio.
Why?
For jungle and DnB, resampling is huge.
Render the best bits and chop them into your arrangement like a sample.
---
Tip 5: Add atmosphere behind it
A siren on its own is cool, but a siren with context is huge.
Try layering with:
Keep the siren center-stage but surrounded by texture.
---
6. Mini practice exercise
Goal
Make 3 different dub sirens and place them in a short 8-bar DnB intro.
Exercise steps
1. Duplicate your siren track twice
2. Make these versions:
- Version 1: Clean warning siren
- sine wave
- light filter
- short delay
- Version 2: Rude jungle siren
- saw wave
- more saturation
- stronger Echo feedback
- Version 3: Dark atmospheric siren
- lowpass filter
- longer release
- less wet delay, more space
3. Arrange them in 8 bars:
- Bars 1–2: version 3, very sparse
- Bars 3–4: version 1 enters
- Bars 5–6: version 2 with more energy
- Bars 7–8: automate delay feedback for a final buildup
Challenge
Try to make the siren sit over:
If it still sounds clear and exciting, you’ve done it right.
---
7. Recap
You’ve built a low-CPU dub siren in Ableton Live 12 that works for jungle and oldskool DnB.
Key points to remember
Final mindset
In DnB, the dub siren is not just a sound effect — it’s a rhythmic and cultural signal. Use it with confidence, but don’t overuse it. One well-placed siren hit can make a whole breakdown feel like a proper soundsystem moment 🔥
If you want, I can also give you:

