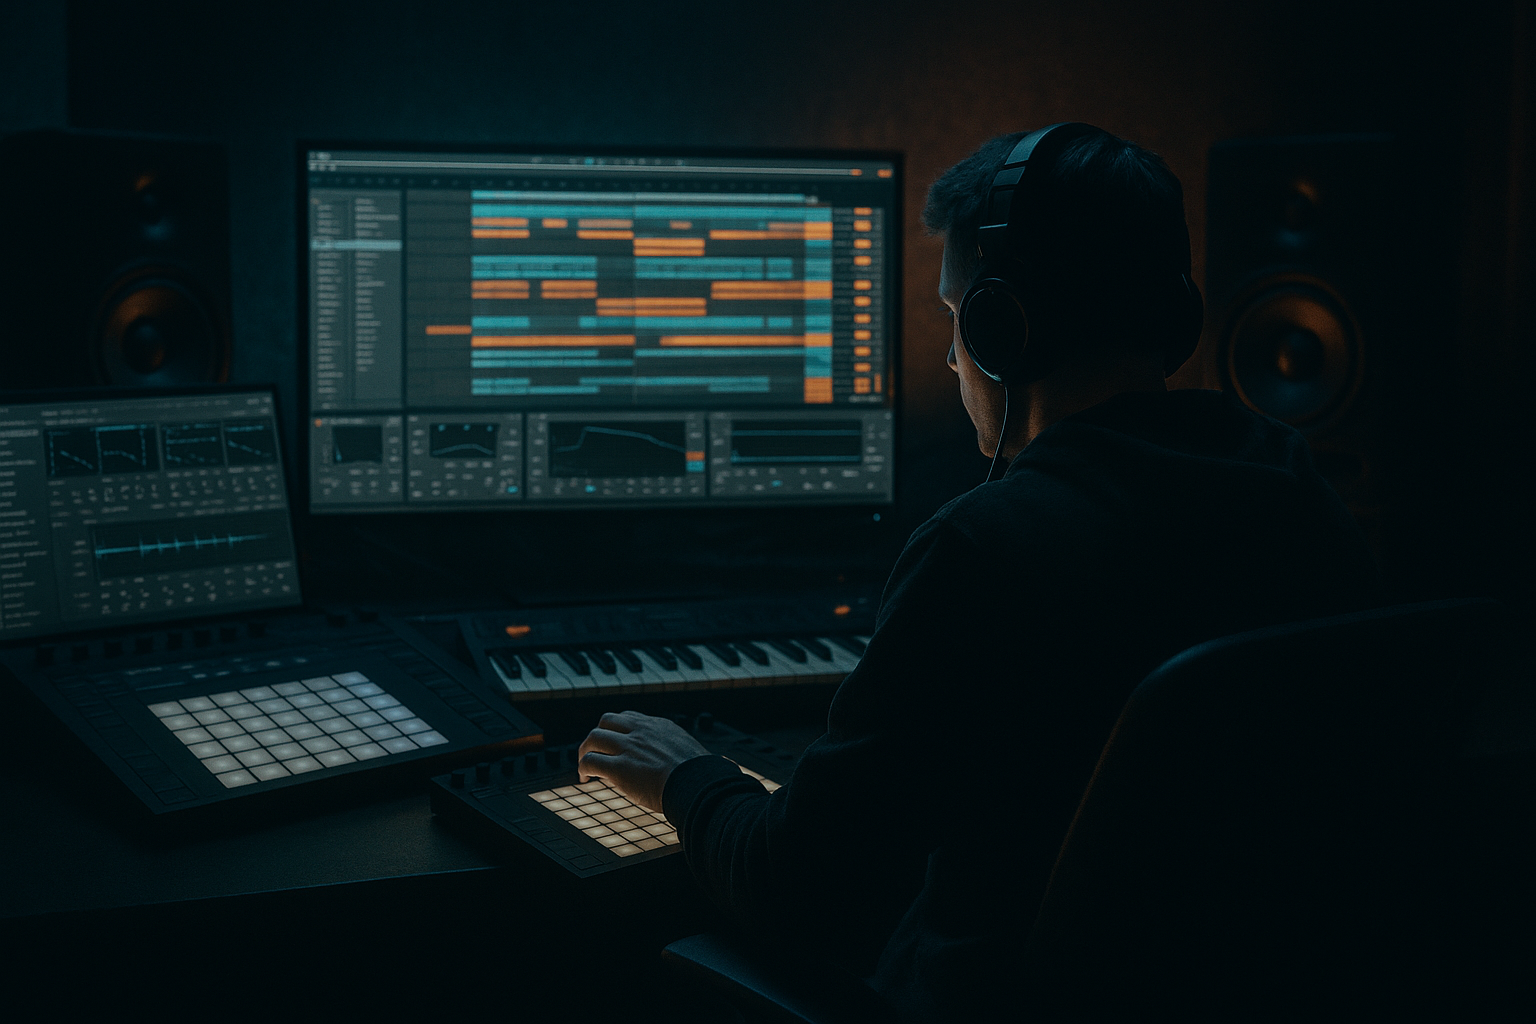
Main tutorial
1. Lesson Overview
This intermediate Sampling lesson — "Dubwise a reese patch: design and arrange in Ableton Live 12" — teaches a practical, sample-centered workflow: design a classic detuned reese in Wavetable, resample it to audio, convert that audio into playable sampled layers (Simpler/Sampler), then arrange and process it with dub-style effects (ping-pong delay, long reverb, filtering, send-automation) so it sits and moves in a Drum & Bass track at 170–175 BPM. All steps use Ableton Live 12 stock devices and focus on useful, reproducible techniques for producers.
2. What You Will Build
- A short playable sampled reese instrument (Sampler/Simpler) created from a Wavetable reese and resampled audio.
- An Instrument Rack with two layered chains (mono low + wide mids/high) for solid DnB low-end and spacious dub movement.
- Two returns for Echo (ping-pong) and big Reverb tuned for dub-style swells.
- Arrangement examples: drop placement, dub fills, send-automation and filter-sweeps that create classic dubwise motion in a Drum & Bass context.
- Set BPM to 174 (typical DnB). Create a new Live Set. Make sure you have Wavetable (Live Suite) or Analog; Wavetable is used here.
- Leaving sub frequencies wide: widening the entire reese will cause phase issues on the low end. Mono the low chain.
- Overusing returns for low delays: sending low content into Echo/Reverb muddies the mix. Highpass sends on returns.
- Too much unison or detune: creates flabby low end and masking with bass. Tame by EQ and reduce unison for the lowest octave.
- No sidechain to the kick: a busy reese can crowd the kick in DnB. Use sidechain compression with appropriate attack/release.
- Resampling at wrong level: if recorded too hot you clip; too low and you lose resolution. Record at healthy level, normalize if needed.
- Forgetting tempo context: Echo timing must be synced to 174 BPM for rhythmic dub placements; unsynced delays can sound out of groove.
- Duplicate/resample multiple variations (different filter positions, chorus amounts). Keep a small library of sampled reese variants for quick arrangement.
- Use an Instrument Rack with chain selector mapped to Macro for quickly switching between “full”, “low-only”, and “dub” versions during arrangement.
- When automating sends, consider LFO on Macro mapped to send for rapid dub stutters; limit LFO depth to avoid wild feedback.
- For extreme dub tails, automate Echo Feedback to near self-oscillation, then abruptly cut feedback or highpass the send to kill the tail musically.
- If you lack Sampler, use Simpler in Classic mode and duplicate it for layering; use additional audio FX and Utility for monoing lows.
- Use Freeze/Flatten to render CPU-heavy racks and keep your project responsive.
- Use Multiband Dynamics lightly on the full reese bus to glue the mid-band without crushing sub energy.
3. Step-by-Step Walkthrough
This walkthrough explicitly follows "Dubwise a reese patch: design and arrange in Ableton Live 12". Follow these numbered steps in Live 12.
Preparation
A. Design the reese in Wavetable
1. Create a MIDI track. Load Wavetable.
2. Oscillators:
- Osc A: Saw wave, unison 4, Detune ~0.06–0.12 (fine-tune by ear).
- Osc B: Saw or square, octave down or same octave detuned slightly (transpose -12 or 0 and detune ~0.03). Offset phases slightly for thickness.
3. Unison + Voicing:
- Set Unison voices to 4–6 for each oscillator and slightly adjust Voicing Drift/Spread so the sound breathes.
4. Filter & Movement:
- Use a 24dB low-pass filter (Filter Type LP24). Cutoff around 1–1.6 kHz to start.
- Add a slow LFO (sine) to modulate cutoff very subtly (rate ~0.1–0.25 Hz, amount small).
- Use an Amp Envelope with moderate attack (~10–30 ms) and long sustain to make it pad-like; add a tiny pitch envelope for a subtle drop on attack if desired.
5. Add mild saturation/distortion (Wavetable Drive) and a little unison detune modulation for motion. Keep low-end integrity in mind (don’t over-boost below 40 Hz here).
B. Resample the patch to audio
6. Create a new audio track. Set its input to "Resampling" (Input Type: Resampling in the In chooser).
7. Arm the audio track and record a 2–4 bar sustained sample (play a single long MIDI note or record the MIDI clip).
- Record multiple variations: raw, with filter sweeps, and with automation of detune or chorus. These give options to sample from.
8. Rename and Consolidate (Cmd/Ctrl + J) the recorded clip. Trim silence and normalize/gain to taste.
C. Import the sample into Simpler/Sampler (sampling step)
9. Drag the consolidated audio clip into Simpler (Classic mode) on a new MIDI track, or load it into Sampler if you have Suite (Sampler gives more modulation options).
10. In Simpler:
- Enable Loop and set a loop region for a sustained note.
- Use the Transpose/Detune to tune the sample. Set Warp off unless you want time-stretching artifacts intentionally.
- Use the Filter (LP24) and set an envelope on the filter: slow attack for swelling dub pads or quicker for plucks.
- Map Simpler LFO to filter cutoff for subtle wobble.
11. In Sampler (preferred for intermediate):
- Set up a looped zone and enable crossfade loop for smoothness.
- Use the Filter (LP or BP) and Envelope controls for dynamic movement.
- Use the Pitch Envelope to add small pitch movement at note start or for vibrato.
- Use LFO 1 routed to Filter Cutoff or Oscillator Pitch for chorus-like motion.
12. Create two simple layers:
- Duplicate the Simpler/Sampler track. On Track A (Low), insert an EQ Eight after Simpler and set a Lowpass at ~120 Hz (slope 24 dB) to keep only the sub and low-mid energy. Insert a Utility after EQ and set Width = 0 (mono).
- On Track B (High/Mid), insert an EQ Eight and set a Highpass at ~120 Hz (slope 12–24 dB) so this chain carries mids/highs and can be widened and heavily processed.
D. Build an Instrument Rack (optional but recommended)
13. Group both Simpler/Sampler chains into an Instrument Rack (select both MIDI tracks, Cmd+G or create Instrument Rack and drag Chains).
14. Map Macro controls:
- Macro 1: Global Filter Cutoff (map both chain filters).
- Macro 2: Echo Send (map track send level to return A).
- Macro 3: Reverb Send (map send to return B).
- Macro 4: Width (map Utility width on High chain).
- Macro 5: Low level (gain for low chain).
15. Save the rack for reuse.
E. Add processing and dub returns
16. Insert these devices on the Instrument Rack output (order): EQ Eight (low cut at 30 Hz), Saturator (Soft Clip or Analog Clip with Drive ~2–4 dB), Chorus-Ensemble (subtle), Utility (final width tweaks).
17. Create two Return tracks:
- Return A — Echo: Load Echo device. Set Sync to 1/8 or 1/8T (triplet) for ping-pong variation. Feedback 30–65% (taste), Diffusion low, Dry/Wet 20–40%. Use high-cut ~3–4 kHz and low-cut ~200 Hz to avoid muddying sub.
- Return B — Reverb: Load Reverb. Size large (50–70%), Decay long (3–6s), Predelay small (10–40 ms), HF Dampening to make it warm and dark. Dry/Wet 20–35%. Optionally route Echo post-reverb for classic dub tails (set Echo to post effect on return chain if you want Echo->Reverb).
18. On the main reese track(s), insert a Compressor for glue or a Glue Compressor; set a sidechain input to Kick (send Kick to Sidechain) and set ratio and attack/release so the reese ducks on the kick transient (fast attack, medium release ~50–120 ms).
F. Dub-style modulation & arrangement techniques (automation + sampling tricks)
19. Send Automation: Automate the Send A (Echo) and Send B (Reverb) levels on the Instrument Rack or its MIDI clip to create dub drops. For example: send +40% at the end of a 2-bar phrase and then ramp down.
20. Filter sweeps: Automate Macro 1 to quickly close the filter for bar 1–2 and then open it for the drop on bar 3. Use short, rhythmic automation to mimic dub wobble.
21. Pitch-play and drift: Automate small pitch transpositions (clip transpose or Rack macros) for half-bar pitch bends. Use tiny pitch modulation with LFO mapped to pitch for chorus-like motion.
22. Stutter & chops (sampling): Duplicate the resampled audio clip in Arrangement view and slice (Cmd+E) or use the Clip’s transient markers to create stabs. Reverse a slice and apply Echo send heavy for dub transitions.
23. Delay throws & cutoffs: On certain bars, automate highpass on the Echo return or use the Echo device’s low-cut to prevent low-end delays. Also automate Echo Feedback to create self-oscillating dub build-ups if desired.
24. Arrangement placement:
- Intro: low, filtered reese pad with low send to Echo.
- Pre-drop: open filter slightly and increase width; automate a short delay throw.
- Drop: full-band reese (both chains), sidechained to kick; occasional Echo sends for tailing dubiness.
- Breakdown / Dub section: pull out low chain (reduce low macro), push heavy Echo + Reverb sends, filter envelope swells, pitch drifts and reversed chops.
25. Final bounce: If you want to freeze CPU or print effects, resample your final instrument with sends printed (create a new audio track set to receive the reese group and record).
4. Common Mistakes
5. Pro Tips
6. Mini Practice Exercise
Time: 45–60 minutes
Tasks:
1. Build a 4-bar Wavetable reese (detuned saws, filter movement). Record a 4-bar resample.
2. Load the resample into Simpler/Sampler, create two chains (low mono / high wide) and save as an Instrument Rack.
3. Create two returns: Echo (1/8T ping-pong) and Reverb (large), with Echo highpass = 200 Hz.
4. Arrange an 8-bar section: bars 1–4 filtered low, bars 5–8 full sound with a heavy Echo send on bar 7 and a reverb tail into bar 8. Add sidechain to the kick.
Deliverable: Export that 8-bar section as a loop and two stems (dry reese, processed with sends).
7. Recap
You have just followed "Dubwise a reese patch: design and arrange in Ableton Live 12" with a sampling-forward approach: design a rich detuned reese in Wavetable, resample it to audio, create sampled playable layers in Simpler/Sampler, split low and high content for mono low-end stability and wide mids, and use Echo/Reverb returns with send automation to get authentic dub movement inside a Drum & Bass arrangement. Use the Instrument Rack macros, sends, and sidechain ducking to carve space for kick and bass, and keep variations (resampled alternatives, chops, reverses) on hand for musical dub fills.

