Main tutorial
Lesson Overview
A dubwise edit is one of the most useful weapons in advanced Drum & Bass bassline writing: it takes a ragga vocal energy, chops it into a rhythmic instrument, and then pushes it through distortion, filtering, delay, and resampling until it becomes part vocal, part bass, part percussion. In DnB, this technique is especially effective in rollers, darker jungle-influenced cuts, halftime sections, and switch-up drops where you want the bassline to feel human, rude, and unpredictable. 🔥
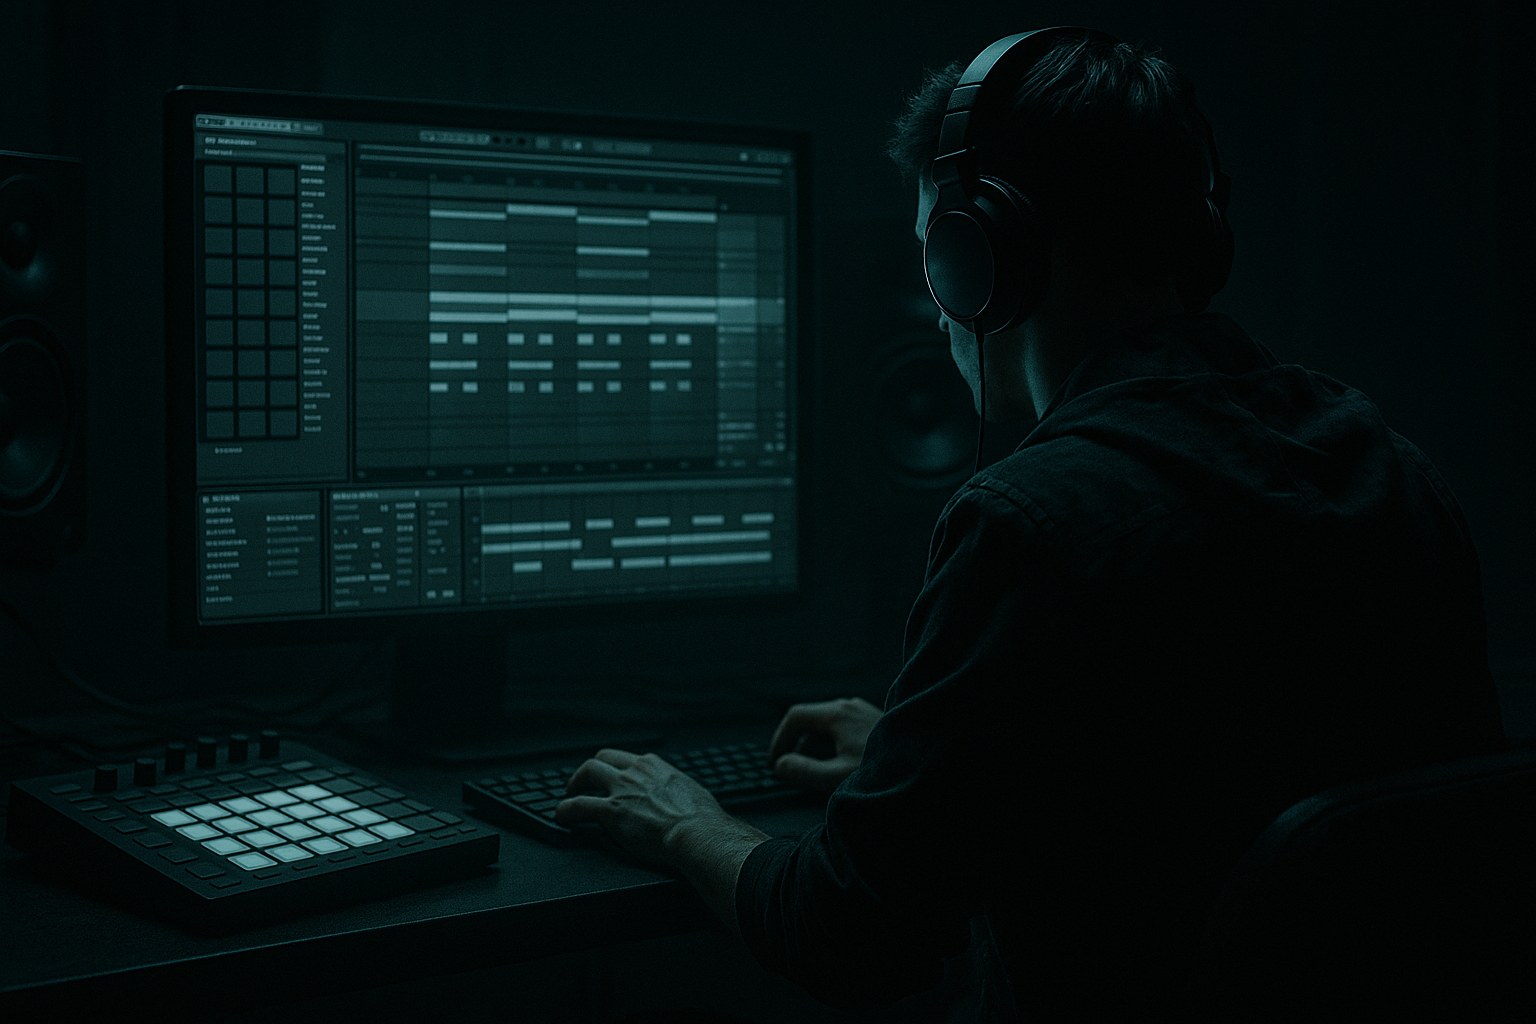
In this lesson you’ll build a ragga cut distort from scratch in Ableton Live 12 using only stock devices and a workflow that suits modern DnB production. The core goal is not just “making a vocal chop,” but turning that chop into a bassline-adjacent call-and-response element that can sit over a sub, lock with the drums, and drive arrangement momentum.
Why this matters in DnB:
- The genre thrives on rhythmic bass phrases that interact with breaks, not just sustained notes.
- Ragga cuts bring identity and attitude; distortion makes them cut through dense drums.
- Resampling and reprocessing create the dirty, edited, version-style energy that fits jungle, dark rollers, and neuro-adjacent bass music.
- When designed properly, the chop can function as a midrange hook without destroying your low end. That’s the balancing act.
- A short, call-and-response phrase that answers the drums every 1/2 bar or 1 bar
- A midrange-forward, distorted cut that can sit above or alongside a sub bass
- A dubwise tail with delay throws and filter sweeps
- A version that can evolve from cleaner intro edit → heavier drop edit → resampled savage variation
- Enough rhythmic clarity to work in 174 BPM rollers, jungle breaks, or darker jump-up-adjacent sections
- Overloading the low end with the vocal chop
- Distorting before cleanup
- Too much delay wash
- Ignoring rhythmic placement
- Making every chop equally loud
- Stereo widening the low mids
- Using too many modulation effects at once
- Split the rack by frequency bands: keep the core chop mono-ish below roughly 250 Hz, and let only the upper band get wide or phasey.
- Use drum-sidechain shaping carefully: a light Compressor sidechained from the kick can help the cut breathe without sounding pumped.
- Layer a tiny reese under the ragga cut: a very quiet midrange reese, filtered high-pass, can glue the edit into darker neuro-leaning sections.
- Print a “broken” version: resample one pass with a few clipped tails, reversed snippets, and delay throws for the switch-up section.
- Use Arrangement View for tension control: cleaner in the intro, more saturated in the drop, then strip back to a filtered version for the second 8 or 16 bars.
- Automate filter resonance sparingly: a little resonance on Auto Filter can make cuts scream without needing extra distortion.
- Check mono early: if the chop loses impact in mono, reduce stereo effects before they become part of the sound.
- Treat the vocal like a drum fill: the best ragga edits in DnB are often percussive, not lyrical.
- A dubwise ragga cut works best when it’s treated like a rhythmic bassline element, not just a vocal sample.
- Clean the source first, then add dub delay, distortion, and modulation in a controlled order.
- Keep the chop out of the sub range and let the actual sub handle low-end weight.
- Use resampling to turn a good performance into a better edited variation.
- In DnB, the magic is in the space between hits: call-and-response, tension, and precise placement.
We’ll build this as a performance-ready Ableton chain that starts with a vocal sample, turns it into a tightly-gated ragga stab system, adds dub-style space, then distorts and resamples it into a heavier final bassline texture.
What You Will Build
By the end, you’ll have a syncopated ragga cut distort bassline that sounds like a chopped vocal loop being played like an instrument in a DnB drop.
Musically, the result will be:
Think of it as a rude vocal bass weapon: sharp on the attack, controlled in the low end, and flexible enough to become a hook, a fill, or a drop lead.
Step-by-Step Walkthrough
1. Start with a phrase-rich ragga sample and prepare it for chopping
Choose a vocal phrase with strong consonants, attitude, and rhythmic shape. Ragga, dancehall, or reggae toaster lines work best when they have:
- Clear syllables
- Natural pauses
- Distinct vowel movement
- Enough character to survive distortion
Drag the sample into an audio track and immediately warp it to the project tempo, usually 174 BPM for DnB. In Live 12, use Complex Pro if the sample is melodic or has tonal content; use Beats if it’s more percussive and you want a tighter chopped feel.
Suggested starting points:
- Warp mode: Complex Pro or Beats
- Transients in Beats mode: 1/16 or 1/32
- Preserve: keep formants neutral at first, then adjust later if needed
Now slice the phrase into a rhythmically useful shape. In Arrangement View, cut the phrase into 1/8 or 1/16 chunks, or right-click and use Slice to New MIDI Track if you want finger-drummed control. For advanced control, slicing to a Drum Rack is usually better because you can reorder the chops like a bassline phrase rather than a static loop.
Why this works in DnB: short vocal slices behave like percussive bass notes when timed against the snare and ghost hats. The genre loves tension created by phrasing, not just harmony.
2. Build a controlled chop instrument in a Drum Rack
Create a new MIDI track, drag the sliced sample into a Drum Rack, and map key chops to pads. Then build a MIDI clip that plays a call-and-response pattern across one or two bars.
Keep the initial pattern sparse. For example:
- Bar 1: phrase hit on beat 1, response on the “and” of 2
- Bar 2: fill on the last two 16ths before the snare
- Leave holes for drums to breathe
Use note lengths intentionally:
- Very short notes for stabby cuts
- Slightly longer notes for vowel-led “ah” or “oy” moments
- Overlapping notes only if you want a smear or glide feel
Add Velocity variation so each chop hits with different aggression. In DnB, velocity variation matters because repeated vocal cuts can get robotic too fast. A phrase that moves from 70–110 velocity across the bar feels more like a live dub performance.
If you want more performance energy, map a few key chops to adjacent pads so you can improvise variation in the resampled take later.
3. Shape the chops with EQ Eight, Gate, and Auto Filter before distortion
Before you hit distortion, clean the source so the distortion enhances the good stuff rather than exaggerating mud.
Insert these stock devices:
- EQ Eight
- Gate
- Auto Filter
Suggested settings:
- EQ Eight: high-pass around 120–180 Hz to remove unnecessary low rumble from the vocal
- EQ Eight: if the sample is harsh, dip 2.5–4.5 kHz by 2–5 dB
- Gate: set threshold so tails cut off between chops, with a fast attack and release around 20–80 ms
- Auto Filter: use Low-Pass or Band-Pass depending on whether you want the chop to feel more muffled and dubby or more nasal and aggressive
Advanced move: automate the filter cutoff slightly on each phrase change rather than sweeping constantly. Tiny movements feel more “played” and less like generic EDM FX.
This step is crucial because ragga cuts can quickly become messy once distorted. If the transient and body are controlled before saturation, the final result stays punchy.
4. Create the dubwise movement with Echo and Delay throw automation
This is where the “dubwise” character really emerges. Add Echo after the cleanup stage, or place it on a return track if you want more flexibility.
Start with:
- Time: 1/8 Dotted or 1/4 depending on groove density
- Feedback: 20–45%
- Filter: high-pass the repeats around 200–400 Hz
- Dry/Wet: keep it modest if inserted directly, or use a return for send automation
For a more authentic ragga edit feel, automate send levels into the Echo only at the ends of phrases. This creates dub-style throws rather than constant wash. A one-beat throw before a drop or a half-bar echo into a snare fill is especially effective.
Add a second return with Delay if you want a different rhythmic echo style:
- Left/Right sync: 1/8 on one side and 1/16 on the other for asymmetry
- Feedback: around 15–30%
- Filter the return so repeats stay out of the sub region
Why this works in DnB: dub delay creates space between aggressive drum hits, which makes the bassline feel larger without needing more notes.
5. Distort the cut into a bassline texture
Now we push the vocal chop into heavier territory. Add a chain of stock saturation/distortion tools. A strong starting chain is:
- Saturator
- Drum Buss
- Overdrive or Pedal
- Optional: Roar if you want more advanced harmonic shaping and movement
Suggested settings:
- Saturator: Drive 3–8 dB, Soft Clip on
- Drum Buss: Drive 5–20%, Crunch modestly, Boom low or off unless you want extra weight
- Overdrive: Frequency around 600 Hz–2.5 kHz, Drive to taste, Tone adjusted to keep the vocal intelligible
- Pedal: use sparingly if you want a grittier edge, but keep the low end controlled upstream
If you use Roar, try a parallel or mild multiband approach so the low mids get angry while the high end stays intelligible. Use it as a tone shaper, not a blur machine.
A strong advanced tactic is parallel distortion inside an Audio Effect Rack:
- Chain 1: relatively clean chop
- Chain 2: heavily distorted midrange version
- Chain 3: band-passed “telephone” texture
- Blend to taste with macros
This gives you the weight and aggression without losing the articulation of the ragga phrase.
6. Carve the low end and make room for the sub bass
Your ragga cut is not the sub. In DnB, that separation is everything. After distortion, use EQ Eight to keep the cut out of the sub range and to prevent conflict with kick/snare energy.
Useful moves:
- High-pass around 140–220 Hz depending on how thick the sample got
- Narrow cut around 250–500 Hz if the distortion made it boxy
- Gentle presence boost around 1.5–3 kHz if the chop needs bite
- Tame harshness around 5–8 kHz only if the top gets fizzy
Now, place your actual sub on a separate track: a clean sine or minimal waveform, mono, and rhythmically locked to the kick and bass phrase. The ragga cut should feel like the talking top layer above the sub foundation.
If the cut needs more bassline-like authority, use a subtle Auto Filter envelope or Shifter modulation to create movement in the low mids, but avoid trying to force the vocal chop into sub territory. That usually kills clarity.
7. Add rhythmic motion with modulation and resampling
This is where the edit becomes more than a loop. Use modulation to animate the chop between hits.
Useful stock devices:
- Auto Pan for rhythmic amplitude movement
- Phaser-Flanger for phasey dub tension
- Frequency Shifter for unstable metallic movement
- LFO in Live 12 if you want to drive filter, pan, or device parameters more precisely
Suggested advanced approach:
- Auto Pan rate: 1/8 or 1/16, phase adjusted for movement, amount subtle
- Frequency Shifter: tiny shifts, often in the 5–30 Hz range, can make repeated chops feel alive
- Phaser-Flanger: keep the mix low; use it more for texture than obvious swoosh
Then resample the whole chain to audio. This is a major part of advanced DnB workflow: once you have a good pass, record it to a new audio track so you can edit the performance like a breakbeat. After resampling:
- Reverse a few hits
- Nudge one or two chops early or late
- Cut out duplicate tails
- Print a version with a longer dub throw for arrangement variation
This mirrors classic jungle thinking: the best edits often come from committing to audio and chopping the result.
8. Program the groove against the drums like a true DnB bassline
Now lock the ragga cut to the drum language. In advanced DnB, the bassline should talk to the break, not float above it.
Build the groove around:
- Snare on 2 and 4 in rollers, or strong break-snare accents in jungle
- Vocal hits landing in the gaps before or after the snare
- Ghost hits around kick pickups or offbeat hi-hat spaces
- A phrase length that loops cleanly every 1 or 2 bars, with a variation on bar 4 or bar 8
Arrangement context example:
In a dark roller at 174 BPM, your first 16 bars might use only a filtered ragga cut with a sub pulse. At bar 17, the full distorted chop enters, answering the snare every half-bar. At bar 25, you strip the cut back to a dubby echo version for 4 bars, then bring the heavy edit back in with a fill before the next 16-bar section.
Make sure the cut doesn’t collide with the snare transient. If it does, move the chop a few milliseconds earlier or later. Small timing shifts can make a massive difference in whether the groove feels “behind the beat” or simply messy.
The bassline should feel like a performance between the drums, not just sample playback.
Common Mistakes
Fix: high-pass the ragga edit aggressively and keep the true sub on its own track.
Fix: trim harsh low mids and unnecessary rumble first, then saturate.
Fix: automate delay throws only at phrase ends; filter the repeats heavily.
Fix: nudge chops around the snare until the groove locks with the break.
Fix: use velocity, clip gain, and subtle volume automation for phrase shape.
Fix: keep bass and core phrase relatively mono; use width only on upper harmonics or returns.
Fix: pick one or two movement tools and let the arrangement provide contrast.
Pro Tips for Darker / Heavier DnB
Mini Practice Exercise
Spend 10–20 minutes making three versions of the same ragga cut in Ableton Live 12:
1. Version A: Clean rhythmic chop
- Slice a vocal phrase
- Program a 1-bar call-and-response pattern
- Use only EQ Eight and light Gate
2. Version B: Dub throw version
- Add Echo with filtered repeats
- Automate send levels on the last hit of each bar
- Make it feel like a transition tool
3. Version C: Heavy distorted drop version
- Add Saturator, Drum Buss, and Overdrive
- High-pass the result
- Resample to audio and cut out one new variation
Then A/B all three against your drums and sub. Your goal is to make each version serve a different arrangement role: intro, build, and drop.

