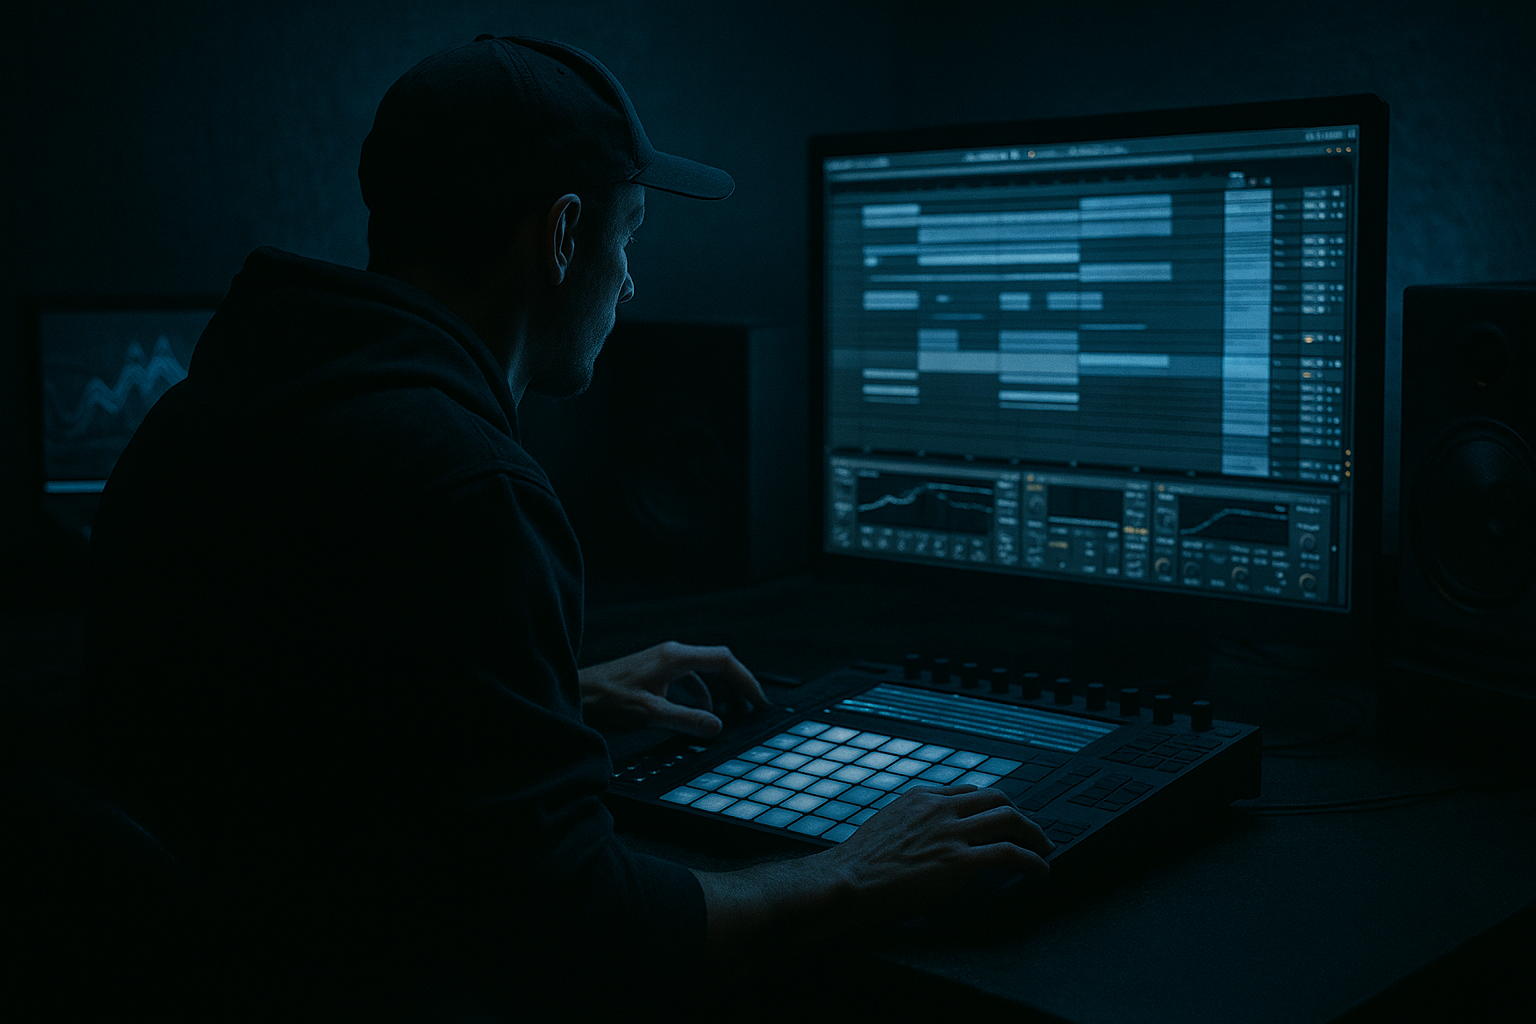
Main tutorial
Lesson Overview
In this lesson, you’ll build a dubwise oldskool DnB breakbeat edit from scratch in Ableton Live 12 — the kind of chopped, half-skanked, spacey drum pattern that sits perfectly in rollers, jungle-leaning tracks, and darker DnB intros or breakdowns.
The goal is not to make a full drum loop that sounds “busy” for its own sake. Instead, you’ll learn how to take a simple breakbeat, reshape it into a dubwise edit with space, swing, weight, and movement, and make it feel like it belongs in a real DnB arrangement. This matters because in Drum & Bass, the drum edit is often what gives the track its identity. A great edit can make even a small drum selection feel like a record.
We’ll use Ableton stock tools only, and keep the workflow beginner-friendly:
- chopping a break into playable pieces
- shaping the groove with timing and velocity
- adding dubwise space with echo and reverb
- making the edit hit harder with saturation and bus processing
- arranging it so it works in a proper DnB track context
- a chopped kick/snare break pattern
- ghost notes and offbeat hits for swing
- occasional dropped-out hits for dub space
- tape-style delay throws and short ambience
- a clean drum bus with controlled low end and punch
- a loop that can be arranged into an intro, drop, or breakdown in an authentic DnB way
- 2 bars of groove
- 2 bars of variation
- a small fill or turnaround
- a repeatable structure that feels DJ-friendly
- 1 audio track for your break sample
- 1 MIDI track for optional layered hits or ghost percussion
- 1 return track with Reverb
- 1 return track with Echo
- 1 Drum Buss or group bus for drum processing later
- turn Warp on
- choose Beats mode
- try Preserve: Transients
- set transient envelope around 80–120
- start with Seg. BPM correct if Live detects it well, or manually nudge until the break sits tightly on the grid
- strong kick
- main snare
- busy ghost hits
- small hat or shuffle fragments
- Slice to New MIDI Track
- Slice by Transient
- If prompted, choose Simpler for easier beginner workflow
- kick slice
- snare slice
- a ghost snare or rim
- a hat or top percussion tick
- a little tail or noise hit
- Kick on 1
- Snare on 2 and 4
- Add one extra kick before beat 3
- Add a couple of ghost hits just before or after the snare
- Add one small top slice on the offbeats
- bar 1: solid kick/snare foundation
- bar 2: same foundation, but with one extra syncopated slice near the end
- note length around 1/16 to 1/8
- leave room between hits
- don’t stack too many sounds on the same exact grid point at first
- main kick/snare: around 100–127
- ghost notes: around 35–70
- light percussion: around 50–90
- drag in a groove like MPC 16 Swing or a light swing preset
- start with Amount: 20–40%
- keep Timing subtle and Velocity moderate if needed
- move a ghost hit slightly late by a few milliseconds
- push a pickup hit slightly early for tension
- keep the main snare stable so the loop still hits hard
- add Echo to one return
- add Reverb to another
- Echo: 1/8 or 1/4 delay time, Feedback 15–35%, Filter rolled off a bit
- Reverb: Decay 1.2–2.5 s, Pre-Delay 10–25 ms, low-cut enabled if needed
- a snare hit at the end of a bar
- a ghost rim
- a small top percussion slice
- a fill hit before the loop repeats
- Drum Buss
- EQ Eight
- Saturator
- Compressor
- Bars 1–2: main groove
- Bars 3–4: remove one kick or add a ghost hit
- Bars 5–6: introduce a fill or delayed snare throw
- Bars 7–8: create a turnaround with more space, then land back on the main hit
- mute the kick just before a snare for tension
- add one reversed slice or a chopped tail
- use a short echo throw on the final snare
- remove top percussion for one bar to make the next bar feel bigger
- as a DJ-friendly intro with gradually added percussion
- under a bass drop in a roller
- in a jungle section where the break itself is the hook
- as a darker breakdown before the second drop
- record the drum group to a new audio track
- consolidate the best 2 or 4 bars
- use the resampled audio as a new break layer
- it locks in your edits
- it gives you a more “printed” feel
- it makes later chopping easier
- it encourages commitment, which is a big part of authentic drum programming
- re-chop the audio for extra fills
- reverse one or two pieces
- add tiny fades to avoid clicks
- warp the audio again if needed
- Using too many slices
- Over-quantizing the break
- Too much reverb on the whole drum loop
- Harsh top end after saturation
- Low end getting muddy
- No variation across bars
- Overusing Drum Buss boom
- Keep the sub mono and separate
- Use call-and-response with delay throws
- Let the break breathe before the drop
- Duplicate one ghost hit and filter it
- Try mild pitch changes on selected hits
- Use clip automation for movement
- Reference classic roller structure
- Start with a strong break and warp it cleanly in Ableton Live 12.
- Slice it into a Drum Rack so you can play the edit like an instrument.
- Build a simple 2-bar groove first, then add ghost notes and swing.
- Use Echo and Reverb sparingly on selected hits for dubwise space.
- Process the drum group lightly with EQ Eight, Drum Buss, Compressor, and Saturator.
- Make the loop evolve across 8 bars so it feels like a real DnB arrangement.
- Keep the low end clean, the drums punchy, and the space intentional.
By the end, you’ll have a 8-bar edit with oldskool flavor, enough variation to feel musical, and enough punch to work as a foundation for a roller, jungle loop, or atmospheric drop setup 🔥
What You Will Build
You’ll make a dubwise breakbeat edit with:
Musically, think of it as:
This is not a full-on neuro drum design session. It’s more like the foundation of a jungle / dubwise DnB edit: rugged, musical, and easy to expand later with bass, atmospheres, and FX.
Step-by-Step Walkthrough
1) Set up a clean Ableton session for fast editing
Start with a fresh Ableton Live 12 project and set the tempo to 170 BPM. That’s a strong middle ground for oldskool DnB and jungle-influenced edits.
Create:
Drag in a breakbeat sample that has clear transients. A classic Amen-style break works great, but any drum break with a strong kick/snare pattern will do.
In the clip view:
Why this works in DnB: breaks are the backbone of jungle and oldskool DnB. A stable starting point lets you edit rhythmically without the groove falling apart.
2) Find the strongest hits and slice the break
Now zoom in and listen for:
You want to identify 4–8 useful pieces from the break. Don’t try to use every sound.
Right-click the clip and use:
Ableton will create a Drum Rack with slices mapped across pads. This is ideal because you can now play the break like an instrument.
Start with these useful sample categories:
Pro move: keep only the slices that feel characterful. If a slice sounds weak or too messy, mute it. In DnB edits, fewer strong sounds usually beat many weak ones.
3) Program a basic 2-bar dubwise groove
Open a new MIDI clip and draw a 2-bar loop. Keep the first pass simple.
A good beginner-friendly starting point:
Example feel:
Use the piano roll and keep notes short. For most slices:
Then add velocity variation:
This is one of the most important beginner habits in DnB. Velocity changes make the break feel played, not pasted.
4) Push the shuffle with groove and micro-timing
Dubwise DnB edits work because they feel loose, not robotic. Now give the loop some swing.
Try Ableton’s Groove Pool:
If the groove starts to feel too off-grid, reduce the amount. The goal is movement, not sloppiness.
You can also manually nudge a few notes:
Why this works in DnB: the drums need to drive the track, but oldskool and dubwise edits often have a slight drag or push that gives them swagger. That contrast between tight anchor hits and loose ornaments is what makes the break breathe.
5) Add dubwise space with Echo and Reverb sends
Now make the edit feel like it lives in a dubby room, not a dry practice loop.
On the return tracks:
Suggested starting settings:
Send only selected hits:
Don’t drown the whole break in effects. Dubwise style works because the delays are selective. The empty space around the hits is part of the rhythm.
Tip: automate send amount only on the last hit of a phrase, then pull it back. That gives you a classic call-and-response effect.
6) Shape the drum tone with stock processing
Group your break slices into a Drum Group and add processing on the group, not every single slice first.
Useful stock devices:
A solid beginner chain:
1. EQ Eight
- cut rumble below 25–35 Hz
- if the break is boxy, reduce a little around 250–500 Hz
- if the snare is harsh, check 3–6 kHz
2. Drum Buss
- Drive: around 5–15%
- Crunch: low to moderate
- Boom: use carefully, often very low or off for breaks
- Transient: slightly up if you need more snap
3. Compressor
- ratio around 2:1 to 4:1
- attack 10–30 ms for punch
- release Auto or around 80–150 ms
4. Saturator
- soft drive only
- use it to thicken the break, not flatten it
Keep gain staging sensible. If your break already sounds loud, reduce the clip volume before adding heavy processing.
This gives the edit more density, which helps it cut through later once sub and bass are added.
7) Build variation across 8 bars
A DnB loop becomes a real edit when it changes over time. Don’t leave the same 2 bars repeating endlessly.
Make an 8-bar pattern by evolving the original groove:
Good variation ideas:
For arrangement context, this kind of edit works well:
The point is to make the loop feel arranged, not just looped.
8) Resample if you want a more authentic oldskool feel
Once the edit feels good, try resampling it. This is a classic DnB workflow and very beginner-friendly in spirit.
Do one of these:
Why resample?
After resampling, you can:
This is a very real jungle/DnB workflow: build, print, chop again.
Common Mistakes
- Fix: keep only the hits that support the groove. If everything is important, nothing is.
- Fix: leave some slices slightly late or use low groove amounts. DnB needs drive, but dubwise edits need feel.
- Fix: send only selected hits to reverb. Keep the main kick/snare punchy.
- Fix: use EQ Eight to trim the sharp area around 5–10 kHz if needed.
- Fix: high-pass non-essential break pieces, and keep sub bass separate from the drum group.
- Fix: remove or add one hit every 2 bars so the listener feels movement.
- Fix: in break edits, too much boom can fight the bassline. Use it lightly or not at all.
Pro Tips for Darker / Heavier DnB
- Your break edit should live above the sub. If you later add a rolling bass or Reese, keep low frequencies under control so the drum edit stays defined.
- Send only the last snare of a phrase into Echo. That creates a dubwise answer without cluttering the whole loop.
- A one-bar or half-bar drum gap before a full hit makes the drop feel bigger. Silence is weight in DnB.
- Put a very low-velocity ghost note on a separate track, then use Auto Filter with a high-pass around 400–800 Hz. It adds motion without muddying the kit.
- Lowering one snare slice slightly can add grime and old tape energy. Keep it subtle so it still sounds musical.
- Automate filter cutoff, send amounts, or a tiny reverb swell only in the final beat of a phrase. That’s enough to create tension without overdoing it.
- Think of a DJ-friendly intro, a 16-bar groove, a short switch-up, then return to the main break. That structure keeps the edit functional in a real set.
Mini Practice Exercise
Set a timer for 15 minutes and do this:
1. Load one break sample and warp it correctly.
2. Slice it to a Drum Rack.
3. Build a 2-bar loop with kick, snare, ghost notes, and one top hit.
4. Add a light Groove Pool swing at 20–30%.
5. Send only one snare hit to Echo and one to Reverb.
6. Add EQ Eight and Drum Buss on the group.
7. Make an 8-bar version by changing one thing every 2 bars.
8. Resample the best 4 bars if you have time.
Goal: by the end, you should have a loop that feels like a real dubwise DnB edit, not just a chopped break.
If you finish early, try muting the drums for half a bar before the loop restarts. That tiny gap often makes the return hit much harder.
Recap
That’s the core of a proper dubwise oldskool DnB breakbeat edit: tight enough to drive the tune, loose enough to feel alive, and spacious enough to leave room for bass, atmosphere, and drop energy.

