Main tutorial
Lesson Overview
A dubwise jungle air horn hit is one of those sounds that can instantly signal attitude: rude, spacious, and unmistakably DnB. In this lesson, you’ll build and arrange a stacked air horn phrase in Ableton Live 12 that feels like it belongs in a proper jungle roller, a darker stepper, or a neuro-leaning drop section. The focus is not just on making the horn loud — it’s on making it work musically with the bassline, the break, and the arrangement.
In DnB, an air horn hit is rarely just a one-shot effect. The best versions behave like a mini arrangement event: they answer the vocal sample, punctuate the bassline, or mark the transition into the second eight-bar phrase. For advanced producers, the real skill is controlling how much of the horn is all character and how much is pure utility. Too clean and it feels empty. Too wide and harsh and it wrecks the mix. Too busy and it fights the bass. The goal here is a stacked, dubwise horn that cuts through the drop while leaving room for sub weight, reese movement, and the drum break to keep rolling.
Why this matters in DnB: the genre thrives on call-and-response. A horn hit can act like a rhythmic cue, a tension spike, or a swaggering response to the bassline. When arranged properly, it helps shape the listener’s perception of energy and groove without overcomplicating the mix. That’s especially useful in jungle and rollers, where the groove has to stay locked while the arrangement keeps evolving.
What You Will Build
You’re going to build a layered dubwise air horn hit in Ableton Live 12 using stock devices only, then arrange it so it functions as a musical punctuation mark inside a DnB drop.
The finished result will be:
- A layered horn stack with a strong fundamental, nasal mid punch, and a gritty top edge
- A short, dub-style pitch and filter movement that makes the hit feel alive
- Controlled mono low-mid body with managed stereo width up top
- Arrangement variations for:
- Resampled layers that can be chopped, reversed, and automated like part of the track’s drum/bass language
- A version that sits cleanly above a sub-heavy bassline, not instead of it
- Letting the horn fight the sub
- Making the horn too wide
- Overusing delay feedback
- Leaving harshness uncorrected
- Making every horn hit identical
- Ignoring the drum break
- Layer a very quiet FM or metallic transient under the horn for a more neuro-edged attack, but keep it transient-only.
- Use Roar or Saturator on a parallel return to add grit without flattening the main stack.
- Automate a narrow EQ band through the horn return for controlled “talking” movement on longer phrases.
- Pair the horn with a clipped drum bus: the contrast between controlled drums and rude horn energy hits harder than making both overly aggressive.
- Try a tiny amount of frequency-shifted texture on the air layer for a more haunted, underground character, but keep it subtle.
- For roller energy, use the horn as a 2- or 4-bar motif rather than every bar. Space creates weight.
- If the bassline is a Reese with heavy stereo motion, keep the horn more centered so the low-end image stays stable.
- Use clip envelopes to automate filter cutoff and send amount on specific hits instead of drawing long arrangement automation when you want quick revisions.
- If the track is very dark, lower the horn’s brightness but increase its transient density with short saturation and compression. Weight often reads better than brightness in hardcore DnB contexts.
- Build the air horn as a layered stack: body, bite, and air.
- Keep the low-mid core controlled and mono-friendly so it sits above sub weight.
- Shape the attack with short pitch/filter movement and tasteful saturation.
- Resample the horn so you can chop, reverse, and arrange it like part of the track.
- Place horn hits in relation to the break and bassline for real DnB call-and-response energy.
- Use delay, reverb, and automation sparingly but intentionally to preserve clarity and impact.
- the first drop impact
- an 8-bar call-and-response phrase
- a switch-up / turnaround hit
Musically, think of a 174 BPM jungle roller where the bassline is a dark Reese oscillating between root and fifth, and the horn answers on the off-beat after a break fill. The horn isn’t the lead melody — it’s the rude punctuation that makes the drop feel intentional.
Step-by-Step Walkthrough
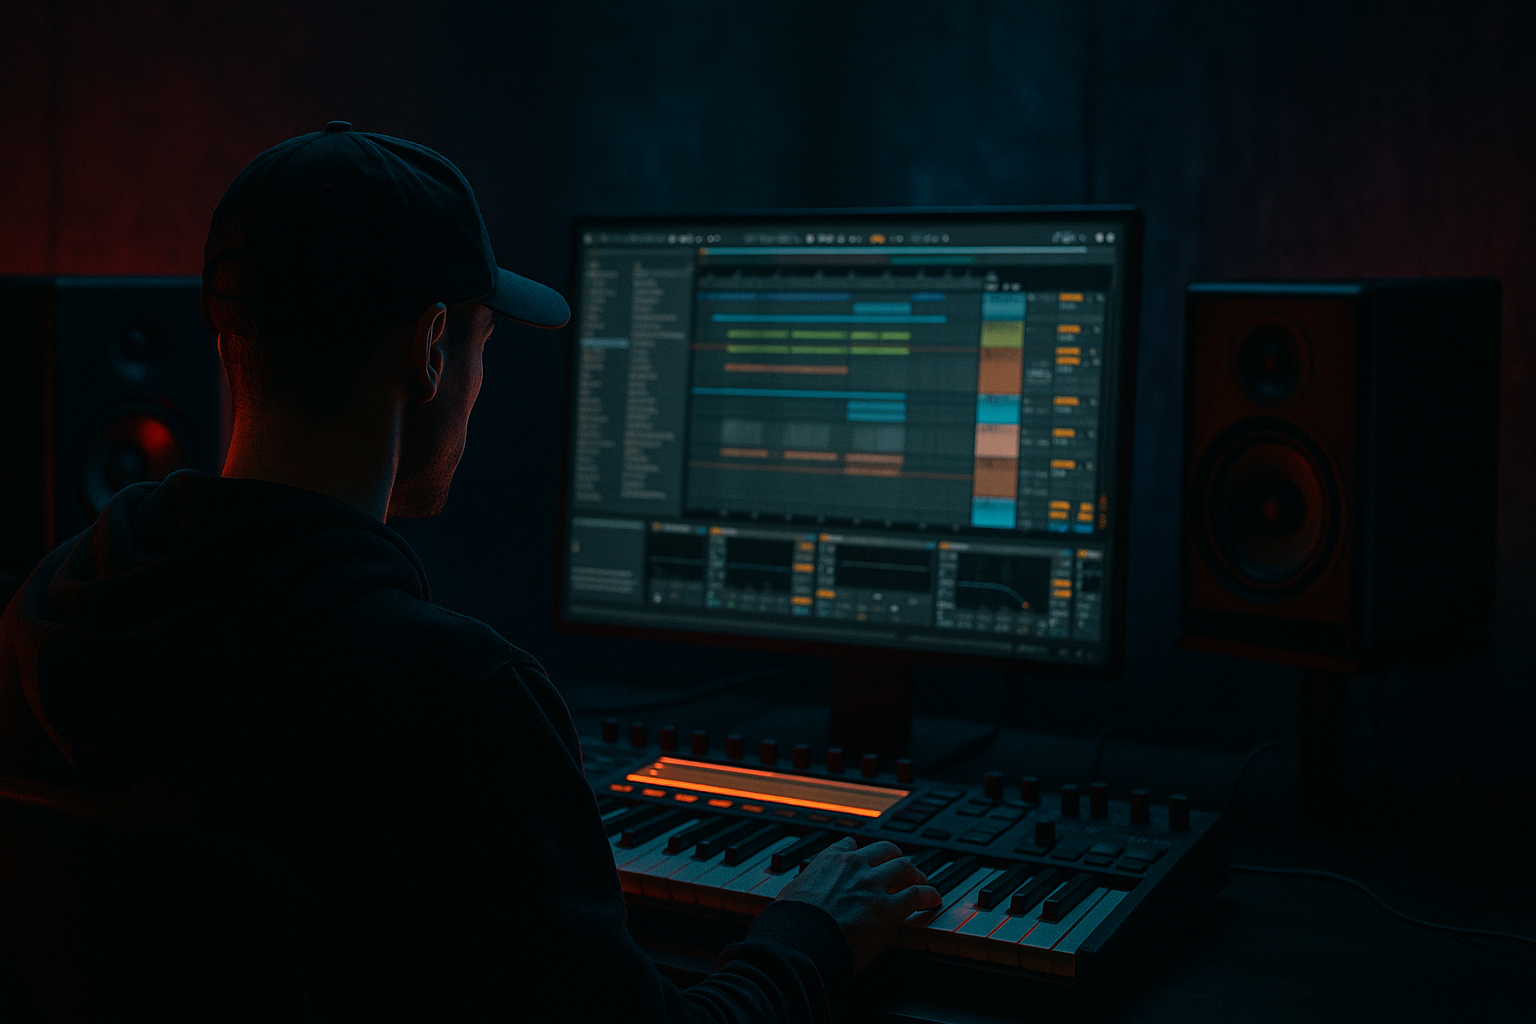
1. Build a dedicated horn group and set the context in the arrangement
Create a new Group Track called Horn Stack and place it above your bass and music buses so you can work fast and keep the session organised. If you’re building inside a drop section, start with a 4-bar loop at around 170–174 BPM. This lets you hear the horn against the break and the bassline in a realistic DnB pocket.
Before sound design, place a simple reference MIDI clip or arrangement marker where the horn will hit. For advanced workflow, make the horn respond to the drums rather than float independently:
- Put the main hit on the “and” of beat 2 or beat 4 for a syncopated dubwise stab
- Or place it immediately after a snare to create a call-and-response with the break
- In jungle, you can also answer the last kick of a fill with the horn for extra momentum
This context matters. Why this works in DnB: the groove is the product. A horn that respects the break phrasing will feel like part of the rhythm section, not a random FX layer.
2. Create the main horn voice with Wavetable or Operator
For the core horn tone, use Wavetable if you want a more modern, harmonically rich tone, or Operator if you want a more classic, synthetic brass-ish response.
Wavetable starting point:
- Oscillator 1: Saw or basic bright wavetable
- Oscillator 2: Saw, detuned slightly
- Unison: 2–4 voices max, with moderate detune
- Filter: Low-pass 24 dB
- Envelope to filter cutoff: fast attack, medium decay, no sustain, short release
- Pitch envelope: small upward scoop or slight downward fall for dub flavour
Good advanced target ranges:
- Filter cutoff: around 300 Hz to 1.5 kHz depending on brightness
- Resonance: 10–25%
- Amp envelope decay: 120–350 ms for a punchy hit
- Pitch bend amount: subtle, around 1–3 semitones for a quick “blat” rather than a cartoon blast
If using Operator:
- Use two operators with one modulating the other lightly for nasal edge
- Keep the envelope short and percussive
- Add a touch of saturation later, because Operator can feel too polite on its own
The aim is a horn-shaped transient with enough body to read in the midrange. Don’t over-sustain it — in DnB, the horn should punctuate, not smear.
3. Stack three layers for body, bite, and air
Build the horn stack as three lanes inside the group:
Layer A: Body
- A midrange-centered horn tone from Wavetable or Operator
- Keep it mono or near-mono
- Focus around 200 Hz to 900 Hz
- This layer should carry the “musical identity” of the hit
Layer B: Bite
- Duplicate Layer A and push the filter slightly higher
- Add a mild overdrive using Saturator or Roar
- EQ out low end below 180–250 Hz so it doesn’t muddy the sub
- If needed, add a short Delay to create the impression of a longer horn without actual sustain
Layer C: Air / Edge
- Duplicate again, high-pass aggressively above 1.2–2 kHz
- Add a small amount of chorus-like width using Chorus-Ensemble or Phaser-Flanger very subtly
- Keep this layer quiet; it is there for cut, not dominance
Then group them inside Horn Stack and add a utility chain after the layers:
- EQ Eight: notch any harsh spike around 2.5–4.5 kHz if needed
- Glue Compressor: 1–2 dB gain reduction max for cohesion
- Utility: reduce width if the stack starts feeling too diffuse
Advanced tip: use different note lengths on each layer. The body can be slightly longer, the bite shorter, and the air layer almost percussive. That stagger gives the stack dimension without needing more processing.
4. Shape the horn with amp, filter, and pitch modulation
A dubwise horn needs movement, but it shouldn’t sound like a constantly morphing synth patch. Use controlled modulation to create that “played” feel.
In Wavetable:
- Assign an LFO to the filter cutoff with a very small amount
- Rate: sync to 1/8 or 1/16
- Depth: just enough to add motion, not wobble
- Use envelope 2 to slightly open the filter at the attack, then let it close
Add subtle pitch articulation:
- Very short downward pitch envelope can give the horn a rude front edge
- Alternatively, a tiny upward bend at the start creates more classic air-horn emphasis
- Keep the movement under 3 semitones unless you want a comic-style effect
Then add distortion:
- Saturator: drive around 2–6 dB, Soft Clip on if needed
- Roar: use a mild drive mode or a touch of crunch, but keep the output controlled
- If the horn gets brittle, place EQ Eight after distortion and gently tame 3–5 kHz
Why this works in DnB: the break and bassline already carry a lot of rhythmic information. A modulated horn adds a second layer of groove and tension without needing more notes. It behaves like a dub echo of the arrangement itself.
5. Lock the horn to the bassline with note choice and phrasing
Advanced DnB arrangement is about harmonic discipline. Your air horn doesn’t need to be melodic in the traditional sense, but it should relate to the bassline.
Use one of these strategies:
- Root-note horn: match the tonic of the bassline for maximum weight
- Fifth horn: add tension without clashing with a dark Reese
- Octave reinforcement: use the horn on the upper octave of the bass root for a more heroic but still brutal feel
- Minor second or tritone accents: only if you want deliberate friction in a neuro or darker context
Practical example:
- Bassline is moving around F minor
- Horn hit can land on F, C, or F an octave up
- If the bassline is busy, avoid leaving the horn on notes that fight the Reese’s upper harmonics
On the MIDI clip:
- Keep the horn note short, often 1/16 to 1/8
- Offset note start slightly early if you want it to punch before the snare
- Use velocity to vary response across repeated hits
- If your horn layer supports it, route velocity to volume or filter for more expression
This is especially effective in rollers: a simple horn answering the bass every 4 bars becomes a signature hook without stealing the drop.
6. Resample the horn stack for chop control and arrangement flexibility
Once the stack feels good, resample it to audio. This is where advanced workflow pays off. Create a new audio track set to resample or route the Horn Stack to Audio From. Record several versions:
- Dry hit
- Wet hit with dub delay
- Slightly saturated hit
- Hit with filter movement automation
After recording, use the audio clip in a new track and chop it with:
- Simpler for quick slicing
- Drum Rack if you want the horn to behave like a percussion instrument
- Warp mode set carefully if the timing needs tightening; often Complex or Re-Pitch is enough depending on the source
Then create variations:
- Reverse a tail into a drop
- Slice the first transient and re-trigger it as a pickup
- Duplicate the hit and offset it by a few milliseconds for flam-style weight
- Use a quieter ghost horn before the main hit to create anticipation
This gives you arrangement tools, not just a sound. You can now use the horn as a fill element, a transition cue, or a repeated motif across the tune.
7. Add dub delay and space without washing out the drop
A dubwise horn almost always benefits from delay, but in DnB the trick is keeping the delay rhythmic and out of the sub region.
Use Echo or Delay:
- Time: 1/4 or dotted 1/8 for dub sway
- Feedback: 20–45%
- Filter inside Echo: high-pass around 250–500 Hz, low-pass around 4–8 kHz
- Modulation: subtle; too much turns the horn blurry
- Ducking: enough to keep the dry hit upfront
For more weighty atmosphere, add a short reverb send:
- Decay: 0.6–1.4 seconds
- Pre-delay: 10–30 ms
- High-pass the reverb return at 300 Hz or higher
- Low-pass the return to avoid harsh splash
Route the horn to dedicated return tracks rather than baking all the space into the sound. That keeps arrangement flexibility. If the tune is denser, automate the send only on select horn hits — typically the first hit of an 8-bar phrase or the turnaround before the next section.
8. Arrange the horn as a call-and-response motif
Don’t just place the horn once and call it done. In DnB, the arrangement is often built from repeating tension units. Use the horn to create a phrase hierarchy:
- Bar 1–4: one strong horn hit at the drop entry
- Bar 5–8: add a second lower-velocity response hit
- Bar 9–12: swap the response to a reversed horn or delayed version
- Bar 13–16: mute the horn for two bars, then bring it back with a filtered variation
This is where the horn becomes part of the bassline storytelling. The bass may keep a rolling ostinato, but the horn marks the structural accents. For darker tracks, use fewer hits with more automation. For jungle rollers, let the horn bounce off the break more frequently, but keep the notes sparse so the groove stays breathable.
A strong arrangement move:
- First drop: full-stack horn with delay
- Second 8 bars: use only Layer B and Layer C, or filter the whole stack darker
- Switch-up: hit the horn one bar earlier than expected to jolt the listener
- Outro: strip the horn down to a filtered echo so the DJ-friendly exit stays clean
Common Mistakes
Fix: high-pass non-body layers, keep the main body above the true sub range, and check the bassline’s fundamental before choosing notes.
Fix: keep the low mids mono, use width only on the top layer, and check with Utility in mono.
Fix: keep feedback moderate and automate sends instead of leaving the return permanently loud.
Fix: use EQ Eight to tame 2.5–5 kHz if the hit becomes painful, especially after saturation.
Fix: vary velocity, note length, filter cutoff, or resampled version across the arrangement.
Fix: place horn hits in relation to snare accents, ghost notes, and fill endings. The break should feel like it triggers the horn, not vice versa.
Pro Tips for Darker / Heavier DnB
Mini Practice Exercise
Spend 10–20 minutes making three horn variations for a single 4-bar DnB drop section at 172 BPM.
1. Build a horn stack with three layers: body, bite, and air.
2. Write one short MIDI note on bar 1, beat 3, and another on bar 3, beat 4.
3. Create three versions:
- Version A: dry and upfront
- Version B: with Echo on a 1/4 or dotted 1/8 delay
- Version C: resampled and reversed into the hit
4. Arrange them so one version answers a snare, one version lands before a bass change, and one version leads into a turnaround.
5. Check the mix in mono and reduce anything that clouds the bass or masks the break.
Goal: by the end, you should have one horn idea that already feels like a usable arrangement device, not just a sound.

