Main tutorial
Lesson Overview
This lesson is about building a dubwise top loop layer in Ableton Live 12 that sits above your main break and drums, adding that oldskool jungle / roller / darker DnB character without turning the mix into mush.
In DnB, the top loop layer is the “airborne” percussion system: hats, ride fragments, break cymbal chatter, tiny snare ghosts, vinyl-style noise, and chopped swing details that make the groove feel alive. For Edits, this matters even more because your top loop often becomes the glue between the original break energy and your modern low-end. It’s the layer that helps a loop feel like it’s been re-sliced, re-voiced, and re-rolled into something DJ-ready and current.
A strong dubwise top loop does three big jobs:
1. It adds motion without stealing punch from the main break.
2. It creates oldskool texture and movement in the high-mids.
3. It gives you arrangement leverage: easy mute/unmute switch-ups, fills, and tension builds.
The trick is not just to “add hats.” The goal is to design a top-layer edit that feels like it came from a dusty jungle dubplate session, but still works in a modern Ableton Live 12 project with clean gain staging and controlled stereo.
Why this matters in DnB: the genre lives and dies on groove detail. A roller with a solid sub but no top movement feels flat. A jungle edit with too much top-end can turn brittle. A well-built top loop lets you push excitement while keeping the low end locked and the drum/bass relationship clear.
What You Will Build
By the end, you’ll have a 1–2 bar dubwise top loop layer built from chopped break transients, hats, ghost percussion, and filtered ambience that:
- locks to the swing of your core break
- adds oldskool jungle chatter and shuffled motion
- sits mostly in the 2 kHz–12 kHz range
- can be automated for drop lift, breakdown decay, and call-and-response phrasing
- works as a parallel edit layer rather than a full drum replacement
- a 174 BPM oldskool jungle drop with amen-derived drums
- a rolling halftime-to-full-time switch-up
- a dark roller where the top loop stays subtle in the verses, then opens in the drop
- a dubwise intro with filtered percussion teasing the groove before the bass arrives
- Making the top loop too loud
- Letting it fight the snare
- Using too much stereo width
- Over-processing with distortion
- Choosing a loop with too much low end
- Too many hits per bar
- Ignoring the arrangement
- Parallel grime for weight
- Resample the loop after processing
- Use filtered noise as glue
- Sidechain the top loop lightly to the kick/snare bus
- Create tension with high-pass automation
- Use micro-delay for dub character
- Control harshness before it builds
- Which one supports the kick/snare better?
- Which one adds movement without crowding the mix?
- Which version feels more DJ-friendly in an 8-bar phrase?
- The dubwise top loop is a movement and texture layer, not your main drum part.
- Use break edits, ghost hits, and selective hats to create oldskool jungle character.
- Groove, micro-edits, and phrase automation matter more than piling on more sounds.
- Keep the loop high-passed, controlled, and mono-aware so it doesn’t fight the bass or snare.
- Use EQ Eight, Drum Buss, Saturator, Auto Filter, Glue Compressor, Echo, and Utility to shape vibe and clarity.
- In DnB, the best top loops feel like they’re performing with the drop, not just looping through it.
Musically, this could be used in:
The result should feel like a DJ-friendly edit tool: compact, characterful, and easy to mute, slice, or automate.
Step-by-Step Walkthrough
1. Start with a clean drum reference and choose the role of the top loop
Open your project and identify the main drum foundation: usually a break layer, kick/snare backbone, and bass. Before adding anything, decide what the top loop is supposed to do.
For this lesson, the top loop is not your main groove. It’s the movement layer. It should:
- support the existing break
- add top-end syncopation
- create a dubwise, chopped feel
- stay out of the sub and most of the low-mid body
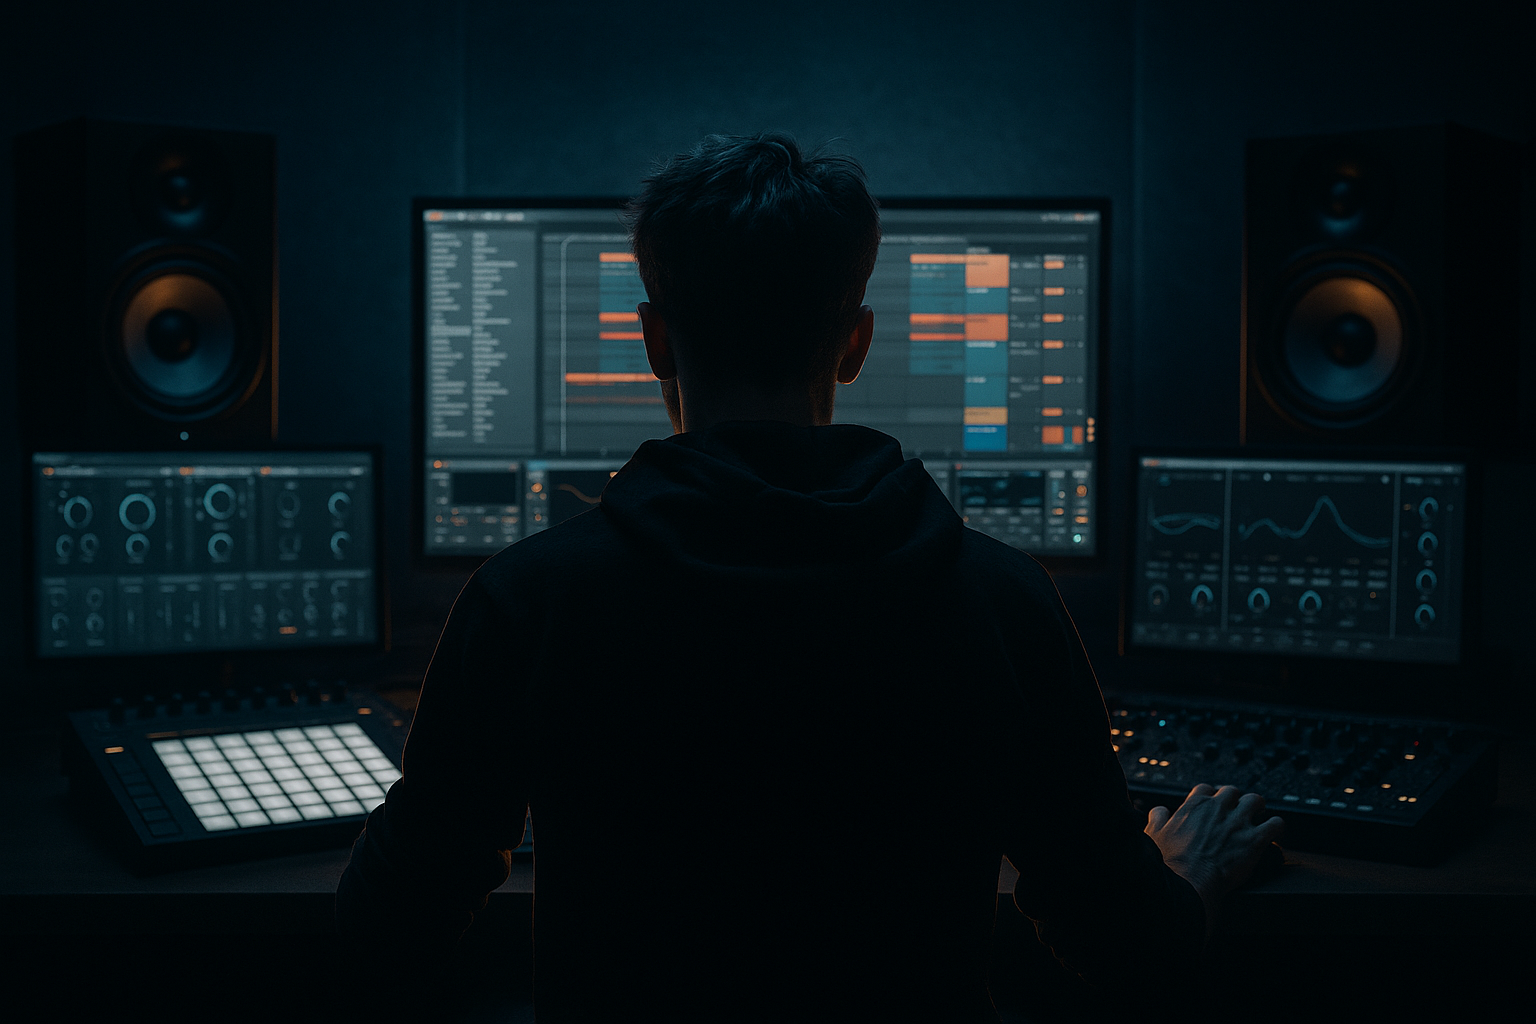
In Ableton Live, make a new Audio track called `Top Loop - Dubwise`. Route it to a Drum Bus or Drums Group so you can process it separately before the master. Keep this layer mentally “above” the main break, not replacing it.
Why this works in DnB: DnB drums need layered identity. The core break gives propulsion; the top loop gives shuffle and atmosphere. Separating them lets you keep the break punchy while still getting that jungle detail.
2. Build the source from break edits, not from random hats
Drag in a break or a few bar loops from your own library or project audio. Pick something with:
- clean cymbal hits
- tiny snare ghosts
- open hat fragments
- some natural swing
In Clip View, enable Warp if needed and set the warp mode carefully:
- For full breaks: try Beats
- For more texture-heavy loop fragments: try Complex Pro only if you need stretch integrity
- Keep transients sharp; avoid over-smearing the edit
Now slice the break into smaller pieces:
- use Slice to New MIDI Track if you want fast finger-drumming
- or manually cut in Arrangement View for tighter control
Build a 1-bar or 2-bar loop from:
- one or two hat hits
- a chopped ride tail
- a couple of snare or rim ghosts
- a short break cymbal scrape
- optional vinyl noise snippet
Arrange these so they answer the main kick/snare pattern rather than sit on top of it. Think call-and-response, not wall-of-percussion.
Concrete target: Aim for 4–8 useful hits per bar, not 16 busy ones. The best dubwise loops feel selective.
3. Shape the groove with Ableton’s Groove Pool
The secret to oldskool jungle feel is not only the sample choice; it’s the timing. Open the Groove Pool and audition a few swing templates:
- use an MPC-style or subtle shuffle groove
- start with 8–15% timing for a restrained push
- keep random low, around 0–5%
- use velocity around 5–12% if the source is too rigid
Apply the groove to the top loop clip, not necessarily to the whole drum group. This lets the top layer “lean” slightly behind or ahead of the core break, which creates that dubwise instability without wrecking the pocket.
If the groove gets too lazy, tighten it by reducing swing and manually nudging only the ghosts and tails. If it feels too stiff, loosen the hats and tiny fills before touching the kick/snare structure.
Advanced move: duplicate the same loop, apply a different groove amount to the copy, and crossfade between them during arrangement. That gives you variation without rewriting the part.
4. Process the top loop as a high-frequency percussion bus
Put the following stock devices on the `Top Loop - Dubwise` track or group in this order:
- EQ Eight
- Drum Buss
- Saturator
- optional Auto Filter
Suggested settings:
EQ Eight
- High-pass around 180–300 Hz depending on the source
- If it’s too sharp, dip 3–5 kHz by 1–3 dB
- If it lacks air, a gentle shelf at 8–10 kHz can help, but go light
Drum Buss
- Drive: 5–20%
- Crunch: subtle, around 5–15%
- Transients: slightly positive if the loop needs more snap
- Boom: usually off or very low for this layer
Saturator
- Soft Clip on
- Drive: 2–6 dB
- Output down to maintain level
Auto Filter
- Use a Low-Pass or Band-Pass
- For dubwise intro movement, automate cutoff from around 700 Hz up to 8–10 kHz
- Resonance: keep moderate, around 0.5–1.2
The goal is not heavy processing; it’s controlled grit and forward motion. The top loop should feel like it’s being played through a worn desk or dub rack, not crushed into white noise.
5. Use transient control and micro-edits to make the loop “dance”
This is where the edit skill matters. Open the clip in Arrangement View and look for places to:
- shorten cymbal tails
- leave tiny gaps between hits
- duplicate one ghost hit into the next bar
- reverse a short hat or cymbal fragment for a pull-in effect
Use Clip Gain and fade handles to keep transients tidy. You can also use:
- Simpler if you want to re-trigger one-shot top sounds
- Saturator before or after for transient emphasis
- Glue Compressor on the bus if the whole top layer is too spiky
Suggested Glue Compressor settings:
- Ratio: 2:1
- Attack: 10–30 ms
- Release: Auto or 0.3–0.6 s
- Aim for just 1–2 dB of gain reduction
Don’t flatten the life out of the loop. You want the air and bounce, but you also want each hit to feel intentional. Micro-edits are what make the loop sound designed instead of looped.
6. Create dubwise movement with automation and call-and-response
Now turn the loop into a musical part, not just texture. Automate one or more of these:
- Auto Filter cutoff
- Reverb Dry/Wet
- Delay sends
- track volume for phrase emphasis
- Utility gain for precise automation moves
A classic arrangement example at 174 BPM:
- Bars 1–8: top loop filtered low, teasing only hats and ghost ticks
- Bars 9–16: open the filter gradually and add a few extra cymbal fragments
- Drop: full top loop with brighter transients and subtle delay throws
- Bars 17–24: mute every second bar or half-bar for DJ-friendly breathing room
In a jungle or oldskool DnB context, this is where the top layer helps the record feel like it’s “talking.” A short delay throw on one hat hit can answer a snare fill. A filtered cymbal lift can signal a switch-up.
Try Echo or Simple Delay on a send:
- delay time synced to 1/8 or 1/16
- feedback low, around 10–25%
- filter the delay return so it doesn’t clutter the high end
- automate send amounts only on selected hits
This is a very DnB edit technique: one tiny automated top detail can make a whole 16-bar section feel alive.
7. Check stereo discipline and low-end separation
Top loops can trick you into widening too much. In DnB, that’s dangerous. Keep the layer focused and mono-compatible where it matters.
Use Utility:
- set Width to 70–100% depending on source
- if the loop is too wide, narrow it before adding FX
- check Mono during playback to make sure the groove still reads
Use EQ Eight in M/S mode if needed:
- keep anything below about 300–400 Hz centered or removed
- if the source has stereo hiss or room tone, let only the top air stay wide
The top loop should not compete with:
- the snare body
- reese upper harmonics
- vocal chops or leads in the same band
- crash cymbals on downbeats
Mixing rule: if the loop feels exciting in solo but makes the drop thinner, it’s probably too bright, too wide, or too busy.
8. Make it arrangement-ready with edits, mutes, and phrase resets
Advanced DnB arrangement lives in the details between 8-bar blocks. Turn the loop into an edit tool by creating variation versions:
- `Top Loop A` = main version
- `Top Loop B` = more filtered
- `Top Loop Fill` = extra hat snare ghost on bar 8 or 16
- `Top Loop Breakdown` = filtered + reverbed
In Arrangement View, use:
- quick mutes before drops
- half-bar cutouts
- one-bar fills before switch-ups
- reverse tails leading into snares
- automation reset at the start of each new phrase
A strong structure might be:
- Intro: loop only, filtered and sparse
- First drop: loop opens but stays supportive
- Mid-8: drop out the loop for 1 bar to reveal the main break
- Second drop: bring the loop back brighter and slightly more distorted
This kind of edit keeps the listener engaged without overloading the groove. It’s especially useful for rollers, where subtle change matters more than constant density.
Common Mistakes
- Fix: pull it down until you miss it when muted, not when it’s soloed.
- Fix: cut or duck around the snare’s transient zone, usually the 1.5–4 kHz area.
- Fix: narrow the loop and keep the low-mid content mono or removed.
- Fix: use light saturation first, then decide if more grit is actually needed.
- Fix: high-pass aggressively enough that the layer behaves like top percussion, not another drum bus.
- Fix: remove 20–30% of the events. In DnB edits, space is part of the groove.
- Fix: automate filter and mute states across phrases so the loop evolves like a performance.
Pro Tips for Darker / Heavier DnB
- Duplicate the top loop and put the copy through Pedal, Saturator, or Drum Buss with extreme settings, then blend it quietly underneath the clean layer. This adds dark edge without losing definition.
- Once the groove feels right, resample it to audio and cut it again. Resampling helps you commit to a sound and often creates more convincing oldskool randomness.
- A very low-level noise layer through Auto Filter can make the loop feel more “taped together.” Keep it subtle and high-passed.
- Use Compressor or Auto Pan-style movement if needed, but keep the ducking tiny. You want clearance, not pumping.
- During build-ups, sweep the loop from 300 Hz up to 2–4 kHz focus and then reopen the air on the drop. This works especially well in darker rollers and neuro-influenced edits.
- Send select hits to Echo with very short, filtered repeats. One or two delayed ghost hits can give the whole loop a deeper reggae/dubwise identity.
- If the loop gets glassy, tame 5–8 kHz with a gentle EQ dip or dynamic-style reduction through careful clip editing and saturation balance.
Mini Practice Exercise
Spend 10–20 minutes building two versions of the same top loop:
1. Version A: Classic jungle
- Build a 1-bar loop from a chopped break and hat ghosts
- Apply groove at 8–12%
- High-pass at 220–280 Hz
- Add mild Drum Buss drive
- Automate a filter open over 8 bars
2. Version B: Dark roller
- Use the same source, but remove half the hits
- Narrow the stereo field slightly with Utility
- Add subtle Saturator drive and a filtered Echo send
- Keep the loop darker and more restrained
Then A/B both versions over the same bass and drums. Ask:
Finish by muting the loop for 1 bar before a drop and listening to how much tension returns when it comes back in.

