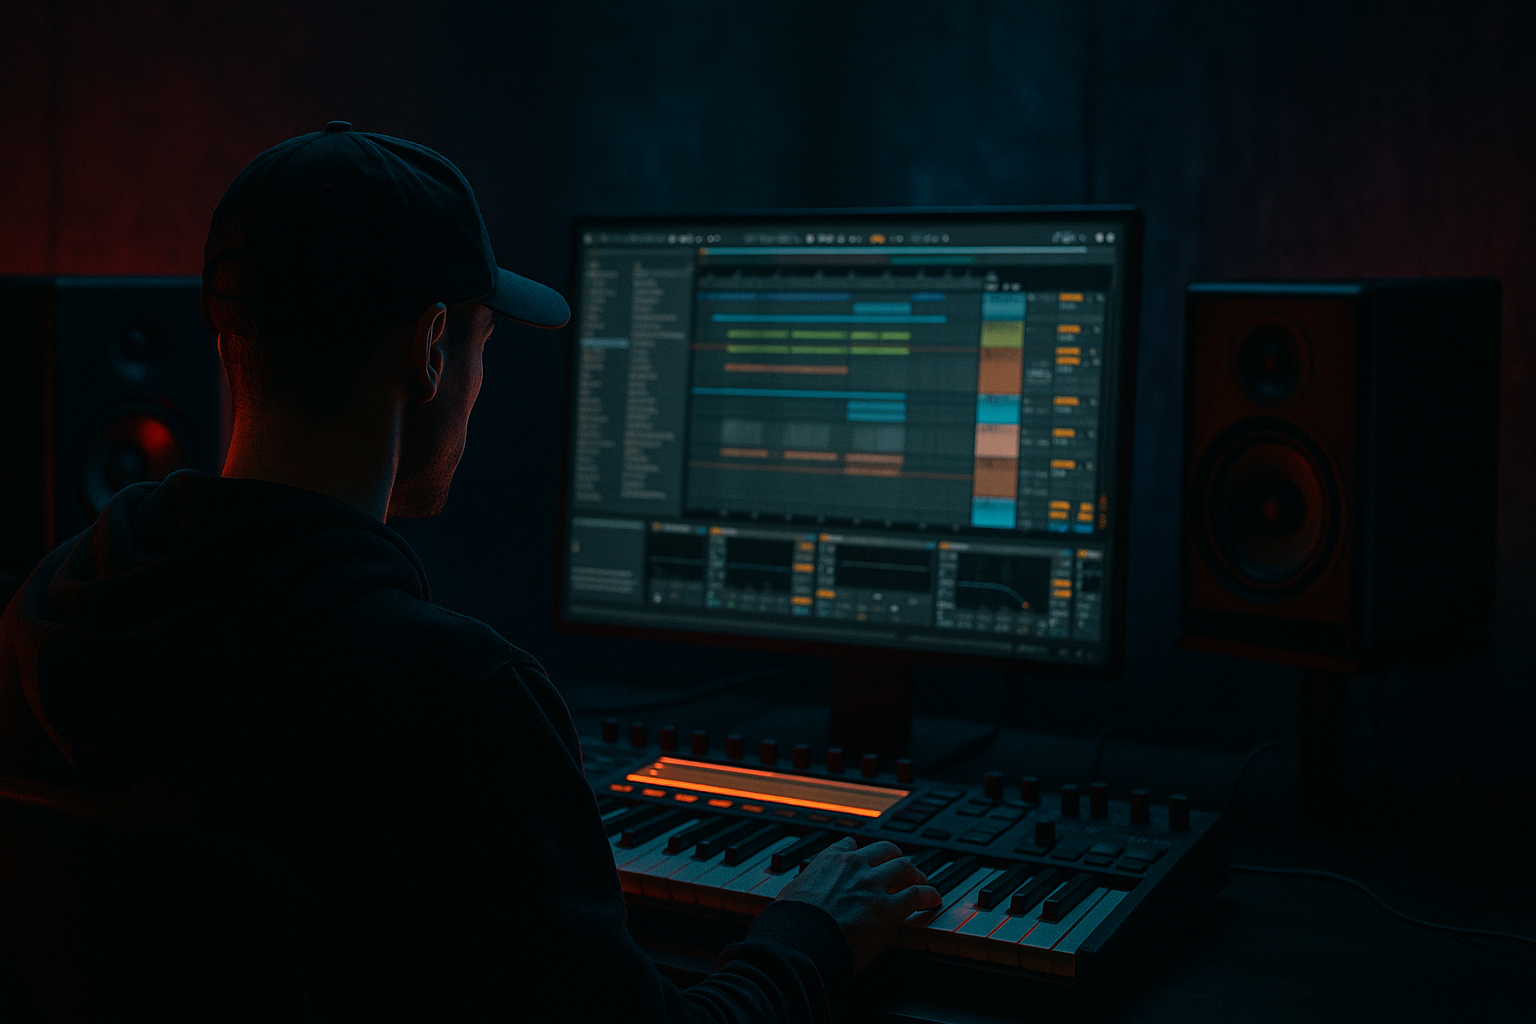
Main tutorial
Dubwise Masterclass: Bass Wobble Saturate in Ableton Live 12 for Jungle / Oldskool DnB Vibes
1. Lesson overview
In this lesson, you’ll build a dubwise, saturated wobble bass sound in Ableton Live 12 using a resampling workflow. This is a classic jungle / oldskool DnB technique:
you create a movement-heavy bassline, print it to audio, mangle it, then resample again until it has that gritty, alive, speaker-rattling character. 🔥
This approach works especially well for:
- Oldskool rave bass
- Dubwise rolling basslines
- Jungle Reese-style movement
- Dark halftime bass textures
- Crunchy, lo-fi, cassette-style saturation
- A wobbly bass patch built in Ableton Live’s stock devices
- A saturated dub tone with controlled distortion
- A resampling chain that turns a MIDI bass into gritty audio
- A 2-step or jungle-style arrangement idea using the bass as a main hook
- A workflow you can reuse for:
- Wavetable or Operator
- Saturator
- Drum Buss
- Auto Filter
- Echo
- EQ Eight
- Compressor
- Resampling / Audio tracks
- Optional: Roar if you want a nastier modern edge in Live 12
- Set tempo to 170–174 BPM for classic jungle / DnB
- Use a simple drum loop or a basic break for context
- Create:
- Notes around F, G, A, C or whatever key your track is in
- Short note lengths for rhythmic movement
- Occasional held notes for wobble swells
- Gaps between notes for the drums to breathe
- Bar 1: short note, short rest, short note, longer tail
- Bar 2: variation with a higher note or octave jump
- Quantize loosely if you want a human feel
- Nudge some notes slightly late for dub swing
- Leave space for kick and snare
- Keep the sub line simple; the motion comes from processing, not note overload
- Assign LFO 1 to filter cutoff
- Set LFO shape to:
- Sync rate:
- Mod depth:
- Use an LFO via Macro or automate filter cutoff manually
- If you want more movement, layer Auto Filter after Operator and modulate that
- Drive: +3 to +8 dB
- Color: On
- Curve mode: try Analog Clip
- Soft Clip: On
- Output: compensate so the level doesn’t jump too high
- Use Drive higher
- Try Waveshaper mode if you want more aggressive grit
- Automate the Drive slightly for drop sections
- Use a Lowpass or Bandpass
- Add gentle resonance for character
- Automate cutoff for call-and-response phrases
- Cut mud around 200–400 Hz if needed
- Reduce harshness around 2–5 kHz if saturation gets nasty
- High-pass gently on non-sub layers if they’re clashing with the kick
- Time: 1/8, 1/8 dotted, or 1/4
- Feedback: 20–45%
- Filter: roll off low end in the delay return
- Mode: Tape or Analog for warmth
- Noise/Wobble: tiny amounts can make it feel more alive
- Dry/Wet: keep low, around 5–20%
- Automate Echo on selected bass hits
- Use delay throws on the last note of a phrase
- Resample the delay tail so it becomes part of the sound
- slice it
- reverse it
- pitch it
- warp it
- add more distortion
- time-stretch specific hits
- turn one phrase into multiple arrangement parts
- Keep the strongest 1-2 bar section
- Trim dead space
- Consolidate with Cmd/Ctrl + J
- Use Complex Pro only if necessary
- For bass, keep warping minimal to avoid wobble artifacts
- If the groove feels right, don’t overcorrect it
- Drum Buss
- Or another Saturator
- Or Roar for a nastier, modern texture
- Trim unnecessary low rumble below 25–30 Hz
- Control boxiness around 250 Hz
- Add a gentle top boost only if the bass needs more speak
- Dry
- Wet
- Filtered
- Reversed
- Pitch-bent
- Intro: filtered bass hints, no full low end
- Build: automate the wobble and echo
- Drop 1: main bass phrase with drums
- Break: delay throw, reverse swell, or filtered breakdown
- Drop 2: resampled variation with extra saturation and fills
- Chop the resampled bass into 1/2-bar and 1-bar phrases
- Reverse the last hit before a snare fill
- Use a short delay throw before the drop
- Duplicate a bass hit and pitch one copy down 12 semitones for extra weight
- Leave space for amen fills or snare roll transitions
- Saturator
- Overdrive
- Roar
- Redux for bitcrushed edge
- Sub in mono
- Sidechain lightly to the kick if needed
- Avoid stereo widening on anything below ~120 Hz
- one clean version
- one dirty version
- one chopped variation
- Build a bass patch with Wavetable or Operator
- Add rhythmic wobble using LFO/filter movement
- Drive it with Saturator and/or Drum Buss
- Add dub character with Echo
- Print the sound to audio using Resampling
- Edit, chop, reverse, and reprocess the audio for jungle/DnB arrangement energy
- Layer clean sub, mid wobble, and dirty resampled versions for weight and character
- a step-by-step Ableton rack chain
- a MIDI + automation template
- or a dark Reese bass variant with the same resampling method.
Instead of trying to make the sound perfect in one pass, you’ll perform the sound, resample it, then shape the recorded audio. That’s a very DnB way to work: fast, hands-on, and full of happy accidents.
---
2. What you will build
By the end of this tutorial, you’ll have:
- Reese bass
- sub-bass movement
- rewind-style fills
- tension risers
- breakdown dub delays
You’ll mainly use:
---
3. Step-by-step walkthrough
Step 1: Set up your project for DnB speed
Before sound design, get the session feeling right.
- MIDI track 1 = bass synth
- Audio track 1 = resampling
- Audio track 2 = final print / arrangement bounce
For this lesson, we’ll make the bass work against a rolling drum break. That gives you a more realistic DnB result than designing in solo.
---
Step 2: Build the source bass patch
Use Wavetable for a flexible dubwise wobble, or Operator for a more oldskool tonal tone.
#### Option A: Wavetable setup
1. Add Wavetable
2. Oscillator 1:
- Wavetable: Basic Shapes or Analog
- Set to Saw or a saw-ish wave
- Octave: -1
3. Oscillator 2:
- Turn on, detune slightly
- Mix low, around 15–30%
4. Filter:
- Type: Lowpass 24
- Cutoff around 120–300 Hz to start
- Resonance: 10–25%
5. Add a sub:
- Use Wavetable’s sub oscillator or layer a second instrument if needed
- Keep it clean and mono
#### Option B: Operator setup
1. Add Operator
2. Use a sine or triangle as the main body
3. Add a second oscillator slightly detuned or an octave up for harmonics
4. Keep the output clean so the saturation later does the heavy lifting
Why this matters:
Oldskool and dubwise basses often rely on a strong low fundamental plus harmonics that can be driven later. If the source is too weak, saturation won’t sound rich—it’ll just sound thin and harsh.
---
Step 3: Program a simple jungle bassline
Keep the MIDI pattern minimal and syncopated.
Try a 1-bar or 2-bar loop with:
Example concept:
#### Useful MIDI tips
---
Step 4: Add wobble movement with modulation
Now create the “dubwise” motion.
#### In Wavetable
- Sine for smooth wobble
- Square for classic on/off dubstep-style movement
- Random for more broken jungle texture
- Try 1/8, 1/4, or 1/16
- For oldskool vibes, 1/8 dotted can feel great
- Start moderate, then increase until the bass speaks clearly
#### In Operator
#### Best practice
Keep the wobble movement rhythmic but not too fast.
Oldskool DnB often feels more like a pulse than a hyper-detailed modern wobble.
---
Step 5: Add the first saturation stage
This is where the bass starts to get that ripped-up speaker tone.
Insert Saturator after the synth:
#### Saturator starter settings
If you want more bite:
Key idea:
You’re not just distorting for loudness—you’re generating harmonics that make the bass audible on smaller speakers and give it that crunchy jungle presence.
---
Step 6: Shape the tone with Auto Filter and EQ Eight
After saturation, clean and sculpt the tone.
#### Auto Filter
#### EQ Eight
Use this to control the bass before resampling:
Important:
Don’t over-EQ before resampling. Leave some dirt in place. In jungle and DnB, a slightly unruly bass often sounds better after the next recording pass.
---
Step 7: Add dub delay for character
Put Echo after the bass chain for dubwise flavor.
#### Echo settings to try
For classic dub jungle energy:
---
Step 8: Resample the bass
Now the magic part: print your processed bass to audio.
#### Method
1. Create a new Audio track
2. Set Audio From to:
- Resampling if you want the master output
- Or the specific bass track if you want a cleaner print
3. Arm the track
4. Record the bass phrase in real time
#### Why resample?
Because once the bass is audio, you can:
This is extremely useful in drum and bass, where audio manipulation often gives a more authentic edge than endless MIDI tweaking.
---
Step 9: Process the recorded audio
After recording, move to an audio editing mindset.
Try these steps:
#### a) Consolidate the best takes
#### b) Warp if needed
#### c) Add a second saturation pass
On the audio track, add:
- Drive: low to medium
- Boom: only if you need extra low-end weight
- Crunch: use carefully
#### d) EQ again
---
Step 10: Create layered bass sections
For a proper DnB arrangement, make at least three versions:
1. Clean sub layer
- Mostly sine/sine-like
- Mono
- Minimal distortion
2. Mid wobble layer
- Saturated and filtered
- The main character layer
3. Dirty resampled layer
- Printed audio with delay tails, harmonics, and movement
- Used for fills, drops, and transitions
You can also bounce different phrases:
This gives you more control in the arrangement.
---
Step 11: Arrange the bass for jungle / oldskool energy
Now that you have audio, arrange it like a proper DnB record.
#### Drop structure idea
#### Arrangement tricks
---
Step 12: Add a final glue chain on the bass bus
Route your bass layers to a Bass Group and glue them together.
Suggested bus chain:
1. EQ Eight
2. Compressor
- Light glue only
- 1–3 dB gain reduction
3. Saturator or Drum Buss
4. Optional Limiter only for safety, not loudness
If the bass feels too wide, keep it mono below about 120 Hz.
You can use Utility to enforce mono on the low layer.
---
4. Common mistakes
1. Distorting the sub too much
If the sub becomes fuzzy or disappears, you’ve overcooked it.
Keep the clean low-end controlled and let the mid layer carry the grit.
2. Too much wobble rate
Fast LFO rates can make the bass feel messy in DnB.
If the wobble fights the drums, slow it down and make it more intentional.
3. Resampling too early
If the source patch isn’t strong, audio resampling will just capture a weak sound.
Get the tone right first, then print it.
4. Ignoring the kick and snare
In jungle and DnB, bass must leave room for the break.
If the bass is constant and huge, the groove collapses.
5. Over-warping audio
Excessive warping can smear transients and make bass feel unstable.
Use the minimum needed.
6. No contrast in arrangement
If every section has the same bass intensity, the tune won’t hit.
Use filtered, dry, and dirty versions strategically.
---
5. Pro tips for darker/heavier DnB
Use parallel dirt
Duplicate the bass and make one copy dirty:
Then blend it quietly under the clean layer. This gives density without losing the fundamental.
Automate filter movement on phrase endings
A gentle cutoff sweep at the end of a bar can create that classic dub feel.
Great for tension before snare fills or break edits.
Print delay tails separately
Record the delay tail on its own audio track.
Then chop it into stabs or reverses for transitions.
Use pitch modulation sparingly
Tiny pitch dips at note starts can make the bass feel heavier and more analog.
A little goes a long way.
Make the resample part of the composition
Don’t treat resampling as just cleanup.
In DnB, the printed audio is often the hook. Use the weird artifacts, tails, and clipped edges as arrangement material.
Keep the low end disciplined
---
6. Mini practice exercise
Exercise: build a 2-bar dubwise bass loop
Do this in one session:
1. Set tempo to 172 BPM
2. Make a 2-bar MIDI bassline
3. Use Wavetable or Operator
4. Add:
- Auto Filter
- Saturator
- Echo
5. Automate filter cutoff across the 2 bars
6. Resample the result to audio
7. Slice the audio into 4–8 pieces
8. Rearrange the slices into a new variation
9. Add a second saturated copy for the drop
10. Compare the original MIDI version with the resampled version
#### Goal
Create:
This will train you to think like a jungle producer: sound design first, audio manipulation second, arrangement third. 🥁
---
7. Recap
You’ve now got a practical dubwise resampling workflow for Ableton Live 12:
The big takeaway:
in drum and bass, especially jungle and oldskool styles, the bass doesn’t need to stay “perfect” — it needs to feel alive, physical, and responsive to the rhythm. That’s exactly what resampling gives you. 🎛️
If you want, I can also turn this into:

