Main tutorial
Lesson Overview
Dubwise percussion layer shape is the art of making your drum layers feel like they’re breathing around the beat instead of just sitting on top of it. In Drum & Bass, especially oldskool rave pressure, jungle, rollers, and darker dubwise tracks, this is a huge part of the vibe: the drums need space, swing, and attitude. The goal is not “more drums.” The goal is a layered percussion pattern that feels alive, hypnotic, and club-ready.
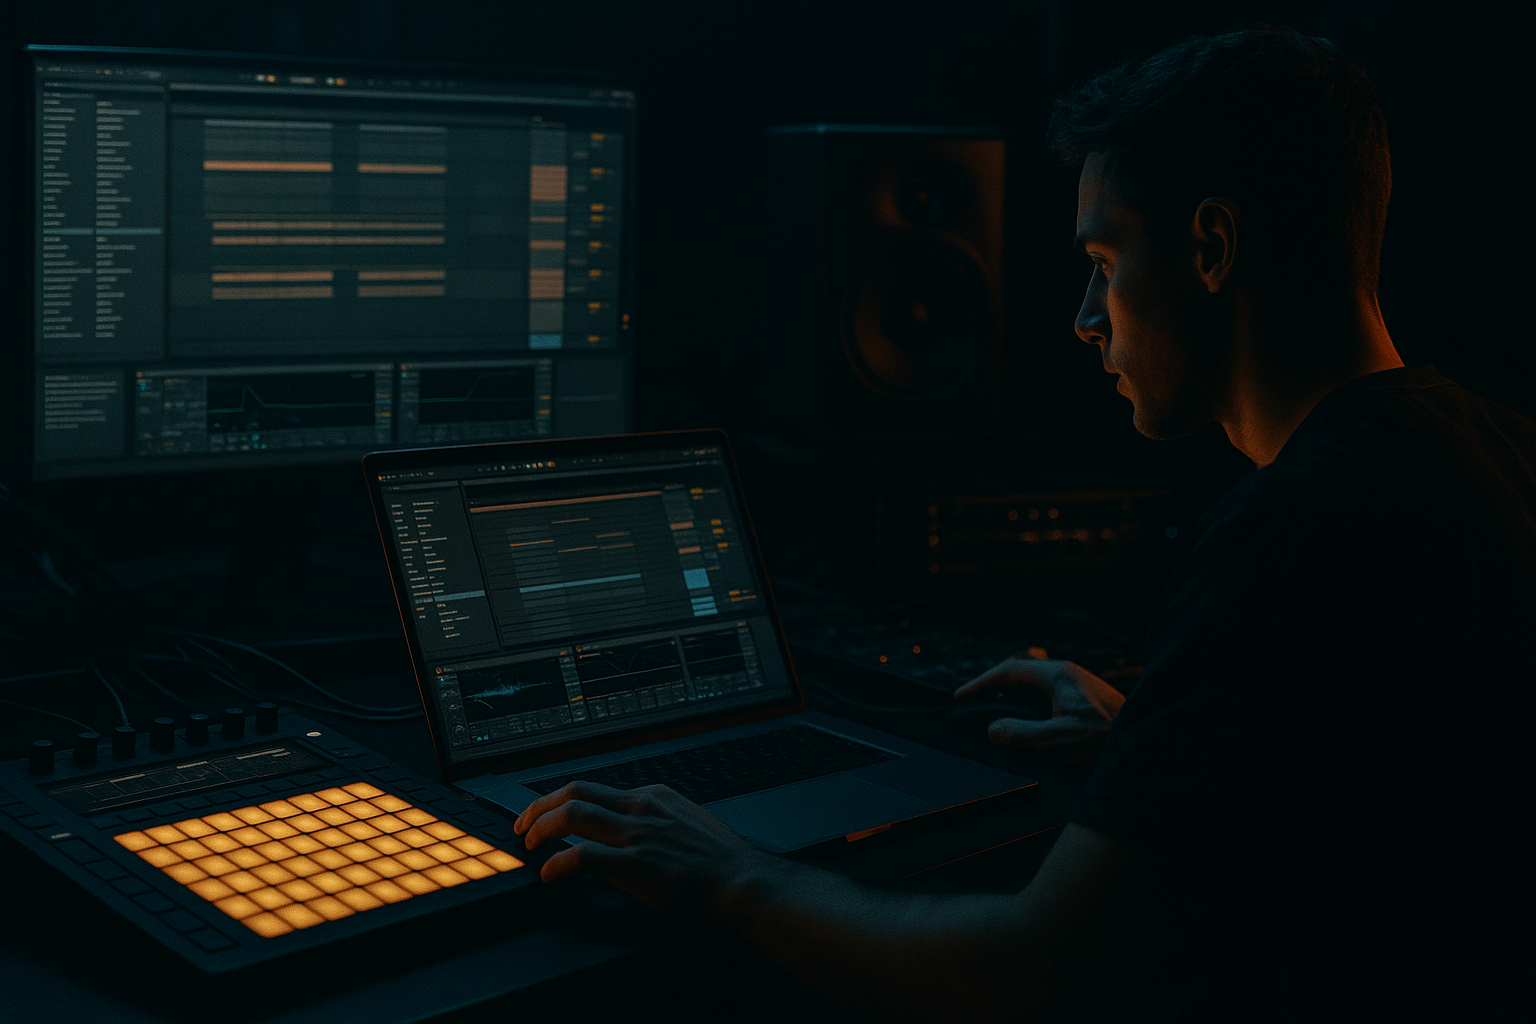
In Ableton Live 12, this is a perfect beginner automation lesson because you can shape the energy of each layer without needing advanced sound design. A simple hat loop, a shaker, a rim, a conga, or a chopped break can become a full DnB percussion system when you automate volume, filter, panning, and send effects in a musical way.
Why it matters in DnB: the bassline usually owns the sub and much of the weight, so percussion has to create motion, forward drive, and tension without fighting the low end. Dubwise percussion gives you that “pressure” feeling heard in classic jungle and modern dark rollers — the groove feels spacious, but the track still pushes hard. 🔥
What You Will Build
You’re going to build a 2-bar dubwise percussion layer in Ableton Live 12 that can sit under a DnB intro, first drop, or rolling section.
By the end, you’ll have:
- A core drum loop with kick and snare already supporting the groove
- 2 to 4 percussion layers, such as shakers, hats, rim clicks, or congas
- Automation that makes the pattern evolve over time instead of looping flat
- A dubwise “shape” where percussion opens up, closes down, and hits harder at phrase ends
- Optional send FX movement like delay and reverb throws for oldskool rave pressure
- A setup you can reuse in jungle, rollers, dubwise, or darker bass music arrangements
- Place a kick on beat 1 and a snare on beat 2 and beat 4, or use your normal DnB backbeat.
- Keep the kick tight and the snare loud enough to anchor the groove.
- If you’re using a breakbeat, loop a clean 2-bar section and trim it so the transients are clear.
- Track 1: shaker or closed hat loop
- Track 2: rim or woodblock one-shots
- Track 3: conga, bongo, or filtered tom hits
- Optional Track 4: chopped break top layer
- Shaker: 16th-note pattern, but mute every few hits so it doesn’t sound robotic
- Rim: syncopated hits around the snare, often on the “and” of 2 or the “e” of 4
- Conga: one or two hits per bar, placed as answers to the snare
- Load them into Drum Rack
- Play them from a MIDI clip
- Keep note lengths short
- Slice to New MIDI Track if you want more control
- Or keep the audio and use clip automation for quick shaping
- EQ Eight: high-pass around 200–400 Hz to remove low junk
- Drum Buss: drive lightly, around 5–15%, if the layer feels thin
- Auto Filter: low-pass for shape automation
- EQ Eight: cut mud around 200–500 Hz if needed
- Saturator: very light drive for edge and presence
- Utility: reduce width if the layer feels too wide
- Auto Filter cutoff on hats: start around 8–12 kHz and automate downward for breakdowns
- Reverb dry/wet on percussion send: 8–18% for space, not wash
- Delay send: short dotted or synced delay with low feedback, around 15–25%
- Top layer: shaker or hat
- Mid layer: rim, click, or wood
- Accent layer: conga, tom, or break top
- EQ Eight for overall cleanup
- Drum Buss for glue and punch
- Auto Filter for movement automation
- Utility for final gain and stereo control
- Drum Buss Drive: 5–10%
- Boom: off or very low for percussion layers
- Transients: slightly up if you need more crack
- Auto Filter resonance: low to moderate, around 0.20–0.50
- Utility Width: 80–100% for most percussion, but narrow the low-ish layers
- Create a 4-bar or 8-bar loop
- Draw automation on Auto Filter cutoff for the percussion group
- Start slightly closed in the first bar
- Open it gradually by bar 3 or 4
- Close it again at the phrase end
- Closed section: 2–5 kHz
- Open section: 8–14 kHz
- Resonance slightly higher at phrase ends for a more “rave” edge
- Filter drive a touch higher when the section needs more bite
- Bars 1–2: muted/filtered shaker, less top
- Bars 3–4: filter opens, shaker gets brighter, rim becomes clearer
- End of bar 4: quick close or dip before the next phrase
- Lower certain hits by 2–6 dB so they feel like ghost notes
- Push key accents up by 1–3 dB at phrase edges
- Create subtle call-and-response with the snare
- In bar 1, keep the shaker quiet
- In bar 2, lift the last two hits slightly
- In bar 4, make the final accent louder to lead into the next phrase
- Return A: Reverb
- Return B: Delay
- Reverb: decay around 1.2–2.8 seconds, low cut if needed, wet kept moderate on the return
- Delay: 1/8 or 1/4 sync, feedback around 15–30%, filter on the delay return to keep it dark
- Send a rim hit into delay at the end of every 4 bars
- Add a tiny reverb throw on a conga hit before a drop
- Keep most of the loop dry, and only highlight certain hits
- Use Utility to keep important mid percussion more centered
- Widen only the top layer if needed
- Keep anything that adds punch close to mono
- Shaker: Width 110–130% if it’s high and airy
- Rim/click: Width 80–100% if it needs focus
- Conga: mostly centered unless it’s a decorative layer
- Bars 1–4: filtered percussion intro, dry and restrained
- Bars 5–8: brighter top layer, more shaker energy
- Bars 9–12: add rim accents and a small delay throw
- Bars 13–16: open filter fully, then close just before the next section
- Start with only shaker and rim
- Add conga or break top after 8 bars
- Use a short fill or filter dip before the next bass change
- Too many percussion layers at once
- Over-automating everything
- Bright hats fighting the snare
- Excessive reverb washing out the groove
- Stereo width making the groove weak
- No phrase changes
- Use low-level distortion on percussion busses
- Darken the top end instead of boosting it endlessly
- Resample your percussion bus
- Automate tiny delays on the last hit of a phrase
- Use ghost hits under the main pattern
- Keep sub and percussion separate in your head
- For neuro or darker rollers, make the percussion more mechanical
- Dubwise percussion shape is about motion, space, and phrase-based energy changes.
- Start with a clean, simple percussion loop before adding automation.
- Use Ableton stock devices like Auto Filter, EQ Eight, Drum Buss, Utility, Reverb, and Delay.
- Automate filter cutoff, volume, and send effects to create oldskool rave pressure.
- Keep the low end clean and the percussion mostly dry, with selective throws for impact.
- In DnB, small automation moves can make a huge difference in groove and intensity.
Musically, think: a simple offbeat shaker pattern in the intro, then a filtered percussion loop in the drop, with little automation moves at the end of each 4 bars that make the groove feel human and section-based.
Step-by-Step Walkthrough
1. Start with a simple DnB drum foundation
Open a new Live set and build your base rhythm first. You want the percussion layers to support the kick and snare, not fight them.
Now add a percussion group underneath:
Why this works in DnB: the kick and snare create the grid, while the percussion layers create motion around that grid. That motion is what makes a track feel fast and deep at the same time.
2. Keep the percussion simple before you automate
Beginner mistake: trying to automate a messy pattern. Instead, make a clean loop first.
Try these starter placements:
Use Ableton’s MIDI clips or audio clips depending on your source. If you’re working with one-shots:
If you’re using audio loops:
Aim for a pattern that feels good with no FX first. If it grooves dry, it’ll groove with treatment.
3. Shape the tone with stock Ableton devices
Now give each layer a clear job using Ableton stock devices. This keeps the percussion easy to automate later.
On shaker/hat layers:
On rim or conga layers:
Useful starting settings:
Keep percussion mostly dry in the main groove. In dubwise DnB, the space should feel intentional, not smeared.
4. Group the percussion and build a control system
Select your percussion tracks and group them with Cmd/Ctrl + G. This makes automation and shaping much easier.
Inside the group, create a simple hierarchy:
Then add these stock devices on the group:
Suggested starting values:
This gives you a single “percussion bus” you can automate with one lane, which is great for beginners.
5. Automate filter movement for dubwise pressure
This is the heart of the lesson. Dubwise percussion shape usually comes from opening and closing the tonal space over time.
In Arrangement View:
Good beginner range:
You can also automate:
A practical movement:
Why this works in DnB: the drum pattern stays consistent, but the top-end energy changes. That gives you tension and release without cluttering the low end or changing the main groove.
6. Add volume automation for ghost-note style motion
Automation isn’t just for filters. In dubwise and jungle-inspired percussion, volume changes create groove like ghost notes in a drummer’s hands.
Pick one layer, such as a rim or shaker, and automate clip or track volume:
Example:
You can use clip envelopes for specific loops or track automation for broader section changes.
Keep it subtle. In DnB, tiny volume moves often feel bigger than drastic ones.
7. Use send automation for dubby echoes and oldskool rave character
Classic dubwise pressure often comes from throws: not constant reverb, but short moments of space and echo.
Set up two return tracks:
Suggested stock device settings:
Then automate send amounts on the percussion group:
This creates that dubwise “space between the hits” feeling. It also keeps the groove cleaner than leaving effects on all the time.
8. Shape stereo carefully so the groove stays heavy
DNB percussion can get wide fast, but too much width can weaken the center and blur the bass/drums.
On your percussion group:
Simple approach:
Also check mono occasionally. If your percussion disappears or loses rhythm in mono, reduce stereo widening or phasey effects.
This matters in DnB because the bass and kick need a firm center. The percussion can dance around them, but the core must stay solid.
9. Arrange the shape across a DJ-friendly phrase
A lot of beginners make one loop and let it run unchanged. For DnB, think in 8-bar or 16-bar phrases.
Try this arrangement idea:
For a drop, you might:
This is how you make the percussion feel like it’s “breathing” with the arrangement, not just looping endlessly.
Common Mistakes
Fix: keep one clear role per layer. If two parts do the same job, mute one.
Fix: automate one main thing first, usually the group filter or send throws.
Fix: use EQ Eight to cut harsh areas around 6–10 kHz if the top gets painful.
Fix: put reverb on a return track and automate small throws instead of leaving it wide open.
Fix: narrow the mid layers and keep the bass/kick centered.
Fix: make at least one change every 4 or 8 bars, even if it’s just a filter move or tiny volume lift.
Pro Tips for Darker / Heavier DnB
Try Saturator or Drum Buss with very small amounts of drive to add density. Keep it subtle so the transients stay clear.
A slightly filtered shaker often sounds more expensive than a super-bright one. In darker DnB, controlled top end feels bigger.
Once you like the groove, record it to audio and chop the best 4-bar phrase. This can give you a more “finished” rave texture and makes automation easier.
A small delay throw on one rim or conga hit can create that classic dubwise question-and-answer feel.
Quiet shakers or filtered break ticks tucked behind the snare can add movement without sounding busy.
If the bassline is already busy, simplify the percussion. If the bassline is sparse, the percussion can carry more motion.
Reduce swing slightly, tighten timing, and use narrower filter moves. It stays hypnotic but feels more controlled.
Mini Practice Exercise
Spend 10–20 minutes building a 4-bar dubwise percussion loop in Ableton Live 12.
1. Load a kick, snare, shaker, and one rim or conga.
2. Make the kick/snare groove first.
3. Add a simple shaker loop with no FX.
4. Group the percussion and add EQ Eight, Auto Filter, and Utility.
5. Draw filter automation over 4 bars:
- Bars 1–2: closed
- Bar 3: opening
- Bar 4: open, then dip at the end
6. Add one volume automation move on the rim or shaker so one accent lands louder.
7. Set up a delay return and add one send throw on the last hit of bar 4.
8. Listen in loop, then mute one layer and see if the groove still works.
Goal: create a loop that feels like it is moving forward without adding more notes.

