Main tutorial
Lesson Overview
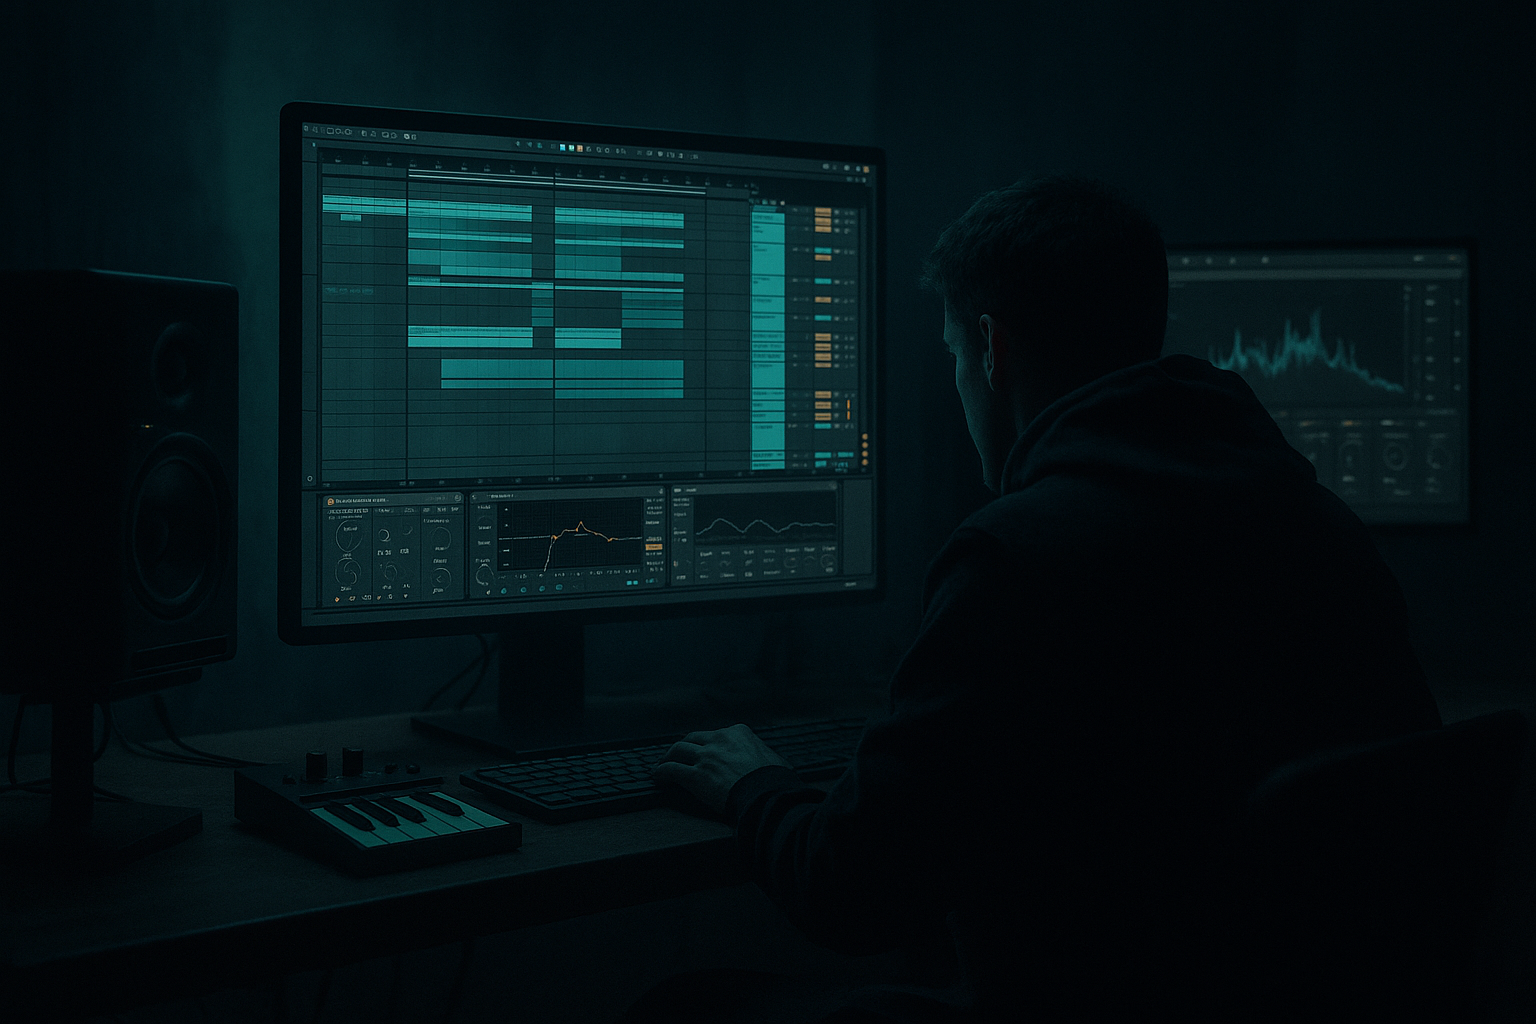
In oldskool jungle and dubwise DnB, the air horn is never just “a loud sample” — it’s a statement, a callout, and a rhythmic weapon. The real skill is not placing the horn, but balancing it so it cuts through the track without flattening the groove, burying the break, or wrecking the low-end. In Ableton Live 12, that means treating the air horn like part of the arrangement, not a novelty effect.
This lesson focuses on how to fit an air horn hit into a DnB context so it feels authentic: used sparingly, timed with the drums, shaded by space, and controlled with sample editing, return FX, EQ, compression, and automation. You’ll learn how to make the horn sit above a rolling break and sub without sounding disconnected or painfully harsh.
Why this matters: jungle and dubwise tracks rely on contrast. The horn creates a strong midrange focal point, but if it dominates too much, the mix loses depth and the groove stops breathing. A well-balanced horn can add attitude, hint at a sound system culture reference, and elevate a drop or switch-up without reducing clarity.
What You Will Build
You’ll build a short dubwise jungle phrase inside Ableton Live 12 featuring:
- a sampled air horn hit placed as a call-and-response accent
- a processed horn chain with EQ, compression, saturation, and space
- a rolling break underneath with enough headroom for the horn to speak
- a sub bass / reese layer that remains solid in mono
- a dub-style delay throw and reverb wash used tastefully, not flooded
- a mini 8-bar arrangement where the horn appears as a punctuation mark in the drop and a teaser in the intro
- Making the horn too loud
- Letting the horn tail smear the break
- Overusing delay
- Cutting too much high end
- Ignoring the bass relationship
- Using wide stereo effects without mono checking
- Placing horns on every bar
- Resample the horn through your own chain
- Pair the horn with a filtered noise burst
- Use a transient-friendly drum bus
- Let the horn answer the bass
- Add subtle warble with modulation
- Distort the return, not the dry hit
- Trim the horn sample so it behaves like a rhythmic accent.
- Place it on strong phrase points for call-and-response energy.
- Balance it against the break before adding space.
- Use EQ, saturation, and return FX to give it presence without harshness.
- Keep delays and reverbs controlled with automation and ducking.
- Always check the horn against the sub and the drums in mono.
The end result should feel like an oldskool-inspired DnB section: tough drums, restrained sub, and a horn that’s aggressive but controlled.
Step-by-Step Walkthrough
1. Choose the right air horn sample and trim it like a drum hit
In Ableton Live, drag your air horn sample into a Simpler or directly into an Audio Track. For this style, you want a horn with a strong midrange bite and a reasonably short tail. If your sample is too long, it will clutter the groove.
In Simpler:
- Set Playback to Classic.
- Turn on One-Shot if it’s a single hit.
- Tighten Start so the transient begins immediately.
- Use a short Fade In if the sample clicks.
- Trim the tail so the horn ends before the next snare or break accent.
Useful starting points:
- Sample start: 0–10 ms after the transient
- Fade out: 20–80 ms depending on tail
- Warp: usually off for a one-shot unless you need tempo stretching
Why this matters in DnB: the breakbeat is fast and dense, so any unnecessary tail can smear the rhythm. A trimmed horn leaves room for ghost notes and snare energy.
2. Place the horn in a musical phrase, not randomly
In oldskool/jungle phrasing, the horn works best as an answer to the drum phrase or bass phrase. Build a simple 2- or 4-bar loop and place the horn on a strong offbeat or right after a snare.
Good placement ideas:
- On the “and” of beat 2 or beat 4 for a callout feel
- On bar 1 of a new 4-bar phrase to mark a drop entry
- After a bass rest so the horn acts like a response
Example arrangement context:
- Bars 1–4: filtered break and atmosphere
- Bar 5: full drums enter
- Bar 6: horn hit on the “and” of 2, with a delay throw
- Bar 8: horn repeats with a slightly shorter tail and a different automation curve
Keep the horn sparse. One or two well-placed hits feel more powerful than constant repeats.
3. Balance the horn against the break before adding FX
Before you drown it in delay, set the raw balance. Pull the horn fader down and bring it up until it sits on top of the groove without pinning the master. You want the horn to be clearly audible, but not louder than the snare crack or the key rhythmic anchor.
Start here:
- Horn peak roughly 3–6 dB below the snare peak in the mix
- Keep master headroom around -6 dB before final limiting
- If the horn feels too loud, try lowering it before processing rather than just cutting highs later
Use a Spectrum device on the horn and the drum bus if needed. If the horn is taking over the 1–4 kHz range, it may sound exciting solo but harsh in the track. In DnB, that range is precious because it carries snare attack and break detail.
4. Shape the horn with EQ Eight for bite without pain
Add EQ Eight on the horn track. The goal is to remove mud, control harshness, and keep the horn readable over drums and bass.
Starting points:
- High-pass around 90–160 Hz to keep low-end clean
- Cut a little around 250–500 Hz if the sample feels boxy
- If it’s spiky, make a narrow dip around 2.5–4.5 kHz
- Add a gentle shelf only if the sample is dull, usually +1 to +3 dB above 6–8 kHz
Two concrete EQ examples:
- Horn A: HP at 120 Hz, -3 dB at 380 Hz, -2.5 dB at 3.2 kHz
- Horn B: HP at 150 Hz, -4 dB at 280 Hz, small +2 dB shelf at 9 kHz
If the horn is supposed to feel rude and vintage, do not over-polish it. The point is not hi-fi purity; the point is controlled aggression.
5. Use Saturator or Drum Buss to add authority
A horn often feels too “flat” when it’s only volume-balanced. Add color with stock Ableton devices.
Try Saturator first:
- Soft Clip on
- Drive: 1–5 dB
- Output adjusted to match level
- Analog Clip mode if you want more edge
Or use Drum Buss if you want extra density:
- Drive: 5–20%
- Crunch: subtle, around 5–15%
- Damp: use carefully so the top doesn’t get brittle
- Boom: usually off for horn processing unless you want an exaggerated low-mid swell
Why this works in DnB: saturation lets the horn cut through without needing huge fader gain. That’s important when the mix already has a busy break, sub, and reese. Harmonics help the horn read on smaller systems and in the midrange-heavy reality of sound system playback.
6. Send the horn to dub-style delay and reverb returns
Create two Return Tracks: one with Echo and one with Reverb. This gives you classic dubwise control and keeps the dry horn punchy.
Return A — Echo:
- Sync timing: 1/4 or dotted 1/8
- Feedback: 20–45%
- Filter the delay so it doesn’t muddy the low end
- Use Ping Pong only if you want a wider, more psychedelic throw
Return B — Reverb:
- Decay: 1.2–2.5 seconds for a compact space
- Pre-delay: 10–30 ms
- High-pass inside the reverb if needed
- Keep wet return low enough that the tail supports the horn instead of swallowing it
Automate the Send knobs so the horn stays dry on the main hit and opens into space only on selected phrases. A classic move is a big delay throw on the last horn of an 8-bar section, then pull it back for the next phrase.
Tip: if the delay is cluttering the break, use Auto Filter on the return and roll off lows aggressively. Dub space should feel intentional, not foggy.
7. Sidechain or duck the horn return, not just the horn
In DnB, the break and snare should remain king. If the horn’s effects are too constant, duck the return tracks using Compressor sidechained from the drum bus or even the snare.
Try this:
- On the Echo or Reverb return, add Compressor
- Sidechain input from the drum group or snare track
- Fast attack, medium release
- Aim for just 2–4 dB gain reduction on hits
This keeps the horn’s ambience from masking transients. You’ll still feel the dub tail, but the drum impact stays crisp.
If you prefer a lighter workflow, automate the send level instead. But for denser rolls, sidechaining the return is usually cleaner.
8. Layer the horn with the break and bass arrangement
Now check how the horn works against the actual groove. In jungle and rollers, the horn often feels strongest when the drums and bass phrase around it.
Consider this 8-bar call-and-response:
- Bars 1–2: drums + sub only
- Bar 3: horn hit, then a bass response
- Bar 4: drum fill
- Bars 5–6: horn repeats with a different delay amount
- Bars 7–8: strip to break and tease the next horn entry
If you have a reese bass or mid-bass, leave space in the horn’s hit region. Often the cleanest result is when the bass briefly ducks or rests for the horn accent, especially in oldskool-inspired sections.
In the MIDI Clip, try making the horn a one-note sample phrase with variations in velocity and timing. Tiny timing changes — even a few milliseconds — can make it feel more human and dubwise.
9. Use automation to create tension and release
Air horns are strongest when they evolve over time. Use automation lanes in Ableton Live to move:
- send level to Echo
- reverb dry/wet on the return
- EQ high shelf or band cut
- Saturator drive
- track volume for phrase shaping
Practical automation ideas:
- Increase Echo send only on the last horn of a 4- or 8-bar phrase
- Open a High Pass filter slightly before the horn so the hit feels like it emerges from space
- Pull the horn down by 1–2 dB on repeat hits so the first one stays the strongest
- Automate a small delay feedback boost on a breakdown horn, then return to a tighter setting in the drop
This is where the lesson becomes more than sample placement: you’re composing movement around the horn so it behaves like a dub instrument.
10. Check the mix in mono and against the sub
Group your drums, bass, and horn, and test the track in mono using Utility on the master or group. This is important because horn samples often have width or phase content that disappears on systems with poor stereo imaging.
Check:
- Does the horn still read in mono?
- Does it overpower the snare?
- Is the sub still stable?
- Are the delays creating low-mid clutter?
For the bass, keep the sub mono with Utility or careful device placement. If using a reese, make sure the horn’s energy doesn’t fight the bass’s midrange. You want contrast: sub foundation below, horn authority above, break in the middle.
If needed, carve a few dB from the bass around the horn’s main presence range, but only during horn hits. Dynamic balance is better than permanent EQ overkill.
Common Mistakes
- Fix: lower the dry track first, then rebuild presence with saturation and selective EQ.
- Fix: shorten the sample, reduce reverb decay, and sidechain the returns.
- Fix: keep most horn hits dry and reserve throws for phrase endings or transitions.
- Fix: don’t turn the horn into a dull honk. Keep enough 2–5 kHz energy for attitude.
- Fix: create brief rests or bass dips around horn hits so the arrangement breathes.
- Fix: test in mono and keep the sub centered.
- Fix: use them like dub punctuation. Less is more.
Pro Tips for Darker / Heavier DnB
- Print the horn with Saturator, Echo, and Reverb into a new audio track. Then slice the printed result. This gives you a unique texture and makes edits faster.
- Layer a short noise hit under the horn, filtered high, to add air without more harshness. Great for dark halftime or jungle switch-ups.
- If the horn lands on a heavy snare section, make sure your Drum Buss or glue compression on the drum group is not flattening the hit. Keep the drum transient alive first.
- In darker rollers, a horn hit can work as a response to a wobbling reese phrase. That call-and-response adds dubwise character without needing extra melodic content.
- A very slight Auto Filter movement or tiny pitch variation on the sample can make the horn feel more tape-worn and underground. Keep it subtle so it doesn’t turn comedic.
- If you want grime, saturate the delay return harder than the main horn. That preserves punch while giving the tail a smoky, illegal-sounding edge.
Mini Practice Exercise
Spend 10–20 minutes building a two-phrase horn system:
1. Load one air horn sample into Simpler and trim it cleanly.
2. Place three hits over an 8-bar drum loop:
- one dry hit
- one hit with a small delay throw
- one hit with more reverb but slightly lower volume
3. Process the horn with EQ Eight and Saturator.
4. Create Echo and Reverb returns and automate sends only on the second and third hits.
5. Add a rolling break and a simple sub note pattern underneath.
6. Test in mono and adjust until the horn cuts through without overpowering the drums.
7. Bounce the loop to audio and listen back once with fresh ears.
Goal: make the horn feel like a deliberate part of the arrangement, not just an effect pasted on top.
Recap
If the horn feels powerful but still leaves room for the break and bass, you’ve nailed the dubwise balance.

