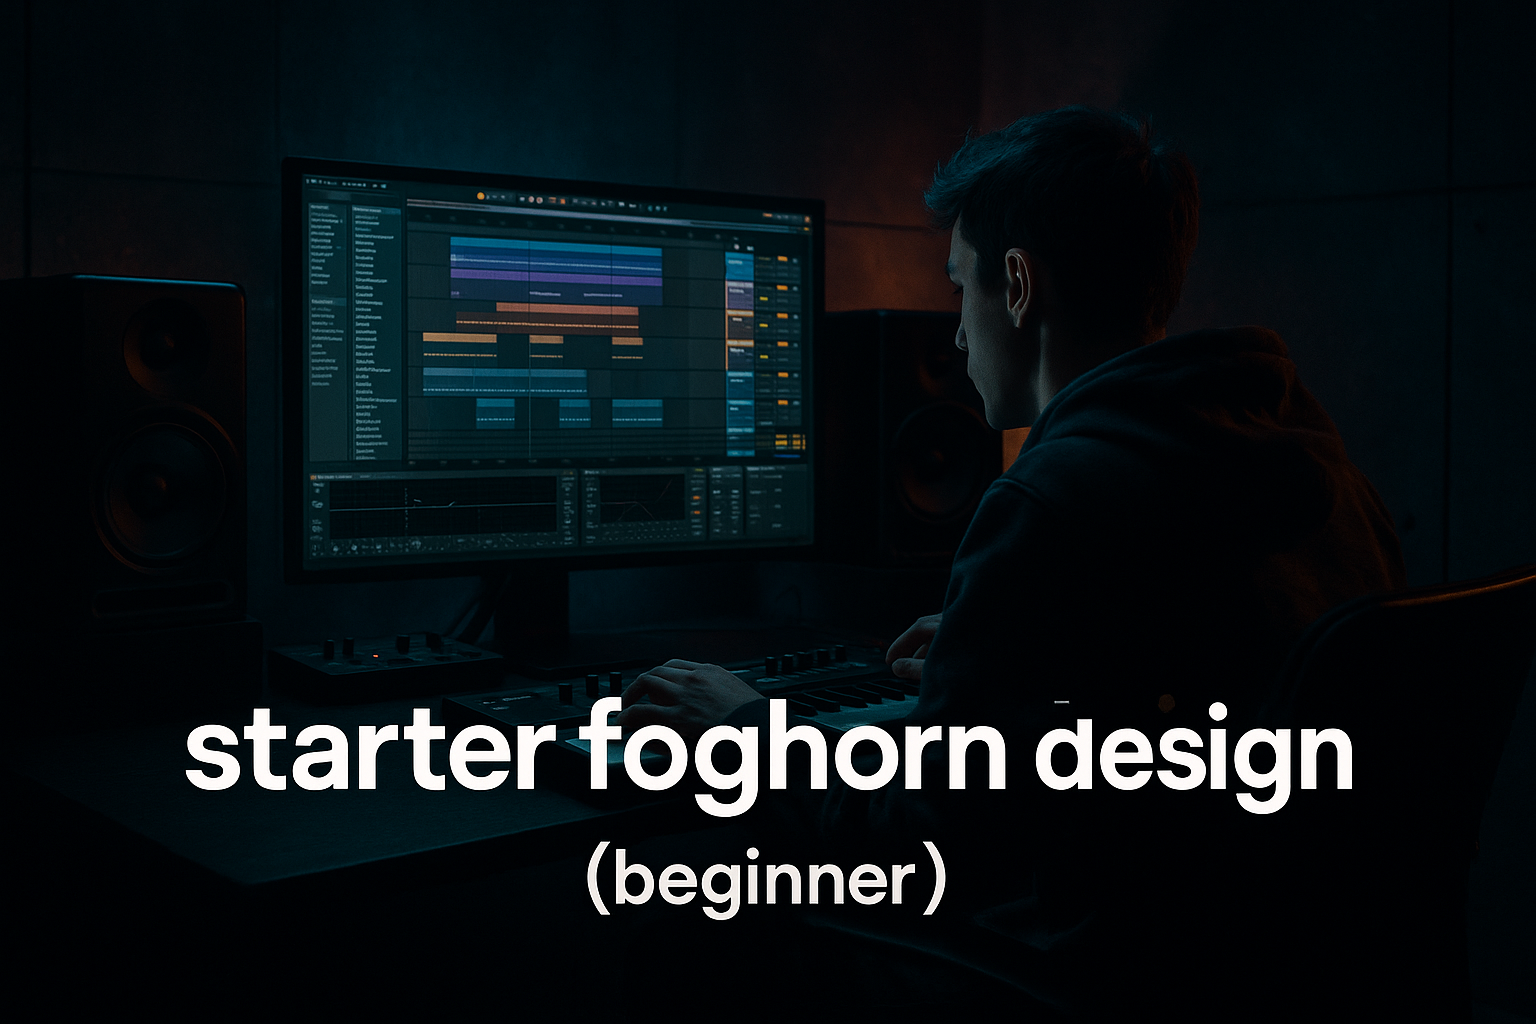
Main tutorial
Dubwise Playbook: Switch-Up Rebuild in Ableton Live 12 for Jungle / Oldskool DnB Vibes 🥁🔥
1. Lesson overview
In this lesson, you’ll build a dubwise switch-up: a short breakdown or arrangement flip that briefly strips the groove down, introduces delay-heavy tension, then rebuilds back into a rolling jungle / oldskool DnB drop.
This is a classic DnB move:
- the drums stop or thin out,
- the bass gets space,
- delay throws and dub echoes create depth,
- then the rhythm switches up with a new energy before the main groove slams back in.
- dub delays
- filter sweeps
- tape-style modulation
- riser/rebuild tension
- quick arrangement variations
- drum and bass impact control
- jungle
- oldskool DnB
- dark rollers
- dubwise halftime sections
- switch-up fills before a second drop
- a 4 to 8 bar switch-up
- a dub echo send on drums and stabs
- a filtered bass re-entry
- a snare build / fill
- a rebuild into the main breakbeat and bassline
- optional sub drop or impact
- chopped amen or breakbeat energy
- a deep subby bass call-and-response
- space, echo, and tension
- then a hard re-entry with swing and pressure
- Tempo: 170–174 BPM
- Time signature: 4/4
- Groove: light swing if needed, but keep the core break tight
- end of an 8-bar phrase
- before the second drop
- after a bass phrase
- just before a drum variation
- 8 bars: main groove
- 4 bars: switch-up / dubwise breakdown
- 8 bars: rebuild into bigger variation
- Sync: On
- Time: 3/16 or 1/4
- Feedback: 35–60%
- Filter: HP around 200–400 Hz, LP around 5–8 kHz
- Modulation: light, 5–15%
- Ducking: 20–40% if you want the dry signal to stay punchy
- Character: add a little Analog / Wobble if it fits
- Decay Time: 2.5–5 seconds
- Pre-Delay: 10–25 ms
- Low Cut: 200–400 Hz
- High Cut: 6–9 kHz
- Keep it subtle, just enough to create space
- snare accents
- rimshots
- tom fills
- select ghost notes
- occasional break chops
- vocal stabs or skanks if you have them
- automate the Send level to the Echo return
- send only selected hits, not the whole beat
- end-of-bar snare
- final kick-snare combo before the breakdown
- a chopped amen snare
- a one-shot percussion stab
- mute the main break loop or reduce it to fragments
- leave a kick, snare, or hat pulse
- add space between hits
- let the delay return do the talking
- main break cuts out
- snare hits on 2 and 4
- delayed snare tail echoes
- bring back a few chopped break hits
- add a fill at the end
- tension builds
- filter opens slightly
- full re-entry with crash / impact / bass
- Simppler/Sampler for chopped hits
- Slice to New MIDI Track for break editing
- Beat Repeat for glitchy switch fragments
- Auto Filter for sweeping the break down
- Filter Type: Low-pass
- Frequency: automate from around 18 kHz down to 300–800 Hz
- Resonance: mild, 5–15%
- Filter Type: Band-pass
- Frequency: sweep slowly around 300 Hz to 2 kHz
- Resonance: moderate
- Start low-pass around 200–500 Hz
- Open it over 1–4 bars
- Add a small resonance bump if you want movement
- Drive: 2–6 dB
- Soft Clip: On
- Use it to help the bass cut through after the breakdown
- Use Width carefully
- Keep sub frequencies mono
- remove the sub for 1–2 bars
- let a mid-bass stab answer the delay
- then reintroduce the sub right before the drop
- chopped organ stabs
- minor chord hits
- reggae-style skanks
- detuned synth chords
- sampled horn or vocal phrases
- Use a short, punchy stab
- High-pass it around 150–250 Hz
- Send it heavily to Echo
- Keep the dry signal short and clipped
- Pan small repeats slightly with Echo width
- right before the drop
- on the “and” of 4
- or as a call-and-response with the snare
- Drum Rack with layered snares
- Simpler with a break snare slice
- MIDI notes with velocity variation
- 1/16 snare roll for the last half bar
- triplet snare burst
- two-hit flam into the drop
- final snare with heavy delay send
- an extra ghost snare
- a different break chop
- an open hat
- a ride
- extra kick pickup
- reverse crash leading into the drop
- first beat: impact or sub hit
- second beat: snare + break slice
- third beat: kick pattern resumes
- fourth beat: full groove returns
- Reverse audio manually or with clip playback tricks
- Gate for tight rhythmic shaping
- Drum Buss to thicken the return
- Transient shaping via Drum Buss: Drive + Crunch + Boom carefully
- Drive: 5–15%
- Crunch: low to moderate
- Boom: use sparingly, tuned to your track
- Transient: slightly up for snap
- Damp: adjust to tame harsh highs
- send levels to delay
- filter cutoff
- reverb return send
- bass filter
- drum buss drive
- echo feedback on the final throw
- raise Echo send
- increase feedback briefly
- cut the dry drums for half a bar
- then slam the dry signal back in
- sub drop
- impact hit
- crash
- noise sweep
- reversed cymbal
- vinyl stop or tape stop-style effect
- Collision or Operator for low impacts
- Wavetable noise sweep
- Vinyl Distortion for grit
- Simpler for reversed samples
- Use selective sends
- Throw only key hits into the return
- High-pass your Echo and Reverb returns
- Keep sub bass controlled or muted during the switch-up
- Make the switch-up short
- Use a clear “come back in” moment
- Automate cutoff changes
- Add resonance changes or slight drive
- Add one new drum hit
- Change the bass rhythm
- Insert a fill or stab
- Saturator
- Pedal
- Overdrive
- Roar if you want a more aggressive modern edge
- Bass Mono: keep low end centered
- avoid stereo widening on sub frequencies
- reduce highs
- slightly increase modulation
- use tape/analog coloration if suitable
- hats
- break fragments
- vinyl noise
- room reverb tails
- Full drums in the drop
- Thin, echo-laced fragments in the switch-up
- Then a hard re-entry
- Main break stops
- Snare hit on beat 2
- Send snare to Echo
- Bass cuts out
- Add a filtered dub stab
- Bring in a low-passed break chop
- Keep reverb on the return
- Snare roll or fill in the second half
- Open the drum filter slightly
- Reintroduce a mid-bass stab
- Add reverse crash or impact
- Open bass filter fully
- Full drum loop returns on bar 1 of the next section
- use a dedicated echo return
- send only specific hits
- filter drums and bass for tension
- strip the groove back briefly
- reintroduce a variation, not a copy
- use stock Ableton devices like Echo, Auto Filter, Drum Buss, Saturator, Utility, and Reverb
- a project template
- a MIDI clip example
- or a rack chain diagram for the dubwise switch-up.
In Ableton Live 12, you’ll use stock devices to create:
This approach works especially well for:
---
2. What you will build
By the end, you’ll have a short section with:
Target vibe
Think:
Project setup
Set your project around:
---
3. Step-by-step walkthrough
Step 1: Choose a section to switch up
Pick a place in your arrangement where the energy can briefly drop:
A good switch-up is usually 2, 4, or 8 bars long.
Arrangement logic
A classic structure might be:
For jungle and oldskool DnB, the switch-up should feel musical but dangerous 😈
---
Step 2: Build a dub delay return track
Create a Return Track for dub echo.
Add these stock devices to the return:
1. Echo
2. Reverb
3. EQ Eight
4. Optional: Saturator
Suggested Echo settings
Start here:
Suggested Reverb settings
Why this works
Dubwise switch-ups rely on space and repeats. You’re not just delaying sound; you’re creating a rhythmic atmosphere that lets the groove breathe.
---
Step 3: Send drum hits into the echo
Choose specific hits to throw into the delay:
Practical approach
On your drum track:
Best candidates
Tip
If your break is busy, less is more. One well-placed echo throw can sound more massive than flooding the whole drum loop.
---
Step 4: Create a switch-up drum arrangement
Now strip the drums back for the breakdown.
Common jungle / DnB switch-up move
For 2–4 bars:
Example pattern
Bar 1:
Bar 2:
Bar 3:
Bar 4:
Ableton tools to help
---
Step 5: Filter the drum buss for tension
Put Auto Filter or EQ Eight on your drum buss or drum group.
Two useful methods
#### Method A: Low-pass the whole loop
Use Auto Filter:
This creates a classic breakdown feel.
#### Method B: Band-pass for dub radio energy
Use Auto Filter:
This sounds more lo-fi, ravey, and dubwise.
Pro move
Automate the filter so the drums feel like they’re sinking underwater, then re-opening before the drop.
---
Step 6: Build a bass re-entry using filter automation
The bassline should not just “come back.” It should reappear with intention.
Add a bass filter chain
On your bass bus or bass synth track:
1. Auto Filter
2. Saturator
3. Utility
4. Optional: Compressor or Glue Compressor
Suggested bass rebuild settings
#### Auto Filter
#### Saturator
#### Utility
Bass arrangement idea
During the switch-up:
This contrast makes the drop hit harder.
---
Step 7: Add a dub chord or stab for character
Oldskool jungle and dubwise DnB often use:
Processing chain for a dub stab
Try:
1. Instrument: Wavetable / Analog / sampled stab
2. Auto Filter
3. Echo
4. Reverb
5. Saturator
Settings suggestion
Arrangement trick
Place the stab:
That space-between-hits feeling is pure dubwise energy.
---
Step 8: Use a snare fill to trigger the rebuild
A clean way to rebuild energy is a snare fill.
In Ableton
You can create this with:
Fill ideas
Make it feel oldskool
Avoid over-quantizing every fill perfectly. A slight human offset can help the break feel alive.
---
Step 9: Shape the re-entry with a drum variation
Don’t just restart the exact same loop. Bring in a variation:
Common DnB rebuild pattern
Useful stock devices
---
Step 10: Glue the rebuild with Drum Buss
On your drum group, try Drum Buss to make the switch-up and re-entry feel more forceful.
Suggested Drum Buss settings
Important
Don’t overdo the boom in jungle/DnB. You want punch and movement, not muddy low-end buildup.
---
Step 11: Automate the master of the switch-up with sends, not just volume
A strong switch-up is usually more musical when you automate:
Automation idea
On the last hit before the rebuild:
This creates that classic echo tail into impact moment. 💥
---
Step 12: Add a final impact layer
For the rebuild moment, add one or more of these:
Stock Ableton options
Tip
Keep the impact short. In jungle/DnB, the groove should return fast after the switch-up.
---
4. Common mistakes
1. Too much delay on everything
If every drum hit goes into the echo, the groove loses impact.
2. Muddy low end in the breakdown
Long reverb and delay can cloud the sub region.
3. Rebuilds that are too gradual
DnB needs tension, but the return should still feel decisive.
4. Overusing filters without movement
A static low-pass for 8 bars gets boring.
5. Restarting the same loop with no variation
That kills the payoff.
---
5. Pro tips for darker/heavier DnB
Use distortion in parallel
Set up a return or duplicate track with:
Blend in just enough grit to make the switch-up feel ominous.
Keep the sub mono
Use Utility on the sub channel:
Make the echo tail pitch darker
In Echo:
Try a “ghost groove”
During the breakdown, leave faint:
This keeps momentum without fully restarting the energy.
Use contrast
The heavier the drop, the more valuable the breakdown space.
That contrast is everything. ⚡
---
6. Mini practice exercise
Exercise: 4-bar dubwise switch-up
Build a 4-bar transition using this formula:
#### Bar 1
#### Bar 2
#### Bar 3
#### Bar 4
Challenge
Do it twice:
1. once using a clean, spacious dubwise vibe
2. once using a darker, harder, more distorted vibe
Compare which version makes the drop feel bigger.
---
7. Recap
A strong dubwise switch-up in Ableton Live 12 is all about space, selective delay, and a smart rebuild.
Key moves
Core idea
In jungle and oldskool DnB, the switch-up is not just a breakdown — it’s a performance moment. It gives the crowd a breath, teases the return, and makes the next drop hit with more force.
If you want, I can also turn this into:

