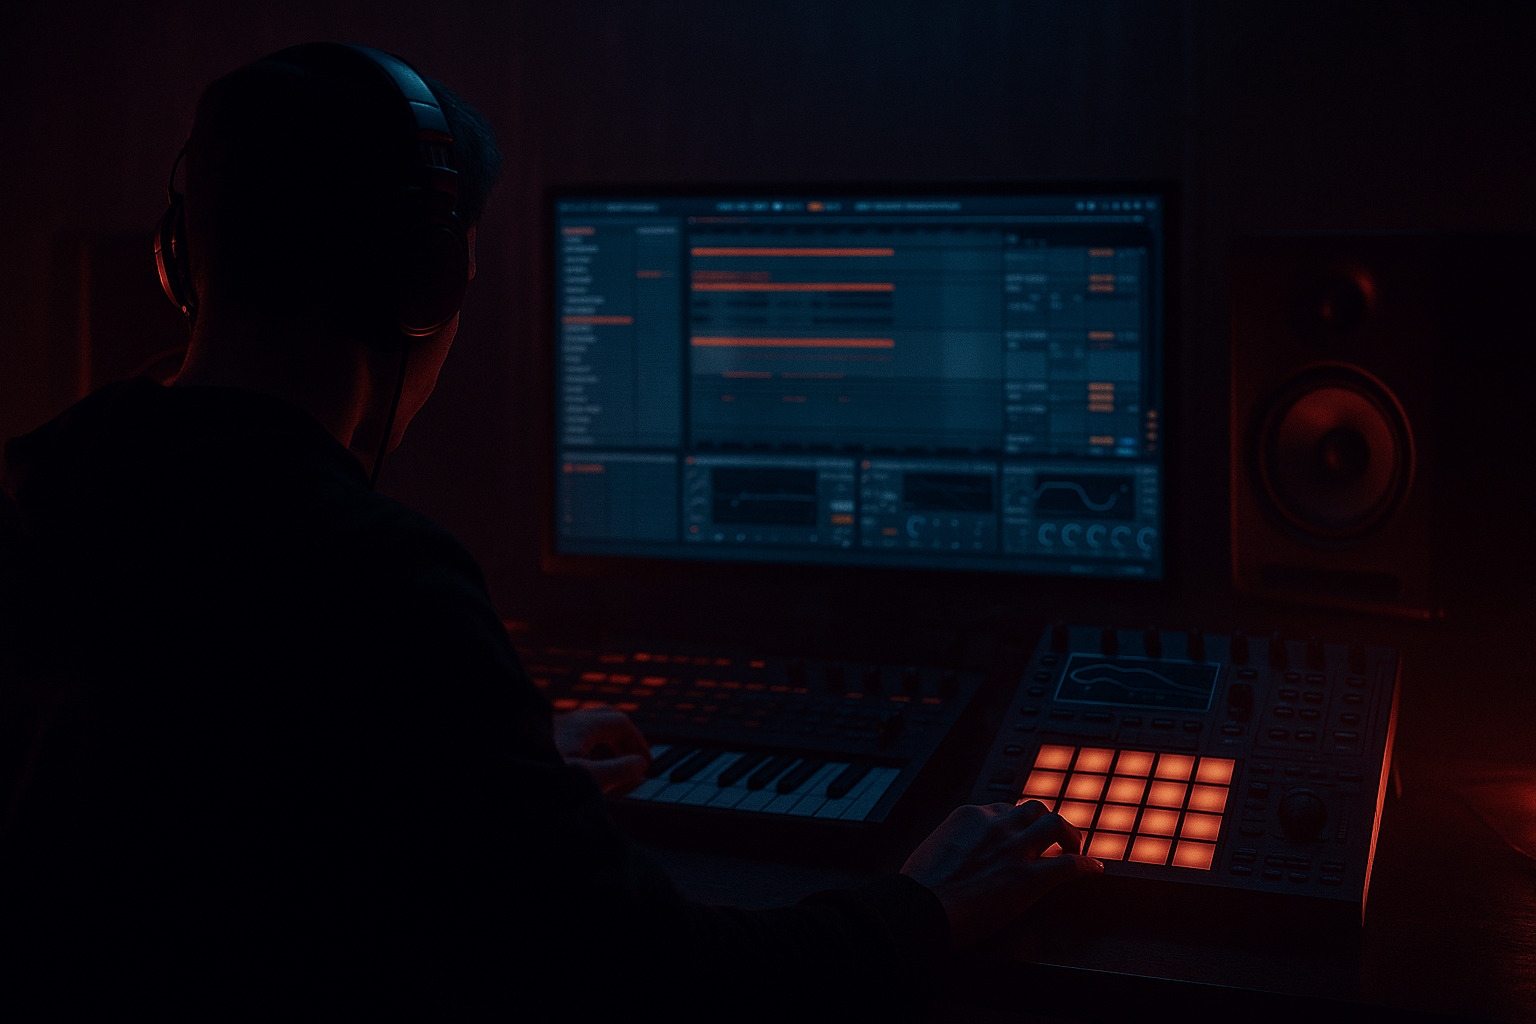
Main tutorial
Lesson Overview
This lesson is about building an “echo chamber” bassline turn-distort in Ableton Live 12: a bass phrase that starts clean enough to read in the mix, then gets pulled into a tightening echo space and collapses into distortion as it turns the corner into the next phrase. In DnB, this kind of move lives right at the end of a 2-, 4-, or 8-bar bass sentence, usually as a lead-in to a fill, a drop variation, or the start of the second half of a loop.
Why it matters: DnB basslines often fail when they stay static. You need movement that creates tension without destroying the sub. The echo-chamber turn lets you do that with a very controlled palette: delay, filter, saturation, and a resampled tail that can be edited like a vocal chop or a fill. It works especially well in dark rollers, minimal neuro-leaning tunes, halfstep DnB, and atmospherically heavy tracks where the bass has to feel alive but still stay dancefloor-functional.
By the end, you should be able to make a bass phrase that:
- starts tight and readable,
- gets increasingly smeared by echo,
- flips into a distorted “turn” at the end of the phrase,
- and still leaves the kick/snare pocket intact.
- sonic character: gritty, compressed, slightly unstable, with a clear sub anchor and a midrange that can smear or snarl
- rhythmic feel: syncopated and phrase-aware, with the tail landing cleanly into the next drum event
- role in the track: a transition device, a call-and-response answer, or a second-drop variation element
- mix-readiness: controlled enough to sit in a DnB arrangement without wiping out the kick, snare, or sub
- success criteria: you can mute the drums and hear a convincing bass gesture; when the drums return, the edit still feels locked to the groove and does not create low-end chaos
- Let the chamber eat the mids, not the sub. The most effective dark turn-distort usually destroys the 200–800 Hz zone first while the sub stays disciplined underneath. That gives you menace without low-end collapse.
- Use short automation moves, not long ramps. A fast push into feedback or drive over the last 1/8 note often feels more dangerous than a slow 2-bar fade. Dark DnB thrives on abrupt motion.
- Resample the effect twice if needed. First print a clean version of the bass turn, then reprocess the audio with a second layer of distortion or filtering. This gives you more control than trying to build everything live in one chain.
- Shape the tail to the drum language. If the tune is break-driven, let the tail answer a ghost note or a chopped break fill. If it’s a tighter halfstep groove, make the tail end exactly before the snare so the snare owns the downbeat.
- Keep one frequency family dominant. In heavy arrangements, too many moving resonances blur the statement. Pick whether the turn is mainly a low-mid growl, a midrange snarl, or a filtered tunnel, then keep the other zones supportive.
- Use silence as part of the turn. A tiny gap before the next phrase can make the distortion feel twice as heavy. In DnB, negative space is often what makes the impact land.
- Mono-check the first 150 Hz every time. If the bass turn sounds huge in stereo but thin in mono, the club will expose it immediately. Keep the confidence in the center and let only the upper texture move around.
- Use only stock Ableton devices
- Use one bass sound split into anchor and mid layer
- The turn must last no longer than 1 bar
- The sub must remain mono-compatible
- Can you still clearly feel the bass note under the effect?
- Does the turn leave space for the next snare?
- Does it sound good with the drums looped, not just soloed?
- In mono, does the low end still hold together?
A successful result should feel like the bass is falling into a tunnel, then snapping back out with attitude — not just a delay effect, but a deliberate arrangement moment with weight and intent.
What You Will Build
You will build a bassline edit that behaves like a vocal-style turnaround: a short, rhythmically aware bass phrase that gets echoed, filtered, and distorted on the last hit of the bar or phrase. The finished sound should be:
Step-by-Step Walkthrough
1. Start with a bass phrase that already has a turn built into it
Create or load a simple bass sound in Ableton — an Operator or Wavetable patch is fine, but the lesson works just as well with a resampled bass one-shot. Write a 2-bar loop with a clear rhythmic sentence: for example, two short notes, one held note, then a final note that can “turn” into the effect.
Keep the sub component disciplined. If your sound has a full-range character, separate the sub from the distorted layer early. A practical starting point is:
- sub layer centered below roughly 90–110 Hz
- mid-bass layer carrying the movement above that
- notes that leave enough space for the snare on 2 and 4
Why this matters: the echo chamber only works if the original phrase already has identity. If the bassline is vague, the effect just becomes fog. In DnB, the turn has to feel like part of the groove, not a random plugin trick.
What to listen for: the bass should still feel like a riff, not a drone. If you can’t hum the rhythm, it’s too shapeless for this technique.
2. Build a clean dry chain before adding any chaos
Put your bass sound on a track and start with a simple stock-device chain:
- EQ Eight to clean unwanted low rumble or harsh top
- Saturator for subtle density
- Compressor if the source is uneven
- optionally Utility to keep the center stable
A sensible starting point:
- high-pass only if needed, usually 20–30 Hz just to clear sub-rumble
- cut muddy buildup around 180–350 Hz if the bass feels boxy
- gentle Saturator Drive around 2–6 dB
- leave the bass mostly mono with Utility width at 0% for the sub path
Why this works in DnB: the clean core lets the distortion tail read as an effect instead of becoming the whole bass sound. You’re building contrast. The dry note should still have authority before the delay starts dragging it into the chamber.
3. Duplicate the bass into two roles: anchor and echo performer
Make two tracks or two layers:
- Track A: Sub/anchor
- Track B: Mid/distort layer
On the anchor track, keep things simple: a stable low end, minimal processing, and no heavy delay. On the mid layer, prepare the sound to be the “performer” that enters the echo chamber.
A useful stock-device chain on the mid layer:
- Auto Filter
- Echo
- Saturator
- Roar if you want heavier, more aggressive distortion shaping
- EQ Eight after the distortion to tidy the result
Decision point — A versus B:
- A: Cleaner, more DJ-friendly — keep the echo mostly on the mid layer and leave the sub dry. Best for rollers and mixes where the bass must stay legible.
- B: Dirtier, more theatrical — let the echo lightly touch some low-mid content and distort harder. Best for darker, more neuro-leaning moments or second-drop variation.
If you’re unsure, choose A first. You can always dirty it up after you hear it in context.
4. Set up the echo chamber with timing that reinforces the phrase, not fights it
Add Echo to the mid layer and sync it to the grid. For DnB, start by trying:
- 1/8 or 1/8 dotted for a tighter, bouncy chamber
- 1/4 if you want a bigger gap and more dramatic tail
- feedback around 20–45% to start
- filter the echoes so they don’t flood the sub: roll off lows aggressively and tame the top if it becomes fizzy
Keep the echo tempo-aware. In DnB, the echo should usually land in a way that feels like it’s pulling into the next snare or ghost note, not smearing over the whole bar.
What to listen for: the repeats should create rhythmic anticipation. If the echoes feel like random clutter between snare hits, tighten the delay time or lower feedback.
A very usable approach is to automate Echo only on the last bass note of the phrase, rather than leaving it on constantly. That keeps the effect special and makes the drop feel intentional.
5. Turn the last hit into a distortion event
On the final note of the phrase, increase drive or distortion so the echo tail starts to break apart. You can do this in a few ways:
- automate Saturator Drive upward on the last note
- push Roar harder for a more aggressive, unstable collapse
- increase Echo feedback slightly while closing its filter for a choking, tunnel-like effect
Useful ranges to start from:
- Saturator Drive: 6–12 dB on the turn, if the source can take it
- Roar Drive: enough to create edge without turning the bass into white noise
- Echo feedback: add only a modest bump, maybe 5–15% more than your main setting
This is where the “turn distort” lives. The point is not just to make it louder or harsher. It’s to make the last hit sound like it is entering a chamber that is collapsing in real time.
If the distortion removes all pitch and becomes pure fuzz, back off the drive or filter the distortion return so some note shape survives.
6. Resample the turn into audio and edit it like a vocal turnaround
Once you have a good 1-bar or half-bar turn, commit it to audio. This is the workflow win: it lets you treat the effect like an arrangement object instead of a live sound-design problem.
Record or bounce the output of the processed bass to a new audio track, then cut the turn into a short phrase that can be moved around. This is especially useful in Ableton because you can now:
- trim the tail tightly
- warp it if needed
- reverse the last slice for a more vocal-like inhale
- add small fades so the transition is clean
Stop here if the printed audio already gives you a satisfying phrase. If the resampled turn has the right attitude, don’t keep stacking effects just because you can. In DnB, over-processing often kills the punch that made the idea work.
Workflow efficiency tip: name the printed take by function, not by random version number — something like “bass_turn_echo_dist_v1” — so you can pull it into a later drop variation quickly.
7. Edit the turn to answer the drums
Place the edited turn so it locks with the drum phrase. A very common DnB move is:
- bass phrase plays over 1–2 bars
- the final echoed/distorted hit lands just before or on the bar line
- the next snare or kick answers it immediately
Think in call-and-response. If your snare lands on 2 and 4, the bass turn can fill the space leading into the next bar, then release so the snare retains authority.
Try a simple arrangement use-case:
- Bars 1–2: main bass statement
- Bar 3: repeat with slight variation
- Bar 4: echo-chamber turn, then a gap or fill
- Bars 5–6: return with a simpler version or a brighter variation
This technique is especially strong when the turn is used to pivot into a new drum pattern or a half-time switch. It gives the listener a clear “we’re moving now” signal.
What to listen for: when the drums return, the bass turn should feel like it handed the groove back cleanly, not like it tripped over the snare.
8. Check the bass in context with kick and sub, then tighten the low end
Put the drums back in and do a low-end reality check. This is non-negotiable in DnB.
On the bass layers:
- keep the anchor/sub track stable and mostly dry
- high-pass the distorted mid layer enough that it doesn’t fight the sub, often somewhere around 80–150 Hz depending on the source
- use Utility to check mono on the low end
- if needed, narrow the mid layer or turn down stereo width on the effect return
Listen to the kick and snare pocket:
- does the distorted turn swallow the snare transient?
- does the sub smear into the kick?
- does the bass still feel like it sits “under” the drums instead of on top of them?
If the answer is no, trim the tail shorter or reduce the low-mid content of the echo return before you try anything more dramatic.
This is where the idea becomes a real track element rather than a cool loop. In DnB, the best effects preserve forward motion.
9. Choose the flavour: tunnel or snarl
At this point, make a deliberate creative decision.
- Tunnel flavour: use more Echo feedback, softer distortion, and stronger filtering. The result feels eerie, spacious, and dubby. Great for atmospheric rollers or dark intro-to-drop transitions.
- Snarl flavour: use less delay feedback, more saturation or Roar drive, and a more focused midrange peak. The result feels aggressive, compressed, and neuro-leaning. Great for hard drops or switch-ups.
Both are valid. The difference is arrangement psychology:
- tunnel creates suspense
- snarl creates impact
If the track already has a lot of percussion density, tunnel may be the smarter choice because it leaves more room for the drums. If the arrangement is minimal and needs a stronger statement, snarl can hit harder.
10. Automate the turn so it evolves across the tune
Don’t use the exact same echo-distort move every time. Give it progression:
- first drop: short echo, subtle distortion
- second phrase: longer feedback or more filtered chamber
- second drop: denser distortion or a reversed tail lead-in
A practical arrangement idea:
- first drop: the turn appears once every 8 bars
- middle 8: the turn gets shorter and more aggressive
- second drop: the turn becomes a signature hook before each phrase change
This keeps the tune moving without needing a new bassline every four bars. It also helps DJs and dancers perceive structure clearly, because the effect becomes a marker for section changes.
Common Mistakes
1. Leaving the sub inside the echo and distortion
- Why it hurts: the low end blooms unpredictably and the kick loses definition.
- Fix: split the bass into anchor and mid layers, then high-pass the distorted layer around 80–150 Hz and keep the sub dry.
2. Using too much delay feedback
- Why it hurts: the tail becomes a cloud and the groove loses its bar-line clarity.
- Fix: reduce Echo feedback to a tighter range, often 20–45%, and shorten the tail with filtering or a tighter note edit.
3. Distorting before the phrase is musically useful
- Why it hurts: the bass sounds messy all the time instead of making a deliberate turn.
- Fix: automate distortion only on the last hit or print a specific turnaround to audio.
4. Ignoring the drums while designing the effect
- Why it hurts: the bass may sound huge soloed but step on the snare or kick in context.
- Fix: loop the drums with the bass while you edit. Check the turn against the snare placement and the kick transient every time you change the tail.
5. Making the echoed tail too wide
- Why it hurts: wide low-mid echoes can destabilize mono compatibility and weaken club translation.
- Fix: keep the anchor mono, narrow the mid layer, and use Utility to control width on the effect return.
6. Over-filtering until the turn loses identity
- Why it hurts: if the effect is only hiss and movement, it no longer sounds like a bass turnaround.
- Fix: preserve enough midrange for pitch impression; don’t cut so much that the listener can’t tell the phrase is still bass.
7. Forgetting to commit the best take
- Why it hurts: you keep tweaking the live chain and never turn the idea into a usable arrangement part.
- Fix: resample or freeze/flatten the turn once it works, then edit the audio into a repeatable phrase.
Pro Tips for Darker / Heavier DnB
Mini Practice Exercise
Goal: Build one usable bass turnaround that can sit at the end of a 2-bar DnB phrase.
Time box: 15 minutes
Constraints:
Deliverable:
Export or resample a single bass-turn audio clip that starts clean, enters an echo chamber, and finishes with a distorted hit or tail that leads into the next bar.
Quick self-check:
Recap
Build the bassline turn as a phrase moment, not just an effect. Keep the sub dry and stable, let the mid layer enter the echo chamber, then distort the final hit so it becomes a clear arrangement cue. Print the best version to audio, edit it against the drums, and choose your flavour deliberately: tunnel for suspense, snarl for impact. In DnB, the best turn-distorts create tension, keep the groove readable, and hand the track forward with confidence.

