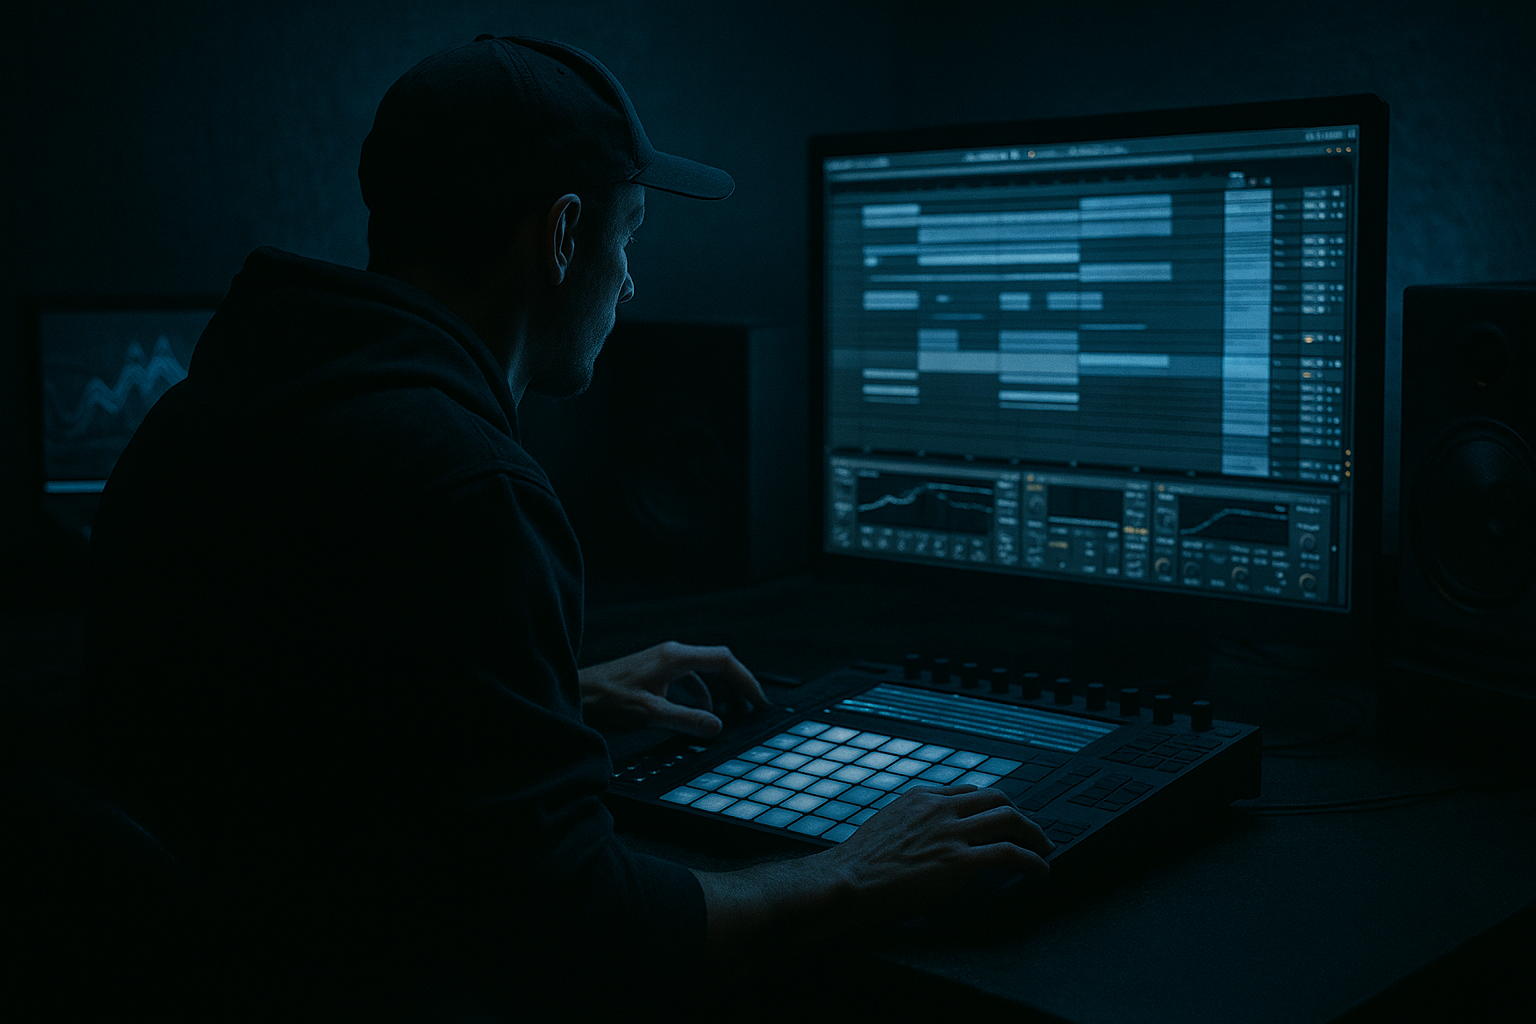
Main tutorial
Lesson Overview
This lesson is about using an edit bounce method with groove pool tricks in Ableton Live 12 to build that chopped, pressure-heavy oldskool jungle / DnB feel that still works in modern rollers, darkstep, and neuro-adjacent arrangements. The goal is to take a clean break pattern, perform and “bounce” edits into audio, then re-inject groove control with Ableton’s Groove Pool so the final result feels alive, human, and dangerous—not quantized to death.
In DnB, this technique matters because the drums are often the emotional engine of the track. A hard sub may carry the low end, but the edit bounce method is what gives you those classic switch-ups, break stutters, fill endings, and DJ-friendly transitions that make a tune feel like it has history. It’s especially useful in tracks where you want the drums to dance around the grid while still hitting like a machine: oldskool ragga-jungle energy, crispy amen-style rearrangements, or modern rolling drums with a broken, swung edge.
Why this works in DnB: the genre lives in tension between precision and chaos. The kick/sub relationship needs discipline, but the top-end break edits can be pushed ahead, behind, or redistributed across the bar for excitement. By bouncing edits to audio first, then applying groove strategically, you can keep the performance feel while controlling transient shape, room tone, and arrangement impact with much more confidence than MIDI-only editing.
What You Will Build
You’ll build a four- to eight-bar jungle edit loop made from a drum break, chopped into performance-style slices, bounced into audio, and re-grooved so it feels like a real oldskool edit pass rather than a loop copied across the timeline.
By the end, you’ll have:
- A tight break-led drum phrase with ghost notes, reverses, and snare pickups
- A Groove Pool-driven swing profile that adds personality without destroying the pocket
- A DJ-ready intro/outro variation for mixing
- A drop-supporting edit chain that can act as a fill, a break, or a switch-up
- An audio-based workflow you can resample into even more layered drum material
- Applying too much groove to everything
- Leaving break tails too long after bouncing
- Over-editing until the rhythm loses the head-nod
- Using swing that sounds house-like instead of jungle-like
- Making the bass stereo-wider than the drums
- Ignoring the transition function
- Print dirt in layers: keep one clean bounce and one abused bounce. Blend the dirty version underneath at low level for weight without losing transient clarity.
- Use Drum Buss carefully: a little Drive plus a touch of Crunch can make oldskool edits hit harder, but too much will flatten the ghost notes that give jungle its swagger.
- Automate groove perception, not just groove amount: sometimes a small velocity shift on hats and ghost snares feels heavier than more timing displacement.
- Use reverse edits into the snare: bounce a reversed tail into the last hit of the bar, then groove it slightly late for that eerie pull-in effect.
- Make the bass answer the drum edit: if the break does a snare roll, let the bass phrase drop out or answer with a short reese stab. Call-and-response is huge in darker DnB.
- Keep transitions DJ-readable: even in complex neuro-ish sections, leave clear 8- or 16-bar signposts so a selector can mix or phrase-match the track easily.
- High-pass your atmosphere returns: keep the spooky pads and delay smears above the low-end war zone so the break can stay punchy and the sub stays pure.
- Resample weirdness early: if you accidentally create a magic fill, bounce it immediately. In DnB, happy accidents are often the best drop signature.
- Bounce your edited break to audio so you can shape it like a performance, not just a loop.
- Use Groove Pool to add swing and personality mainly to the break tops and fills.
- Keep sub and kick disciplined; let the break provide movement without destroying the low end.
- Print variations for intro, drop, switch-up, and outro so the track works as a DJ tool.
- In darker DnB, the best edit bounces feel alive, gritty, and controlled at the same time.
Musically, think of it like this: a 174 BPM tune where the intro is stripped-down, then the first drop hits with a re-edited amen/think break hybrid, and every 8 bars you get a subtle bounce variation or a full bar “answer phrase” before the bass comes back in. This is the kind of detail that makes a track feel like it was built for both the rave and the rewind.
Step-by-Step Walkthrough
1. Set up a clean edit chain and choose your break source
Start with a project at your target tempo, usually 170–174 BPM for classic DnB/jungle energy. Load a break loop or one-shot break slices onto a new audio track. If you’re working with a sampled amen, think break, or dusty funk break, warp it first in Complex Pro only if necessary; for cleaner break edits, keep it more “audio-truth” and less time-stretched.
On the break track, add:
- Drum Buss for transient weight and low-end control
- EQ Eight to high-pass unnecessary rumble below about 25–35 Hz
- Optional Saturator with Drive around 2–5 dB to bring out crackle
Keep the source dry enough that you can hear the break’s natural motion. The bounce method is about preserving feel while reshaping it, not flattening it upfront.
2. Build the MIDI edit pattern first, then commit it to audio
Use a MIDI track with Simpler in Slice mode or a Drum Rack mapped to individual break hits. Program your phrase as if you were performing an edit in real time:
- Kick-snare core on the grid
- Ghost notes around the snare
- Two- or three-hit rushes before the backbeat
- A little off-grid stutter into the final hit of a bar
Keep the pattern intentionally “imperfect” in places. For oldskool vibes, don’t make every cut symmetrical. Use 1/16 and 1/32 note clusters sparingly, especially in the last beat of bar 4 or bar 8.
Once the phrase feels right, resample or freeze/flatten the performance to a new audio track. This is the edit bounce step: you are turning the performed arrangement into editable audio so you can shape the micro-timing, transients, and tails with surgical control.
3. Slice the bounced audio into phraseable chunks
Drag the bounced audio clip into a new audio track and slice it to a Drum Rack if needed, or keep it as a single clip for warp-based editing. For this lesson, the strongest workflow is usually:
- Keep the bounced phrase on an audio track
- Duplicate the clip every 2 or 4 bars
- Split at key transients: snare, ghost pickup, reverse tail, fill hit
If you want ultra-clean control, use Slice to New MIDI Track with slicing set to Transient or 1/8 depending on how broken the source is. Then, after arranging the slices, bounce again to audio. This second bounce is where the edits become “real” and can be treated like a finished drum performance.
Why this works in DnB: the genre often uses very fast rhythmic information, and audio editing lets you preserve the exact crack, dirt, and tail overlap of each break slice. MIDI can trigger it; audio can make it feel expensive.
4. Use Groove Pool as the timing personality layer
Open Ableton’s Groove Pool and audition grooves from the built-in library. For jungle and oldskool DnB, start with groove choices that imply MPC-style looseness rather than obvious house swing. Try:
- MPC 16 Swing 54–58
- MPC 16 Swing 56 for subtle push
- MPC 16 Swing 58–62 if you want a more obvious lurch on hats and ghost notes
Apply groove to the bounced audio clip, then adjust:
- Timing: around 20–60%
- Random: 5–15%
- Velocity: 0–25%
- Base: keep close to the source unless you want the groove re-anchored
The trick is not to groove everything equally. For oldskool movement, apply more groove to the top break slices and fills, and less to the sub-kick relationship. If your kick and bass are locked, the drums can swing without making the whole drop feel drunk.
5. Bounce the groove-treated edit and audition the result against the bass
Once the groove feels right, freeze/flatten or resample the processed clip again. This creates a final audio edit with the groove printed into it. Now test it against your bassline:
- Sub: Operator sine or Wavetable/Analog-based sine layer, mono and centered
- Reese: detuned saws with Chorus-Ensemble or subtle Frequency Shifter
- Bass bus: Saturator into Glue Compressor with light gain reduction
Listen for whether the bounced edit is making room for the bass or stepping on it. In DnB, the drums often need to “talk” above the bass, but the low end must remain clean. If the break tail is eating the sub, trim the clip fades or high-pass the edit returns more aggressively.
Concrete settings:
- EQ Eight on break bus: HP at 80–120 Hz if the sub is doing the heavy lifting
- Glue Compressor on drum bus: ratio 2:1, attack 10 ms, release Auto or 0.3 s, aiming for 1–2 dB gain reduction
- Drum Buss Drive: 5–15% depending on grit target
6. Create call-and-response variations for DJ-friendly arrangement
Now build the arrangement like a DJ tool, not just a loop. DnB arrangements benefit from sections that mix cleanly and tease the energy:
- Intro: stripped break with filters and vinyl/noise texture
- Build: add ghost-note edits, reverse snare tails, and rising hat density
- Drop: full edited break with bass
- Switch-up: every 8 or 16 bars, create a bar of chopped silence, a fill, or a half-time-feel break disruption
- Outro: remove bass, leave drums and atmospheres for mixing out
Use clip duplication and manual edit bounces to create a “DJ tool” mentality: one version for the first drop, one for the second drop, one for breakdown teasing, and one clean outro. This is where oldskool jungle DNA lives—arrangement as functional club utility.
A practical arrangement example: 16-bar intro, 32-bar first drop, 8-bar breakdown with pitched atmos and filtered break, 32-bar second drop with a more aggressive edit bounce, then a 16-bar outro with only drums, noise, and a hint of bass stab.
7. Automate movement so the groove evolves without losing identity
Advanced DnB edits become memorable when they evolve just enough each phrase. Automate:
- Auto Filter cutoff on the break bus for tension rises
- Drum Buss transient slightly higher in the second half of a drop
- Reverb send only on snare fills and final hits
- Delay on a single chopped hit before a transition
- Utility width automation on FX layers, not on sub or main kick/bass
Keep automation subtle:
- Filter cutoff sweeps: from 200 Hz to 12 kHz over 4 or 8 bars
- Reverb send on fill hits: short decay, small room, just enough to smear the transition
- Drum Buss Crunch: automate from 0 to 10% on the last bar of a section
This prevents the edit from feeling like a static loop. In jungle and darker DnB, tiny automation moves can create massive perceived energy.
8. Lock the low end and check mono compatibility
Once your edit bounce is doing its thing, make sure the bottom end is not fighting the break movement. Use Utility on the sub channel and keep it mono. If your bass has stereo movement from effects, high-pass the stereo side content or split the bass into:
- Sub layer: mono, clean, centered
- Mid bass layer: can be wider, dirtier, and rhythmically responsive
Use Spectrum and your ears. If the break bounce is masking the kick’s fundamental, cut a little more from the break bus around 90–140 Hz. If the snare loses bite when the groove is applied, restore attack with Drum Buss Transients or a small EQ Eight lift around 2–5 kHz.
The mix goal is not “perfectly clean” in a sterile sense. It’s controlled aggression. The edit should feel alive while the sub remains trustworthy on any system.
9. Print a final performance pass for speed and consistency
When you’re happy, commit the edited groove to audio one more time and name the clips clearly: for example, “BreakEdit_A1,” “BreakEdit_Intro,” “BreakEdit_Drop2_Swung.” This makes later arrangement fast and prevents you from endlessly tweaking a single loop.
If you want extra grit, create a parallel resample track and capture:
- The break bus with Saturator
- A parallel layer through Redux at subtle settings
- A filtered ambience return from Hybrid Reverb
Then blend that resample underneath the main edit at low level. This is a classic DnB finishing move: keep the main edit readable, add a hidden grime layer for density.
Common Mistakes
- Fix: groove the top break and fills more than the kick/sub anchors. Keep the low end disciplined.
- Fix: shorten clip fades, trim decays, and high-pass the break bus so the bass retains authority.
- Fix: preserve at least one stable anchor phrase per 4 or 8 bars. DnB needs motion, but the listener still needs to latch onto something.
- Fix: choose subtler MPC grooves and keep the backbeat backbone strong. If it feels too relaxed, reduce Timing or Random before changing the whole edit.
- Fix: keep sub mono, keep the break punchy, and use width only on upper harmonics or FX layers.
- Fix: every edit bounce should serve arrangement: fill, switch-up, tension ramp, or DJ mix point. If it doesn’t help the track move, it’s probably clutter.
Pro Tips for Darker / Heavier DnB
Mini Practice Exercise
Spend 10–20 minutes creating a two-version drum edit loop.
1. Load a break into Ableton and program a 4-bar phrase with at least:
- one ghost-note run
- one snare pickup
- one fill bar
2. Bounce it to audio.
3. Open Groove Pool and try two grooves:
- one subtle groove around 54–56
- one looser groove around 58–60
4. Apply the first groove to the main loop and the second groove only to the last bar or fill.
5. Resample the result and compare the two versions side by side.
6. Add a simple bass test:
- mono sub from Operator
- a rough reese layer with light saturation
7. Decide which edit supports the bass better and note why.
Goal: by the end, you should have one clean, one dirty, and one swung variation you could actually drop into a DnB arrangement.

