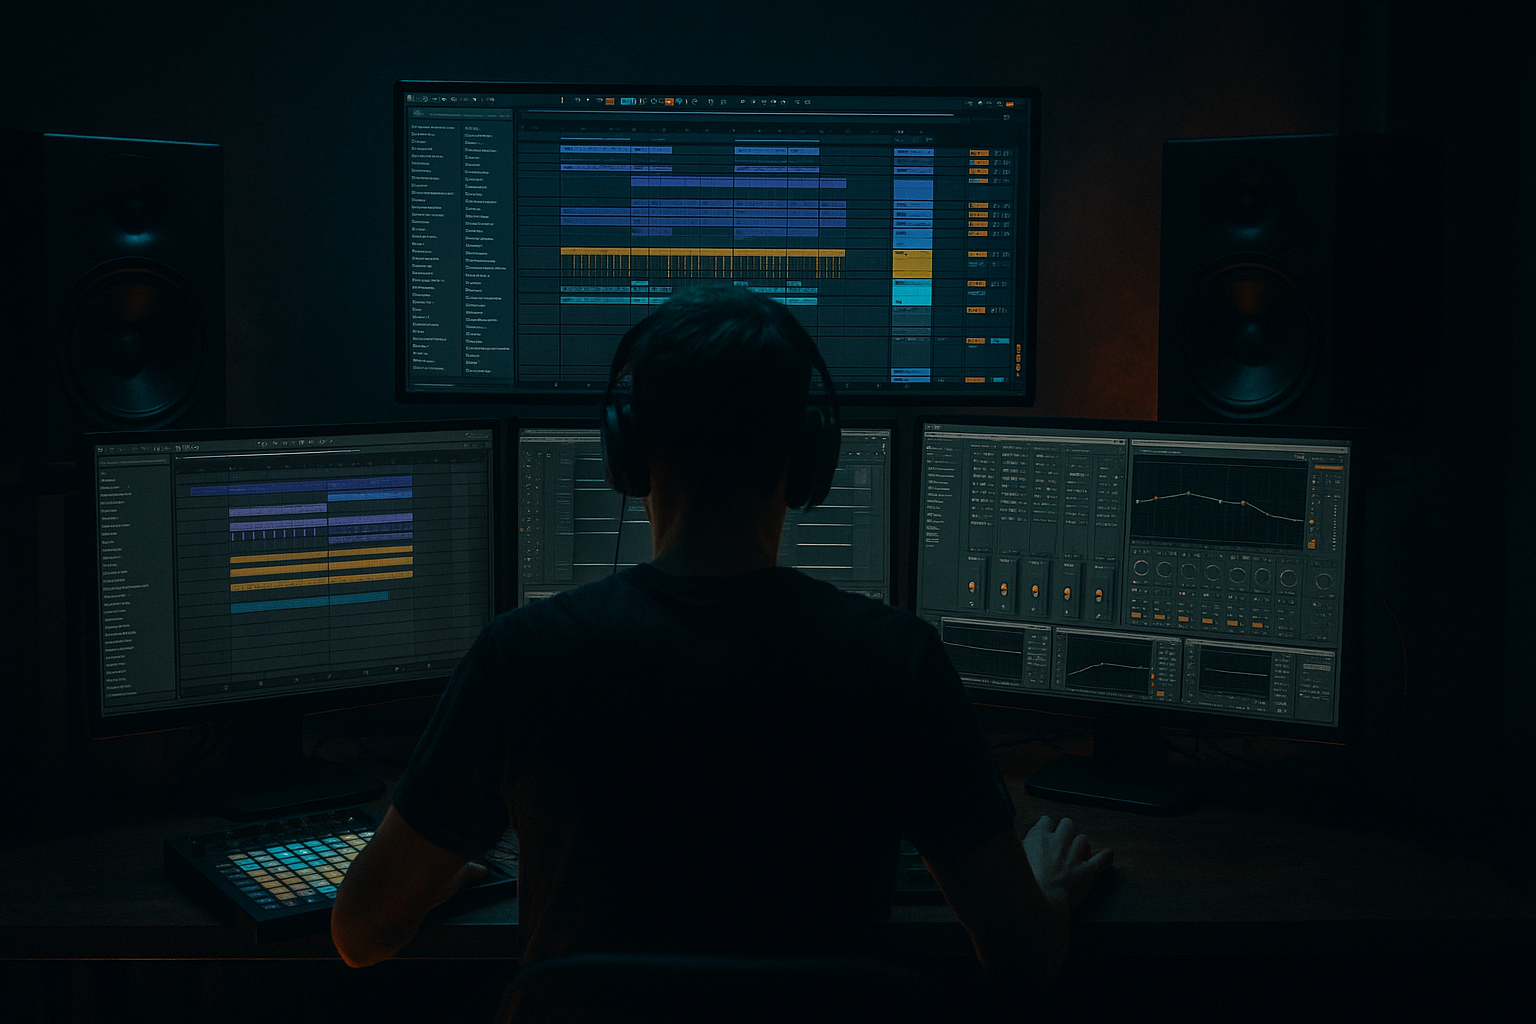
Main tutorial
```markdown
Fast Sample Auditioning for Jungle Sources (Ableton Live Workflow) ⚡️🥁
1. Lesson overview
When you’re writing jungle/DnB, momentum dies when you’re stuck clicking through 200 breaks, 80 stabs, and a folder of “VINYL_RIPS_FINAL_FINAL2.wav.” This lesson is about building a fast, musical auditioning workflow in Ableton Live so you can:
- Preview breaks, hits, fills, FX, vox, stabs at the right tempo
- Chop and commit quickly (without losing flow)
- Keep everything organized and recallable for later arrangement
- A dedicated AUDITION audio track with:
- A BREAK RACK (Drum Rack) for chopped breaks, with fast swapping
- A REFERENCE groove setup to audition breaks in context (rolling bass + hats)
- A repeatable method to go from browsing → slicing → programming in minutes
- MIDI Track: SUB
- MIDI Track: HATS
- Warp mode Complex very lightly (sometimes preserves vibe)
- Or keep Beats but lower envelope for more natural tails
- In Drum Rack, add on the Drum Rack parent:
- On individual slices:
- Click a pad → in Simpler, hit Hot-Swap (small swap icon).
- Now clicking samples in the Browser replaces that slice.
- Replace a weak snare slice with a cleaner “Amen snare” one-shot
- Swap hats with crisper tops while keeping the same pattern
- Bars 1–8: filtered break (Auto Filter LP sweeping up), no full sub
- Bars 9–16: full break + sub
- Bars 17–24: variation (mute 1–2 slices, add a fill)
- Bars 25–32: drop the kick for 2 beats, slam back in
- Auto Filter (LP sweeps)
- Reverb (short room on snare throws)
- Delay (Echo is great if you have it; otherwise Simple Delay)
- Parallel dirt on breaks:
- Tighten low-end in breaks:
- Make snares nastier (but controlled):
- Mid/Side break shaping (stock):
- One-bar “terror fill”:
- You created a workflow that keeps you in creative momentum: preview → tag → warp → slice → pattern → print.
- You learned how to:
You’re intermediate, so we’ll skip the basics and go straight into the fast lanes: Browser preview control, clip pre-listen routing, Simpler slicing, Drum Rack hot-swapping, and resampling.
---
2. What you will build
A “Jungle Audition + Chop Station” in a single Ableton project:
- Pre-listen routed into it
- A quick-clean chain (EQ, transient control, saturation)
- A resampling workflow for “commit now, sort later”
---
3. Step-by-step walkthrough
Step 0 — Set the context (so auditions are meaningful) 🎛️
1. Set tempo to a jungle/DnB-friendly value:
- Jungle: 160–170 BPM
- Modern DnB: 172–176 BPM (try 174 as default)
2. Make a simple “context loop” (8 bars):
- Kick placeholder (or simple sub pulse)
- Closed hats on 1/8 or 1/16
- A basic Reese/sub note pattern
3. Loop it. This is crucial: auditioning in isolation lies.
Quick context recipe (stock devices):
- Instrument: Operator
- Osc A: Sine
- Add Saturator (Soft Clip on)
- Instrument: Drum Rack with a tight closed hat
- Add Auto Filter HP around 200–400 Hz
---
Step 1 — Make Browser preview actually usable ⏩
Ableton’s Browser preview is the fastest way to scan samples—if it’s set up properly.
1. Open the Browser and enable preview:
- Click the headphone icon in the Browser (Preview).
2. Adjust preview volume (important for fair comparison):
- In Browser preview section, set it so most samples hit around -12 to -6 dB on the master.
Key habit: use your ears + meters. Jungle samples vary wildly in level.
---
Step 2 — Route Preview (“Pre-listen”) through an AUDITION track 🎧
This is the “pro” move: you process preview audio with your own chain so everything is comparable.
1. Create an Audio Track named: `AUDITION`
2. Go to Preferences → Audio
- Find Cue Out (or “Pre-listen” output)
- Route it to a spare output if you have it, OR keep it to your main out if not.
3. In Live:
- Set `AUDITION` track Audio From to Ext. In (or the appropriate Cue input if your interface supports it)
- If your setup doesn’t allow internal cue capture easily:
- Use `AUDITION` mainly as a “drop zone + chain,” and rely on preview for speed.
- Then drag promising samples onto `AUDITION` to hear them through the chain immediately.
AUDITION chain (stock, fast, jungle-friendly):
1. EQ Eight
- HP @ 25–35 Hz (remove turntable rumble)
- Optional dip: 250–450 Hz if boxy
2. Drum Buss
- Drive: 5–15%
- Transients: +5 to +20 (makes breaks speak)
- Boom: OFF (usually—unless you want it)
3. Saturator
- Mode: Analog Clip
- Drive: 1–4 dB
4. Utility
- Mono below: (no direct feature, but you can check mono by toggling Mono)
- Gain trim for consistent audition loudness
This chain makes quiet vinyl rips and clean packs feel comparable quickly.
---
Step 3 — Fast-tagging jungle sources using Collections ⭐️
You want “good stuff” to rise to the top instantly.
1. In Browser, right-click your go-to folders and Add to Places:
- `Breaks (Vinyl / Jungle)`
- `One Shots`
- `Ragga Vox`
- `Stabs & Chords`
- `Atmos / Texture`
2. Use Collections (colored tags) for fast scoring:
- ⭐️ Red: “Use immediately / S-tier”
- ⭐️ Yellow: “Good, might fit later”
- ⭐️ Blue: “FX/Transitions”
3. As you preview, tag without overthinking:
- If it makes you pull the “stank face” in 2 seconds, tag it 😄
---
Step 4 — Drag + warp jungle breaks correctly (without killing the groove) 🧬
When you find a promising loop:
1. Drag it to the `AUDITION` track (clip view).
2. Enable Warp.
3. Choose warp mode:
- For breaks: Beats
- Preserve: Transient
- Envelope: start around 40–70
4. Set the correct start:
- Zoom in, find the real first transient (often not at 1.1.1)
- Right-click transient → Set 1.1.1 Here
5. Set loop length (often 1 or 2 bars for classic breaks).
DnB note: If a break feels “too perfect” after warping, reduce warp intensity or try:
---
Step 5 — Slice to Drum Rack for instant jungle programming 🔪
Now we turn “cool loop” into “playable weapon.”
1. Right-click the warped break clip → Slice to New MIDI Track
2. Settings:
- Slice by: Transient (best for breaks)
- Slicing preset:
- Start with Built-in → Slicing (or “Drum Rack” default)
3. You’ll get a Drum Rack with slices mapped across pads.
Immediate upgrades (fast):
- EQ Eight (HP @ 30 Hz)
- Drum Buss (light drive + transients)
- Glue Compressor
- Attack: 3–10 ms
- Release: Auto
- GR: 1–3 dB
- Use Simpler filter to tame harshness
- Shorten tails for tight rolls
---
Step 6 — Build an “Audition Pattern” MIDI clip (so slices are test-driven) 🧪
Make one MIDI clip that instantly shows you if a break is usable.
1. Create a 2-bar MIDI clip on the sliced track.
2. Program a classic jungle test pattern:
- Bar 1: kick-ish hit on 1, snare on 2, kick on 3, snare on 4 (approx)
- Add ghost notes (quiet hits) around the snares
- Add a couple of 1/16 rolls near bar end
Workflow trick:
When you slice a new break, just drop the same MIDI clip onto it to audition consistently.
---
Step 7 — Hot-swap samples in Drum Rack (rapid A/B) 🔁
Once you have a Rack of slices or one-shots, you want quick replacement.
Use case:
Keep your hands off the mouse as much as possible—use keyboard navigation in Browser.
---
Step 8 — Commit fast: Resample to print your chosen break 🔥
Don’t keep 30 “maybe” break racks alive. Print your favorite and move on.
1. Create an Audio Track: `PRINT_BREAK`
2. Set Audio From:
- From the sliced MIDI track (or group)
3. Arm `PRINT_BREAK` and record 8 bars of your programmed break.
4. Consolidate (Cmd/Ctrl + J) and rename:
- `174_AmenDarkChop_8bar_v1`
Now you can treat it like a single loop in arrangement—fast edits, fast structure.
---
Step 9 — Arrangement idea: “Break Intro → Full Roll → Variation” 🏗️
Here’s a simple 32-bar jungle arrangement using your printed break:
Stock devices for transitions:
---
4. Common mistakes 🚫
1. Auditioning without context
A break can sound huge solo and fall apart against bass.
2. Over-warping
Too-tight warp settings can erase the swing that makes jungle jungle.
3. Not gain-matching
Louder always sounds “better.” Use Utility to keep it honest.
4. Keeping everything as “maybe later”
Commit. Print. Move forward.
5. Chopping but not programming
Slices are useless until you make a pattern that moves.
---
5. Pro tips for darker/heavier DnB 🕯️🧱
- Send break to a Return track with Saturator + Drum Buss + EQ Eight
- Blend subtly for aggression without losing transient snap
- HP at 80–150 Hz on breaks if your sub is doing the real weight
- Leave space for the bass to dominate
- Add Redux lightly (Downsample a touch)
- Then EQ harshness around 3–6 kHz if needed
- Use EQ Eight in M/S mode
- Cut some low-mids on the Sides to keep center punch
- Take your printed break → warp → duplicate last bar
- Add Beat Repeat (1/16, chance 20–40%) for chaos
- Resample and choose the best moment
---
6. Mini practice exercise (15 minutes) ⏱️
Goal: Create one 16-bar rolling jungle drum section using fast auditioning.
1. Build an 8-bar context loop (sub + hats).
2. Audition 20 breaks using Browser preview.
3. Tag:
- 2 breaks as ⭐️ Red (instant)
- 3 breaks as ⭐️ Yellow (maybe)
4. Drag your top break in, warp it, and Slice to Drum Rack.
5. Use your “audition pattern” MIDI clip to test it immediately.
6. Print 16 bars to `PRINT_BREAK` and consolidate + rename.
Bonus: Replace one slice (snare or hat) via Hot-Swap to “modernize” the vintage loop.
---
7. Recap ✅
- Audition jungle sources fast with Browser + Collections ⭐️
- Warp breaks without destroying groove
- Slice to Drum Rack and test with a consistent MIDI pattern
- Commit with resampling so your set stays clean and focused
If you want, tell me what kind of jungle you’re targeting (classic 94 ragga, techstep, modern rollers, crossbreed-ish), and I’ll suggest an audition pattern + processing chain that matches that substyle. 🥁
```

