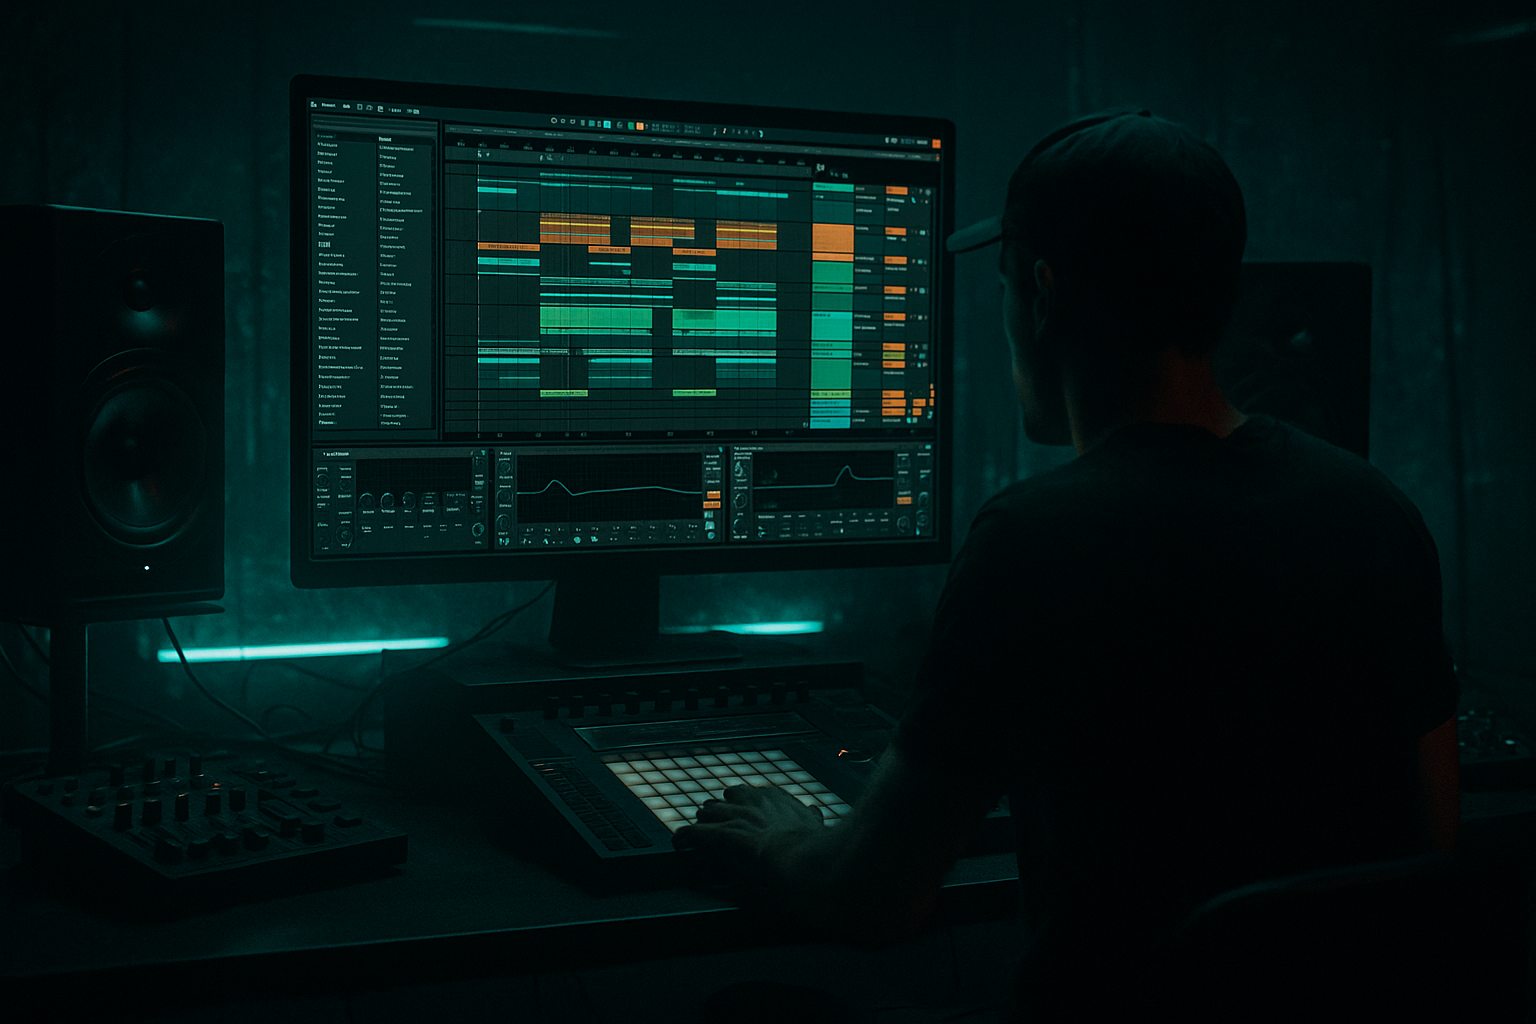
Main tutorial
```markdown
Field‑Recording Transitions From Scratch (Stock Ableton Devices) — DnB FX Lesson 🎛️🔊
1) Lesson overview
Field recordings are gold for drum & bass transitions: they add realism, tension, and vibe between drop → breakdown → build → drop. In this lesson you’ll learn a repeatable workflow to turn raw “real world” audio (street noise, doors, trains, wind, rain, crowds, etc.) into tight, tempo-locked DnB transition FX using only stock Ableton Live devices.
You’ll build risers, downlifters, impact swells, and “whoosh” layers that feel at home in rolling neuro, jungle, or minimal DnB—without relying on sample packs.
---
2) What you will build
A 4–8 bar transition made from one field recording, including:
- A tempo-synced riser (texture builds + pitch climb)
- A pre-drop “suck” / vacuum moment (classic DnB tension)
- An impact layer (thump + crackle/air)
- A downlifter tail (reverb wash that ducks under the drop)
- train pass-by, bus braking, escalator hum, rain on metal, crowd wash, ocean, wind, metal gate
- `FIELD RISER`
- `FIELD IMPACT`
- `FIELD TAIL`
- HP filter at 120–200 Hz (24 dB/oct)
- Gentle dip 300–500 Hz (2–4 dB) if it’s boxy
- Optional small boost 2–5 kHz (+1–3 dB) for presence
- Mode: Soft Sine (or Analog Clip if you want bite)
- Drive: 2–6 dB
- Output: reduce to match level (avoid clipping)
- Filter type: Lowpass 24
- Drive: 2–5
- Envelope: off (we’ll automate)
- Automate Frequency from ~600 Hz → 16 kHz over 4–8 bars
- Automate Resonance from ~0.7 → 1.2 in the last bar for tension
- Easiest: automate Clip Transpose
- If you prefer smoother: use Shifter (stock)
- Automate Width from 70% → 130–160% approaching the drop
- Automate Gain slightly up (+1 to +3 dB) near the last 1/2 bar
- Decay: 2.5–6 s
- Pre-delay: 10–25 ms
- Size: 70–100%
- High Cut: 7–10 kHz
- Automate Dry/Wet up (e.g., 10% → 35%) through the riser
- Scrub for a strong moment: door slam, metal hit, shout peak, clap, etc.
- Consolidate a short region (Cmd/Ctrl+J) so it’s easy to manage.
- Trim to ~100–400 ms for the core transient.
- HP at 30–50 Hz (keep sub for your bass/kick)
- Boost 90–160 Hz slightly if you want a “chest” thump (+2 dB wide)
- Boost 2–4 kHz if you need crack (+2–4 dB)
- Optional LP at 12–16 kHz to reduce harsh phone hiss
- Drive: 5–20%
- Crunch: 10–30%
- Boom: 0–20%
- Damp: taste (helps tame fizz)
- Drive: 2–8 dB
- Soft Clip: ON
- Decay: 0.4–1.2 s
- Pre-delay: 0–10 ms
- Dry/Wet: 8–18%
- Auto Filter: automate lowpass down after drop
- Compressor sidechain to kick/snare or full drums
- Bring in `FIELD RISER` quietly
- Lowpass still somewhat closed (600 Hz–2 kHz)
- Subtle width (70–100%)
- Open filter more aggressively
- Increase resonance slightly
- Add pitch climb (start feeling “upwards”)
- Reverb rising
- Add a quick 1/4 note mute on drums (or filter the drum bus)
- Do the “suck” effect:
- Trigger `FIELD IMPACT` exactly on the drop
- `FIELD TAIL` continues but ducks hard under the first kick/snare hits
- EQ Eight (surgical cleanup)
- Glue Compressor
- Limiter (safety; don’t smash)
- Utility (macro-able gain/width)
- Riser Filter Freq
- Riser Pitch
- Reverb Wet
- Width
- Tail Duck Amount (sidechain threshold)
- Impact Drive
- Leaving too much low-end in field FX: it will fight your sub and kick. High-pass aggressively (often 120–300 Hz).
- Warp artifacts that sound “phasey”: try different warp modes (Texture ↔ Complex) and adjust Grain Size.
- No timing discipline: transitions must be grid-tight in DnB. Align impacts and pre-drop mutes precisely.
- Over-reverbing into the drop: huge tails are cool, but duck them or print and edit them to avoid washing your drums.
- Too wide in the low mids: wide 200–600 Hz noise can smear the mix. Keep width for highs, mono-leaning mids.
- Make the riser uglier on purpose:
- Resonant “howl” like old-school techstep:
- Jungle ragga vibe:
- Make space for the snare:
- Print and re-sample often:
- You can turn one field recording into a full DnB transition by splitting it into Riser / Impact / Tail layers.
- Use Warp (Texture), Auto Filter sweeps, pitch automation, Reverb, and sidechain compression for tempo-locked energy.
- Keep it grid-tight, low-end-clean, and ducked under drums so it hits hard without muddying the drop.
- Resample your effects to audio so you can edit, reverse, fade, and chop like a pro.
You’ll also create a reusable “Field Transition Rack” you can drop into future projects.
---
3) Step-by-step walkthrough
Step 0 — Pick the right field recording 🎙️
Choose something with movement and broad frequency content, like:
DnB tip: recordings with mid-range texture (200 Hz–4 kHz) cut through busy mixes better than purely “airy” sounds.
Drag the audio into an Audio Track and rename it: `FIELD RAW`.
---
Step 1 — Warp it so it behaves musically ⏱️
1. Double-click the clip to open Clip View.
2. Turn Warp = ON.
3. For most field recordings, start with:
- Warp Mode: Texture
- Grain Size: 80–150 ms
- Flux: 10–30% (adds motion; lower for stability)
4. Set the clip Seg. BPM roughly (doesn’t need to be perfect).
5. If you want a cleaner sync, add Warp Markers at obvious peaks (door slam, footstep, train clack).
Why Texture mode? It stretches noisy material smoothly without weird pitch artifacts—perfect for atmos + risers.
---
Step 2 — Create 3 lanes: Riser / Impact / Tail (quick workflow)
Duplicate the track twice so you have:
We’ll process each differently, then layer them for a pro transition.
---
A) Build the RISER (4–8 bars)
Step A1 — Shape the tone (EQ + focus)
On `FIELD RISER`, add:
EQ Eight
Saturator
This makes the noise feel “produced,” not like a phone recording.
---
Step A2 — Make it rise (automation that screams “drop incoming” 🚨)
Add these devices in order:
1) Auto Filter
2) Pitch automation (clip transposition or device)
- Start: -12 semitones
- End: 0 to +7 semitones
- Mode: Pitch
- Fine tune as needed; automate amount upward
3) Utility
4) Reverb (or Hybrid Reverb if available)
DnB arrangement move: In the final 1 beat before the drop, pull Reverb Dry/Wet down quickly to tighten the impact.
---
Step A3 — Add rhythmic pumping (sidechain without 3rd party)
To make it breathe like DnB:
1. Add Compressor after Reverb
2. Enable Sidechain
3. Input: your Kick (or Kick group)
4. Settings:
- Ratio: 4:1
- Attack: 3–10 ms
- Release: 80–160 ms (tempo-dependent; tweak to groove)
- Threshold: lower until you get 3–6 dB gain reduction
This locks the riser to the drum pulse—instant “club-ready” motion.
---
B) Build the IMPACT (the drop “hit”)
Step B1 — Find a transient in your field recording
On `FIELD IMPACT`:
Step B2 — Make it hit like DnB (thump + snap)
Device chain suggestion:
1) EQ Eight
2) Drum Buss
- Frequency: 60–90 Hz (careful—DnB sub is sacred)
3) Saturator
4) Short reverb “slap” (Reverb)
Placement tip: Put the impact exactly on the drop transient (bar 17 beat 1 style). For jungle, you can place it 1/8 note before the drop as a “flam” into the kick.
---
C) Build the TAIL (downlifter + space)
Step C1 — Reverse + reverb trick (classic, still undefeated)
On `FIELD TAIL`:
1. Pick a small chunk (0.5–2 seconds) of noisy texture.
2. Reverse the clip (Clip View → Reverse).
3. Add Reverb:
- Decay: 5–12 s
- Size: 90–120%
- Dry/Wet: 35–60%
- Low Cut: 200–400 Hz
4. Resample it:
- Create new audio track `FIELD PRINT`
- Set `Audio From` = `FIELD TAIL` (or master)
- Arm and record a few seconds
- Now you have a printed “wash” you can edit easily
Step C2 — Make it get out of the way (ducking + filtering)
On the printed tail:
- Start: 16 kHz
- End (over 1–2 bars): 2–6 kHz
- Aim for 4–8 dB GR so it tucks under the groove
---
D) Combine into a clean DnB transition (arrangement recipe) 🧱
Here’s a reliable 8-bar setup into a drop:
Bars -8 to -5 (early build)
Bars -4 to -2 (tension zone)
Bar -1 (pre-drop drama)
- On the riser: automate Utility Gain down fast
- Or automate Auto Filter resonance peak then cut to silence for a split second
Drop (bar 1)
---
E) Optional: Build a reusable “Field Transition Rack” (stock-only)
Group your 3 tracks (Riser/Impact/Tail) into a group `FIELD TRANSITION`.
On the group, add:
- Attack: 1–3 ms
- Release: Auto
- Ratio: 2:1
- Aim: 1–2 dB GR to glue layers
Map key parameters to Macros (if using an Audio Effect Rack in a single track, you can macro-map):
---
4) Common mistakes
---
5) Pro tips for darker/heavier DnB 🖤
Use Pedal (stock) after EQ:
- Mode: OD or Distortion
- Drive: 10–30%
- Tone: adjust to avoid harsh 6–9 kHz spikes
Then tame with EQ Eight (dynamic not available stock—so automate or cut narrow peaks).
Auto Filter Bandpass 12/24, automate frequency sweeping 300 Hz → 3 kHz with resonance 1.2–1.8. Layer under noise.
Chop a vocal-ish field moment (shout/crowd) into 1/8 or 1/16 stutters (clip loop braces), then send to Delay:
- Time: 1/8 or 1/4
- Feedback: 15–30%
- Filter: roll lows and highs for radio feel
In many DnB mixes, the snare lives around 180–250 Hz body + 2–5 kHz crack. If your transition masks that, notch it slightly.
The fastest way to pro results is commit: print your riser/tail, then edit like audio (fades, reverse, chops).
---
6) Mini practice exercise (15 minutes) ⏳
1. Record 10–20 seconds of anything (phone mic is fine): kettle boil, hallway ambience, street.
2. Build a 4-bar riser using:
- Texture warp
- Auto Filter LP sweep
- Clip Transpose from -7 → +5 semitones
- Reverb wet rising
3. Create a single impact from the loudest moment:
- Drum Buss + Saturator
4. Make a tail using reverse + long reverb, then resample.
5. Arrange into an 8-bar pre-drop in a 174 BPM project and sidechain the riser and tail to the kick.
Goal: When you mute your synth risers, the transition should still feel complete.
---
7) Recap
If you tell me what kind of DnB you’re making (rollers, neuro, jungle, dancefloor) and what your field recording is, I can suggest a specific 8-bar automation plan and device settings tailored to your track.
```

