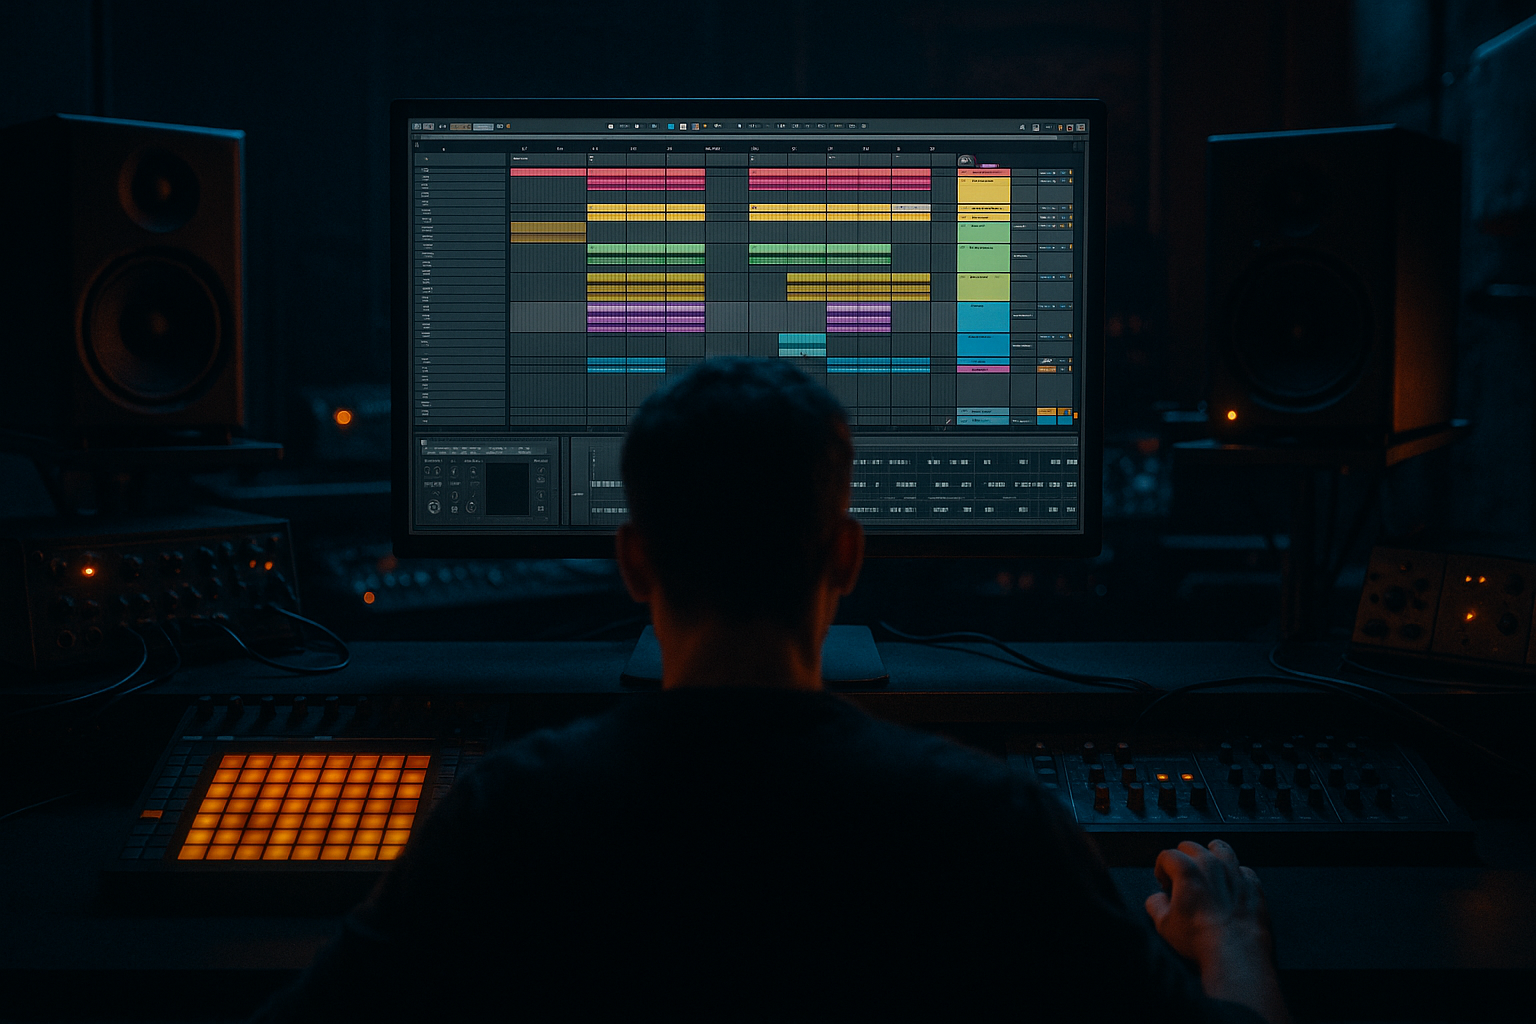
DNB COLLEGE

AI Drum & Bass Ableton Tutorials

LESSON DETAIL

Filter envelope automation on bass stabs (Intermediate)

An AI-generated intermediate Ableton lesson focused on Filter envelope automation on bass stabs in the Automation area of drum and bass production.

Free plan: 0 of 1 lesson views left today. Premium unlocks unlimited access.

Filter envelope automation on bass stabs (Intermediate) cover image

Narrated lesson audio

The voice track includes the tutorial plus extra teacher commentary.

Open audio file

Main tutorial

```markdown

Filter Envelope Automation on Bass Stabs (DnB in Ableton Live) 🎛️🔥

1. Lesson overview

Filter envelope automation is one of the fastest ways to make bass stabs move in drum & bass—without writing extra notes. In rolling DnB and jungle-influenced styles, you’ll often hear stabs that “talk,” snap, and breathe—usually achieved by a low-pass or band-pass filter whose cutoff is driven by a snappy envelope, then automated across the arrangement for variation.

In this lesson you’ll learn how to:

  • Build a bass stab instrument that responds to filter envelopes
  • Use Clip Envelopes and Arrangement Automation to evolve your stab
  • Create movement that locks to classic DnB rhythms (offbeats, triplets, call/response)
  • ---

    2. What you will build

    A DnB-ready bass stab chain like this:

    Instrument (Wavetable / Operator) → Saturator → Auto Filter (envelope-style movement) → EQ Eight → Glue Compressor (optional) → Utility

    Plus:

  • Macro controls for quick performance
  • Automation lanes that create phrase-level evolution (every 4/8/16 bars)
  • A few go-to envelope shapes for stabby, percussive bass and wider, darker stabs
  • ---

    3. Step-by-step walkthrough

    Step 1 — Start with a proper DnB bass stab pattern 🥁

    1. Set tempo to 172–176 BPM.

    2. Create a MIDI track named `Bass Stabs`.

    3. Add a simple rolling pattern (1 bar loop):

    - Put stabs on 1.2, 1.3.2, 1.4 (classic syncopation)

    - Keep notes short (start with 1/16–1/8 length)

    4. Choose a root like F or G (DnB-friendly), and try a minor vibe (e.g., F minor).

    Tip: DnB stabs often feel best when they’re rhythmically percussive, not sustained.

    ---

    Step 2 — Build the stab sound (Wavetable or Operator)

    #### Option A: Wavetable (fast, modern DnB)

    1. Load Wavetable.

    2. Osc 1: Basic Shapes → choose Square (or a slightly rounded pulse).

    3. Osc 2: Sine (quiet layer) for weight.

    4. Unison: 2 voices, Amount 15–25% (don’t over-widen yet).

    5. Amp Envelope:

    - Attack: 0–5 ms

    - Decay: 150–300 ms

    - Sustain: -inf or very low

    - Release: 50–120 ms

    This makes the stab naturally hit and vanish.

    #### Option B: Operator (snappy and aggressive)

    1. Load Operator.

    2. Use Algorithm 1 (A → output, B mod A slightly).

    3. A: Sine or Saw (depending on how gritty you want).

    4. B: Sine, level low, adjust for a bit of bite.

    5. Amp envelope similar to above.

    ---

    Step 3 — Add harmonic density (Saturator)

    1. Add Saturator after the instrument.

    2. Settings to start:

    - Drive: 3–8 dB

    - Soft Clip: ON

    - Output: reduce to match level (avoid louder = “better” decisions)

    This gives the filter something rich to chew on.

    ---

    Step 4 — Create the filter envelope movement (Auto Filter + automation) 🎚️

    You’ve got two main approaches in Live:

    #### Approach 1: “Envelope-style” movement using Auto Filter + automation (most flexible)

    1. Add Auto Filter after Saturator.

    2. Mode: Lowpass 24 dB (good for weighty DnB stabs).

    3. Turn up Resonance slightly: 10–25% (too much can whistle).

    4. Set Cutoff somewhere safe: 200–800 Hz (depends on your sound).

    5. Now create a per-hit envelope feel using Clip Envelope:

    - Open the MIDI clip → Envelopes box

    - Choose Auto Filter → Frequency

    - Draw an envelope that:

    - Starts high at the note onset (e.g., 2–5 kHz)

    - Drops quickly to the base cutoff (e.g., 300–700 Hz) within 80–180 ms

    - This mimics a classic filter envelope “pluck.”

    Workflow note: Clip envelopes are great for per-clip behavior and quick sound design. Perfect for “one pattern, many variations.”

    #### Approach 2: Use the instrument’s filter envelope (Wavetable is excellent here)

    If you’re in Wavetable:

    1. Turn on the Filter section.

    2. Filter type: LP24.

    3. Set Env Amount: start around 30–60%.

    4. Filter envelope:

    - Attack: 0–5 ms

    - Decay: 120–250 ms

    - Sustain: 0–10%

    - Release: 50–120 ms

    5. Now automate Env Amount or Filter Cutoff in Arrangement for phrase movement.

    Why this rocks: The envelope hits consistently per note, and automation shapes the “character” over time.

    ---

    Step 5 — Add phrase-level automation in Arrangement View (the DnB secret sauce) 🧠

    Now we make it evolve like a real DnB bassline over 16–32 bars.

    1. Switch to Arrangement View.

    2. Press A to show automation lanes.

    3. Automate one (or more) of these parameters:

    A) Auto Filter Frequency (Cutoff)

  • Bars 1–8: slightly closed (darker, tighter)
  • Bars 9–16: open it gradually (more aggression)
  • Last 1 bar of a 16: quick “tease” open then slam shut (transition energy)
  • B) Auto Filter Resonance

  • Keep subtle, but push resonance up on fills:
  • - Normal: 12–18%

    - Fill bars: 22–35%

    C) Wavetable Filter Env Amount

  • Make stabs more “pluck” in call-and-response sections:
  • - Section A (rolling): 35–45%

    - Section B (hype): 55–75%

    Arrangement idea (classic DnB):

  • A section (16 bars): darker, more restrained cutoff
  • B section (16 bars): wider cutoff range, more envelope amount, more saturation
  • ---

    Step 6 — Make it sit in a DnB mix (EQ + dynamics)

    1. Add EQ Eight after Auto Filter.

    - High-pass gently if needed: 25–35 Hz (24 dB slope)

    - If it’s boxy: dip 200–400 Hz slightly (1–3 dB)

    - If it’s harsh: small dip 2–4.5 kHz (depends on resonance peaks)

    2. Optional: Glue Compressor

    - Ratio: 2:1

    - Attack: 3–10 ms

    - Release: Auto

    - Aim for 1–2 dB of gain reduction (just to gel)

    3. Utility

    - If your low end feels wide: set Bass Mono (or use Utility width):

    - Width: 80–100% (keep it controlled)

    - Gain stage so you’re not clipping the master.

    ---

    Step 7 — Add movement without rewriting MIDI (performance-ready macros) 🎛️✨

    If you’re using an Instrument Rack:

    1. Group your instrument + effects (Cmd/Ctrl + G).

    2. Map these to Macros:

    - Macro 1: Filter Cutoff (Auto Filter Frequency)

    - Macro 2: Filter Env Amount (Wavetable) or Clip Envelope “depth” concept via cutoff range

    - Macro 3: Resonance

    - Macro 4: Saturator Drive

    3. Record yourself tweaking Macro 1 + 2 for 8–16 bars.

    - This creates natural, human variation—super DnB.

    ---

    4. Common mistakes 🚫

  • Too much resonance: makes the stab whistle or dominate the mix. Keep it controlled and automate it sparingly.
  • Envelope too long: if decay is too slow, it stops being a stab and starts smearing into the drums.
  • Opening the filter too far everywhere: if every hit is bright, you lose contrast. DnB relies on tension/release.
  • Ignoring gain staging: filter sweeps can spike volume (especially with resonance). Check peaks after automation.
  • Not syncing to phrasing: random automation that doesn’t respect 4/8/16-bar structure feels messy in DnB.
  • ---

    5. Pro tips for darker/heavier DnB 🖤

  • Use Bandpass for “reese-stab hybrid” energy:
  • Auto Filter → Bandpass 12/24, automate cutoff and resonance for talking midrange stabs.

  • Parallel distort only the “opened” moments:
  • Duplicate the chain or use an Audio Effect Rack:

    - Chain A: clean-ish lowpass

    - Chain B: heavy Saturator/Overdrive + higher cutoff

    Automate chain volume or macro-switch it in fills.

  • Add subtle pitch drop on the stab (classic weight):
  • In Wavetable/Operator, automate pitch envelope very slightly (or automate Transpose briefly): tiny drops feel heavy.

  • Sidechain to the kick (and maybe snare):
  • Use Compressor with sidechain from kick. Keep it subtle—rolling DnB likes bounce, not pumping EDM.

  • Automate filter differently on fills:
  • Last 2 beats of every 8 bars: open cutoff + more drive = instant “reload” energy.

    ---

    6. Mini practice exercise 🎯

    Make a 16-bar loop with these rules:

    1. Bars 1–8: darker stabs

    - Cutoff base: ~300–600 Hz

    - Envelope drop time: 80–140 ms

    2. Bars 9–16: brighter/more aggressive

    - Cutoff peaks higher (aim up to 2–6 kHz briefly)

    - Add +2 dB Saturator Drive (automate)

    3. Add a fill:

    - In bar 16, automate resonance up slightly and do a quick cutoff “flick” open → shut right before the drop.

    Export and A/B it with automation OFF vs ON. You should hear immediate groove and intensity differences.

    ---

    7. Recap ✅

  • Bass stabs in DnB come alive when the filter cutoff behaves like an envelope and evolves across phrases.
  • Use Auto Filter + Clip Envelopes for per-clip “pluck” behavior, and Arrangement Automation for 16-bar evolution.
  • Keep resonance tasteful, gain-stage carefully, and automate with DnB phrasing (4/8/16 bars).
  • Build macros and record automation for natural movement—your stabs will feel performed, not programmed.

If you want, tell me what synth you’re using (Wavetable, Operator, Serum, Vital, etc.) and whether your stabs are more jump-up, neuro, or jungle/rollers, and I’ll tailor a specific envelope shape + automation plan.

```

Ask GPT about this lesson

Chat with the lesson tutor, get follow-up help, or use quick actions.

Bigup 👽 Ask me anything about this lesson and I’ll answer in context.

Narration script

Show spoken script
Title: Filter envelope automation on bass stabs (Intermediate)

Alright, welcome in. In this lesson we’re dialing in one of the fastest ways to make drum and bass bass stabs feel alive: filter envelope automation.

And when I say “alive,” I mean that talking, snappy, breathing movement you hear in rollers, jungle-influenced stuff, even cleaner jump-up… where the bass isn’t just playing notes. It’s speaking rhythmically. The secret is simple: a low-pass or band-pass filter that reacts like a pluck envelope, and then automation that evolves that behavior over 8, 16, 32 bars so it sounds produced, not looped.

By the end, you’ll have a bass stab chain that hits and vanishes cleanly, has a controllable filter “snap,” and then phrase-level movement that locks into classic DnB phrasing.

Let’s build it.

Step one: set up the musical foundation.

Set your tempo to 172 to 176 BPM. That’s home base.

Create a new MIDI track and name it Bass Stabs.

Now make a simple one bar loop. Here’s a classic syncopated pattern to start with: place short stabs on 1.2, 1.3.2, and 1.4. Keep the notes short—think a sixteenth note to an eighth note max. If they’re too long, they stop feeling like percussion and they start smearing into the drums, and you lose that DnB snap.

Pick a root like F or G. Go minor if you want that darker vibe, like F minor. Don’t overthink the melody yet. We’re not writing a complex bassline here. We’re building a stab that moves.

Quick teacher note: in drum and bass, a lot of the “bassline interest” is actually articulation and timbre over time, not note density. That’s why filter envelope automation is such a cheat code.

Step two: build the stab sound. You can do this with Wavetable or Operator. I’ll describe both, pick what you’ve got.

Option A: Wavetable, which is fast and very DnB-friendly.

Load Wavetable. On Oscillator 1, choose Basic Shapes, and lean toward a square or a slightly pulse-y shape. That gives you harmonics for the filter to bite into.

Oscillator 2: add a sine quietly underneath, just for weight and stability.

Unison: keep it controlled. Two voices, and amount around 15 to 25 percent. We’re not trying to go huge and wide yet. Low end especially needs discipline.

Now the amp envelope. This matters a lot:
Attack basically instant, zero to five milliseconds.
Decay around 150 to 300 milliseconds.
Sustain all the way down, or very low.
Release around 50 to 120 milliseconds.

You want “hit and disappear,” not “hold and sing.”

Option B: Operator, which can be super snappy and slightly more aggressive.

Load Operator. Use Algorithm 1: A goes to output, and B modulates A a little.

Set A to sine or saw depending on how gritty you want. Set B to sine, keep its level low, and bring it up just enough to add bite. Same amp envelope concept: fast attack, short decay, low sustain, short release.

Cool. Now we’ve got a stab that behaves like a stab.

Step three: add harmonic density so the filter has something to chew on.

Drop a Saturator after the instrument. Start with Drive around 3 to 8 dB. Turn Soft Clip on. Then compensate the output so you’re not tricking yourself with loudness.

This is one of those “sound design hygiene” habits: level-match before you decide if it’s better.

Now step four: the main event. Filter envelope movement.

We’ve got two main approaches in Ableton Live:
One, fake an envelope feel using Auto Filter plus clip envelopes.
Two, use the synth’s own filter envelope, especially if you’re in Wavetable.

Let’s do the flexible, classic Ableton approach first: Auto Filter plus clip envelope.

Add Auto Filter after Saturator. Set it to Lowpass 24 dB. That’s a great weighty DnB filter slope.

Bring resonance up a little, like 10 to 25 percent. Enough to give the cutoff motion some character, but not so much that it whistles.

Set the cutoff somewhere safe as a base. Usually 200 to 800 Hz depending on the patch.

Now here’s the trick: we’re going to draw an envelope shape for the cutoff so each stab feels like it’s opening and closing, like a pluck.

Open your MIDI clip. Go to the Envelopes section.
Choose the device: Auto Filter.
Choose the parameter: Frequency.

Now draw this shape: right at the start of the note, the cutoff jumps up high—think 2 to 5 kHz—then it drops quickly down to your base cutoff, like 300 to 700 Hz, within about 80 to 180 milliseconds.

That drop is the “pluck.” It’s basically the filter saying “tah” on every hit.

Coach note: think in terms of range, not one cutoff value. Your base cutoff is the floor that keeps the bass controlled and consistent. The envelope peak is how bright and aggressive the transient gets. If you keep the floor stable and automate the distance between floor and peak, you get movement without losing the groove.

Now the second approach: use Wavetable’s filter envelope.

If you’re in Wavetable, turn on the Filter section. Choose LP24.

Set Env Amount to around 30 to 60 percent to start.

Then set the filter envelope:
Attack zero to five milliseconds.
Decay 120 to 250 milliseconds.
Sustain around zero to ten percent.
Release 50 to 120 milliseconds.

Now every note triggers that envelope consistently, which can feel really tight and playable. And then you automate Env Amount or cutoff over time to make the bass evolve across the arrangement.

Either approach works. A lot of producers even combine them: clip envelope for a very specific per-hit contour, and arrangement automation to tell the longer story. That’s where it starts sounding like a record.

Step five: phrase-level automation, the real DnB secret sauce.

Switch to Arrangement View. Hit A to show automation lanes.

Now choose one or more parameters to automate across 16 bars.

Start with filter cutoff. Here’s a simple plan:
Bars 1 to 8: slightly more closed. Darker, tighter, more restrained.
Bars 9 to 16: open it gradually, so the section lifts in aggression and presence.
Then in the last bar of that 16, do a quick tease: open the filter briefly, then slam it shut right before the downbeat. That little “open then choke” move creates transition energy without adding notes.

You can also automate resonance, but keep it subtle. Normal section maybe 12 to 18 percent. In fill moments, push to 22 to 35 percent, but be careful: resonance is the parameter that will suddenly yell at you.

If you’re using Wavetable’s filter envelope amount, you can do an A and B character:
A section, rolling: Env Amount around 35 to 45 percent.
B section, hype: 55 to 75 percent.

That’s call and response using timbre instead of new MIDI.

Important coach note: clip versus arrangement. Give them jobs.
Clip envelopes handle micro articulation: how each hit speaks.
Arrangement automation handles macro story: how it evolves over 8, 16, 32 bars.
If you keep those roles clear, your work stays organized and musical.

Also watch the relationship with your snare. In drum and bass, the snare often defines how bright the groove feels. If your filter opens hard right on, or right before, the snare, you can smear the impact. Try keeping stabs a touch darker on snare bars, and brighter in the gaps.

Step six: make it sit in the mix.

After the filter, add EQ Eight.
High-pass gently around 25 to 35 Hz to remove unusable sub rumble. Don’t get aggressive unless you need to.
If it’s boxy, dip a little at 200 to 400 Hz, like one to three dB.
If resonance makes it harsh, look around 2 to 4.5 kHz for a small dip, but don’t over-EQ before you’ve finalized your filter movement.

Optional: Glue Compressor after EQ.
Ratio 2:1.
Attack 3 to 10 milliseconds.
Release on Auto.
Aim for just one to two dB of gain reduction. This is for glue, not punishment.

Then Utility for control. If your low end feels wide, reduce width to something sensible, like 80 to 100 percent. Keep the bass centered and confident.

Now a really practical tip: tame loudness jumps before you automate too hard. Resonant filter movement can spike unpredictably. Temporarily throw a Limiter at the end of the chain while you design, just so peaks don’t fool you. Once the motion feels right, remove it or relax it and do proper gain staging.

Step seven: performance-ready macros, so you can “play” the automation.

Group your instrument and effects into an Instrument Rack. Map key parameters to macros:
One macro for filter cutoff.
One for envelope amount if you’re in Wavetable, or for the cutoff range concept if you’re doing the envelope with clip automation.
One for resonance.
One for Saturator drive.

Now hit record and perform those macros for 8 or 16 bars. This is where happy accidents happen. Do a few takes. Keep the best two bars, duplicate them, then slightly change the next phrase. That’s a super common DnB workflow: it stays repetitive enough to be hypnotic, but it never feels static.

If you want to go a level deeper, use the two-envelope trick.
Fast envelope: your per-hit pluck, either clip envelope or synth filter envelope.
Slow envelope: a 4 to 8 bar drift on cutoff, resonance, or envelope amount.
That slow drift creates evolution even when the rhythm is identical.

You can also try odd-length automation loops. Keep your MIDI at one bar, but make an automation idea that repeats every three bars or five bars by duplicating manually or using different clip lengths in Session View. The listener can’t quite predict it, but it still feels tight.

Now, common mistakes to avoid.

Too much resonance. It whistles, it dominates, and it’s not subtle anymore.
Envelope too long. If the decay is slow, it stops being a stab and starts stepping on drums.
Opening the filter too far all the time. If every hit is bright, there’s no contrast. Drum and bass needs tension and release.
Ignoring gain staging. Resonance and sweeps can add perceived loudness. Level-match.
And random automation that ignores 4, 8, 16 bar phrasing. You want movement that feels intentional.

Before we wrap, here are a couple heavier, darker options if you want more edge.

Try band-pass mode in Auto Filter for that reese-stab hybrid, “talking” midrange. Automate cutoff and resonance for vowel-ish motion.

Experiment with the order: distortion into filter versus filter into distortion.
Distortion into filter is smoother and more controlled.
Filter into distortion is more aggressive and talky, because resonant peaks hit the distortion harder. It’s awesome, but easier to overdo.

And if you want your sub to stay stable while the mids move, split into two bands:
A sub chain low-passed around 80 to 120 Hz with minimal movement.
A mid chain that gets the animated filter envelope.
Automate only the mid chain. Your mix engineer self will thank you.

Mini practice exercise to lock this in.

Make a 16 bar loop with these rules:
Bars 1 to 8: darker stabs. Base cutoff around 300 to 600 Hz. Fast envelope drop time, like 80 to 140 milliseconds.
Bars 9 to 16: brighter and more aggressive. Let the envelope peak reach up into 2 to 6 kHz briefly. Automate Saturator drive up by about 2 dB.
Then in bar 16, add a fill: a small resonance boost and a quick cutoff flick open then shut right before the loop resets.

Export two versions: automation on, and automation off. Level-match them. If you did it right, the automation version feels like it has groove, expression, and conversation, even though the MIDI notes didn’t change.

Recap.

DnB bass stabs come alive when the filter cutoff behaves like an envelope per hit, and then evolves across phrases.
Use clip envelopes for micro articulation, arrangement automation for the macro story, and combine them for that “produced” feel.
Keep resonance tasteful, keep your envelopes tight, and automate with 4, 8, 16 bar intention.
Map macros and perform your moves so it feels human.

If you tell me whether you’re aiming for jump-up wobble stabs, neuro mid stabs, or roller minimal stabs, and whether you’re using Wavetable or Operator, I can suggest a specific signature envelope shape and a 32-bar automation map that fits that substyle.

Background music

Premium Unlimted Access £14.99

Any 1 Tutorial FREE Everyday
Tutorial Explain
Generating PDF preview…