Main tutorial
```markdown
Flip an Amen-Style Variation for Smoky Warehouse Vibes (Ableton Live 12) 🏭🔥
Category: Breakbeats (DnB/Jungle)
Skill level: Beginner
Goal: Take an Amen-style loop and flip it into a rolling, gritty drum & bass break with dark warehouse energy.
---
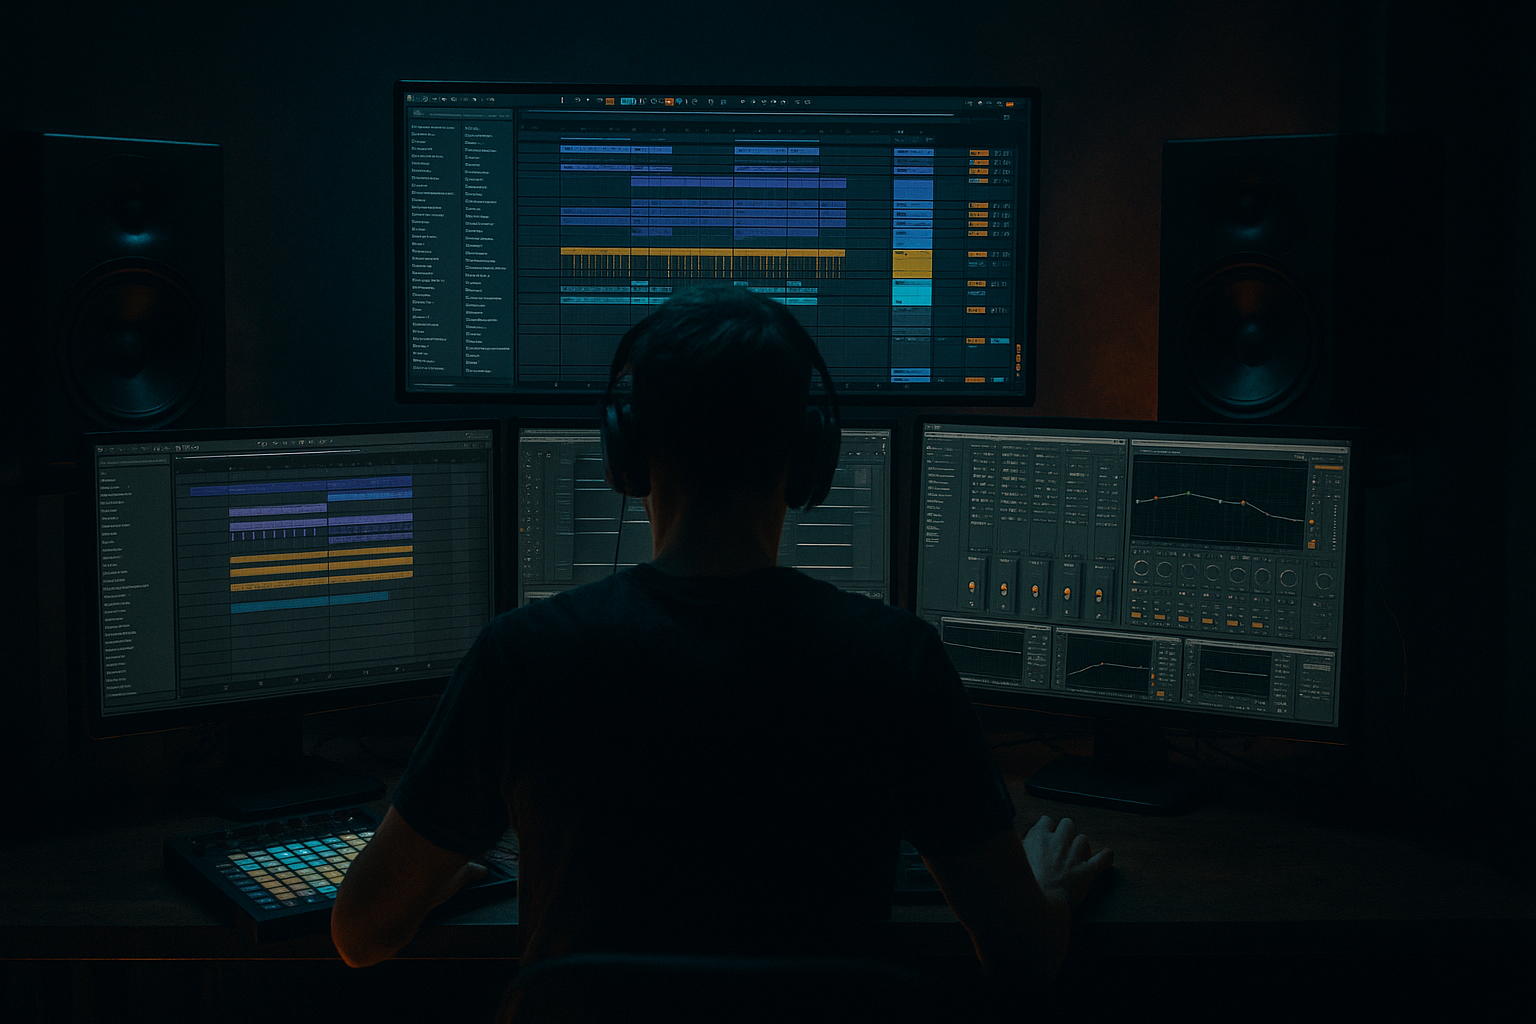
1) Lesson overview 🎛️
In this lesson you’ll learn a beginner-friendly workflow to:
- Import an Amen-style break
- Warp it properly at DnB tempo
- Slice it into playable hits
- Create a new variation (not just a loop)
- Add smoky warehouse character using Ableton stock devices (Saturator, Drum Buss, EQ Eight, Auto Filter, Reverb, Echo)
- Arrange it into a simple but effective 16–32 bar DnB drum structure
- A Drum Rack loaded with sliced Amen hits (kick/snare/ghosts)
- A 2-bar main break variation + 1-bar fill
- A tight, rolling groove at 170–174 BPM
- A dark, dusty “warehouse” processing chain
- A basic DnB arrangement: intro → drop → variation → fill → reload
- Try Beats mode for classic chopped-break tightness.
- A MIDI track with a Drum Rack full of slices
- A MIDI clip that reproduces the original break
- Snare on beat 2 and 4 (classic)
- Kick patterns around beat 1 and the “and”s
- Place SNARE on:
- Place KICK on:
- Add a few tiny hits just before the snare:
- Lower their velocity: 30–60 range.
- HP filter (low-cut): 30 Hz, 24 dB/oct (remove rumble)
- Small cut if boxy: around 250–450 Hz, -2 to -4 dB (Q ~1.2)
- Optional slight presence: 3–6 kHz, +1 to +2 dB if dull
- Drive: 10–25%
- Crunch: 5–15% (careful—too much gets fizzy)
- Boom: Off (since breaks often get muddy with Boom)
- Transients: +5 to +15
- Damp: 10–30% (tames harsh top)
- Mode: Analog Clip
- Drive: 2–6 dB
- Soft Clip: On
- Output: adjust to avoid clipping the master
- Filter: Lowpass 24 dB
- Frequency: start around 12 kHz, pull down to 7–10 kHz until it feels darker
- Resonance: 5–15% (just a little character)
- Envelope: optional tiny amount for movement (Amount 5–10%)
- Attack: 3 ms
- Release: Auto
- Ratio: 2:1
- Threshold: aim for 1–3 dB gain reduction
- Makeup: Off (set output manually)
- Device: Reverb
- Size: 30–45
- Decay Time: 1.2–2.2s
- Pre-Delay: 15–30 ms (keeps snare punch)
- Low Cut: 250–400 Hz
- High Cut: 7–10 kHz
- Dry/Wet: 100% (because it’s a Return)
- On the Drum Rack track, start Send A around -18 to -12 dB.
- Device: Echo
- Time: 1/8 or 3/16 (3/16 is super jungle-ish)
- Feedback: 20–35%
- Filter: set to dark (Lowpass around 6–9 kHz)
- Modulation: low (just a touch)
- Dry/Wet: 100%
- Filtered break (Auto Filter at ~6–8 kHz)
- Sparse hats
- Small echo hits
- Full break variation
- Add extra kick layer (optional, see Pro Tips)
- More send to Echo at phrase ends
- Bar 25–28: slightly different ghost pattern
- Bar 29–32: fill every 4 bars (use your 1-bar fill)
- Warp marker wrong → groove feels “late” or flams with the grid.
- Over-slicing + leaving every hit → sounds like the original loop, not your flip.
- Too much reverb on the whole break → kills punch and makes it cloudy (send snare more than kick).
- Over-saturating → crispy harsh highs; use Auto Filter + EQ Eight to keep it dark.
- No velocity variation → break sounds robotic. Ghost notes need lower velocity.
- Layer a clean snare under the Amen snare (Drum Rack extra pad):
- Parallel smash (Return track)
- Resample your break
- Dark hats
- Mono your low end
- Warp cleanly at ~172 BPM
- Slice to Drum Rack and recompose the groove
- Use velocity + ghost notes for roll
- Shape smoky warehouse tone with EQ Eight → Drum Buss → Saturator → Auto Filter → Glue
- Add space using Return Reverb/Echo
- Arrange in 8-bar phrases with tasteful fills
---
2) What you will build ✅
By the end you’ll have:
---
3) Step-by-step walkthrough 🧱
Step 0 — Project setup (DnB basics)
1. Set tempo to 172 BPM (top left).
2. Set time signature 4/4.
3. In Preferences → Record/Warp/Launch:
- Auto-Warp Long Samples: Off (optional, but helps avoid surprises)
- Warp Mode (default): doesn’t matter—per-clip settings matter more.
DnB note: 172 is a sweet spot for rolling breakbeats—fast but still groovy.
---
Step 1 — Import and warp your Amen-style break 🧩
1. Drag your Amen loop audio into an Audio Track.
2. Double-click the clip to open Clip View.
3. Turn Warp = ON.
4. Set Seg. BPM to match your loop if known. If not:
- Right-click the sample → Warp From Here (Straight) at the first downbeat transient.
5. Find bar 1 beat 1:
- Zoom in, locate the first strong transient (usually kick).
- Right-click there → Set 1.1.1 Here
6. Make sure it loops cleanly:
- Set the Loop Brace to exactly 2 bars (or 1 bar if your break is 1 bar).
- Turn on Loop.
Warp Mode:
- Preserve: Transients
- Transient Loop Mode: Off
- Envelope: ~20–40 (lower = tighter/more choppy)
If it sounds “wobbly” or smeared, your 1.1.1 marker is likely off.
---
Step 2 — Slice to Drum Rack (the core flip) 🥁
1. Right-click the audio clip → Slice to New MIDI Track.
2. In the dialog:
- Slice By: Transients
- Create one slice per: Transient
- Slicing Preset: Built-in → Slice to Drum Rack (default is fine)
Now you’ll get:
Clean-up tip: Rename the track: `Amen Flip - Rack`.
---
Step 3 — Build a 2-bar DnB variation (beginner method) 🎯
Open the MIDI clip that was created. You’ll see many notes—each note triggers a slice.
#### A) Identify the key hits (kick + snare)
1. Solo the Drum Rack track.
2. Click pads in Drum Rack to find:
- Main snare (usually the loudest crack)
- Main kick
3. Once found, rename those pads (right-click pad → Rename) e.g. `SNARE`, `KICK`.
#### B) Re-write the groove with fewer, stronger hits
You’re going for a rolling DnB skeleton:
Practical pattern (2 bars):
- Bar 1: 1.2, 1.4
- Bar 2: 2.2, 2.4
- Bar 1: 1.1, 1.1.3 (or 1.1.4), 1.3
- Bar 2: 2.1, 2.3
Then add ghost notes (small, quiet slices) to make it roll:
- e.g. 1.1.4, 1.3.4, 2.1.4, 2.3.4
Ableton tip: Use the MIDI editor’s Fold button so you only see notes you used.
---
Step 4 — Make it “smoky warehouse” with stock processing 🌫️
Now we’ll process for darkness, grit, and space without washing it out.
#### Suggested Drum Rack track device chain (in this order):
1) EQ Eight
2) Drum Buss
3) Saturator
4) Auto Filter
5) Glue Compressor (light)
##### 1) EQ Eight (cleanup + focus)
##### 2) Drum Buss (punch + controlled dirt)
##### 3) Saturator (warehouse grit)
##### 4) Auto Filter (instant “smoke” tone)
##### 5) Glue Compressor (glue, not crush)
---
Step 5 — Add warehouse space (return tracks, not insert) 🏚️
Create Return tracks so your break stays punchy.
#### Return A — “Warehouse Verb” (Reverb)
Send mainly snare/ghosts, not the whole break:
#### Return B — “Dub Echo” (Echo)
Send small amounts on fills or last snare of the bar for vibe. 🎚️
---
Step 6 — Create a 1-bar fill (the “flip” moment) 💥
Take bar 2 and make it your variation/fill.
Easy fill recipe:
1. Duplicate your 2-bar MIDI clip.
2. In the last half of bar 2:
- Add extra snare slice hits in 1/16 rhythm
- Replace one kick with a tom/hat slice for surprise
3. Add a reverse moment:
- In Drum Rack, duplicate a snare slice to a new pad:
- In Simpler, turn on Reverse
- Trigger it right before the snare (e.g. at 2.1.4 or 2.3.4)
4. Add a quick “tape stop” style automation (optional beginner move):
- Automate Auto Filter Frequency down quickly on the last 1/8 note.
Keep the fill short. In DnB, the best fills are fast and intentional.
---
Step 7 — Tighten groove + swing (without losing DnB snap) 🧠
1. Open Groove Pool.
2. Try a subtle swing like:
- Swing 16-65 (or similar)
3. Apply it lightly:
- Timing: 10–25%
- Velocity: 0–10% (optional)
4. Commit if you like it, but keep it subtle—too much swing can make 172 BPM feel messy.
---
Step 8 — Arrangement idea (16–32 bars) 🧱
Here’s a practical warehouse DnB layout:
Bars 1–8: Intro
Bars 9–24: Drop (Main loop)
Bars 25–32: Variation + Fill
DnB trick: Every 8 bars, do something: remove hats for 1 bar, add a fill, or echo the last snare.
---
4) Common mistakes 🚫
---
5) Pro tips for darker/heavier DnB 🖤
- Use a short snare, tune it slightly, and keep it low in the mix for weight.
- Return C: Glue Compressor (4:1, fast attack, threshold for 6–10 dB GR) + Saturator
- Send a little break to it for aggression without losing transients.
- Freeze + Flatten or record to a new audio track.
- Then do tiny audio edits (reverse, micro-stutters) for proper jungle energy.
- Use Auto Filter to roll off hats above 9–12 kHz for smoky vibe.
- Use Utility on drum bus: Bass Mono (if available) or Width <100% and high-pass side content via EQ on returns.
---
6) Mini practice exercise 📝
Do this in 15–20 minutes:
1. Create three 2-bar break variations:
- A: straight rolling (minimal)
- B: more ghost notes
- C: heavier fill at end of bar 2
2. For each, make one automation move:
- Auto Filter frequency sweep OR Echo send spike on last snare
3. Arrange into 32 bars:
- 8 bars intro (filtered)
- 16 bars drop (A then B)
- 8 bars with C + fill
Export a quick bounce and listen on low volume: does the snare still punch through?
---
7) Recap 🔁
You now have a complete beginner workflow to flip an Amen-style break in Ableton Live 12:
If you want, tell me your tempo and whether your break is 1-bar or 2-bar, and I’ll suggest a specific MIDI note pattern (including where to place ghosts) for that exact length.
```

