Main tutorial
Flip an Amen-style Impact Using Macro Controls Creatively in Ableton Live 12 🥁⚡
1. Lesson overview
In this lesson, you’ll take a classic Amen-style impact—think a punchy chopped break hit, a jungle-style crash, or a big drum accent—and turn it into a performance-ready, macro-controlled sound design weapon in Ableton Live 12.
The goal is not just to “process a sample,” but to build a flexible drum-and-bass impact instrument that can shift from:
- dry and tight
- gritty and distorted
- wide and cinematic
- reverse-swept and tension-building
- short and lethal for drops
- starts with an Amen-style impact sample
- shapes the transient with EQ and compression
- adds parallel saturation/distortion
- controls stereo width and reverb for movement
- adds filter sweeps for automated “flip” effects
- uses macros for fast sound changes
- can be automated in an 8-bar or 16-bar DnB arrangement
- hard drop accent
- transition swell
- intro stab
- fill hit
- breakdown texture
- an Amen chop
- a single impact from an Amen break edit
- a snare+kick combo hit
- a short drum crash
- a fuzzy old-school break accent
- short but not too tiny
- has a clear transient
- some room tone or grit is ideal
- not overly compressed already
- Simpler in Classic or One-Shot mode, or
- an Audio Track with an Audio Effect Rack
- drag the sample into Simpler
- set Mode to One-Shot
- turn Warp off if it’s not needed for pitch integrity
- set Trigger playback for consistent hits
- HP filter around 25–35 Hz to remove sub rumble
- small dip around 200–350 Hz if it’s boxy
- slight boost around 2–5 kHz if you want more attack
- tame harshness around 7–10 kHz if needed
- Drive: 5–25%
- Crunch: subtle at first
- Boom: usually off or very low for impacts unless you want low-end reinforcement
- Transient: +5 to +20 for more smack
- Ratio: 2:1 or 4:1
- Attack: 10–30 ms to preserve transient
- Release: Auto or 50–120 ms
- aim for 2–5 dB gain reduction
- mono control
- gain staging
- width control later if needed
- select the devices
- group them with Cmd/Ctrl + G
- you now have an Audio Effect Rack
- EQ Eight
- maybe a tiny compressor
- no reverb
- Saturator
- Overdrive
- Drum Buss
- maybe Redux for lo-fi bite
- Saturator Drive: 3–10 dB
- Overdrive Freq: around 800 Hz–2.5 kHz depending on the sample
- Redux: subtle bit depth reduction if you want roughness, not alias soup
- Reverb
- Echo
- Auto Filter
- Utility
- Reverb: short decay for room, or long decay for transitions
- Echo: synced 1/8 or 1/4 with high-pass filtering
- Utility: widen only if the source can handle it
- Saturator Drive
- Drum Buss Drive
- Overdrive amount
- maybe Redux dry/wet
- Compressor threshold or dry/wet
- Drum Buss Transient
- EQ boost around 3–5 kHz
- possibly transient shaping if you use a third-party tool, but stock is enough
- EQ Eight high-shelf down
- Auto Filter cutoff low-pass
- reverb tone if applicable
- Utility width on FX chain
- Reverb dry/wet
- Echo stereo spread
- maybe a subtle chorus if you want movement
- Reverb dry/wet
- Echo dry/wet
- Echo feedback
- reverb decay
- a second Simpler or sample layer with reverse playback
- or use Simpler on a duplicate sample and reverse it
- filter cutoff on the reverse layer
- volume of the reverse layer
- Glue Compressor threshold
- Saturator output
- Drum Buss amount
- limiter ceiling if necessary
- EQ high shelf boost
- reverb high-cut
- transient brightness
- subtle exciter via Saturator or Overdrive
- normal playback
- short envelope
- strong transient
- reverse the sample
- pitch it down 3–7 semitones
- shorten attack with an amplitude envelope
- apply strong filtering
- add delay/reverb for a ghosted tail
- Macro turns up original hit
- Macro turns up reversed or processed version
- low macro = classic impact
- high macro = warped, dramatic, altered impact
- the main chain, or
- the FX chain
- low-pass sweep for buildup
- band-pass for hollow tension
- resonance push for aggressive peak
- envelope follower if the sample needs movement
- cutoff frequency
- resonance
- filter drive
- macro 0% = open and crisp
- macro 100% = dark, filtered, rolling away into the mix
- Time: 1/16, 1/8, or dotted values depending on groove
- Feedback: low to moderate
- Filter: roll off lows and some highs
- Saturation: slight
- the rack output should hit around -12 to -6 dB peak
- leave headroom if this is going into a busy drum bus
- if you’re using this as a one-shot, make sure the sample doesn’t clip unless clipping is the sound you want
- low Drive
- higher Space
- more Reverse Tail
- darker filter
- gradually raise Punch
- increase Echo feedback slightly
- open the filter
- widen the FX chain
- reduce Space
- raise Smash and Punch
- keep the hit short and focused
- use very little reverse tail
- automate Darkness down briefly
- spike Drive
- add a quick Space burst
- print or resample the result
- Darkness down
- Space up
- Reverse Tail up
- then slam back to dry at the drop
- one for tone
- one for punch
- one for space
- one for width
- a dip around 2–4 kHz if your snare already dominates there
- saturate the low mids carefully for weight
- keep the top end controlled
- Dry chain = transient and definition
- Dirty chain = attitude
- FX chain = atmosphere
- duplicate the sample
- detune one layer by -1 to -3 semitones
- low-pass it
- blend quietly under the main impact
- new one-shots
- reverse tails
- transitional stabs
- chopped textures
- macro positions
- clip gain
- filter changes
- reverse tails on specific clips
- minimal reverb
- strong punch
- moderate saturation
- mono
- more reverse tail
- rising filter opening
- more width
- more echo
- heavy saturation
- narrow stereo image
- low-pass filtered
- short and aggressive
- stay punchy and tight for the drop
- expand into a wide transition effect
- darken for modern atmospheric DnB
- become a reusable source for resampling and chopping
- Start with a strong Amen-style sample
- Build a clean core before adding aggression
- Use parallel chains for dry, dirty, and FX layers
- Map macros to meaningful musical behaviors
- Automate the rack in arrangement for energy changes
- Resample the results for even more material
- a device-by-device Ableton Live 12 rack blueprint
- a macro mapping chart
- or a companion exercise for making an Amen impact into a bass hit
This is very useful in DnB, jungle, rollers, half-time intros, and reese-heavy drop sections where you need percussive impacts that can evolve with arrangement and energy.
We’ll use stock Ableton devices and focus on macro mapping, so you can perform the sound, automate it, and resample it into new layers. This is the kind of workflow that lets you turn one Amen hit into a whole palette of transitions and accents. 🔥
---
2. What you will build
You’ll build a Single Audio Effect Rack or Simpler-based instrument that does all of this:
Final macro layout suggestion
You’ll end up with macros like:
1. Drive
2. Punch
3. Darkness
4. Width
5. Space
6. Reverse Tail
7. Smash
8. Air
These macros let you morph the same impact into different roles:
---
3. Step-by-step walkthrough
Step 1: Choose the right source sample
For this technique, use a sample with enough character to “flip”:
Good sample traits
If your source is too clean, it can still work—but in DnB, something with texture usually responds better to processing.
Load it into:
For a more performance-oriented setup, I recommend:
---
Step 2: Build the core tone with a clean device chain
Start with a basic chain before you get fancy:
1. EQ Eight
2. Drum Buss or Saturator
3. Compressor or Glue Compressor
4. Utility
EQ Eight
Use EQ to carve the hit so it sits in DnB space.
Suggested starting points:
Drum Buss
Great for drum-and-bass impacts because it adds punch and density fast.
Try:
Compressor / Glue Compressor
Use compression to glue the sample and make it feel like part of a dense DnB mix.
Try:
Utility
Use Utility for:
At this stage, make sure the sample already sounds good dry. If it doesn’t work here, macros won’t save it later.
---
Step 3: Put the chain inside an Audio Effect Rack
Now wrap your processing in an Audio Effect Rack so you can assign macros.
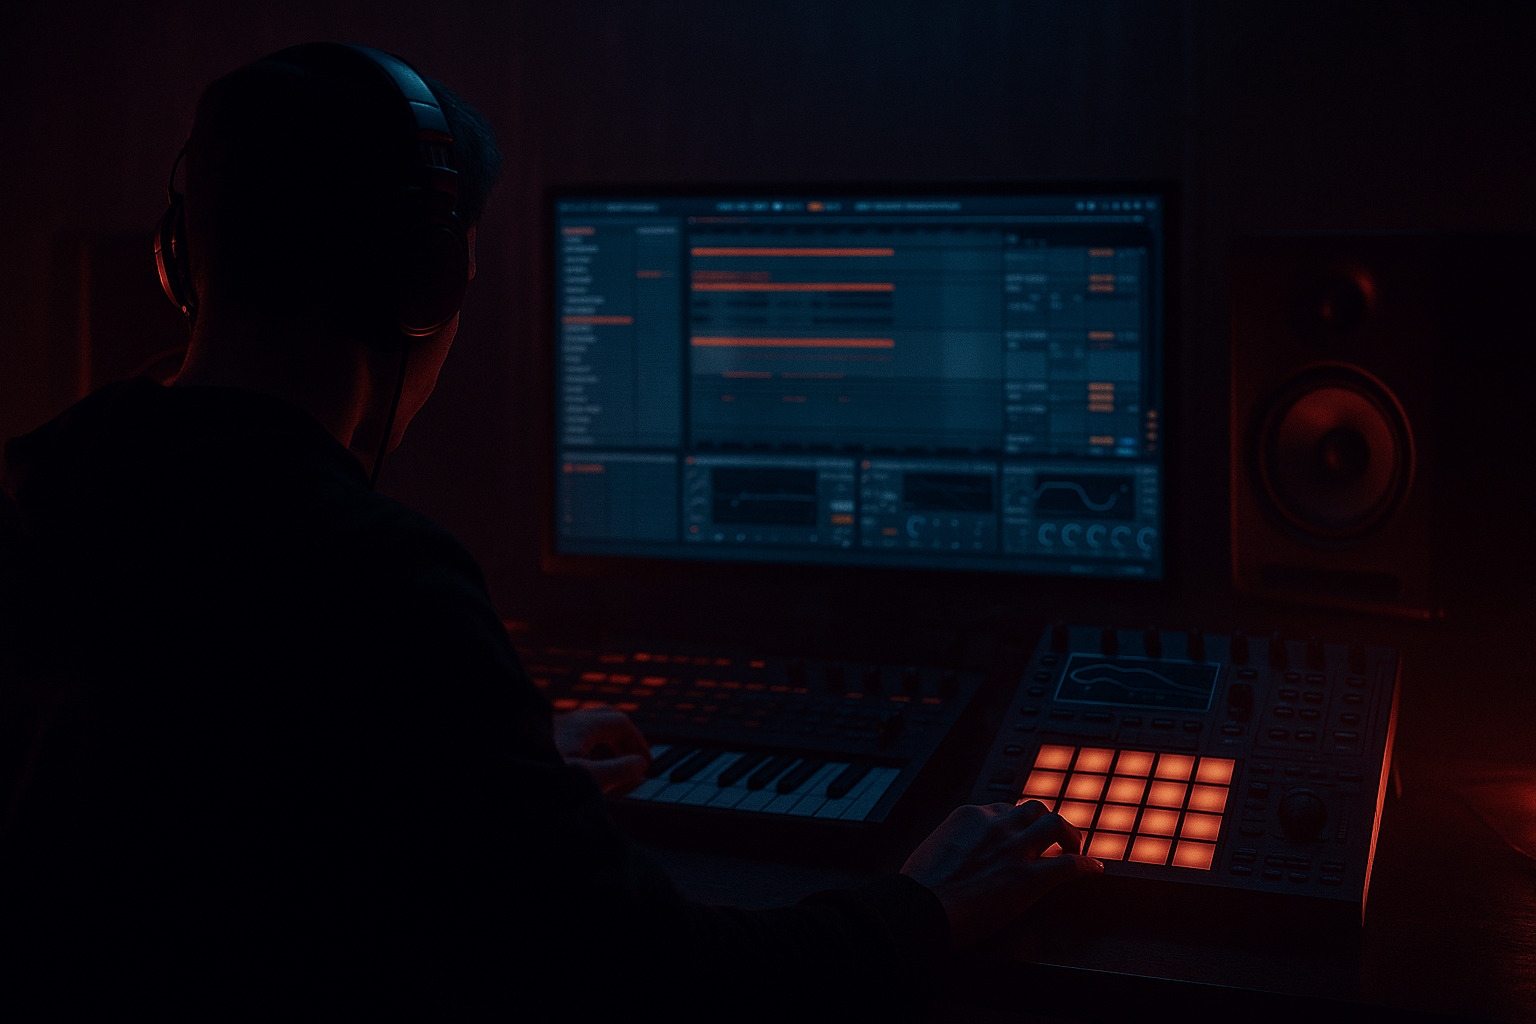
How
Open the Macro Controls.
This is where the magic starts. 🎛️
---
Step 4: Add parallel processing for a bigger “impact flip”
An Amen-style impact becomes much more flexible when you split it into layers.
Use chain-based parallel processing inside the Audio Effect Rack.
Create 3 chains:
1. Dry Hit
2. Dirty Hit
3. Space/FX Hit
#### Chain 1: Dry Hit
Keep this almost untouched:
This preserves the original punch.
#### Chain 2: Dirty Hit
Use more aggressive processing:
Suggested settings:
#### Chain 3: Space/FX Hit
Use widening and ambience:
Suggested settings:
Blend the chains so the impact can move from tight and dry to wide and atmospheric.
---
Step 5: Map key parameters to macros
Now assign the important controls to macros. This is where the “flip” really happens.
Macro 1: Drive
Map:
Use it to move the impact from clean to brutal.
Macro 2: Punch
Map:
This macro should increase attack and perceived smack.
Macro 3: Darkness
Map:
This is huge for modern dark DnB. Pull the sample darker to sit under reeses and subs.
Macro 4: Width
Map:
Keep the dry chain mostly mono. Let the width live in the FX layer.
Macro 5: Space
Map:
Use this for buildup moments or to make the hit feel like it “opens up” before a drop.
Macro 6: Reverse Tail
Map:
If you want the sample to “suck into” the hit, this macro can bring in the reversed swell.
Macro 7: Smash
Map:
This is your “make it hit the front row” macro.
Macro 8: Air
Map:
Useful for making the same hit feel more modern and present.
---
Step 6: Create a true “flip” using sample variation
A great DnB flip doesn’t just process—it changes behavior.
Duplicate the original sample and create a second Simpler layer.
Layer A: Main hit
Layer B: Flipped version
Try one of these:
Then map a macro to blend between layers:
This gives you a very practical “flip” control:
This is especially effective in intro bars, breakdowns, and pre-drop tension.
---
Step 7: Use Auto Filter for tension and drop movement
Auto Filter is one of the best stock devices for shaping DnB transitions.
Place it on:
Useful moves
Macro mapping idea
Map Darkness or Space to:
For example:
This is excellent for 8-bar build sections where the impact needs to evolve with automation.
---
Step 8: Add a subtle Echo for jungle-style motion
A short synced delay can make the impact feel more alive without turning it into mush.
Use Echo with:
Good use case
Map Space or Width to Echo dry/wet.
This works especially well if the impact sits before a drum fill or under a vocal stab.
In DnB, you want the effect to feel rhythmic, not messy. Keep it controlled and filtered.
---
Step 9: Add utility and gain staging discipline
When you stack all this processing, gain staging matters.
Use Utility at the end of each chain if needed to balance levels.
Practical target
For modern heavy DnB, some controlled clipping is fine—but do it intentionally.
---
Step 10: Automate the macros in arrangement
This is where your impact becomes a musical tool.
Arrangement ideas
Use the macro rack differently in each section:
#### Intro
#### Build
#### Drop
#### Fill before turnaround
Practical automation move
Draw a macro sweep over 1 or 2 bars before the drop:
That contrast is pure DnB energy. 🚀
---
4. Common mistakes
1. Over-widening the impact
If you make the core hit too wide, it can disappear in mono or fight the bass.
Fix: keep the dry layer mono and use width only on the FX layer.
2. Too much reverb
DnB impacts need space, but not muddy wash.
Fix: high-pass your reverb return and keep decay controlled.
3. Destroying the transient
Heavy compression and saturation can flatten the hit.
Fix: preserve some attack with slower compressor attack times and use parallel processing.
4. Mapping too many things to one macro
If one macro changes everything, the sound becomes unpredictable.
Fix: keep macros focused:
5. Ignoring the mix context
An impact that sounds huge solo may vanish once the sub and reese arrive.
Fix: test the rack inside a full 170–174 BPM DnB loop with kick, snare, bass, and pads.
6. Using only one version of the sample
One static impact is less useful than a morphable system.
Fix: always build at least one alternate layer: reversed, pitched, filtered, or distorted.
---
5. Pro tips for darker/heavier DnB
Tip 1: Make the impact sit below the snare brightness
For darker DnB, shape the impact so it doesn’t compete with the snare crack.
Try:
Tip 2: Use parallel distortion for aggression, not full destructive distortion
A blended dirty chain sounds bigger than a fully destroyed main chain.
That separation is very useful in halftime intros, neuro-inspired rollers, and dark jump-up-adjacent transitions.
Tip 3: Add micro pitch shifts for menace
A small pitch movement can make the hit feel more unstable.
Try:
Tip 4: Resample the rack
Once the macros sound good, resample the output into a new audio clip.
This gives you:
In DnB, resampling is a massive part of building momentum.
Tip 5: Use clip envelopes for performance
If you’re triggering the impact in Session View, automate:
This creates variation without needing a huge drum rack.
---
6. Mini practice exercise
Exercise: Build 3 versions of the same Amen-style impact
Take one Amen-style impact sample and create:
#### Version A: Dry drop hit
#### Version B: Buildup hit
#### Version C: Dark industrial hit
Practice goal
Map your macros so one rack can morph between all three styles.
Then do this:
1. create an 8-bar loop at 174 BPM
2. place the hit on the last beat before the drop
3. automate Space, Darkness, and Smash
4. resample the result
5. chop the resample into new hits and fills
If you can make one sample work across three roles, you’re thinking like a proper DnB sound designer. ✅
---
7. Recap
You’ve now built a macro-controlled Amen-style impact system in Ableton Live 12 that can:
Key takeaways
This workflow is powerful because it turns one sample into a flexible performance instrument. That’s exactly the kind of efficient, creative sampling mindset that keeps DnB sessions moving fast and sounding massive. 🧨
If you want, I can also turn this into:

