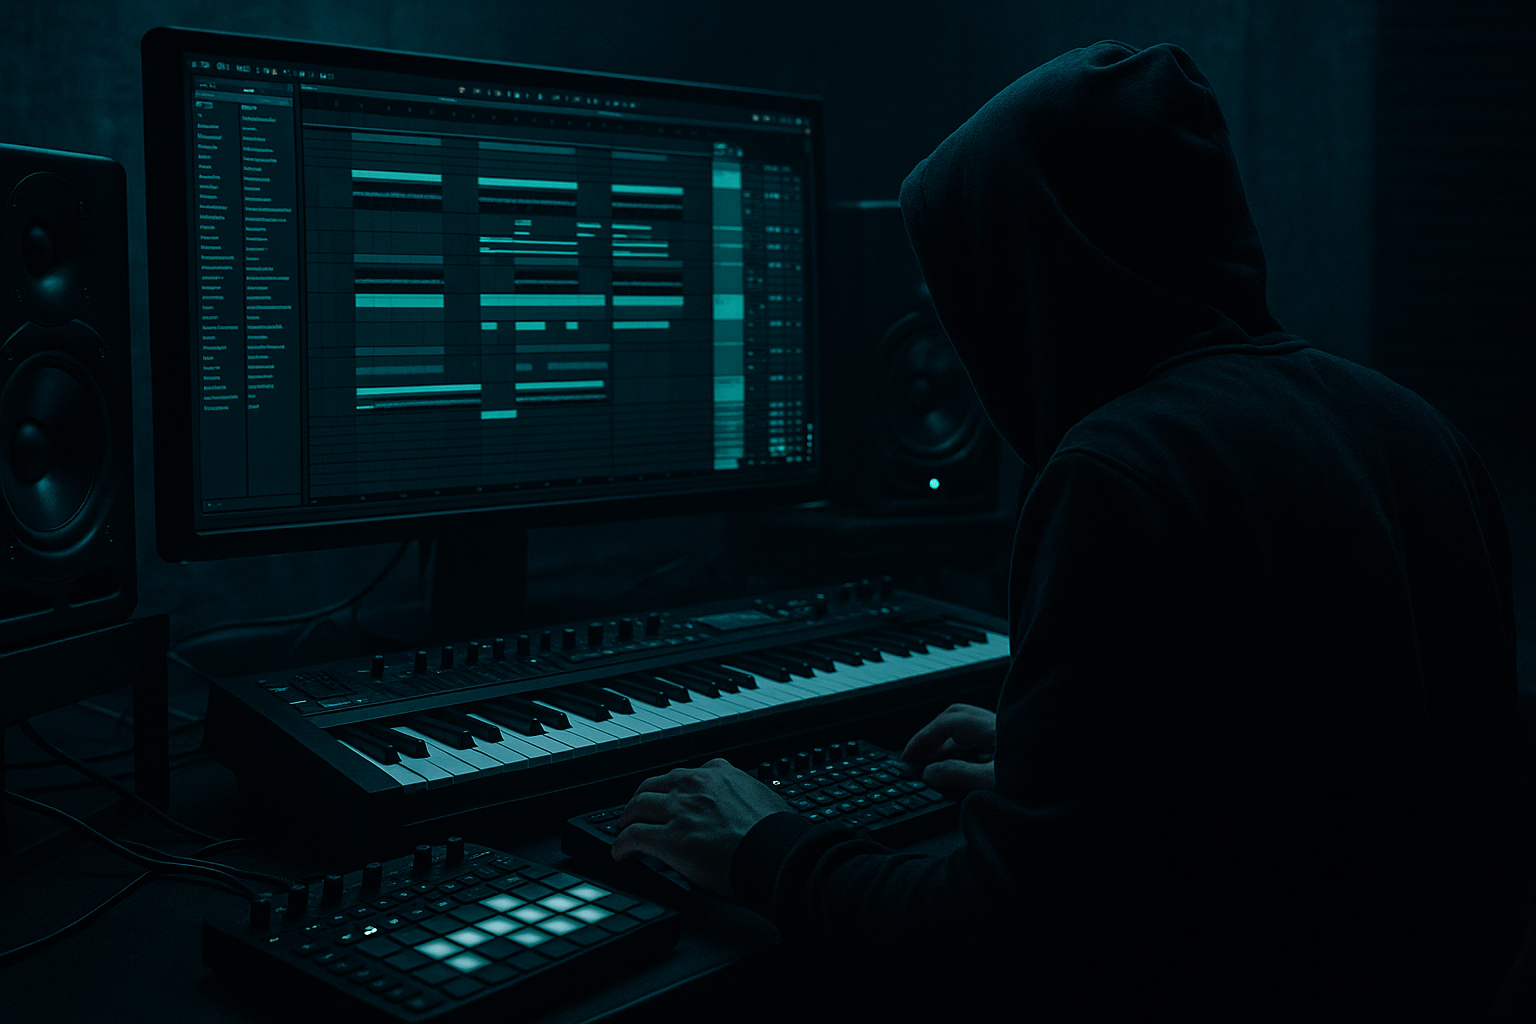
Main tutorial
```markdown
Flip an Oldskool DnB Break Roll with Macro Controls (Ableton Live 12) 🥁⚙️
Skill level: Advanced
Category: Mixing (with performance-style macro control)
---
1) Lesson overview 🎛️
You’re going to take a classic oldskool/jungle break roll (think 90s roll-ups, snare rushes, “amen-ish” momentum) and turn it into a modern, mix-ready DnB movement tool using Macros in Ableton Live 12.
This is not about random FX—this is about controlled break flipping:
- keeping the break punchy and phase-stable,
- adding tension + release,
- and making rolls that feel like they’re driving the track forward.
- tighten/loosen transients
- morph into distortion/sizzle
- widen or collapse the stereo image safely
- push a roll forward with pitch + micro-delay + reverb throws
- automate “oldskool chaos” without losing weight in the mix
- 2 parallel chains: Clean Punch + Hyped Roll
- 8 Macros mapped to key parameters for performance and automation
- a workflow that lets you:
- HP filter: `24 dB/oct` at 30–45 Hz (keep sub clean; let kick/sub own it)
- Small cut if needed:
- Drive: 2–6
- Crunch: 0–10 (light; we’ll macro it)
- Boom: Off (usually off for breaks; avoid fake low-end smear)
- Transients: +10 to +30 (adds snap and keeps roll defined)
- Dry/Wet: 60–100% depending on source
- Attack: 3 ms
- Release: Auto
- Ratio: 2:1
- Threshold: aim for 1–3 dB GR
- Makeup: to taste (don’t chase loudness yet)
- Soft Clip: On (great for jungle breaks)
- Width: 100%
- Mono Bass: On at 120 Hz (keeps roll low-end centered)
- Filter type: `MS2` or `PRD` (try both)
- Start: Lowpass around 14–18 kHz (we’ll macro sweep)
- Resonance: 0.70–1.20 (careful—res can get loud)
- Drive: 0–8 (we’ll macro it)
- Mode: `Soft` or `Warm` to start
- Drive: 5–15 dB (macro it)
- Tone: slightly towards Bright if break is dull
- If it gets fizzy: low-pass inside Roar or after it
- Mode: `Wide Noise` or `Sine`
- Frequency: 3–8 kHz
- Amount: 0.2–1.5
- Mode: `Chorus` (not Ensemble to start)
- Rate: 0.15–0.40 Hz
- Amount: 10–30%
- Width: 120–180%
- Dry/Wet: 10–35%
- Algorithm: `Plate` or `Room`
- Decay: 0.6–1.8 s (macro it)
- Predelay: 10–25 ms
- Size: small-medium
- EQ: roll low end up to 250–500 Hz
- Time: `1/16` or `1/8` (sync)
- Feedback: 10–35%
- Filter: HP around 300–600 Hz, LP around 6–10 kHz
- Ceiling: -0.5 dB
- Use just to catch peaks from resonance + distortion
- Drum Buss Transients (Chain A): +30 → -10
- Glue Threshold (Chain A): set range so it goes from 1 dB GR → 4 dB GR
- Optional: add a tiny Auto Filter HP on Chain A and map cutoff 30 → 80 Hz (keeps low-mid clean when splatting)
- Chain A volume: 0 dB → -inf (or just down to -12 dB)
- Chain B volume: -inf → 0 dB (or -18 → 0 dB)
- 18 kHz → 2.5–6 kHz (depending on how aggressive you want it)
- 0.7 → 1.1
- Roar Drive: 5 → 18 dB
- Erosion Amount: 0.2 → 1.2
- Optional: EQ Eight high shelf +1 → +4 dB @ 8–10k (careful)
- Chorus-Ensemble Dry/Wet: 0 → 30%
- Utility Width (Chain B): 100% → 160%
- Utility Mono Bass ON fixed (do not macro off unless you know why)
- 0 → 22% (more if your track is sparse)
- 0.6 → 1.6 s
- Map Delay Dry/Wet: 0 → 18%
- Map Feedback: 10 → 30%
- If using Echo, map `Mod` lightly too.
- Automate the audio clip’s Transpose separately (not macro)
- Mode: `Freq Shift` (not Ring Mod)
- Fine: 0 → +80 Hz (keep small!)
- Dry/Wet: 0 → 15%
- Bar -1 before drop:
- Keep Macro 2 low (mostly clean), then spike:
- Combine with sidechain (external):
- Make the roll darker but louder:
- Add “metal edge” without fizz:
- Keep the break from fighting the reese:
- Controlled chaos with parallel:
- Snap in the drop:
- Is the snare still punching?
- Does the roll feel like it accelerates?
- Does the drop hit harder because of contrast?
- You built a two-lane break roll rack: Clean Punch (anchor) + Hyped Roll (movement).
- You mapped Macros to musical parameters: transients, compression, filter tension, distortion, width, throws, and micro push.
- You learned arrangement moves that are authentically DnB/jungle: pre-drop rolls, mid-phrase fills, ducking to the kick, and contrast automation.
We’ll build a Macro rack that can:
---
2) What you will build 🧱
A single Audio Effect Rack called “Break Roll FLIP” with:
- ride macros live while arranging, or
- draw automation for surgical control in the Arrangement View
Result: an oldskool break roll that can go from tight, dry, and driving → wide, distorted, pitched, and airborne on command.
---
3) Step-by-step walkthrough ✅
Step 0 — Prep the break roll (so it mixes like a modern record)
1. Drop your break roll audio into an audio track: `BREAK ROLL`.
2. In the clip view:
- Warp: `Complex Pro` only if needed. For most breaks:
- Use Beats mode for tight drum transients.
- Beats settings:
- Mode: `Transients`
- Preserve: `1/16` or `1/8` (test both)
3. Gain staging:
- Aim for peaks around -10 to -6 dBFS pre-processing.
- If it’s hot, use Utility first with `Gain -3 to -8 dB`.
> Advanced note: If the roll is part of a larger break, consolidate a clean 1-bar or 2-bar roll section so your automation is repeatable.
---
Step 1 — Create the core rack
1. Select the break track and add an Audio Effect Rack.
2. Open the rack’s Chain List.
3. Create two chains:
- Chain A: `CLEAN PUNCH`
- Chain B: `HYPED ROLL`
We’ll build “mix stability” in Clean Punch and “movement + hype” in Hyped Roll.
---
Step 2 — Build Chain A: CLEAN PUNCH (the anchor)
Add devices in this order:
#### 1) EQ Eight
- 200–350 Hz: -1 to -3 dB (mud control)
- 3–6 kHz: tame harshness if the break is crispy
#### 2) Drum Buss
#### 3) Glue Compressor
#### 4) Utility
Chain A should sound like: tight, stable, controlled—your “don’t lose the groove” lane.
---
Step 3 — Build Chain B: HYPED ROLL (the flip engine)
Add devices in this order:
#### 1) Auto Filter
#### 2) Roar (Live 12) 🔥
> Alternative if you want more oldskool grit: Saturator in `Analog Clip` mode.
#### 3) Erosion
This adds that “air-sand” top texture that helps rolls speak on small speakers.
#### 4) Chorus-Ensemble
This is your controlled widen/motion. Don’t overdo it—DnB needs center punch.
#### 5) Hybrid Reverb
We’re using reverb as a throw and a lift, not a wash.
#### 6) Delay (or Echo if you want character)
This creates forward motion without clutter.
#### 7) Limiter
Chain B should feel like: hype, tension, movement, “lift into the drop.”
---
Step 4 — Macro mapping (the fun part) 🎚️
Map these to 8 Macros (name them exactly; it helps workflow).
#### Macro 1: “TIGHT ↔ SPLAT”
Map to:
Use: tighten rolls for verses; splat for fills.
---
#### Macro 2: “HYPE BLEND”
Map to Rack Chain Volumes:
Use: morph from clean to hyped without extra routing.
---
#### Macro 3: “ROLL LP SWEEP”
Map to Auto Filter cutoff (Chain B):
Map resonance lightly:
Use: classic roll tension (darker as it rises, then snap open).
---
#### Macro 4: “GRIT”
Map to:
Use: make rolls speak through heavy bass and dense mixes.
---
#### Macro 5: “WIDEN / SAFE”
Map to:
Use: widen on transitions, collapse for drop impact.
---
#### Macro 6: “VERB THROW”
Map to Hybrid Reverb Dry/Wet:
Also map Decay:
Use: throw the last 1/8 or last hit of the roll into space.
---
#### Macro 7: “PUSH (MICRO)”
This is subtle but powerful.
Add Delay in Chain B if you didn’t:
Use: creates perceived acceleration without changing tempo.
---
#### Macro 8: “PITCH UP (FAKE RISE)”
Two approaches:
Approach A (cleaner, recommended): Clip Transpose
because macro mapping to clip transpose isn’t as direct.
Approach B (rack-based): Frequency Shifter (subtle)
Add Frequency Shifter on Chain B:
Use: psychoacoustic “rise” without making the break sound like a chipmunk.
---
Step 5 — Arrangement ideas (DnB/jungle rooted) 🧠
Here are practical placements where this rack shines:
A) Pre-drop 1-bar roll (classic)
- Macro 2 (Hype Blend): ramp up to 70–100%
- Macro 3 (LP Sweep): close slightly then snap open last 1/8
- Macro 6 (Verb Throw): hit only on last 1/8
- Macro 1 (Tight ↔ Splat): go slightly splat in last 1/4 for attitude
B) Mid-phrase fills (every 8 bars)
- Macro 4 (Grit) quick bump for 1/8
- Macro 7 (Push) tiny bump for 1/8
This gives variation without sounding like you “changed the break.”
C) Jungle-style “roll and duck”
- Put a Compressor after the rack on the break track
- Sidechain from kick (or kick bus)
- Ratio 4:1, Attack 1–3 ms, Release 50–120 ms
Now your rolls can get gnarly without fighting the kick.
---
4) Common mistakes 🚫
1. Over-widening the break
- Wide breaks can collapse in mono and weaken the snare center.
- Keep low end mono; widen mainly above 200 Hz.
2. Resonant filter sweeps causing painful peaks
- If Macro 3 boosts harshness, cap it:
- Add EQ Eight after the filter with a dynamic-ish manual approach:
- a small bell dip around 3–5 kHz.
3. Too much reverb in fast DnB tempos
- At 170–176 BPM, long verbs smear transients.
- Use throws (Macro 6), not “always-on wash.”
4. Distortion before controlling peaks
- If Roar is first and resonance is high, you’ll get nasty spikes.
- Either limit after (we did) or reduce resonance/drive ranges.
5. Ignoring gain staging across chains
- Match perceived loudness between Chain A and B so Macro 2 blending is musical.
---
5) Pro tips for darker/heavier DnB 🕶️🔩
Use LP sweep down (Macro 3) + increase Grit (Macro 4). Dark doesn’t mean quiet—distortion adds presence.
Put Roar in a warmer mode, then add EQ Eight after it:
- Low-pass gently around 12–14 kHz
- Small boost around 2 kHz if you need bite.
Add a narrow EQ dip (EQ Eight) around 120–250 Hz on both chains if your bass owns that area.
Keep Chain A always audible (even -6 to -12 dB) so the groove never disappears when Chain B goes wild.
Automate Macro 2 down (less hype) right on the drop, then bring it back for fills—instant contrast.
---
6) Mini practice exercise 🎯
Goal: Create a 16-bar phrase with two different roll flips.
1. In a 16-bar loop at 174 BPM, place your break roll in bars 8 and 16 (1-bar each).
2. For bar 8 roll:
- Macro 2 (Hype Blend): 0% → 60%
- Macro 3 (LP Sweep): 14k → 5k (close it slightly)
- Macro 6 (Verb Throw): only last 1/8 to ~15%
3. For bar 16 roll (heavier):
- Macro 2: 0% → 100%
- Macro 4 (Grit): 20% → 80%
- Macro 7 (Push): 0% → 15% for the last 1/4
- Optional: add a 1/8 bar mute right before the drop (classic tension)
Render, then check:
---
7) Recap 🔁
If you want, tell me what break you’re using (Amen, Think, Apache-style, etc.) and your tempo (170–176), and I’ll suggest macro ranges and a “signature roll automation curve” for your exact vibe.
```

