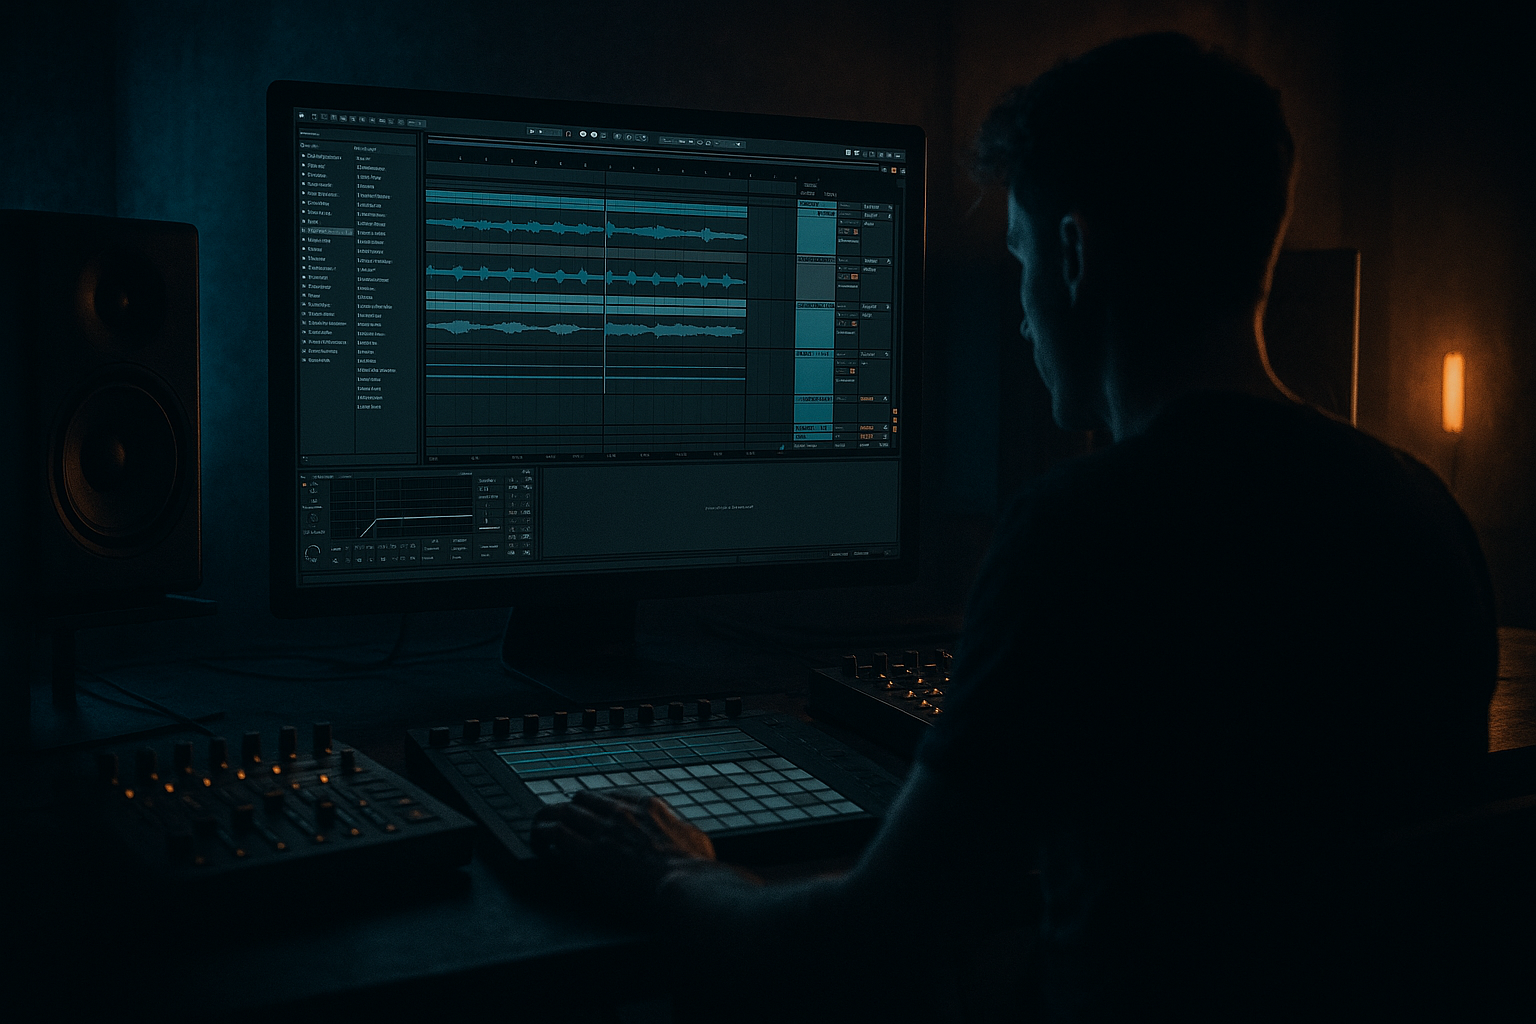
DNB COLLEGE

Drum & Bass Ableton Live 12 Tutorials

LESSON DETAIL

FM bass design in Ableton Operator (Advanced)

An AI-generated advanced Ableton lesson focused on FM bass design in Ableton Operator in the Sound Design area of drum and bass production.

Back to lessons
FM bass design in Ableton Operator (Advanced) cover image

Narrated lesson audio

The voice track includes the tutorial plus extra teacher commentary.

Open audio file

Main tutorial

FM Bass Design in Ableton Operator (Advanced DnB Sound Design) 🎛️🔥

1) Lesson overview

In drum & bass, the bass isn’t just “low end”—it’s movement, attitude, and rhythm. Operator is perfect for this because it’s fast, clean, and insanely controllable for FM growls, reeses, talking basses, and neuro-style mid layers—all with stock devices.

This lesson focuses on building a rollable FM bass that:

  • Hits hard in the sub
  • Has a controllable mid “snarl”
  • Moves rhythmically with macro control for arrangement
  • We’ll do it in a way that’s mix-ready and DnB-practical—not just a cool patch in solo.

    ---

    2) What you will build

    A two-layer Operator FM bass system:

  • Layer A: Sub Operator (clean, mono, stable pitch)
  • Layer B: Mid Operator (FM-driven harmonics + movement)
  • Bus chain: Saturation → EQ shaping → Multiband dynamics → resampling-ready movement FX
  • You’ll end with:

  • 4–8 Macro controls (via Instrument Rack) for FM amount, tone, movement, and aggression
  • A bass you can play like an instrument and arrange like a pro in rolling DnB (think: minimal rollers → heavier neuro switches).
  • ---

    3) Step-by-step walkthrough

    Step 0 — Session + routing setup (fast DnB workflow) ⚙️

    1. Set project tempo to 174 BPM (or 172–176).

    2. Create a MIDI track and drop an Instrument Rack on it.

    3. Create two chains inside the rack:

    - `SUB (Operator)`

    - `MID (Operator)`

    This gives you immediate macro control and clean routing.

    ---

    Step 1 — Build the SUB (Operator) 🧱

    Open Operator on the SUB chain.

    Operator settings (SUB):

  • Algorithm: All oscillators to output (no FM needed for sub stability)
  • Oscillator A:
  • - Wave: Sine

    - Coarse: 1

    - Fine: 0

    - Level: 0 dB

  • Envelope (Amp):
  • - Attack: 0–5 ms (avoid click; depends on note length)

    - Decay: ~200 ms

    - Sustain: -inf (if you want plucks) OR around -6 to -12 dB (if you want held notes)

    - Release: 50–120 ms

    Important DnB sub rules:

  • Keep it mono: add Utility after Operator
  • - Width: 0%

  • Keep it clean: avoid heavy saturation on the sub chain itself (we’ll saturate in parallel or on the bus carefully).
  • Optional: If you want that “rolling note push”, add slight pitch envelope:

  • Go to Pitch Env
  • - Amount: ~+6 to +18

    - Decay: 40–90 ms

    This adds a subtle “thump” at note start without ruining tuning.

    ---

    Step 2 — Build the MID (Operator) with FM bite 🐍

    Open Operator on the MID chain. This is where the character happens.

    #### 2A) Pick an FM algorithm that’s actually useful

    Choose an algorithm where:

  • A is the carrier
  • B (and/or C) modulates A
  • A classic is B → A, with C → A optional.

    #### 2B) Core oscillator setup

    Oscillator A (Carrier):

  • Wave: Sine or Saw (start with Sine for clean FM control)
  • Coarse: 1
  • Level: adjust later
  • Oscillator B (Modulator):

  • Wave: Sine
  • Coarse: 2 (ratio 2:1 gives musical harmonics)
  • Level: this becomes your FM Amount
  • - Start around -18 dB then increase

    Oscillator C (Extra modulator / grit):

  • Wave: Sine or Square
  • Coarse: 3 or 5 (odd ratios = nastier)
  • Level: start off (all the way down), then blend
  • Key concept:

    In Operator, the modulator level is basically your FM intensity. Too much and you’ll get metallic chaos; the goal is “controlled violence” 😈.

    #### 2C) Add movement with envelopes (DnB = rhythm)

    We want the mid to “speak” on the grid.

  • On Oscillator B envelope:
  • - Attack: 0

    - Decay: 120–300 ms

    - Sustain: 0

    - Release: 60–120 ms

    This makes FM intensity hit then fall—instant “wow” without needing LFO yet.

  • Amp envelope (A):
  • - Attack: 0–10 ms

    - Decay: 250–500 ms

    - Sustain: taste (for rollers often lower sustain, more pluck)

    - Release: 80–150 ms

    ---

    Step 3 — Add controlled “talk” using Operator’s LFO 🎚️

    In Operator:

  • Enable LFO
  • Wave: Sine or Triangle (smooth movement)
  • Rate: 1/8 or 1/16 (Sync on)
  • Amount: small at first (5–15)
  • Route LFO to:

  • Oscillator B Level (FM amount movement)
  • Optional: Filter Frequency (if using Operator filter)
  • This is your “rolling motion” that can lock to the drums.

    ---

    Step 4 — Filter + tone shaping (inside Operator first) 🎛️

    Operator’s filter is clean and underrated.

  • Filter type: LP24 (good for controlling fizz)
  • Freq: start around 400–2.5k (depends on aggression)
  • Res: 5–20%
  • Drive: a little if needed (don’t overdo; we’ll drive later)
  • Map Filter Freq to a Macro later for arrangement control.

    ---

    Step 5 — Build the DnB bass processing chain (stock devices) 🧪

    Now we treat this like a real DnB bass: stabilize, add harmonics, control dynamics, and make it sit with the drums.

    #### 5A) MID chain processing (after Operator on MID chain)

    1. Saturator

    - Type: Soft Sine or Analog Clip

    - Drive: 2–8 dB

    - Soft Clip: On

    - Purpose: bring harmonics forward without destroying transients

    2. EQ Eight

    - High-pass: ~80–120 Hz (keep sub layer owning the true low end)

    - Dip harshness: often 2–4 kHz gets pokey

    - Optional presence bump: 200–600 Hz for growl body

    3. Auto Filter (movement option)

    - LP/Notch depending on vibe

    - Map frequency to Macro

    - Add subtle envelope or LFO for extra motion

    #### 5B) SUB chain processing (after Operator on SUB chain)

    1. EQ Eight

    - Low-pass around 120–200 Hz (keep it pure)

    2. Utility

    - Bass Mono: On (if using Live’s Utility with Bass Mono option; otherwise keep Width 0%)

    #### 5C) Bass BUS processing (on the Instrument Rack or group)

    Group the rack output processing like this:

    1. Glue Compressor

    - Attack: 10 ms

    - Release: Auto

    - Ratio: 2:1

    - Aim for 1–3 dB GR on peaks

    - Purpose: “one instrument” feel

    2. Roar (if you have it) or Saturator (stock alternative)

    - Use gentle drive; keep lows controlled

    - If using Roar: keep multiband subtle; don’t nuke the sub

    3. Multiband Dynamics

    - Use as control, not OTT destruction (unless that’s your intent)

    - Try: slight upward comp on mids, keep low band stable

    4. Limiter

    - Ceiling: -0.5 dB

    - Only catching rogue peaks (1–2 dB max)

    ---

    Step 6 — Macro mapping for performance + arrangement 🎛️✨

    In the Instrument Rack, map these:

    1. FM Amount → Osc B Level

    2. Grit → Osc C Level

    3. Tone → Operator Filter Frequency

    4. Talk Rate → LFO Rate

    5. Talk Depth → LFO Amount

    6. Mid Saturation → Saturator Drive (MID chain)

    7. Mid Width → Utility Width (MID only; keep sub mono!)

    8. Sub Level → Operator A level (SUB chain)

    Now you can automate macros to create A/B sections quickly:

  • A section (rolling): lower FM, smoother filter
  • B section (switch): higher FM, open filter, more drive
  • ---

    Step 7 — DnB arrangement ideas (make it roll) 🥁

    Classic roller pattern (1 bar idea at 174):

  • Notes: root + fifth or root + octave movement
  • Rhythm: use off-beat gaps to let the kick/snare speak
  • Try this workflow:

    1. Write a 2-bar bassline.

    2. Duplicate to 16 bars.

    3. Automate macros every 4 or 8 bars:

    - Slightly increase FM Amount into fills

    - Open Tone on the last 2 beats before a drop

    - Increase Talk Depth during call/response moments

    Pro move: Resample a 4-bar phrase to audio, then slice the best growls into new patterns.

    ---

    4) Common mistakes (and how to avoid them) 🚫

    1. FM bass fights the sub

    - Fix: high-pass the MID at ~80–120 Hz and keep SUB mono/clean.

    2. Too much FM = metallic mess

    - Fix: use envelope-controlled FM (B envelope decay), not constant max level.

    3. Width on low frequencies

    - Fix: MID can be wide; SUB must stay mono. Use Utility / EQ splitting.

    4. Over-OTT / over-compression

    - Fix: aim for controlled dynamics, not flatline. Keep movement alive.

    5. No arrangement automation

    - Fix: map macros and commit to automation. DnB bass must evolve.

    ---

    5) Pro tips for darker/heavier DnB 😈🌑

  • Use odd ratios for nastier harmonics: set Osc B or C to 3, 5, 7 (then tame with filtering).
  • Add “inharmonic tension” carefully: detune modulator fine tune slightly (+3 to +9 cents) for menace; keep sub untouched.
  • Serial saturation (small hits) beats one big distortion: e.g. Saturator (light) → Roar (light) → clipper/limiter catch.
  • Make space for the snare crack (usually 180–250 Hz and 2–4 kHz zones):
  • - Dip the bass slightly where your snare body/crack lives.

  • Neuro-style movement trick (stock):
  • - Automate Auto Filter notch sweeps + Operator FM Amount together.

    - Resample, then EQ/comp again for “designed” motion.

    ---

    6) Mini practice exercise (15–25 minutes) 🧠

    1. Build the SUB + MID Operator rack exactly as above.

    2. Create a 2-bar MIDI clip with a rolling rhythm:

    - Bar 1: root notes with a few 1/16 gaps

    - Bar 2: add a fifth or octave for call/response

    3. Automate over 8 bars:

    - Bars 1–4: FM Amount at 30–40%

    - Bars 5–8: FM Amount rises to 60–80%, Tone opens slightly

    4. Resample:

    - Freeze + Flatten or resample to audio

    - Slice 4 favorite hits, rearrange into a new 1-bar loop

    Goal: two versions of the same bassline—one “roller” and one “switch”.

    ---

    7) Recap ✅

  • You built a two-layer DnB FM bass: stable mono sub + animated FM mid.
  • You used Operator’s strengths: FM via modulator level + envelopes, plus tempo-synced LFO movement.
  • You made it production-ready with stock tools: Saturator, EQ Eight, Utility, Glue, Multiband Dynamics, Limiter.
  • You set up macros so your bass can evolve across 16–32 bars like real drum & bass.

If you want, tell me what sub style you’re aiming for (minimal roller / jump-up wob / neuro growl / jungle reese hybrid) and I’ll tailor Operator ratios + macro layout to that exact vibe.

Ask GPT about this lesson

Chat with the lesson tutor, get follow-up help, or use quick actions.

Bigup 👽 Ask me anything about this lesson and I’ll answer in context.

Narration script

Show spoken script
Title: FM bass design in Ableton Operator (Advanced)

Alright, let’s build a drum and bass FM bass in Ableton Operator that isn’t just cool in solo, but actually works in a track. The goal today is a rollable bass system with a clean, stable sub, a controllable mid snarl, and macro controls so you can perform the movement across 16 or 32 bars like it’s part of the groove.

Here’s the mindset: in drum and bass, the bass isn’t just “low end.” It’s movement, attitude, and rhythm. Operator is perfect for this because it’s fast, clean, and super controllable. And we’re going to keep this stock-device friendly, so you can do it anywhere.

We’re building a two-layer system inside an Instrument Rack.
Layer A is your SUB Operator: mono, clean, stable pitch, basically untouchable.
Layer B is your MID Operator: FM bite, harmonics, motion, and character.
Then we’ll process and glue it like one instrument, map macros, and talk about how to automate it so it actually rolls.

Let’s go.

First, session setup.
Set your project tempo to 174 BPM. Anywhere around 172 to 176 is fine, but 174 is home base for a lot of modern DnB.

Create a new MIDI track and drop an Instrument Rack on it. Open the rack chains and create two chains. Name the first one SUB, and put an Operator on it. Name the second one MID, and put another Operator on that.

This rack setup is a big deal. It’s not just organization. It’s what makes the whole sound playable and performable with macros. If you skip this, you’ll end up with a patch you can’t arrange.

Now we’ll build the sub.

Open the Operator on the SUB chain.
For the algorithm, choose the one where all oscillators go straight to the output, no modulation. We don’t need FM for the sub. Stability is king down here.

Oscillator A: set it to a sine wave.
Coarse at 1, fine at zero, level at 0 dB as a starting point.

Now the amp envelope. For DnB, you’ll usually want a tight start that doesn’t click.
Set attack somewhere between 0 and 5 milliseconds. If you hear a click, bump it up slightly.
Decay around 200 milliseconds is a good baseline.
For sustain, decide what role the sub is playing. If you want plucky notes, set sustain all the way down. If you want held notes, set sustain somewhere around minus 6 to minus 12 dB so it holds but doesn’t feel like an organ.
Release around 50 to 120 milliseconds so it tails off cleanly, especially when notes change quickly.

Now a key rule: keep the sub mono.
After Operator on the sub chain, add Utility, and set width to 0%.
We’re not doing “wide sub.” Ever. Not in DnB, not if you want it to translate and not fall apart in clubs.

Optional, but very useful: a subtle pitch envelope to add that little “push” at the start of the note.
In Operator, go to Pitch Envelope.
Set amount somewhere around plus 6 to plus 18, and decay around 40 to 90 milliseconds.
You’re not trying to hear a laser zap. You’re trying to feel a micro-thump that helps the bass speak right as the kick and snare are making space.

Cool. Sub done. Protect it. Mentally put it in a glass box. We’ll let the mid do the fighting.

Now the mid layer.

Open Operator on the MID chain.
Choose an algorithm where oscillator A is the carrier, and B modulates A. If you can also have C modulate A, even better. Think: B into A as the core, with C as optional extra grit.

Oscillator A is your carrier.
Start with a sine wave. Yes, a sine. Clean carriers give you controlled FM. You can switch to saw later if you want it to get hairier faster, but start clean so you actually understand what the modulators are doing.
Set coarse to 1.

Oscillator B is your modulator.
Set B to a sine wave.
Set coarse to 2. That 2:1 ratio is a classic because it gives you musical harmonics without instantly becoming a metallic mess.
Now here’s one of the most important concepts in Operator: the modulator level is basically your FM amount.
So set B level low to start, maybe around minus 18 dB, then we’ll push it up once movement is in place.

Oscillator C is optional grit.
Set C to sine or square. Square will get edgy quickly.
Set coarse to 3 or 5 for nastier, more aggressive odd-harmonic energy.
Keep C level all the way down for now. We’re going to earn it.

Now, a teacher-style checkpoint: lock your fundamental pitch early and protect it.
The sub is your true fundamental. The mid is harmonic and percussive information. If the mid starts to feel “out of tune,” do not retune the sub to chase it. Instead, reduce inharmonic FM, bring ratios back to cleaner values, reduce modulator fine detune, or low-pass the mid a bit harder. That’s how you stay mix-ready.

Next: movement using envelopes.
DnB bass isn’t just tone, it’s rhythm. So we want the mid layer to speak on the grid.

Go to oscillator B’s envelope. The goal is FM transient design: more harmonic bite at the start, then it relaxes.
Set attack to 0.
Set decay somewhere around 120 to 300 milliseconds.
Set sustain to 0.
Release around 60 to 120 milliseconds.

What this does is huge: it makes the FM intensity hit, then fall away, which gives you that “wow” and articulation without needing constant heavy distortion. It’s punch that translates on small speakers, but it stays smooth enough to roll.

Now set the amp envelope for the carrier.
Attack 0 to 10 milliseconds, again, manage clicks.
Decay around 250 to 500 milliseconds.
Sustain to taste. For rollers, you often want lower sustain so the bass feels like it bounces rather than drones.
Release around 80 to 150 milliseconds.

Now, before we get excited and crank FM, quick gain staging note.
Operator’s internal levels matter more than people think. Try to keep the carrier at a healthy level, but leave headroom. A good target is that the MID chain output is peaking around minus 12 dB before you add saturation. Treat modulators like tone generators, not volume sources. Push them for harmonics, then compensate with carrier level or device output so your saturator behaves predictably.

Now let’s add talk movement using Operator’s LFO.

Enable the LFO.
Choose a sine or triangle wave for smooth motion.
Turn sync on.
Set rate to 1/8 or 1/16. 1/16 is usually more “neuro twitch,” 1/8 is more “roller sway.”
Set amount small at first, around 5 to 15.

Route the LFO to oscillator B level. This is key: now your FM amount is breathing in time with the drums.
Optionally route it to filter frequency too, but we’ll set the filter first.

Now tone shaping inside Operator.

Turn on Operator’s filter. It’s clean, and it’s perfect for controlling fizz early.
Choose LP24.
Set frequency somewhere between 400 Hz and 2.5 kHz depending on how aggressive you want it. Lower is darker and more controlled. Higher is more open and snarly.
Resonance around 5 to 20 percent. Don’t get carried away unless you want that whistly vowel thing.
If there’s drive, use a little, but don’t rely on it. We’ll do the heavy lifting in the chain where it’s easier to control.

At this point you should have a mid layer that goes from relatively clean to nasty just by raising oscillator B level and by how you shaped that B envelope.

Now, let’s process like a real DnB bass.

We’ll start with the MID chain processing, after Operator.

First, add Saturator.
Choose Soft Sine or Analog Clip.
Turn Soft Clip on.
Drive somewhere around 2 to 8 dB.
The purpose is to bring the harmonics forward and make the mid audible in the mix, not to destroy it. If you drive too hard, you’ll lose note definition and it becomes a flat sheet of aggression. We want controlled violence, not chaos.

Next, EQ Eight.
High-pass the MID around 80 to 120 Hz. This is non-negotiable if you want the sub to hit hard and stay clean. Let the sub own the true low end.
Then scan for harshness. A common pokey zone is 2 to 4 kHz, especially once you start opening filters and adding drive. If it’s biting your ears, a small dip here will instantly make it feel more expensive.
If the bass feels too thin, you can add a gentle bump around 200 to 600 Hz for body, but be careful: this is also where mud and snare body conflicts live.

Now an advanced coach note: beware the 150 to 300 Hz mud zone.
Layered bass loves to pile up there. Instead of only static EQ cuts, consider dynamic control. You can lightly clamp that area with Multiband Dynamics, or you can put a compressor on the MID and sidechain it from the kick and snare so the low mids duck only when the drums hit. That’s not just a mix fix. It’s a groove designer.

Optionally, add Auto Filter after EQ for extra motion.
Try notch or bandpass for that mouthy movement, or low-pass for a controlled sweep.
This works best when Operator filter is your overall brightness, and Auto Filter is your articulation, like the mouth movement on top.

Now the SUB chain processing.

After the sub Operator, add EQ Eight.
Low-pass around 120 to 200 Hz to keep it pure. You’re basically saying: “Sub does sub, nothing else.”
Then make sure Utility is keeping it mono. If you’re using a Utility with Bass Mono, use it, but simple width at 0% works.

Now we glue everything together on the rack output, the bass bus.

Add Glue Compressor.
Attack around 10 milliseconds.
Release on Auto.
Ratio 2:1.
Aim for 1 to 3 dB of gain reduction on peaks. Not constant squashing.
This makes the layers feel like one instrument.

Next, add saturation on the bus if needed.
If you have Roar, you can use it gently. If not, another Saturator works.
The rule here is serial saturation: multiple small hits beat one big distortion. You get thickness and loudness without turning the bass into brittle noise.
Keep the lows controlled. Always.

Then Multiband Dynamics.
Use it as control, not instant OTT destruction. Unless you deliberately want that smashed modern thing, in which case, do it knowingly.
A good starting idea: keep the low band stable, add just a touch of upward compression on mids so the character stays audible at lower volumes.

Finally, a Limiter.
Ceiling at minus 0.5 dB.
Only catching rogue peaks, like 1 to 2 dB max. This is safety, not loudness war.

Now the fun part: macros. This is where your bass becomes an instrument.

Open Macro Mapping on the Instrument Rack and map these:

FM Amount: map to oscillator B level on the MID Operator.
Grit: map to oscillator C level.
Tone: map to Operator filter frequency on the MID.
Talk Rate: map to LFO rate.
Talk Depth: map to LFO amount.
Mid Saturation: map to Saturator drive on the MID chain.
Mid Width: put a Utility on the MID chain and map its width. Keep the sub mono.
Sub Level: map the sub Operator oscillator A level, or chain volume if you prefer.

And here’s a pro trick: macro ranges are your secret weapon.
Don’t map 0 to 100% just because you can. Constrain the FM Amount macro to the sweet spot where it stays aggressive but stable. Constrain the filter macro so it doesn’t open into harsh fizz unless that’s intentionally your switch zone. This is how you make every knob position usable, which makes automation faster and better.

Now let’s talk arrangement, because DnB bass needs to evolve.

Start with a simple two-bar bassline.
Classic roller approach: use the root note, then answer with the fifth or octave. Use gaps, especially off-beat gaps, so the kick and snare can speak. If the bass is constant, your groove will feel smaller.

Workflow:
Write a two-bar MIDI clip.
Duplicate it out to 16 bars.
Then automate macros every 4 or 8 bars, and also try smaller micro-changes every 2 bars.

For example:
In your A section, keep FM Amount lower and the tone a bit darker.
In your B section, raise FM Amount, open the tone slightly, increase talk depth, and push saturation a little.
On the last two beats before a drop, try a tension move: narrow the mid width, close the filter slightly, maybe reduce talk depth. Then at the drop, open it all back up. Same patch, bigger impact.

Another advanced arrangement trick: call and response through density, not just tone.
Phrase A: longer notes with small gaps.
Phrase B: shorter notes, more syncopation.
Even with the same sound, it feels like a switch.

Now, quick troubleshooting, because these are the mistakes that kill DnB bass fast.

If the FM bass fights the sub, your fix is simple: high-pass the mid at 80 to 120, and keep the sub clean and mono.
If it’s metallic chaos, don’t just turn everything down. Use envelope-controlled FM. Shape the modulator envelope so it bites early then relaxes.
If low frequencies are wide, fix it immediately: mid can be wide, sub stays mono.
If you over-compress everything and lose movement, back off. DnB needs dynamics to feel like it’s rolling, not a brick.
And if your bass doesn’t evolve across the section, automate. Always. Macros make that painless.

Let’s add a couple advanced variations you can try once the core patch is working.

Variation one: ratio morph without changing notes.
Keep B at ratio 2.00 for musical harmonics.
Set C to 3.00 or 5.00 for nastier grit.
Then make a macro that crossfades: B level down as C level goes up. It’ll feel like a whole new patch, but your level and balance can stay consistent.

Variation two: pseudo-formant talk with two moving filters.
Use Operator filter for overall brightness.
Use Auto Filter after it as bandpass or notch for mouth movement.
Then map one macro to move Auto Filter frequency and slightly increase FM Amount at the same time. That’s where you get vowel-ish articulation that reads as “talking,” not just wobbling.

Variation three: reese flavor without unison.
Use two carriers routed to output, like A and D, detune them a few cents apart for chorus character, keep the sub separate, and still use one modulator to create FM grit. It can sound huge without needing chorus devices.

And one more critical pro habit: phase alignment between sub and mid.
Even if you EQ split correctly, phase can cause low-end dips near the crossover.
Do a quick check: temporarily low-pass the mid to around 200 Hz and compare it with the sub. Flip polarity on the mid using Utility and choose the setting that gives more consistent low end at that crossover. Then put your high-pass back on the mid. It’s a quick sanity check that can save you from weak low end later.

Now a mini practice exercise to lock this in.

Build the SUB and MID rack exactly like we did.
Make a two-bar rolling MIDI clip:
Bar one, root notes with a few sixteenth-note gaps.
Bar two, add the fifth or octave for call and response.
Duplicate it to eight bars.
Automate FM Amount so bars one to four sit around 30 to 40 percent of your macro range, then bars five to eight rise toward 60 to 80 percent. Open tone slightly with it.

Then resample with intention.
Don’t print just one pass. Print three passes:
Muted and closed: lower tone, lower FM.
Neutral: your middle setting.
Open and aggressive: higher FM transient, brighter tone, more drive.
Slice the best hits, rearrange them into a new one or two bar loop. That’s how you get that designed, curated neuro motion without needing a million automations.

Recap time.

You built a two-layer DnB FM bass: stable mono sub plus animated FM mid.
You used Operator the smart way: FM via modulator level, shaped by envelopes for transient design, plus tempo-synced LFO movement.
You processed it like a production sound: saturation, EQ splitting, glue, controlled multiband, and a limiter as safety.
And you mapped macros so the bass evolves across the arrangement like it’s supposed to in drum and bass.

If you want to take this even further, decide what lane you’re aiming for: smooth minimal roller, jump-up wob, teethy neuro growl, or a jungle reese hybrid. Because once you pick the lane, I can help you choose exact ratios, sweet-spot macro ranges, and a macro “safety knob” that keeps everything musical when you push it hard.

mickeybeam

Go to drumbasscd.com for +100 drum and bass YouTube channels all in one place - tune in!

Generating PDF preview…