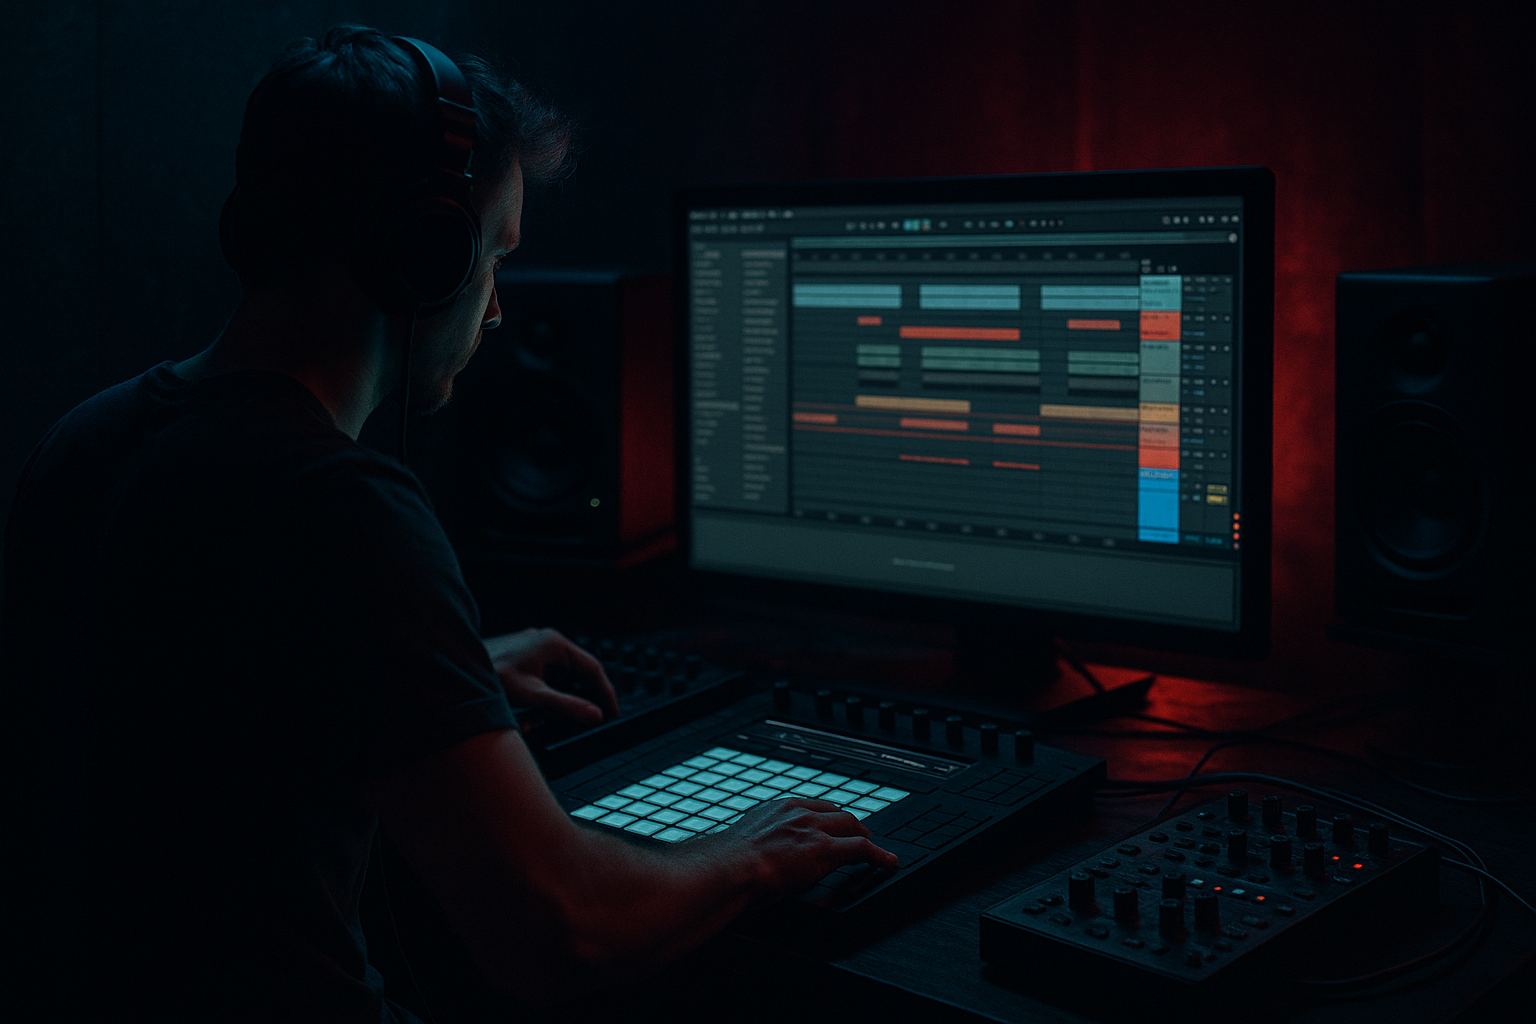
Main tutorial
```markdown
Folder Hygiene for Samples Masterclass (DnB @ 170 BPM) 🧼🔊
Skill level: Intermediate
Category: Workflow (Ableton Live)
---
1. Lesson overview 🧠
If your sample library is messy, your sessions get slow: you audition less, commit later, and your ideas die in the browser. In drum & bass—where you’re swapping kick layers, hunting crisp tops, and trying 12 snares before the drop—folder hygiene is part of sound design.
In this masterclass you’ll build a clean, fast, DnB-focused sample system inside Ableton Live that supports:
- quick drum selection for 170 BPM
- consistent naming + tagging
- “grab-and-go” drum racks and slices
- reliable project portability (no missing files nightmares)
- Mac: `Music/Sample Library`
- Windows: `D:\Sample Library`
- `SNARE_Tight_F#_170_RTRD.wav`
- `KICK_Punchy_NoKey_170_SineLayer.wav`
- `BREAK_Amen_Crunchy_170_Vinyl.wav`
- `HAT_Closed_Bright_NoKey_170_PackX.wav`
- Drums often don’t have a “key” — use `NoKey`.
- Breaks do benefit from BPM tags if you keep them as loops.
- Character tags: `Tight, Ringy, Crunchy, Airy, Distorted, Clean`.
- Red: “GO-TO Kicks”
- Orange: “GO-TO Snares”
- Yellow: “Rolling Tops”
- Green: “Breaks”
- Blue: “Bass One-Shots”
- Purple: “FX / Atmos”
- C1: Kick (main)
- D1: Snare (main)
- D#1: Snare layer (noise/top)
- F#1: Clap/rim (optional)
- A#1: Closed hat
- C#2: Open hat
- D#2: Ride
- F2+: Perc hits (2–6 slots)
- Auto Filter
- Glue Compressor
- Utility
- Verse: filtered break hats + ghost snares
- Drop: full break layer + programmed tops for extra roll
- File → Collect All and Save
- Delete obvious duplicates (same file in 5 packs).
- Remove “maybe later” junk. Your browser is not a museum.
- Keep a curated “GO-TO” set in Collections.
- 10 kicks
- 10 snares
- 20 tops
- 10 breaks
- Too many categories. If you have 40 hat folders, you’ve built a maze.
- No INBOX. Sorting in the middle of writing kills momentum and creates half-sorted chaos.
- Relying only on packs. Packs are organized for marketing, not for your workflow.
- Not saving racks. Rebuilding the same drum chains is wasted life.
- Warping breaks inconsistently. Different warp modes across projects = inconsistent groove.
- Never using Collections. Color tags are your “personal best-of.”
- Create a “Neuro Drum Tools” Collection:
- Make a distortion-aware folder tag:
- Save FX racks for grit (stock-only):
- Arrangement move: “ghost break energy”
- Your sample library should reflect how DnB is built: kick/snare, tops, breaks, bass, FX.
- Use an INBOX, sort on a schedule, and keep folder depth sane.
- Name for search, not for aesthetics.
- Use Ableton Places + Collections to curate your best sounds.
- Save Drum Racks and sliced break racks so you stop reinventing the wheel.
- Lock projects with Collect All and Save so you never lose sounds.
We’ll do it using Ableton’s Browser, Collections, Places, and the File Manager, plus practical pack structure that matches real DnB/jungle workflows. ⚡
---
2. What you will build 🏗️
By the end, you’ll have:
1. A DnB-first master sample folder with a clean hierarchy (drums, breaks, bass shots, FX, vocals).
2. Ableton Browser setup: Places + Collections (color-coded) so you can audition fast.
3. A “170 BPM Drum Starter” template:
- Drum Rack for kick/snare/hats
- Breaks slice rack (jungle-friendly)
- A few “go-to” audio effect racks for punch and grit
4. A fast audition workflow that avoids duplicates, random “Downloads” chaos, and missing files.
---
3. Step-by-step walkthrough ✅
Step 1 — Create a master folder structure (the DnB way) 📁
Pick one location for your master library. Example:
Inside it, create this structure (simple, DnB-optimized):
```
Sample Library/
00_INBOX (To Sort)/
01_DRUMS/
Kicks/
Punchy/
Subby/
Layer/ (clicks, tops)
Snares/
Tight/
Ringy/
Neuro/
Claps_Rims/
Hats_Tops/
Closed/
Open/
Rides_Shakers/
Perc/
Toms/
Foleys/
Breaks/
Clean/
Crunchy/
Amen/
Think/
Jungle_Packs/
02_BASS/
OneShots/
Reeses/
Wobbles_Yoy/
Neuro_Growls/
Subs/
03_FX/
Impacts/
Risers/
Downlifters/
Noises/
Vinyl_Atmos/
04_VOCALS/
Shouts/
Phrases/
MC_Acaps/
05_MIDI/
Drum_MIDI/
Bass_MIDI/
06_RACKS (Ableton)/
DrumRacks/
AudioEffectRacks/
InstrumentRacks/
90_PROJECT_EXPORTS/
```
Why this works at 170 BPM:
DnB decisions happen fast: kick/snare first, then tops/breaks, then bass + FX. This layout mirrors your arrangement priorities.
---
Step 2 — Use the INBOX rule (the difference-maker) 📥
Any new sample pack goes into:
`00_INBOX (To Sort)`
Never drag random samples directly into “Kicks” while you’re mid-session. That’s how chaos grows.
Sorting routine (10 minutes, twice a week):
1. Delete duplicates / useless “demo” audio.
2. Move samples into your structure.
3. Rename anything that’s cryptic (more on naming next).
---
Step 3 — Naming conventions that actually help in Ableton 🔎
Ableton search is powerful if your names are consistent.
Use this format:
`TYPE_CHARACTER_KEY_BPM_SOURCE.wav`
Examples:
Key tips:
---
Step 4 — Add your sample library to Ableton’s Browser (Places + Collections) 🧭
In Ableton Live:
1. Open Browser → Places
2. Click Add Folder…
3. Add:
- `Sample Library/01_DRUMS`
- `Sample Library/02_BASS`
- `Sample Library/03_FX`
- `Sample Library/06_RACKS (Ableton)`
Now set up Collections (color tags) with DnB intent:
Workflow: when you find a killer snare, right-click → Add to Collection.
This is curation, not hoarding. 🎯
---
Step 5 — Build a “170 BPM Drum Starter” Drum Rack 🥁
Create a Drum Rack with a consistent layout so muscle memory kicks in.
Suggested pad map (classic DnB):
#### Kick chain (inside the Kick pad)
Add Ableton stock devices:
1. EQ Eight
- HPF at 25–30 Hz
- Gentle dip if muddy: 200–350 Hz (-2 to -4 dB, Q ~1.2)
2. Drum Buss
- Drive: 5–15%
- Crunch: 0–10%
- Boom: 0–10% (careful—DnB subs are sacred)
3. Saturator
- Soft Clip ON
- Drive 1–4 dB (just to densify)
#### Snare chain (inside the Snare pad)
1. EQ Eight
- HPF 90–120 Hz
- Add crack: 2–4 kHz (+2 dB)
- Add air: 8–12 kHz (+1–3 dB if needed)
2. Drum Buss
- Drive 5–20% depending on style
3. Optional: Transient shaping
- Use Drum Buss Transients (attack up slightly) or
- Saturator + soft clip for bite
#### Tops bus (group hats + rides)
Group top channels and add:
- HPF 200–400 Hz, gentle
- Attack 3 ms, Release Auto, Ratio 2:1
- 1–2 dB gain reduction
- Width 120–160% (watch mono compatibility)
Save this rack to:
`Sample Library/06_RACKS (Ableton)/DrumRacks/170_DnB_DrumStarter.adg`
Now you have a repeatable starting point.
---
Step 6 — Break hygiene: slice, label, and store like a jungle head 🪓
Breaks become powerful when they’re sliced and reusable, not just loops you scroll past.
1. Drop an Amen/Think break into an audio track.
2. Set tempo to 170 BPM.
3. Warp settings (for classic breaks):
- Warp: ON
- Mode: Beats
- Preserve: Transient
- Envelope: ~10–30 (tightens hits)
4. Right-click clip → Slice to New MIDI Track
- Slicing preset: Built-in → Slice to Drum Rack
- Slice by: Transient
5. Rename the new Drum Rack:
- `BREAK_Amen_Sliced_170_Crunchy.adg`
6. Save it into:
- `06_RACKS (Ableton)/DrumRacks/Breaks/`
DnB arrangement idea:
Use sliced break hits layered under your clean kick/snare:
---
Step 7 — Fast auditioning at 170 BPM (without killing your vibe) 🎛️
Audition rule: audition in context.
Practical method:
1. Loop an 8-bar section of your beat (kick/snare + hats).
2. Use Ableton’s browser preview:
- Turn on Preview (headphone icon)
- Set preview volume so it matches your session
3. Drag candidate samples onto the correct pad in your rack.
4. If it’s not better in 10 seconds, undo and move on.
Optional quick A/B trick:
Duplicate the pad chain and map a Macro to switch layers on/off (Chain Selector) so you can compare snare options instantly.
---
Step 8 — Stop “Missing Files”: use Collect All and Save 🎒
Before you send a project or archive it:
In Ableton:
- Enable: Files from Places
- Enable: Files from elsewhere (important!)
This keeps every sample used by the project inside the project folder. No dead links later.
---
Step 9 — Monthly cleanup: remove duplicates and dead weight 🗑️
Once per month:
Target: you should be able to grab:
…without scrolling for ages.
---
4. Common mistakes 🚫
---
5. Pro tips for darker/heavier DnB 🕷️⚙️
- snares with nasty 200 Hz body + 4 kHz crack
- metallic rides, industrial hits, foley clanks
- `SNARE_Neuro_Distorted...`
- `TOPS_Crunchy...`
This helps you build aggressive drums fast without over-processing.
- Drum Damage Rack (Audio Effect Rack):
- Saturator (Drive 3–8 dB, Soft Clip)
- Drum Buss (Drive 10–25%)
- EQ Eight (cut 300 Hz mud, slight 5 kHz boost)
- Glue Compressor (light GR)
- Dark Room Verb Rack:
- Hybrid Reverb (Plate/Room, short decay 0.6–1.2s)
- EQ Eight after (HPF 300–600 Hz, LPF 8–10 kHz)
- Layer a quiet, high-passed break (HPF 300–600 Hz) under your clean drums
- Automate it up into fills before drop transitions
---
6. Mini practice exercise 🧪 (20 minutes)
Goal: Build a clean “roll-ready” drum environment for a new 170 track.
1. Create a new Live set at 170 BPM.
2. Add your 170_DnB_DrumStarter rack.
3. From your library, pick:
- 2 kicks (punchy + subby layer)
- 3 snares (tight, ringy, neuro)
- 6 tops (closed, open, ride, shaker)
4. Color-tag your favorites into Collections:
- 1 kick + 1 snare must be added to GO-TO
5. Add one break, warp it using:
- Beats / Transient / Envelope 10–30
6. Slice to Drum Rack and save as:
- `BREAK_[Name]_Sliced_170_[Character].adg`
7. Write an 8-bar loop:
- Bars 1–4: clean programmed drums + light tops
- Bars 5–8: add sliced break hats/ghosts + a fill on bar 8
Export nothing—just make it fast and organized.
---
7. Recap 🧩
If you want, tell me your current folder structure (or screenshot your Ableton Places/Collections), and I’ll suggest a cleaner DnB-optimized reorg in 5–10 minutes.
```

