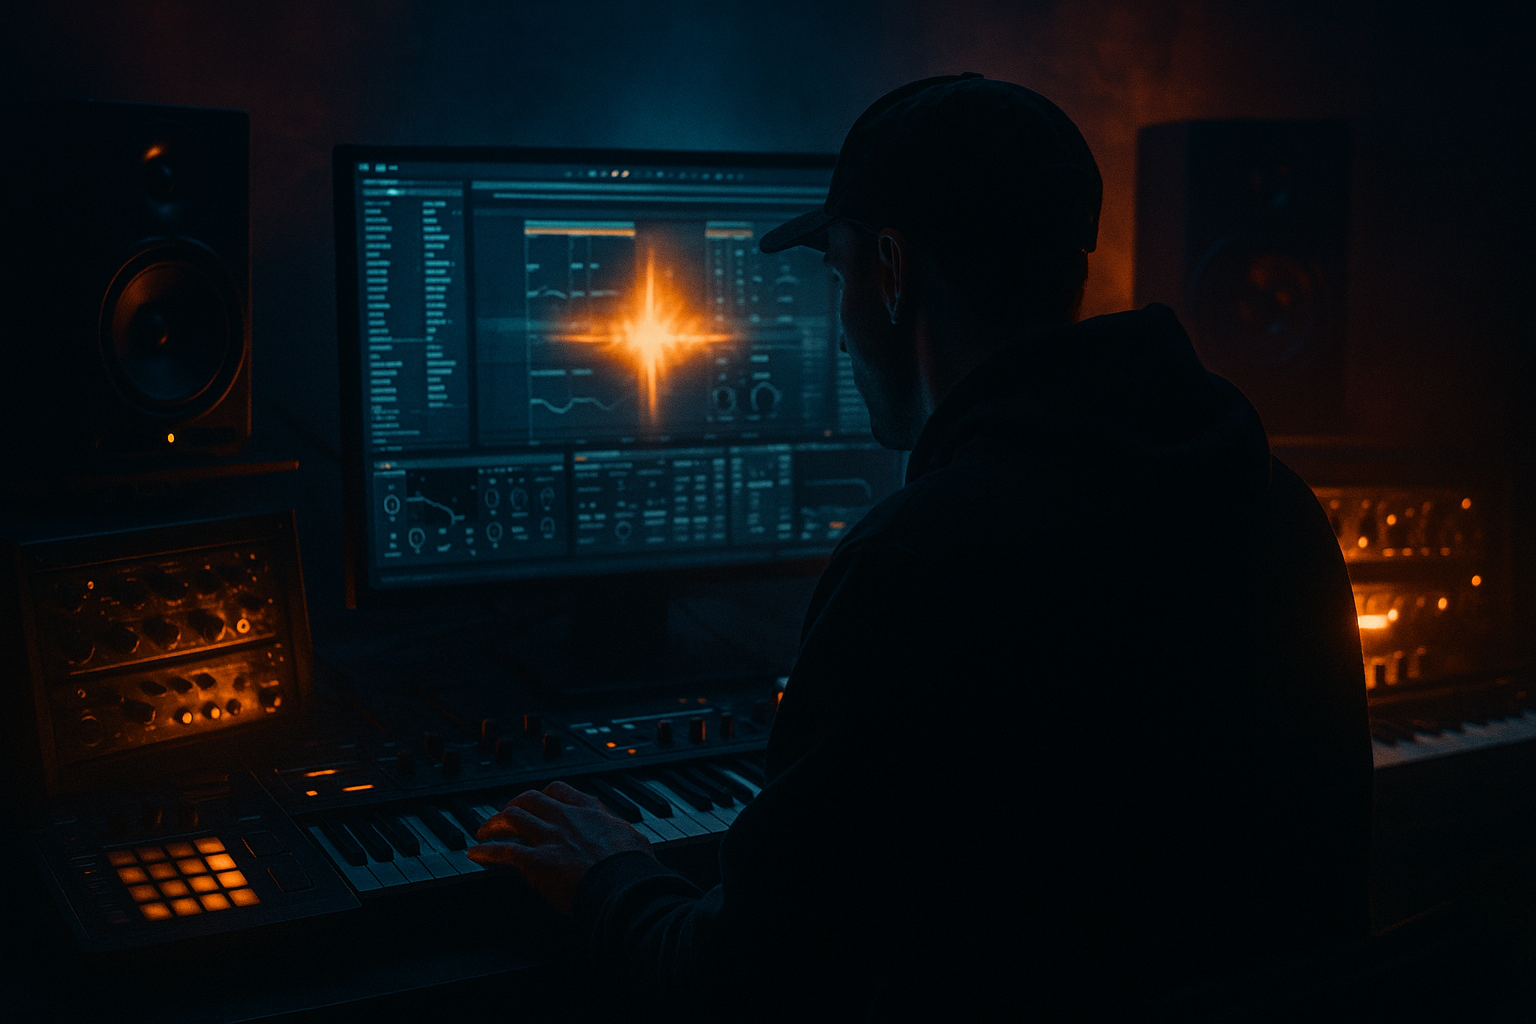
Main tutorial
Foley Whooshes for Understated Movement (DnB in Ableton Live) 🎛️💨
1. Lesson overview
Understated whooshes are one of the most “felt-not-heard” tools in drum & bass. They add motion between phrases, make drops land harder, and keep rolling sections alive without cluttering the drums or bass.
In this lesson you’ll build foley-based whooshes (not generic risers) using Ableton stock devices, with a workflow geared for jungle / rollers / techy DnB: quick to arrange, easy to variation, and controlled in the mix.
---
2. What you will build
You’ll create a Whoosh Rack with two layers:
- Air Layer: filtered noise/air from a foley recording (cloth, jacket, bag, mic handling, breath, paper).
- Body Layer: pitched, stretched “object movement” (keys, sticks, zipper, small metal, plastic creak) for character.
- Macro control for Length, Brightness, Pitch, Stereo, Grit, Tail
- A clean method to place whooshes around fills, call/response bass hits, and pre-drop tension
- A mixing approach that keeps it out of the way of breaks + sub
- Clothing swipes (hoodie sleeve, jacket)
- Plastic bag movements (tight, not crinkly)
- Paper/card flicks
- Zipper moves (great for “zip-by” whooshes)
- Hand brushing mic stand (if recorded clean)
- Automate Auto Filter Frequency rising (for an up-whoosh) or falling (down-whoosh).
- Typical DnB phrase lengths:
- Start: 300 Hz
- End: 6.5 kHz
- Curve: slightly exponential (faster near the end)
- Macro 1: Length
- Macro 2: Brightness
- Macro 3: Grit
- Macro 4: Stereo
- Macro 5: Tail
- Macro 6: Pitch
- Sidechain: from your Drum Bus or Kick+Snare group
- Ratio: 3:1
- Attack: 1–5 ms
- Release: 80–160 ms (time it to groove)
- Threshold: aim 2–6 dB gain reduction when drums hit
- Put a 1/2 bar upward whoosh right before a snare fill
- Keep it mostly mid/high so it doesn’t cloud the fill
- Add a tiny down-whoosh after a bass stab to imply movement (like the bass “passed by”)
- This is especially tasty in techy rollers where the bass is sparse and punchy.
- Instead of a huge riser, use two understated whooshes:
- The listener feels momentum without you screaming “here comes the drop” 😈
- Place a down-whoosh right after a chopped break turnaround to smooth the edit
- Use body layer pitched down for that “tape swoop” vibe
- Too loud relative to drums: If you notice it in a roller, it’s probably too loud. Start -18 to -24 dB and bring up carefully.
- Too much sub/low-mid: Foley often has thumps. High-pass aggressively—DnB subs need space.
- Overly long reverb tails: Long tails smear the groove and reduce perceived punch.
- Wide low frequencies: Wide lows make the mix feel unstable. Use Utility’s Bass Mono.
- Same whoosh every 8 bars: DnB repetition exposes copy/paste. Make 3–5 variations and rotate.
- Pitch the body layer down (-19 to -24 st) and band-pass around 180–900 Hz for a menacing “mass moving.”
- Add Roar (if you have Live 12 Suite) very subtly:
- Use Convolution Reverb (Hybrid Reverb) with short industrial impulses:
- Add grainy tension without brightness:
- For neuro/tech: automate Auto Filter resonance slightly upward near the end, then duck it hard with sidechain so it “speaks” then disappears.
- Foley whooshes in DnB work best as movement cues, not FX fireworks.
- Build Air + Body layers, control them with filter automation, and keep them disciplined with sidechain ducking.
- Arrange them like a producer: around fills, bass punctuation, and phrase transitions to keep rollers alive.
- Save your rack and create variations—your future sessions will thank you.
It will include:
---
3. Step-by-step walkthrough
Step 0 — Choose the right foley (record or sample)
Best source sounds for subtle whooshes:
Recording tip: If you record, do several takes with different speeds. DnB likes variation—copy/paste whooshes get obvious fast.
---
Step 1 — Prep the foley in Arrangement
1. Drop a foley clip on an audio track: `FOLEY WHOOSH SRC`.
2. Warp: ON
- For most foley: Complex Pro
- If it’s percussive/short: try Texture
3. Set Seg. BPM so it plays nicely when stretched.
Quick workflow: consolidate a good region (`Cmd/Ctrl + J`) so you’re working with one clean clip.
---
Step 2 — Build the Air Layer (movement without “look at me”)
Create an Audio Effect Rack on a new track called: `WHOOSH AIR`.
Device chain (stock):
1. Auto Filter
- Mode: HP12 (or HP24 if you want tighter)
- Freq: start around 250–600 Hz
- Resonance: 0.70–1.20 (don’t whistle)
- Envelope: OFF (we’ll automate instead)
2. EQ Eight
- Cut mud: Bell at 250–450 Hz, -2 to -6 dB (Q ~1.2)
- Optional harsh control: Bell at 3–6 kHz, -1 to -4 dB if needed
3. Utility
- Width: 120–160% (keep it “around” the mix)
- Bass Mono: ON, set around 200 Hz
4. Reverb
- Quality: High
- Decay: 0.6–1.6 s (understated = shorter)
- Predelay: 10–25 ms
- High Cut: 6–9 kHz
- Dry/Wet: 8–18%
5. Compressor (optional, for control)
- Ratio: 2:1
- Attack: 15–30 ms
- Release: 80–150 ms
- Aim for 1–3 dB reduction on peaks
Automation to create the whoosh:
- 1/2 bar before a fill
- 1 bar into a drop
- 2 bars into a switch-up (be subtle)
Example automation (1 bar up-whoosh):
---
Step 3 — Build the Body Layer (character that reads on small speakers)
Duplicate your source clip to a new track: `WHOOSH BODY`.
Device chain (stock):
1. Transpose via clip controls
- Try -12 to -24 st for heavier “pass-by”
- Or +7 st for lighter “zip”
2. Warp mode: Texture
- Grain Size: 10–30 ms
- Flux: 10–25%
- This gives that “moving object” smear without turning into a synth riser.
3. Saturator
- Drive: 2–6 dB
- Soft Clip: ON
- Output: trim to match
4. Auto Filter
- Band-pass (BP12) works great here
- Freq: automate 200 Hz → 2 kHz (or inverse)
- Res: 1.0–1.6 (careful)
5. Echo (optional but very DnB)
- Time: 1/8 or 1/16
- Feedback: 10–25%
- Filter: HP around 250 Hz, LP around 6–8 kHz
- Dry/Wet: 6–14%
6. Utility
- Width: 80–120%
- If it fights the snare: reduce width slightly and lower 2–5 kHz with EQ.
Key idea: The body layer should be felt as a pass-by tone, not a sci-fi sweep.
---
Step 4 — Glue them into a Whoosh Group + Macro control
1. Group `WHOOSH AIR` + `WHOOSH BODY` (`Cmd/Ctrl + G`)
2. Put an Audio Effect Rack on the Group (or inside each and map macros).
Suggested Macros:
- Map to clip gain envelope? (Manual)
- More practical: map Reverb Decay (Air) and Echo Feedback (Body)
- Map Auto Filter end frequency (Air + Body)
- Map Saturator Drive (Body) + maybe add Redux (very subtle)
- Redux: Downsample 1.2–1.8 (tiny), Dry/Wet 3–8%
- Map Utility Width (Air up, Body modest)
- Map Reverb Dry/Wet 8% → 22%
- Map clip transpose (Body) by creating multiple clips is easiest; or do it with Shifter (stock) if available:
- Shifter Pitch: -12 → -24 st, Mix 100%
Workflow suggestion: Save as a preset: `DnB Understated Foley Whoosh.adg`
---
Step 5 — Sidechain it so it never masks drums/bass (clean DnB mix discipline) ✅
On the Whoosh Group, add Compressor at the end:
Optional: create a second sidechain from Sub if the whoosh has low-mid weight.
---
Step 6 — Arrangement placements that feel “rolling”
Here are DnB-specific placements that work constantly:
A) Pre-snare fill lift (micro-tension)
B) Call/response with bass stabs
C) Drop reinforcement without a big riser
- Bar -2: short up-whoosh (0.5 bar)
- Bar -1: slightly longer up-whoosh (1 bar), but keep it quiet
D) Jungle break transitions
---
4. Common mistakes
---
5. Pro tips for darker/heavier DnB 🖤
- Use a dark distortion mode, Mix 5–12%
- Low-pass after it to keep it shadowy.
- Decay 0.4–1.0 s, Mix 6–14%
- Texture warp + Saturator gives density without turning it into a trance riser.
---
6. Mini practice exercise (15 minutes) ⏱️
1. Pick two foley samples: one airy (cloth) and one clicky (keys/zipper).
2. Build the Air and Body layers using the chains above.
3. Make 3 whooshes:
- A: 1/2 bar up-whoosh (pre-fill)
- B: 1 bar down-whoosh (post-stab)
- C: 2 bar subtle rise (pre-drop)
4. Place them in a 32-bar roller:
- Bars 7–8: A into a break edit
- Bars 15–16: C into the drop
- Bars 23–24: B after a bass call
5. Mix check:
- Toggle the Whoosh Group on/off. If the groove collapses when off, you nailed “understated movement.”
---
7. Recap
If you want, tell me what substyle you’re making (jungle, liquid, jump-up, neuro, minimal rollers) and I’ll suggest exact automation shapes + frequency targets that fit that lane.

