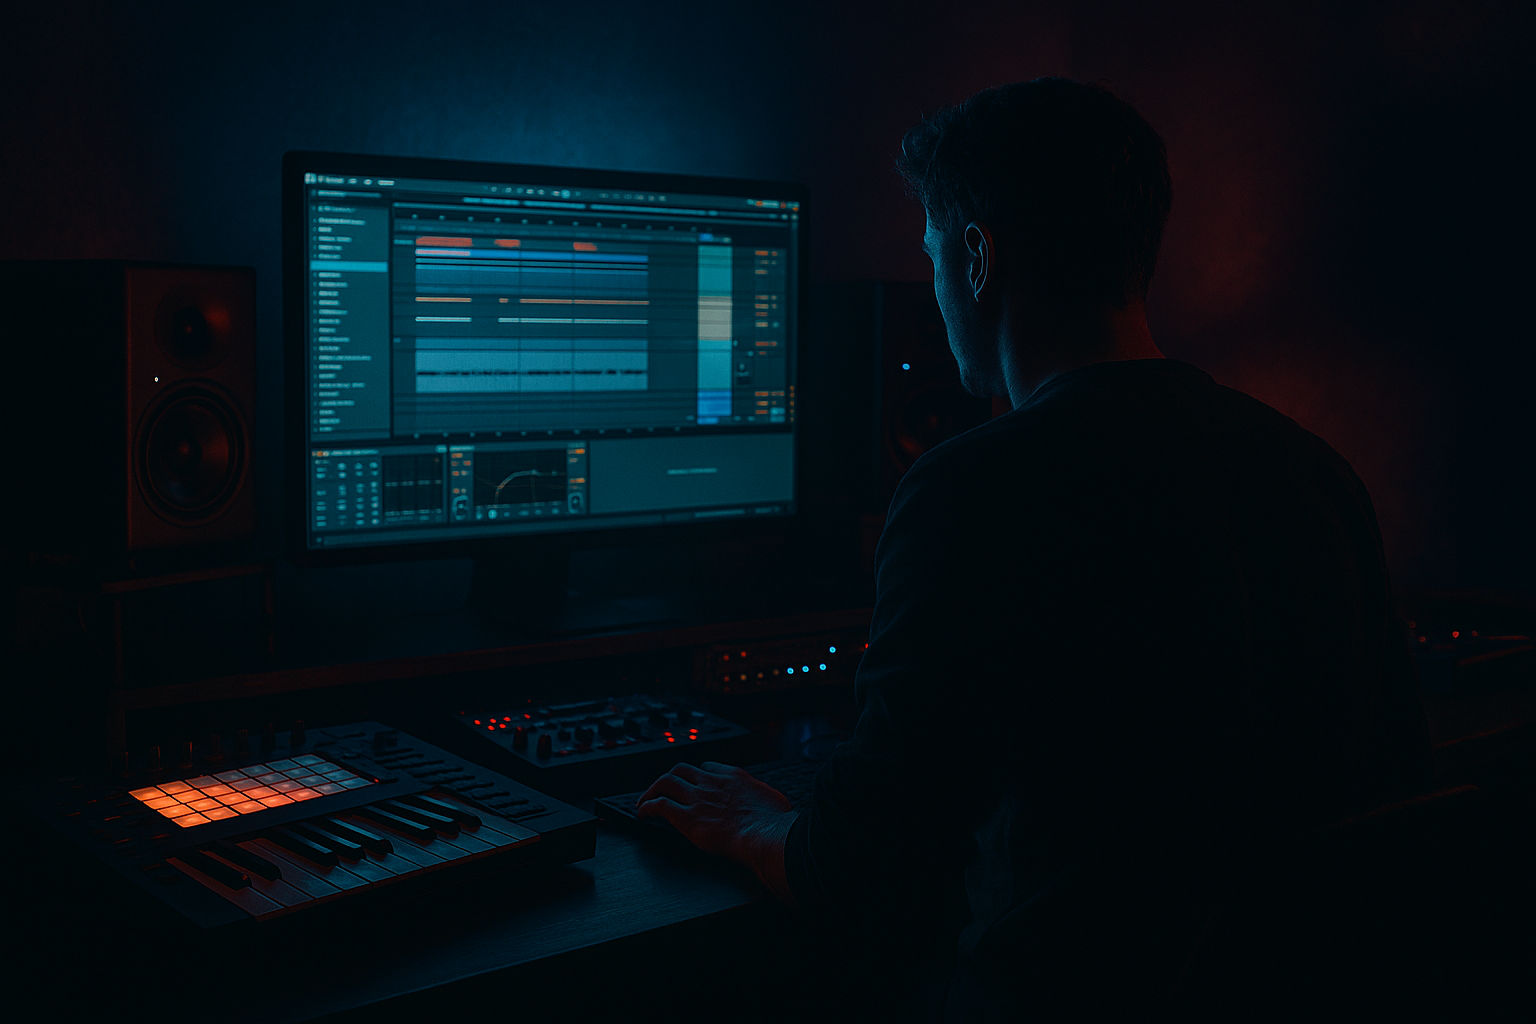
Main tutorial
Lesson Overview
A drum bus is where your jungle or oldskool DnB drums stop sounding like separate samples and start sounding like a single record. In Ableton Live 12, you can build a stock-device-only drum bus chain that gives you the glue, punch, grit, and movement that makes break-led DnB feel finished.
For this lesson, we’re targeting oldskool jungle / roller energy with a darker modern edge, using a drum bus approach that keeps the break alive while controlling harshness and making room for basslines and vocals. That vocal angle matters: in vocal DnB, the drums can’t be too noisy in the wrong band or too flat dynamically, or they’ll fight the lead phrase. You want drums that hit hard, leave space for the lyric, and still carry attitude.
This technique sits right in the middle of a DnB track’s identity:
- in the drop, it gives drums cohesion and weight
- in the breakdown, it helps the chopped break feel like a deliberate performance
- in vocal sections, it keeps the groove forward without stepping on the message
- in DJ-friendly intros/outros, it can make stripped drums sound like a proper mix-ready record
- makes chopped breakbeats sound tighter and more intentional
- adds glue, punch, and midrange grit without flattening the groove
- keeps kick, snare, hats, and ghost notes controlled but lively
- leaves room for vocals and bass by shaping low-end and harsh top end
- can be automated for drops, fills, switch-ups, and breakdown tension
- a jungle-style break with a bit of mechanical polish
- a hard-hitting snare crack that cuts through bass and vocals
- a slightly saturated, compressed, and animated drum bus
- a mix-ready drum group that works in both a dark roller and a vocal-led tune
- Over-compressing the break
- Boosting too much top end on the bus
- Letting low-end drum rumble fight the bassline
- Using saturation without output compensation
- Destroying the break’s natural swing
- Ignoring the vocal arrangement
- Use subtle bit of grit, not full distortion chaos
- Make the snare the authority
- Automate bus brightness by section
- Use parallel drum density for “wall” energy
- Keep the center clear for sub and vocal
- Resample your processed drum bus
- clean source balance
- gentle EQ cleanup
- controlled glue compression
- saturation for density
- Drum Buss for punch and character
- mono discipline in the low end
- automation that follows the arrangement
Why it matters: jungle and DnB rely on micro-transients, groove feel, and controlled aggression. A good drum bus doesn’t just make things louder; it makes the break, kicks, snares, hats, and ghost notes act like one instrument. That’s especially important in Ableton, where it’s easy to over-edit individual clips and lose the natural swing that gives oldskool DnB its movement.
What You Will Build
You’ll build a drum bus chain using only Ableton Live 12 stock devices that:
The result should feel like:
Think of this as your repeatable formula for a drum bus that sounds like a record, not a loop.
Step-by-Step Walkthrough
1. Group your drums and define the roles before processing
In Ableton Live, put your core drum elements into a Drum Group:
- break loop or chopped break hits
- kick layer
- snare or rim layer
- hats, shakers, rides
- extra percussion, fills, and one-shot ghost hits
If you’re working with an oldskool jungle break, keep the original break on one track and your reinforcement layers on separate tracks. That way the bus can unify them without destroying the character of the sample.
Before adding devices, set your basic balance:
- kick slightly below snare emphasis for a classic DnB push
- snare dominant around the 200 Hz to 3 kHz zone
- hats present but not sizzling excessively
- leave headroom on the group so the bus isn’t already clipping
Why this works in DnB: drum bus processing is most effective when the source balance is already close. Jungle breaks live or die on transient shape; if the raw group balance is wrong, the bus will exaggerate the problem.
2. Start with corrective EQ using EQ Eight
Put EQ Eight first on the drum bus. This is your cleanup stage, not your vibe stage.
Good starting moves:
- high-pass very gently around 25–35 Hz to remove sub-rumble
- if the break is muddy, dip 200–400 Hz by about 1.5 to 3 dB
- if the hats or break noise is harsh, tame 7–10 kHz with a broad cut
- if the snare needs more presence, add a subtle bell boost around 1.5–3 kHz
Use a narrow cut only when you hear a specific ring or resonant bark. For oldskool breaks, avoid over-surgical EQ unless there’s a nasty tone from the sample. A jungle drum bus should still breathe.
A useful move for vocal DnB: if your vocal sits in the 2–5 kHz range, don’t overboost snare presence there. Keep the drum bus punchy lower down and let the lyric own the intelligibility zone.
3. Add compression for glue, not destruction, with Glue Compressor or Compressor
After EQ, insert Glue Compressor. This is one of the most reliable stock devices for DnB drum bus cohesion.
Suggested starting settings:
- Ratio: 2:1 or 4:1
- Attack: 10 ms for punch, or 3 ms if the break is too spiky
- Release: Auto or around 0.1–0.3 s
- Aim for 1–3 dB of gain reduction on the loudest hits
- Use Soft Clip if needed for extra safety and edge
If the break is very dynamic and you want more control, use Compressor instead:
- Attack: 10–30 ms
- Release: 50–120 ms
- Ratio: 2:1 to 3:1
- Sidechain disabled unless you want the kick to influence the bus differently
The goal is not to squash the break into a flat loop. Keep enough transient attack so ghost notes and snare accents still feel alive.
4. Add saturation for density with Saturator
Place Saturator after compression. This is where the drum bus starts feeling more expensive and more “record-like.”
Useful settings:
- Drive: 2–6 dB for subtle grit
- Soft Clip: On
- Output: trim back so the level matches bypass roughly
- For darker music, try keeping the output slightly conservative and let the saturation do the coloring
If you want a more oldskool jungle edge, push drive a bit harder until the break begins to thicken in the mids. If you want a more modern roller tone, keep the saturation gentler and cleaner.
Why this works in DnB: saturation adds harmonics that make drums audible on smaller systems and helps the break feel louder without relying only on peak level. That’s crucial when the bassline is heavy and the vocal needs space.
5. Control transients with Drum Buss for punch and character
Add Drum Buss next. This device is excellent for DnB because it can add both weight and attitude quickly.
Try these starting points:
- Drive: 5–20%
- Crunch: 5–15% for grit
- Transients: +5 to +20 for more attack, or slightly negative if the break is too sharp
- Boom: use carefully; start around 0–10% and tune low if your kick needs body
- Damp: reduce if the top end gets too fizzy
For jungle oldskool vibes, a little crunch goes a long way. If your break is too clean, the Drum Buss can help bring back that hardware-ish bite without needing external processing.
If your kick and snare are already strong, use Drum Buss more as a contour tool than an aggressive effect. Let it enhance the mid punch rather than trying to create the whole sound from zero.
6. Shape the stereo field and keep the low end disciplined
After the character devices, use Utility and another EQ Eight if needed to protect translation.
Practical settings:
- In Utility, set Bass Mono or simply use Width control carefully
- Keep the drum bus low end effectively mono below roughly 120 Hz
- Reduce width slightly if the hats or break ambience are too wide and distracting
- Use EQ Eight to roll off unnecessary low-mid wash if the bus is clouding the bassline
For DnB, this matters because the sub and bass movement need a clean foundation. If your drum bus has too much stereo low-mid energy, the mix will feel loose, especially when the bassline starts wobbling or reese layers open up.
If you’re working with vocal hooks, a more focused mono-ish drum foundation helps the vocal sit in the center without a fight.
7. Use transient shaping and movement only if the groove needs it
If the break is losing snap after compression and saturation, use Drum Buss Transients or a light Compressor touch before any heavier processing.
You can also animate the drum bus with Auto Filter:
- use a subtle low-pass sweep in breakdowns
- automate a gentle high-pass build into the drop
- create a quick 1- or 2-bar filter lift before a snare fill
Useful arrangement move:
- in the 8 bars before the drop, automate the drum bus filter to open gradually
- in the last bar before the drop, thin the drums slightly, then hit the full bus on the downbeat
This is especially effective in vocal DnB where the drums often need to support a phrase lead-in. A filter move can create tension without stealing attention from the lyric.
8. Add parallel energy with a return track or duplicate bus if needed
If the main drum bus is solid but you want extra aggression, create a parallel chain using a Return Track or a duplicate group bus.
On the parallel path:
- use Saturator
- add Glue Compressor with stronger reduction
- optionally use EQ Eight to emphasize bite around 2–5 kHz
- blend the parallel back in quietly
This is a classic way to get more density while preserving the main transient shape. For darker DnB, this parallel layer can add the sense of pressure you hear in tougher underground records without making the primary bus sound overcooked.
Keep the parallel low in the mix. If you hear obvious “effect,” back it off. You want the feeling of impact, not a separate second drum kit.
9. Match the drum bus to the arrangement
Don’t leave the drum bus static for the whole track. DnB arrangements are usually more effective when the processing changes with the section.
Example arrangement context:
- Intro: lighter saturation, more filtered drum bus, less top-end
- Verse / vocal section: controlled bus, clean center, no excessive crunch
- Pre-drop: automate more filter opening, maybe slightly more Drive on Saturator or Drum Buss
- Drop: full drum bus chain active, punch and grit at maximum usable level
- Breakdown: reduce attack or filter down for tension, then bring the full break back for impact
For a vocal-led roller, keep the main drum bus consistent enough that the lyric feels anchored. Use fills and automation to create movement rather than constantly changing the core tone.
Common Mistakes
Fix: back off the Glue Compressor. If the groove stops breathing, you’ve gone too far. Aim for control, not flattening.
Fix: reduce harshness around 7–10 kHz with EQ Eight or soften with Drum Buss Damp. Jungle hats can get brittle fast.
Fix: high-pass the drum bus gently around 25–35 Hz and keep low frequencies mono. Don’t let kick tail and sub bass occupy the same space unnecessarily.
Fix: match bypass level. Louder always feels better, so level-match carefully or you’ll overestimate the effect.
Fix: don’t over-edit every transient. Let ghost notes live. Oldskool DnB often sounds great because it feels slightly unstable in the right places.
Fix: if vocals are in the tune, leave enough room in the drum bus around the presence zone. Your drum bus should support the lyric, not compete with it.
Pro Tips for Darker / Heavier DnB
A little Saturator drive and Drum Buss Crunch can make drums feel more underground. Overdo it and the snare turns fuzzy instead of powerful.
In darker rollers, the snare often defines the track. Let your drum bus preserve that crack. If needed, add a tiny bell boost around 2 kHz and keep the kick slightly tighter.
Open the top end only when the arrangement needs lift. A darker intro, brighter drop, and filtered breakdown can create major tension without extra layers.
A quiet parallel compressed chain can make your drums feel much larger while keeping the main bus dynamic. Great for neuro-leaning DnB with a gritty edge.
Heavy DnB works best when the center is intentional. If the drum bus gets too wide in the low mids, your bass and vocal will blur together.
Once the chain feels right, bounce or resample the bus and chop it again. In jungle workflows, this is gold: you can create fills, reversed hits, and ghosted edits from your own processed sound.
Mini Practice Exercise
Spend 10–20 minutes building a drum bus for an 8-bar jungle loop:
1. Load one chopped break, one kick layer, one snare layer, and a hat loop into a Drum Group.
2. Set rough balance so the snare leads and the kick supports.
3. On the group bus, add EQ Eight, Glue Compressor, Saturator, Drum Buss, and Utility.
4. Dial in:
- EQ low cut around 30 Hz
- Glue compression at 2:1, aiming for 1–3 dB reduction
- Saturator Drive at 3–5 dB
- Drum Buss Drive at 10%, Crunch at 10%
- Utility width slightly reduced if the low-mid feels messy
5. Loop the 8 bars and automate one change:
- filter open into the drop, or
- slightly more saturation in bars 7–8, or
- a small reduction in bus level during a vocal gap
6. Compare the bus on/off at matched volume.
Goal: make the drums feel more cohesive, more aggressive, and more mix-ready without killing the break’s swing.
Recap
A strong DnB drum bus in Ableton Live 12 is built from:
For jungle and oldskool DnB, the win is not just louder drums — it’s a break that feels like one instrument, with space for bass and vocals, and enough grit to sound underground. Keep it punchy, keep it moving, and let the drums carry the record.

