Main tutorial
```markdown
Framework for a Call-and-Response Riff (Automation-First) in Ableton Live 12 — Jungle/Oldskool DnB Vibes 🥁⚡
1. Lesson overview
This lesson is a repeatable composition framework for writing call-and-response riffs in jungle / oldskool DnB using an automation-first workflow in Ableton Live 12.
Instead of “write notes → then add movement,” you’ll design motion first (filters, sends, pitch throws, resampling moments), then compose the calls and replies to fit the motion. This mirrors how classic jungle grooves feel alive: the sound evolves as much as the notes do.
Target vibe: rolling breaks, dubby stabs, Reese-ish bass, gritty FX, and arranged tension/release.
---
2. What you will build
A tight 8–16 bar loop that works as a drop section, containing:
- Call: a main riff (stab/bass/lead) with clear rhythmic identity
- Response: a contrasting answer (different register, timbre, or space)
- Automation-first movement: filter sweeps, send throws, resonant accents, pitch dips, and “tape stop” style moments
- Arrangement-ready structure: A/B phrasing, variation, and turnarounds (bar 8/16)
- Return A – Dub Delay
- Return B – Short Verb
- Return C – Smash/Crunch
- CALL bus (Group track)
- RESPONSE bus (Group track)
- CALL: oldskool rave/dub stab (Simpler/Sampler or Wavetable)
- RESPONSE: Reese/hoover-ish bass (Wavetable/Operator)
- CALL: Reese phrase with movement
- RESPONSE: short chord stab that answers
- CALL: bright stab with delay throws
- RESPONSE: darker stab filtered low, with reverb tail
- Wavetable for bass movement
- Simpler (One-Shot) for stab hits
- Operator for sine/sub reinforcement
- Hit on 1, 1e, 2&, 3, 3a, 4&
- Leave gaps where breaks can speak (very jungle)
- Response often lands on the “answer gaps”: late 2, late 4, or the offbeats.
- F minor, G minor, A minor are common moods.
- Use harmonic minor moments for darker tension.
- Keep it simple: 1–3 notes (root + minor 3rd + 5th).
- If using a chord stab: try Fm (F–Ab–C) or Gm (G–Bb–D).
- Often answers with:
- CALL avoids stepping on the snare (usually beats 2 and 4)
- RESPONSE hits often land after snare to create push-pull
- CALL strong
- RESPONSE minimal (just a few answers)
- Automation: medium
- Add one extra response per bar
- Increase Echo throws on phrase ends
- Small pitch dip on last hit of bar 8 (automation or note)
- RESPONSE becomes more active
- CALL becomes sparse
- Filter moves invert (darker call, brighter response)
- Add a fill / stop-time moment (½ bar)
- Big delay throw + reverb tail into next section
- Optional: automate master/Drum Bus high-pass for 1/8 bar “DJ cut” effect (careful!)
- Use Group track automation for macro movement.
- Use Clip automation only for local tricks (one-off pitch hits).
- Name automation lanes clearly (Live 12 helps visibility, but you still want discipline).
- Consolidate: Once the riff works, resample:
- Minor 2nd tension: use a brief note a semitone above root (as a grace note) when the filter is closed.
- Parallel distortion return: keep Return C as a “blend in aggression” fader—automate it up only on peak moments.
- Sub discipline: keep sub mostly mono (Utility on sub layer), and let mid-bass do the stereo movement.
- “Gunshot” reso hits: automate Auto Filter resonance up for one stab, then back down instantly.
- Riser via automation, not extra sounds: automate CALL cutoff + send A increasing over 4 bars, then hard cut on bar 1 of the drop.
- Micro-turnarounds: last 1/4 note of bar 8 or 16:
- Call-and-response in jungle/DnB is space management + phrasing.
- The automation-first approach means you compose movement first, then choose notes that fit it.
- Use group bus automation, return throws, and break-led pocketing.
- Finish by resampling and doing small audio edits—the classic jungle workflow move. 🔥
You’ll end with a template you can reuse across tunes. ✅
---
3. Step-by-step walkthrough
Step 0 — Set the session like a jungle producer
1. Tempo: 160–174 BPM (try 168 BPM for classic jungle swing).
2. Time signature: 4/4.
3. Groove: Add groove later, but keep in mind: oldskool swing often lives in break editing + micro-timing, not heavy quantize.
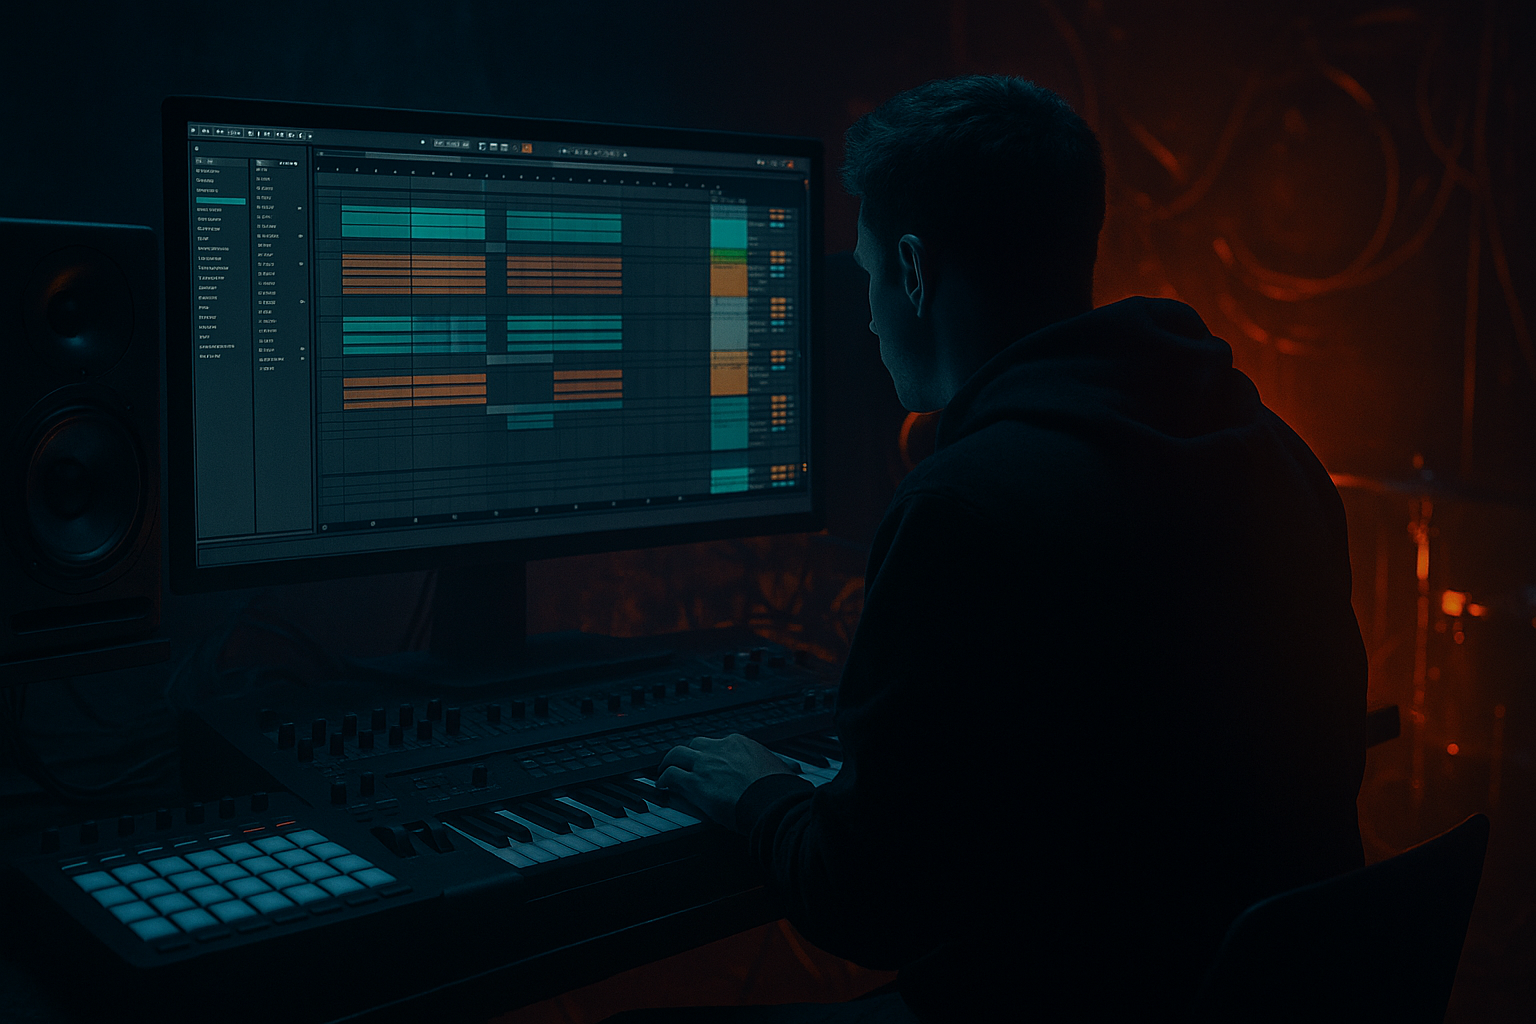
Ableton tip: In Live 12, keep an “Automation” view habit: hit `A` early and often.
---
Step 1 — Build the routing for automation-first composition (core idea)
Create three return tracks:
- Echo: 1/8 dotted or 1/4, Feedback 35–55%
- Filter: HP around 250–500 Hz (to keep low end clean)
- Modulation: subtle
- Hybrid Reverb: “Room/Plate”, Decay 0.6–1.2s
- HP filter around 300–600 Hz
- Roar (or Saturator if you prefer): mild drive
- Drum Buss: Drive 5–15, Boom low (or off), transient shaping
- EQ Eight: tame harshness around 3–6 kHz if needed
Now create two instrument tracks:
Inside each group you can stack layers (stab + texture, bass + noise, etc.)—but the bus is where your automation lives.
Why this works: You automate one place and all layers move together, like hardware-era mixing.
---
Step 2 — Choose your call & response sound sources (fast + classic)
Pick one of these pairs (classic jungle palette):
Option A: Stab call + bass response
Option B: Bass call + stab response
Option C: Two stabs (different space)
For speed, use stock devices:
---
Step 3 — Write a “grid skeleton” rhythm (before notes)
Oldskool jungle call/response tends to be rhythm-first, then pitch.
1. Make an 8-bar MIDI clip on the CALL track.
2. Use one note only (e.g., C3 for stab, or F1 for bass), and program rhythm like:
- Bars 1–2: Call motif (syncopated)
- Bars 3–4: Repeat with a tiny variation
- Bars 5–6: Space it out (let drums breathe)
- Bars 7–8: Turnaround (extra hit / anticipation)
Example rhythm idea (16th grid, but not rigid):
Duplicate this clip to RESPONSE but shift it:
Goal: Call occupies one set of pockets; response answers in the spaces. 🎯
---
Step 4 — Automation-first: draw movement BEFORE choosing exact notes
Hit `A` to show automation lanes. On the CALL group track, automate:
1. Auto Filter (or EQ Eight) cutoff
- Add Auto Filter on CALL bus.
- Mode: LP24
- Start cutoff lower (e.g., 400–1.2k) and open on key hits up to 4–10k.
- Add Resonance 0.2–0.5 for bite.
- Automation pattern: open on the first hit of each 2-bar phrase, close slightly on repeats.
2. Send automation (Echo throws)
- Automate Send A to Echo:
- Keep it at 0 most of the time.
- Spike to -6 to 0 dB on the last hit of a phrase (e.g., bar 2 beat 4, bar 4 beat 4).
- Classic jungle trick: throw the delay into the gap so it answers the call.
On the RESPONSE group, automate:
1. Filter envelope opposite direction
- If CALL opens up, RESPONSE stays darker (LP around 800–2k), then opens briefly as an answer.
2. Reverb send (Return B)
- Small spikes for “space punctuation” instead of constant wash.
Key concept: your automation is writing the “conversation” before the melody is even finished.
---
Step 5 — Now pick notes that match the motion (make it musical)
Choose a scale that screams jungle:
#### CALL: Stab notes
#### RESPONSE: Bass notes
- Root note hits + occasional flat 7 or 5th
- Short slides/approaches (tastefully)
Advanced tip: if your filter automation is opening on a hit, put a strong chord tone there. If it’s closing, you can use a passing note without it sounding “wrong.”
---
Step 6 — Device chains for authentic oldskool grit (stock-focused)
#### CALL bus chain (example)
1. EQ Eight
- HP at 120–200 Hz (stabs don’t need sub)
- Small dip at 2.5–4 kHz if harsh
2. Saturator
- Mode: Soft Clip
- Drive: 2–6 dB
3. Auto Filter (automated)
4. Utility
- Width: 110–140% (if it’s not phasey)
- Mono below: use Bass Mono concept elsewhere; Utility can help with width management
#### RESPONSE bus chain (example)
1. EQ Eight
- Keep fundamental strong
- Low shelf boost only if needed (don’t fight the kick)
2. Roar (or Saturator)
- Gentle drive; focus on mid growl
3. Auto Filter (automated)
4. Compressor (sidechain from kick OR from break bus)
- Fast-ish release so groove breathes
---
Step 7 — Integrate with breaks (so the riff “sits” like jungle)
You can’t write jungle riffs in a vacuum—breaks decide the pocket.
1. Load a break (Amen, Think, etc.) into Simpler (Slice mode):
- Slice by Transient
- Warp: Beats, preserve transients
2. Make a 2-bar break loop with:
- Kick/snare anchors intact
- A couple of ghost hits
- One fill at the end of bar 2 or 4
Then adjust riff rhythm so:
Pro move: sidechain CALL/RESPONSE slightly from the break bus (1–3 dB gain reduction). Subtle = authentic.
---
Step 8 — Arrange the conversation (8–16 bars with real jungle phrasing)
Use an A/B call-response arrangement:
Bars 1–4 (A): Establish
Bars 5–8 (A’): Variation
Bars 9–12 (B): Flip roles
Bars 13–16 (Turnaround):
---
Step 9 — Automation workflow that stays clean (advanced project hygiene)
- Create an audio track “Riff Print”
- Set input to Resampling
- Record 16 bars
- Now you can do audio chops, reverses, and extra throws like classic jungle.
---
4. Common mistakes
1. Both parts talk at once
If call and response are dense simultaneously, it’s not a conversation—it’s a crowd. Leave real gaps.
2. Too much send all the time
Delay and verb should be punctuation, not a constant bath. Automate throws.
3. Automation fights the groove
If filter opens on weak beats and closes on strong beats, the hook feels confusing. Align motion with phrasing.
4. Ignoring break/snare space
Jungle is break-led. If your call hits every snare, it’ll feel amateur and cluttered.
5. Over-stereo on key riff elements
Wide stabs are cool, but if the hook disappears in mono, you’ll regret it.
---
5. Pro tips for darker/heavier DnB 🕶️
- pitch down 2–5 semitones
- or quick tape-stop style ramp (use Pitch MIDI effect automation or resample and warp)
---
6. Mini practice exercise (15 minutes) ⏱️
1. Create an 8-bar loop at 168 BPM.
2. Write a one-note rhythm for CALL and RESPONSE (no melody yet).
3. Add Auto Filter on both group buses and draw:
- CALL cutoff opens on bar starts
- RESPONSE cutoff opens only on “answer” hits
4. Add Echo on Return A and automate two delay throws per 8 bars.
5. Only now choose:
- CALL: 3 chord tones
- RESPONSE: root + flat 7
6. Resample the 8 bars to audio and:
- reverse the last hit of bar 8
- add one more delay throw into the gap
Export a quick bounce and listen on low volume: does the conversation still read? If yes, you nailed it.
---
7. Recap
If you want, tell me whether you prefer stab-led or bass-led hooks and what BPM you’re writing at, and I’ll suggest a specific 16-bar call/response pattern (including exact note options and automation shapes).
```

