Main tutorial
Lesson Overview
This lesson is about turning a Funky Drummer-derived jungle pad into a gritty, usable DnB arrangement element in Ableton Live 12: not just a loop that sounds cool on its own, but a sound you can distort, shape, automate, and place musically so it supports the whole track.
In Drum & Bass, pads often do more than “fill space.” In jungle, rollers, and darker bass music, a pad can act like:
- a harmony bed under chopped breaks
- a tension layer leading into drops
- a midrange glue element that ties drums and bass together
- a contrast device that makes the drop feel bigger by comparison
- a midrange pad layer with controlled distortion and movement
- a filtered intro version that creates atmosphere without crowding the mix
- a heavier drop version that opens up or ducks against the bassline
- automation for width, filter cutoff, distortion drive, and reverb send
- a compact arrangement workflow using clips, resampling, and scene-based structure
- Overdistorting before filtering
- Letting the pad steal low-end space
- Using too much reverb in the drop
- Making the pad static across the whole track
- Ignoring mono compatibility
- Treating the Funky Drummer source like a synth pad
- Split the pad into two bands
- Use sidechain compression creatively
- Automate distortion only in transitions
- Add controlled alias-like edge with Overdrive or Drum Buss
- Use the pad as a “pre-drop ghost”
- Resample variations early
- filter before distortion
- distort in stages, not all at once
- automate cutoff, width, and sends across sections
- resample processed versions for faster arrangement
- keep the pad clear of sub and kick space
- use it to create tension, contrast, and momentum in DnB
The Funky Drummer source is especially powerful because it already carries human swing, ghost-note energy, and a raw midrange texture. When you distort it correctly, you can turn that “old-school” feel into something that sits naturally beside modern DnB drums and bass. The key is not to over-polish it. You want the pad to feel alive, unstable, and a bit dangerous while still leaving room for the kick, snare, sub, and reese.
Why this matters in DnB: the genre moves fast, and arrangement must communicate instantly. A well-treated pad can give you identity, motion, and transition power without adding too much new harmonic clutter. In advanced DnB workflows, this is a huge win because it helps you build sections quickly and make the track feel finished earlier. 🎛️
What You Will Build
You will build a dark, distorted jungle pad texture made from a Funky Drummer source, then arrange it into a DJ-friendly intro, tension build, and drop support layer inside Ableton Live 12.
The final result will have:
Musically, the pad will feel like a ghost of the break: recognizable enough to add funk and swing, but processed enough to work in a rollers / jungle / darker neuro-adjacent context.
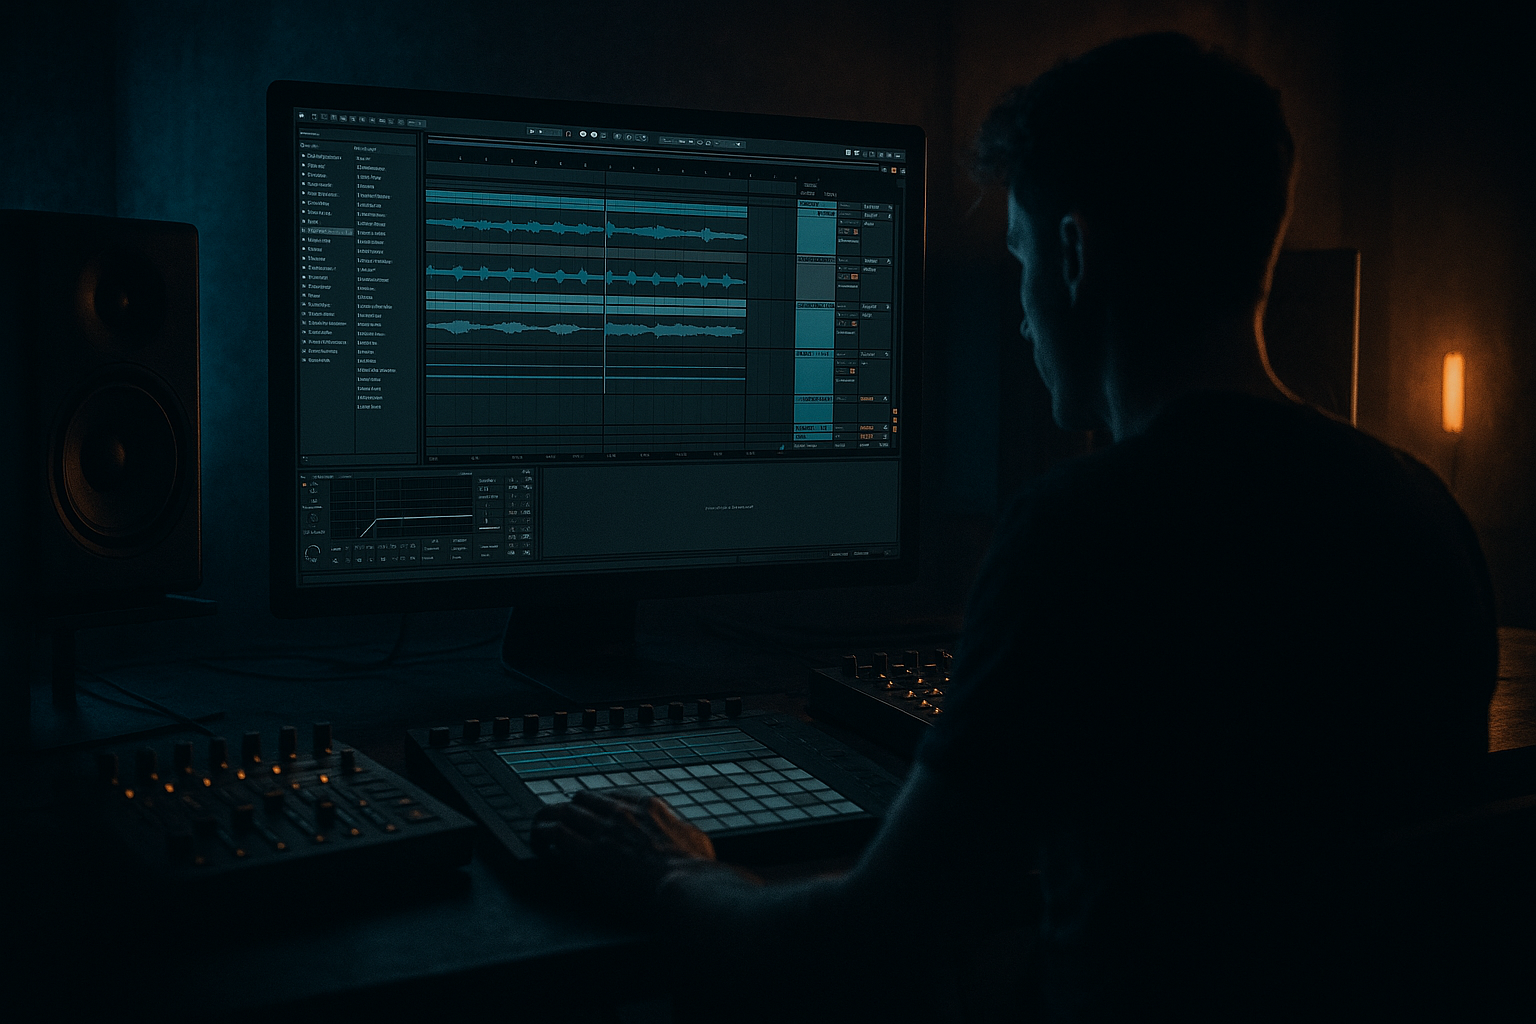
Step-by-Step Walkthrough
1. Start by choosing the right Funky Drummer source and isolating a pad-worthy slice
Load your Funky Drummer sample into an Audio Track and find a section with:
- a clean snare tail
- room ambience
- ghost-note chatter
- minimal kick overlap if possible
You are not looking for a full break loop here. You want a textural fragment that can become a pad bed. A 1-bar or 2-bar slice often works best.
In Clip View:
- turn on Warp
- try Complex Pro if the source is harmonic and you want smoother sustain
- try Beats if you want sharper rhythmic edges and more break texture
- set transient markers so the groove stays natural
Advanced move: duplicate the clip and make two versions:
- one tight and rhythmic
- one smeared and atmospheric
This gives you more arrangement options later without redoing the sound design.
2. Convert the slice into a playable pad texture with resampling or simpler-style playback
For an advanced workflow, create a dedicated chain:
- Audio track holding the source
- Resample track or freeze/flatten version
- then either:
- use Simpler in Classic mode for controlled playback, or
- keep it as audio and build the pad through processing
If you use Simpler:
- set mode to Classic
- adjust start/end points so the most interesting section loops
- use Loop ON
- increase Fade to smooth the loop point
Useful settings:
- Loop length: 1/4 to 2 bars
- Fade: 10–40 ms
- Warp mode if audio-based: Complex Pro for smoothness, Beats for edge
Why this works in DnB: jungle and rollers often benefit from a layer that feels like a moving sampled bed rather than a static synth pad. The slight instability gives the track human momentum, which pairs well with sequenced sub and precise drums.
3. Shape the tone with filtering before you distort
Put Auto Filter first in the chain to pre-shape the source before saturation. This is a classic workflow move because distortion reacts differently depending on what frequencies hit it first.
Try this:
- low-pass around 3.5–8 kHz if the pad is too crispy
- high-pass around 120–250 Hz to protect the sub lane
- add a gentle resonance boost around 0.7–1.5 if you want a more vocal / nasal pad character
If the source is too dull, use a slight band-pass style focus rather than full brightness. In darker DnB, the pad often works best when it sits in the low mids and upper mids, not in the extreme top end.
Advanced workflow tip: automate filter movement in long phrases, not every bar. A 4-bar or 8-bar sweep feels musical and avoids cheap EDM motion.
4. Distort in stages using Saturator, Overdrive, and subtle clipping logic
Now comes the core sound design. Don’t reach for one brutal processor and crush everything. Build the distortion in layers.
A strong Ableton stock chain:
- Saturator
- Overdrive
- optionally Glue Compressor or Drum Buss
- then EQ Eight for cleanup
Suggested settings:
- Saturator Drive: +3 to +9 dB
- Soft Clip: On
- Waveshaper: start with Analog Clip or a gentle curve
- Overdrive Frequency: 700 Hz to 2.5 kHz
- Overdrive Tone: adjust to taste, often slightly darker works better
- Overdrive Drive: 5–25% depending on source level
If the pad needs more aggressive movement, add Drum Buss after Saturator:
- Drive: 5–15
- Crunch: 10–25%
- Damp: adjust to remove fizz if needed
- Boom: usually keep subtle or off here, because this is a pad, not a kick layer
Important: watch the output level. You want harmonic density, not just louder noise. Use the device output controls to keep headroom intact.
Why this works in DnB: the distortion adds midrange presence so the pad can be heard over busy breaks and a strong reese. In a dense mix, a clean pad often disappears; a harmonically rich one stays audible without needing to be loud.
5. Control the movement with modulation and micro-automation
A jungle pad should breathe. Static pads feel too safe for this style.
Use one or more of these:
- Auto Filter LFO
- Phaser-Flanger for subtle movement
- Corpus for resonant coloration if the source becomes too flat
- Utility for controlled width changes
Practical modulation ideas:
- Auto Filter LFO rate: 1/4, 1/2, or 1 bar
- LFO Amount: keep moderate, around 10–35%
- Phaser-Flanger Dry/Wet: 5–20%
- Utility Width: automate from 70% in intro to 100–130% in buildup, then back down if needed for the drop
Use clip envelopes or track automation to move:
- filter cutoff
- Saturator drive
- reverb send
- delay send
- utility width
Advanced note: do not automate too many parameters in the same motion. Pick two primary changes per section so the arrangement reads clearly.
6. Add space with Return tracks, but keep the pad out of the sub lane
Create one or two Return tracks:
- Reverb using Ableton Hybrid Reverb or Reverb
- Delay using Echo
Suggested starting points:
- Reverb decay: 1.2–3.5 s
- Pre-delay: 15–35 ms
- High cut: 4–8 kHz
- Low cut: 150–300 Hz
For Echo:
- time synced at 1/8, 1/4, or dotted values
- feedback: 15–35%
- filter to keep it dark and tucked
Then use send automation so the pad gets bigger in transitions and tighter in the drop.
Also add EQ Eight on the pad channel after FX:
- high-pass to keep low-end clean
- notch harsh resonances around 2–4.5 kHz if the distortion bites too hard
- if the pad masks snare crack, reduce a small band around 1.5–2.5 kHz
Advanced workflow choice: keep the pad’s low end mono or largely absent. In DnB, stereo width on low mids can feel huge in solo but messy in the club. Use Utility to narrow the bottom-heavy version and keep width mainly in the upper mids.
7. Resample the processed pad and build variation clips
Once the chain sounds good, resample the processed output to a new Audio Track. This is a fast, pro workflow move because it freezes the sound design and lets you arrange by ear instead of constantly redesigning.
Create at least three printed versions:
- Intro pad: filtered, more reverb, less drive
- Build pad: more automation, rising cutoff, added tension
- Drop pad: tighter, drier, more midrange bite
Benefits:
- easier CPU management
- easier arrangement decisions
- more deliberate editing
- faster transitions between sections
After resampling, edit the audio clips:
- cut at zero crossings where possible
- leave some tail overlap into transitions
- reverse a small section before a fill for tension
- use Transient Envelope or fades to keep edits clean
8. Arrange the pad as a structural tool, not a constant layer
In an advanced DnB arrangement, the pad should change role across the track.
Example structure:
- Intro (bars 1–16): filtered pad + atmosphere, no full bass
- Pre-drop (bars 17–24): automate cutoff upward, increase send to reverb/delay
- Drop 1 (bars 25–40): pad returns as a narrow midrange bed under drums and sub
- 8-bar switch-up: mute the pad for 1–2 bars, then bring it back with a different filter position
- Outro: simplify to a washed-out version for DJ mixing
A practical musical example: if your bassline is a syncopated call-and-response pattern with the snare, let the pad open up in the spaces and then duck slightly on the snare hits using volume automation or a Compressor sidechain keyed from the snare bus. That keeps the groove alive without stepping on the drum punctuation.
Use Arrangement View markers and color-code your regions:
- Intro
- Build
- Drop
- Switch
- Outro
This is workflow gold when you revisit the project later.
9. Lock the groove with drum and bass context checks
Test the pad against the actual DnB elements:
- kick
- snare
- hats/shakers
- sub
- reese or bass stab
Use Utility Mono checks or a temporary mono collapse on the pad group to confirm it still works without stereo tricks. Then compare with full stereo.
If the pad competes with the snare:
- dip around 180–250 Hz if there’s boxiness
- reduce 2–4 kHz if the attack is too forward
- lower send levels rather than just turning the pad down
If it fights the bass:
- high-pass more aggressively
- sidechain the pad gently from the kick or drum bus
- keep the pad’s RMS lower than the bass by design
Advanced judgment: in darker DnB, the pad should feel like pressure, not like a feature lead. It supports the emotional tone while the drums and bass do the heavy lifting.
Common Mistakes
- Fix: filter first so you are not amplifying unnecessary highs or muddy lows into the distortion.
- Fix: high-pass more decisively, usually somewhere between 120–250 Hz depending on the source.
- Fix: keep the biggest space in intros and builds; make drop pads tighter and more defined.
- Fix: automate cutoff, width, and send levels across sections so the pad evolves with arrangement.
- Fix: check Utility mono and keep the crucial midrange phase-stable.
- Fix: preserve some rhythmic residue and ghost-note character. That human texture is the point.
Pro Tips for Darker / Heavier DnB
- Duplicate the track or use an Audio Effect Rack.
- One chain handles low-mid body, the other handles upper-mid grit.
- Keep the lower band drier and more centered; let the upper band carry width.
- Duck the pad subtly from the kick or full drum bus.
- Aim for 1–3 dB gain reduction rather than pumping theatrics.
- This creates space while keeping tension.
- A small rise in Saturator drive before a drop can feel huge.
- Try moving from +3 dB to +8 dB over 4 bars, then back down on impact.
- Don’t overcook it.
- The goal is abrasive character in the upper mids, not harsh fizz.
- Pull the drums out for 1 bar and let the pad hang with reverb tail + reversed fragment.
- When the drop lands, the contrast feels much heavier.
- Print an “ugly” version, a “cleaner” version, and a “washed” version.
- DnB arrangement gets faster when you can audition options immediately.
Mini Practice Exercise
Set a 15-minute timer and do this:
1. Find a Funky Drummer slice with a snare tail or ghost-note texture.
2. Build a pad chain using Auto Filter, Saturator, and EQ Eight.
3. Make two versions:
- one filtered and wide for the intro
- one more driven and narrower for the drop
4. Automate the cutoff over 8 bars.
5. Add a Return track with Reverb and a second one with Echo.
6. Resample both versions to audio.
7. Arrange a simple section:
- 8 bars intro
- 8 bars build
- 8 bars drop support
8. Check the pad in mono and remove any low-mid mud.
Goal: finish with a reusable pad arrangement idea you can drop into a full DnB track later.
Recap
The core idea is simple: take a Funky Drummer-derived jungle texture, shape it into a distorted pad, and use it as an arrangement tool rather than a static sound.
Most important takeaways:
If you get this right, your pad stops being background noise and becomes part of the track’s identity.

