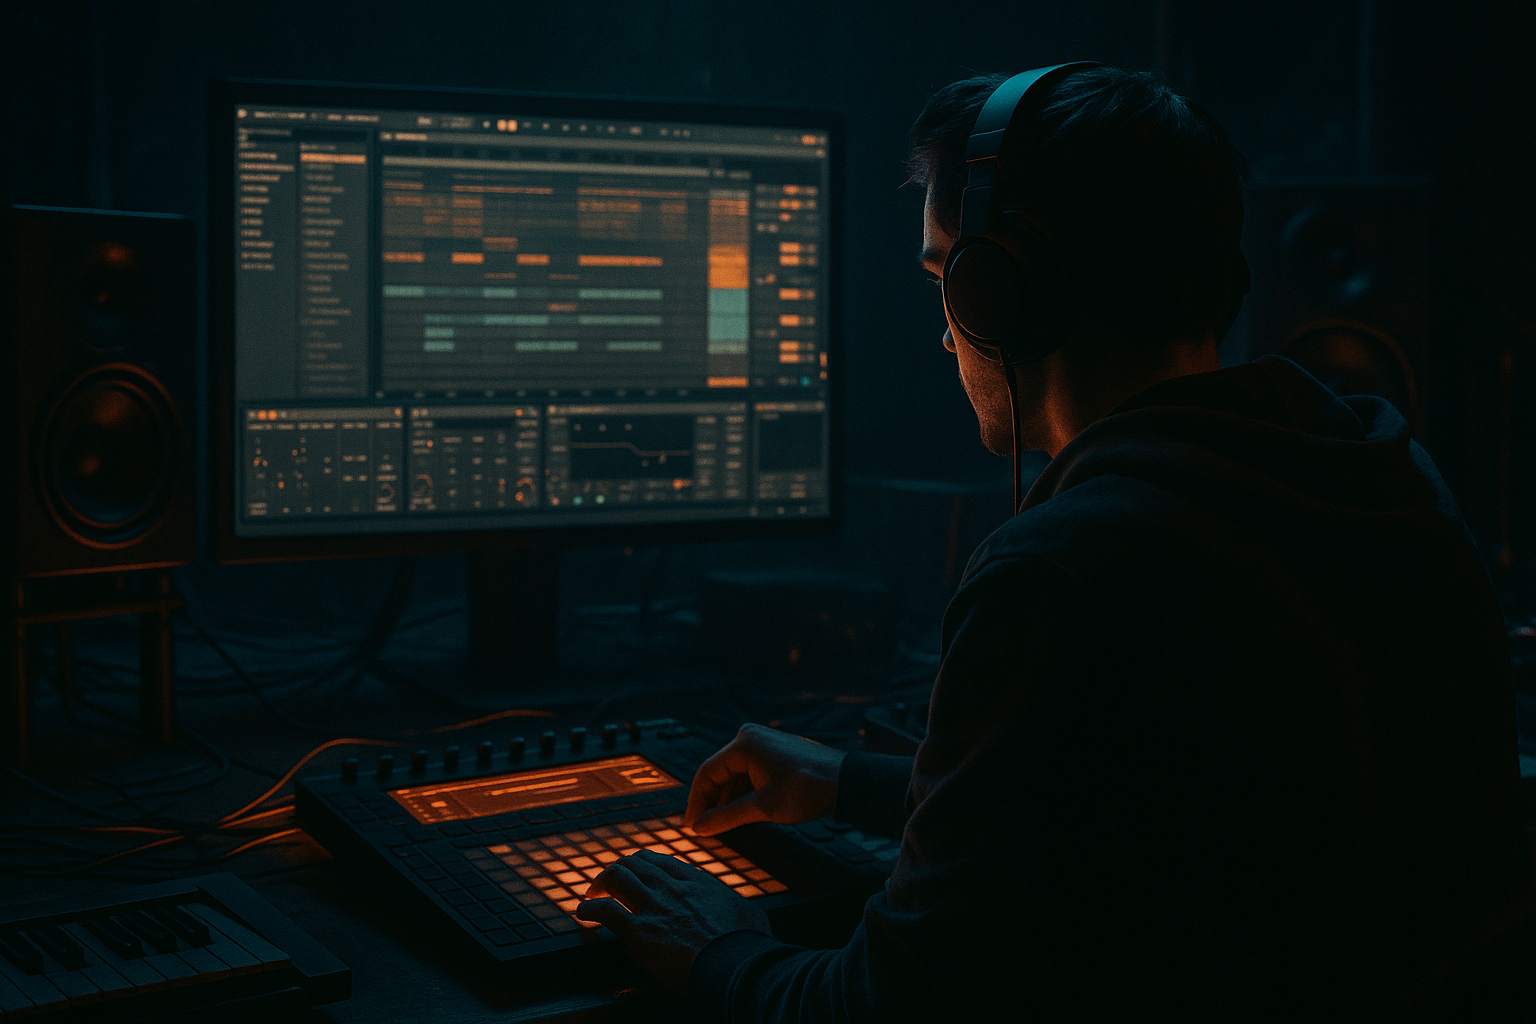
Main tutorial
Future Jungle: Jungle Arp Slice for 90s-Inspired Darkness in Ableton Live 12 🏴☠️🌀
Beginner-friendly workflow lesson (DnB/Jungle focused)
---
1. Lesson overview
In this lesson you’ll create a dark, 90s-inspired jungle arpeggio “slice”—that hypnotic, slightly detuned, re-sampled chord/arp texture that feels like it came off an old DAT or an Akai. Then you’ll make it playable, rhythmically tight for DnB, and arrangement-ready in Ableton Live 12 using mostly stock devices.
You’ll learn:
- How to build a jungle-style arp/chord stab
- How to resample it like classic hardware workflows
- How to slice it into playable chunks for rolling 2-step / breakbeat grooves
- How to darken it with warp, filtering, saturation, and reverb tails 🎛️
- A 16-bar DnB-ready musical element that feels 90s-dark
- A resampled audio clip sliced to MIDI for classic jungle phrasing
- A device chain for weight + dirt + movement (all stock Ableton)
- Use 1/16 grid
- Trigger slices on:
- In the MIDI clip, vary velocity (e.g., 60–110) so it breathes.
- Use two or three slices only at first. Jungle is often about repetition with micro-variation.
- Intro (16 bars):
- Build (8 bars):
- Drop (32 bars):
- Too much low end in the arp slice: it will fight your sub and make the drop weak. High-pass it.
- Over-reverbing before slicing: slicing long reverb tails makes everything smear and clicky.
- Too many different slices triggering constantly: it stops sounding like a hook and becomes random.
- Warp mode left on Beats with bad settings: can add ugly clicks or weird timing for tonal material.
- No velocity variation: jungle lives on groove—static hits feel lifeless.
- Layer a ghostly “air” copy: duplicate the slice track, high-pass at 3–6 kHz, add more reverb, keep it very quiet. Instant atmosphere.
- Reverse one slice for tension: in Simpler, duplicate a slice to a new pad/note and reverse that sample. Use it before phrase transitions.
- Use Redux carefully (old sampler vibe):
- Sidechain the arp slice to the kick/snare:
- Automate the filter like a DJ: small cutoff moves every 4–8 bars feels very “rave system.”
- Designing a dark chord/arp with Arpeggiator + Scale
- Printing it to audio via Resampling
- Adding character with Warp (Texture/Complex Pro)
- Converting it into a playable chopped instrument using Slice to MIDI / Simpler
- Shaping it into a DnB-ready hook with filtering, saturation, echo, and automation
---
2. What you will build
A complete “Future Jungle Arp Slice” instrument + loop, including:
End result: you can drop it behind breaks, rides, and bass for instant atmosphere and tension.
---
3. Step-by-step walkthrough
Step 0 — Set your project like a DnB session ⚡
1. Set tempo to 165–172 BPM (start at 170 BPM).
2. Create these tracks:
- MIDI: `ARP SOURCE`
- Audio: `ARP RESAMPLE`
- (Optional) MIDI: `BREAKS` (for later testing)
---
Step 1 — Build a dark 90s-style chord source (simple but effective)
You want something harmonically minor, slightly dissonant, and not too “clean”.
1. On `ARP SOURCE` add Instrument Rack (optional but great).
2. Add Wavetable (or Analog if you want more vintage).
3. In Wavetable, use:
- Osc 1: Saw (basic is fine)
- Osc 2: Square or another Saw, detuned slightly
- Unison: 2–4 voices, Amount low (don’t go supersaw)
4. Add Amp Envelope (important for jungle stabs/arp feel):
- Attack: 0–5 ms
- Decay: 300–700 ms
- Sustain: 0–20%
- Release: 80–200 ms
Harmonic content tip (beginner-safe):
Write in F minor or G minor. These sit nicely with DnB basslines.
---
Step 2 — Create the “arp slice” rhythm (MIDI Arpeggiator + groove)
1. Add MIDI Arpeggiator before Wavetable:
- Style: UpDown (or Random for chaos)
- Rate: 1/16
- Gate: 45–65%
- Steps: 3–5 (keeps it musical)
2. Add Scale device after Arpeggiator:
- Choose Natural Minor and set the root (e.g., F).
- This keeps you “in key” while experimenting. ✅
3. Create a 1-bar MIDI clip and hold a chord:
- Example chord: Fm9-ish vibe
- Notes: F–Ab–C–G (simple, effective, moody)
4. Duplicate to 8 bars, then change chord every 2 bars:
- Bars 1–2: F minor flavor (F–Ab–C–G)
- Bars 3–4: Eb major flavor (Eb–G–Bb–F)
- Bars 5–6: Db major flavor (Db–F–Ab–Eb)
- Bars 7–8: back to F minor
This gives classic dark progression motion without getting “happy.”
---
Step 3 — Make it feel sampled: resample + warp like jungle 🧱
This is where it becomes “90s” instead of “clean MIDI.”
#### A) Add dirt + space BEFORE resampling
On `ARP SOURCE`, add this chain (in this order):
1. Auto Filter
- Filter type: LP24
- Cutoff: 2–6 kHz (start ~4 kHz)
- Resonance: 10–20%
2. Saturator
- Mode: Analog Clip
- Drive: 2–6 dB
- Soft Clip: On
3. Hybrid Reverb (subtle but important)
- Algorithm: Hall or Plate
- Decay: 1.5–3.5 s
- Dry/Wet: 8–18%
- Pre-delay: 10–25 ms
You want a reverb “shadow,” not a wash.
#### B) Resample to audio
1. Set `ARP RESAMPLE` track input to Resampling (Audio From → Resampling).
2. Arm `ARP RESAMPLE`.
3. Record 8 bars of your arp.
Now you’ve “printed” it like a classic sampler workflow.
---
Step 4 — Warp it for character (the secret sauce) 🌀
1. Double-click the recorded audio clip.
2. Turn Warp ON.
3. Try warp modes:
- Complex Pro (smooth, dark): good for pads/arp haze
- Texture (grainy, oldschool): great for jungle grit
- Grain Size: 15–30 ms
- Flux: 10–25%
4. Optional: add micro “tape” drift:
- Turn on Clip Envelopes
- Choose Transposition envelope
- Draw tiny movements: -5 to +5 cents over 1–2 bars
This makes it feel like it’s been sampled and replayed.
---
Step 5 — Slice to MIDI and make it playable 🔪🎹
This is the “jungle slice” part.
1. Right-click the warped audio clip → Slice to New MIDI Track.
2. Slicing preset options:
- Choose Transient (usually works)
- Or choose 1/8 or 1/16 for a more grid-based chop
3. In the Slice dialog:
- Create one slice per transient
- Slicing preset: choose Built-in (Simpler)
Ableton creates a new MIDI track with Simpler (Slice mode).
#### Tighten the slices for DnB rhythm
1. On the new Simpler track:
- In Simpler, set Playback to One-Shot (classic chop feel)
- Adjust Fade In slightly (0.5–2 ms) to avoid clicks
2. Add Gate after Simpler (optional but very jungle):
- Threshold: adjust until tails are controlled
- Return/Release: short to keep it punchy
---
Step 6 — Program a rolling jungle arp phrase (2-step friendly) 🥁
Make a 2-bar MIDI clip that triggers slices like a rhythmic hook.
At 170 BPM, try this simple pattern:
- 1.1, 1.1.3, 1.2.2, 1.3, 1.3.3, 1.4.2
- Repeat with slight variation in bar 2
Workflow tip:
---
Step 7 — Make it darker and more “future jungle” (stock chain) 🌑
On your sliced Simpler track, add:
1. Auto Filter
- LP12 or LP24
- Cutoff: automate between 800 Hz–4 kHz
- Add a tiny bit of resonance (10–25%)
2. Chorus-Ensemble (subtle width)
- Amount: 10–25%
- Rate: slow
3. Roar (Ableton Live 12: perfect for modern jungle filth)
- Start with a gentle preset like a warm drive
- Drive: low
- Filter inside Roar: roll off harsh highs
4. Echo
- Time: 1/8 or 3/16
- Feedback: 15–30%
- Filter: keep lows out (HP around 200–400 Hz)
5. Utility
- Width: 80–120% depending on how wide you want it
- If the mix gets messy: try Bass Mono (or just keep lows filtered out earlier)
Key DnB rule: keep the arp slice mostly mid/high. Let the sub and kick own the low end.
---
Step 8 — Quick arrangement idea (8–16 bars that works in DnB) 🧩
Here’s a classic dark rolling layout:
- Arp slice filtered low (cutoff ~1 kHz) + big reverb tail
- Add tiny percussion + noise riser
- Increase cutoff + add more slice hits
- Automate Echo feedback up slightly
- Breaks + bass in
- Arp slice becomes call-and-response:
- Plays for 2 bars, rests for 2 bars
- Add occasional “reverse” slice (see Pro Tips)
---
4. Common mistakes 🚫
---
5. Pro tips for darker/heavier DnB 🖤
- Downsample a bit (e.g., 12–18 kHz)
- Bit reduction subtle (avoid harsh fizz unless you want it)
- Use Compressor with Sidechain from your drum buss
- Subtle 1–3 dB gain reduction keeps the groove punching through
---
6. Mini practice exercise 🎯
Do this in 15 minutes:
1. Make a 4-bar arp source in F minor with Arpeggiator at 1/16.
2. Resample it to audio.
3. Warp it in Texture mode (grain size 20 ms).
4. Slice to MIDI at 1/16.
5. Program a 2-bar pattern using only two slices, with velocity variation.
6. Add Auto Filter and automate cutoff from 1 kHz → 4 kHz over 8 bars.
Goal: make it hypnotic, not busy.
---
7. Recap ✅
You created a future jungle arp slice by:
If you want, tell me your target vibe (e.g., “Rufige Kru / Photek dark,” “modern 160 jungle,” or “roller with techy edge”) and I’ll suggest a specific chord set + slice pattern that fits.

