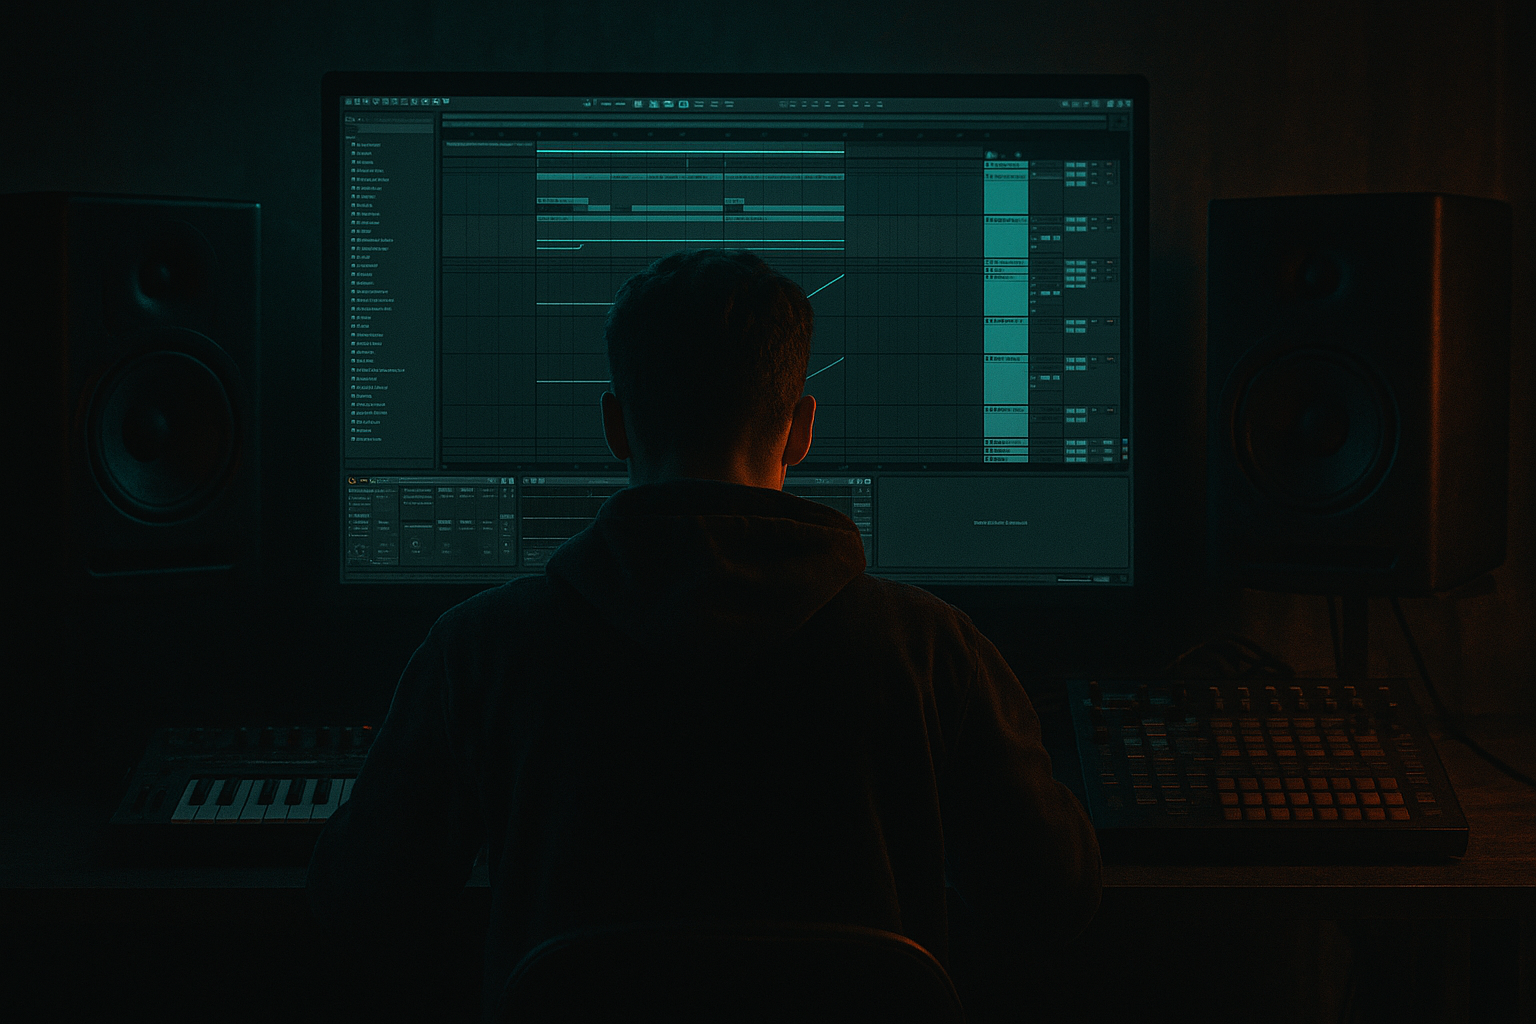
Main tutorial
Lesson Overview
The snare snap offset is one of those subtle Future Jungle tricks that can make a drum break feel instantly more alive, more human, and more dangerous — without turning the groove into chaos. In DnB, especially in jungle, rollers, and darker halftime-adjacent hybrids, the snare is not just a backbeat. It is the anchor, the swing engine, and often the emotional cue that tells the listener where the drop is leaning.
In this lesson, you’ll learn how to create a snare snap offset in Ableton Live 12: a tiny, controlled displacement between the snare transient, its layered snap, and the rest of the drum pocket. Done right, this makes your snare feel like it “pops out” of the break instead of landing flat on the grid. In Future Jungle, this matters because the style relies on urgent break energy, forward motion, and a slightly unstable human feel — but still needs to hit hard enough for modern club playback.
This technique fits especially well in:
- Drop sections where the snare needs attitude without sounding over-quantized
- Switch-ups after 8 or 16 bars to re-energize the groove
- Answer phrases in call-and-response bass arrangements
- Fills and transitions where the snare becomes a rhythmic lead element
- A snare layer with a slightly offset snap transient
- A break-driven drum rack that feels less rigid and more DJ-friendly
- A pocketed groove that works at 160–174 BPM
- A snare bus with controlled transient, saturation, and glue
- A version you can use in a dark jungle drop, roller, or neuro-leaning hybrid
- Offsetting everything instead of only the body
- Using too much delay
- Letting the snap get harsh
- Not checking against the break
- Over-compressing the snare bus
- Ignoring mono
- Making the offset identical across the whole arrangement
- Use a distorted noise snap for menace
- Automate snare bus Drive on phrase starts
- Pair the offset with a short reese response
- Use ghost snare slices for motion
- Clip the drum bus before the master
- Keep the sub clean
- The Future Jungle snare snap offset is about micro-timing between snap and body, not just moving a snare off-grid.
- Keep the snap early/locked and let the body sit slightly late for impact and urgency.
- Use Drum Rack, Simplers, EQ Eight, Saturator, Drum Buss, Glue Compressor, and Utility to shape the result in Ableton Live 12.
- Always judge the technique in the full break + bass + hat context.
- Vary the offset through the arrangement so the drop keeps evolving.
- For mastering, protect headroom, mono compatibility, and transient control so the snare still cuts on the final bounce.
Why it matters in DnB: the genre lives or dies by micro-timing, transient shape, and low-end discipline. A snare snap offset can create width in the groove without stereo widening, make breaks feel more “performed,” and add tension before the bass answers. It’s a mastering-friendly production move too, because it improves the perception of impact and groove before you start polishing the final bounce.
What You Will Build
You’re going to build a Future Jungle snare stack inside Ableton Live 12 where the main snare body, the snap layer, and the break context are separated just enough to create a sharp, elastic hit.
By the end, you’ll have:
Musically, imagine a 16-bar intro leading into a drop where the bass is a clipped reese/sub hybrid. The snare does not just land on 2 and 4. It has a snap that leans just ahead of the core hit, giving the illusion that the snare “bites” first, then the body follows. That tiny offset creates the sensation of speed and urgency — perfect for Future Jungle tension.
Step-by-Step Walkthrough
1. Choose the source material: break + snare + snap
Start with a strong break loop and isolate a snare you actually like. In Future Jungle, a good starting point is a classic break with natural ghost notes, then layer it with a cleaner snare top or snap for definition.
In Ableton Live 12:
- Put your break on an audio track.
- Warp it in Complex Pro if needed, but avoid over-warping a juicy break.
- Duplicate the break track or consolidate a snare hit from it.
- Add a separate one-shot snare or clap/snare hybrid on another track or inside a Drum Rack.
Practical target:
- Break provides the groove and room
- Snare body gives punch around 180–220 Hz or wherever the sample naturally hits
- Snap layer gives the crack around 2.5–6 kHz
If the snare already has a nice transient, you are not replacing it — you are creating a controlled offset relationship between layers.
2. Build the snare stack in a Drum Rack for surgical timing control
Put your snare components into a Drum Rack so you can edit each piece independently but process them together later.
Suggested rack setup:
- Pad 1: snare body
- Pad 2: snap layer
- Pad 3: optional break snare slice or ghost snare
- Pad 4: optional noise tick for extra edge
On each pad, use Simpler for one-shots or slices. For the body layer:
- Start/End: trim tightly
- Warp off if it’s a clean one-shot
- Fine tune with Detune only if needed, usually minimal
On the snap layer:
- Trim the start right to the transient
- Keep it short
- Consider filtering out low-mid clutter using Auto Filter set high-pass around 300–500 Hz
Route all pads to a group bus called Snare BUS for unified processing later. This is where you’ll shape the final “snap offset” as a musical effect, not just a timing mistake.
3. Create the offset by delaying the body, not the snap
This is the core Future Jungle move. Instead of delaying the whole snare, let the snap arrive first and push the body a tiny amount late. That creates the sensation of attack before weight — a great illusion for aggressive drum programming.
In Ableton Live:
- Keep the snap layer tightly on-grid.
- Nudge the snare body later by 5–15 ms.
- If you prefer MIDI timing, shift the body note slightly later by a few ticks, but audio nudging is more precise for this technique.
Use the Track Delay control if you want to test a global offset before committing:
- Try +5 ms to +12 ms on the body track
- Keep the snap at 0 ms
- If the groove starts to drag, reduce the offset immediately
Why this works in DnB: the ear latches onto the earliest transient as the “hit,” so the snap reads as a tiny forward lick while the body reinforces the impact a moment later. At 170 BPM, even a few milliseconds matter. That micro-gap creates punch without needing more volume.
4. Shape the snap so it reads as a transient, not harsh fizz
The snap layer needs to be bright, short, and specific. In darker DnB, a bad snap can turn into brittle noise. The trick is to make it cut through the break and bass without sounding like white-noise spam.
On the snap layer:
- Add EQ Eight
- High-pass around 250–400 Hz
- If the snap is boxy, dip 500–900 Hz by 2–4 dB
- If it needs edge, add a gentle boost around 3–5 kHz
- Add Saturator
- Drive: 1.5–4 dB
- Soft Clip: on if you need compactness
- Add Drum Buss if the snap needs more smack
- Transients: small positive movement, around 5–20%
- Drive: subtle, just enough to make the layer feel expensive
Keep the snap short. If it rings, it will smear the offset and fight the break. You want it to behave like a clicky accent that leads the hit, not a second snare.
5. Place the offset in the groove, not only the sample
A Future Jungle snare offset should interact with the break’s groove. If the break is pushing forward and the snare body is late, the pocket can feel amazing. If the break is already lazy, the offset may feel dead.
Use Ableton’s groove tools:
- Test a groove from the Groove Pool on the break only
- Keep the main snare stack more rigid than the break
- Let ghost notes breathe slightly off-grid
Good starting move:
- Break: apply MPC-style swing or a lightly humanized groove
- Snare snap: keep near-grid
- Snare body: offset slightly late
In a 16-bar drop, this works especially well if bars 1–4 are tighter, bars 5–8 add more break looseness, and bars 9–16 introduce a small variation on the snare offset amount. That keeps the listener locked without making the loop feel static.
6. Use transient shaping and bus glue to unify the two parts
Once the offset feels good, you need the snap and body to behave like one drum event. That’s where bus processing matters.
On the Snare BUS:
- Add Drum Buss
- Drive: light to moderate
- Crunch: very small amount if needed
- Damp: adjust carefully so the top end does not get brittle
- Add Glue Compressor
- Attack: 10–30 ms
- Release: Auto or 0.1–0.3 s
- Ratio: 2:1
- Aim for 1–2 dB of gain reduction
- Add EQ Eight after compression for final tone shaping
If the snap still feels too separate, reduce the offset slightly or add a tiny bit of compression so the two layers “speak” together. If it feels too flat, back off the glue and preserve the micro-contrast.
Advanced move: automate the Glue Compressor threshold slightly in the drop. On the first downbeat of a new phrase, lower the threshold for a more assertive hit, then ease it back up for the next 7 bars. Tiny automation like this can make your snare feel alive without obvious pumping.
7. Carve space for the offset in the bass and hats
The snare snap offset only matters if the rest of the mix leaves it room to breathe. In DnB, the bass and hats can easily blur the transient.
On your bass bus:
- Use EQ Eight to avoid excessive energy in the snare’s snap zone
- If your reese is loud around 3–5 kHz, tame it a little so the snap can speak
- Keep the sub mono and stable with Utility set to Bass Mono or by managing stereo width at the source
On your hat/percussion bus:
- High-pass aggressively where appropriate
- If hats are crowding the snare snap, use tiny volume automation dips on the hat hit right before the snare
A useful arrangement trick: let the bass answer the snare on the offbeat after the snare lands. That creates a call-and-response relationship, which is very Future Jungle. The snare leads; the bass completes the sentence.
8. Turn the offset into arrangement energy
Don’t keep the snare snap offset identical all the way through the track. In advanced DnB, variation is everything.
Try this arrangement pattern:
- Bars 1–8 of the drop: subtle offset, tight and disciplined
- Bars 9–16: increase snap prominence by 1–2 dB or add a second snap layer
- Switch-up at bar 17: move the body slightly later or add a ghost snare before the main hit
- Final 8 bars before breakdown: reduce the offset for a more direct, intimidating feel
You can also automate:
- Snap layer volume
- Auto Filter cutoff on the snap
- Reverb send for just the snare tails on transition bars
- Drum Buss Drive on the snare group for phrase lift
In a darker roller, this is especially effective in 8-bar chunks. The snare offset becomes part of the track’s phrasing, not just a static production trick.
9. Mastering check: make sure the punch survives translation
Since this lesson sits in Mastering, you need to verify that the offset is helping the final track rather than making it brittle or phasey. A snare that sounds amazing solo can collapse when the limiter or clipper hits the master.
Check:
- Mono compatibility with Utility
- The snare still feels punchy at lower playback levels
- The snap is not creating harsh spikes that trigger the limiter too hard
- The low end stays stable while the snare hits
Practical mastering-friendly moves:
- Leave headroom before mastering, ideally around -6 dB peak on the mix bus
- Use gentle clipping or saturation earlier in the drum chain if you need to control peaks
- If the snare is too spiky, tame the top transient with Saturator or a light transient reduction before the master limiter
The goal is not maximum loudness at the snare stage. The goal is a snare that survives compression, limiting, and club playback while still feeling like it snaps through the track.
Common Mistakes
- Fix: keep the snap on-grid and move the body later by a tiny amount.
- Fix: stay in the 5–15 ms range first. Bigger offsets usually sound lazy, not powerful.
- Fix: high-pass it, shorten it, and use gentle saturation instead of boosting harsh highs.
- Fix: soloing the snare is useful, but the offset only matters in context with the groove and bass.
- Fix: aim for glue, not flattening. If the transient dies, back off the compressor attack or threshold.
- Fix: keep the snare mostly mono-centered. Use width on texture, not on the core hit.
- Fix: vary it by section so the drop evolves and the groove keeps speaking.
Pro Tips for Darker / Heavier DnB
- Layer a tiny noise hit through Saturator or Redux very subtly, then high-pass it hard. This can make the snare feel more underground and less polished.
- A little extra Drive on the first snare of every 8 bars gives the drop a “re-engage” moment without needing a fill.
- Let the bass hit slightly after the snare. That creates a powerful call-and-response push that suits rollers and neuro-influenced jungle.
- Insert very low-level ghost hits from the break between main snares. These can fill the gap created by the offset and make the groove feel more complex.
- A little controlled clipping can preserve snare aggression while stopping the master limiter from softening the transient.
- The snare snap offset feels heavier when the sub stays mono and stable. If the bottom end is wobbling, the timing trick loses impact.
Mini Practice Exercise
Spend 10–20 minutes building a two-bar Future Jungle drum phrase.
1. Load one break loop and one clean snare one-shot.
2. Split the snare into body and snap layers in a Drum Rack.
3. Offset the body by 5 ms, then 10 ms, then 15 ms and compare.
4. Add EQ Eight and Saturator to the snap layer.
5. Add Drum Buss and Glue Compressor to the snare bus.
6. Program a simple 2-bar drum loop at 170 BPM with one ghost note before bar 2.
7. Check the loop with a bass drone or reese under it.
8. Bounce a quick version and listen on speakers and headphones.
9. Pick the version where the snare feels most urgent without sounding late.
10. Save the rack as a template for future jungle sessions.
Your goal: make the snare feel like it leaps forward, while the body still lands with weight.
Recap
If you get this right, your snare stops being just a backbeat — it becomes a signature part of the track’s motion.

