Main tutorial
Lesson Overview
In this lesson, you’ll learn how to turn a clean FX chain into a gritty, musical jungle/DnB texture using resampling workflows in Ableton Live 12. The goal is not just to “add effects,” but to record the results of your processing, then chop, reshape, and re-use those audio moments as part of the arrangement.
This technique is huge in oldskool jungle, rollers, and darker DnB because so much of the character comes from mutation: breaks getting mangled, bass stabs turning into atmospheres, delays feeding into new fills, and short FX moments becoming the glue between sections. Instead of leaving everything as a static MIDI loop, you’ll create evolving audio that feels more alive and more “records-like.”
Where this fits in a track:
- Use it on the build into a drop
- Use it for 16-bar switch-ups
- Use it to transform a drum bus, bass stab, reese, vocal chop, or noise riser
- Use it to generate one-shot fills, textures, reverse atmospheres, and transition hits
- a drum break or drum loop
- a bass stab or reese phrase
- a few stock FX devices
- and prints the result into a new audio track for chopping and arranging
- a dark, crunchy FX print
- some reverse swells
- a few glitchy fill shots
- a jungle-style transition texture
- and optionally a bass tail or drum smear you can use before a drop
- 16 bars of intro with filtered break and atmos
- 8 bars of tension build with FX automation
- a drop where the resampled FX becomes a call-and-response with the drums
- a switch-up where the resampled audio becomes a half-bar fill before the next phrase
- Printing too much low end into the FX resample
- Using too much reverb and losing the groove
- Resampling without automation
- Letting the resample compete with the drop
- Not checking mono compatibility
- Trying to make one perfect print instead of several versions
- Put Saturator before Echo for a thicker, dirtier repeat, or after Echo if you want the repeats to be crushed together.
- Use Auto Filter with a small resonance boost to create a more tense, “speaking” sweep.
- Add Redux lightly on FX prints for a rougher jungle edge, but keep it subtle so it doesn’t turn to harsh noise.
- Use Drum Buss on break-derived resamples to add weight and transient shape. Try a modest Drive setting and a touch of Boom only if it doesn’t muddy the kick.
- For neuro or darker roller energy, resample a reese phrase with a moving filter, then cut it into short rhythmic chunks. This gives you organic modulation without needing a complicated synth patch.
- Use call-and-response: let the resampled FX answer the snare, not overlap every hit.
- For a more oldskool vibe, pitch the resampled break or texture down by 1–3 semitones and slice it against the grid.
- Keep the sub separate. If the FX chain starts swallowing the low end, print the low-end element separately or remove it from the resampled version.
- Build a simple DnB source loop first.
- Use stock Ableton FX like Auto Filter, Saturator, Echo, Reverb, Utility, Drum Buss, and EQ Eight.
- Automate at least one parameter so the sound evolves.
- Resample the processed audio to capture the movement.
- Chop the printed audio into fills, tails, hits, and textures.
- Place those pieces intentionally in the arrangement for tension and release.
- Keep the low end clean and use the resample to support the groove, not clutter it.
Why this matters in DnB:
DnB arrangement is fast, and listeners expect movement. Resampling lets you print the energy of your FX chain and then edit that energy into the grid. This creates a more authentic jungle feel than simply drawing in generic risers or using one long plugin chain that never changes. 🎛️
What You Will Build
You’re going to build a simple but powerful FX transform session inside Ableton Live 12 that takes:
The finished result will be:
Musically, this could be used in a track like:
Think of this as making your own custom “sample pack” from your session.
Step-by-Step Walkthrough
1. Set up a small DnB source loop
Start with something simple so the process stays beginner-friendly:
- Load a breakbeat loop, a kick-snare pattern, or a basic 2-step drum groove
- Add a bass stab or reese MIDI clip on a separate track
- Keep the source loop to 1 or 2 bars
- If you have a break, try one with clear ghost notes and shuffle; if not, program a basic loop with hats and snare offbeats
Helpful setup:
- Set your project tempo to 170–174 BPM for jungle/DnB energy
- Keep the source loop dry at first
- Make sure the clip is repeating cleanly so you can hear changes clearly when effects are added
Why this is good:
A short loop makes it easier to hear how your FX chain changes the groove, and it keeps resampling focused instead of messy.
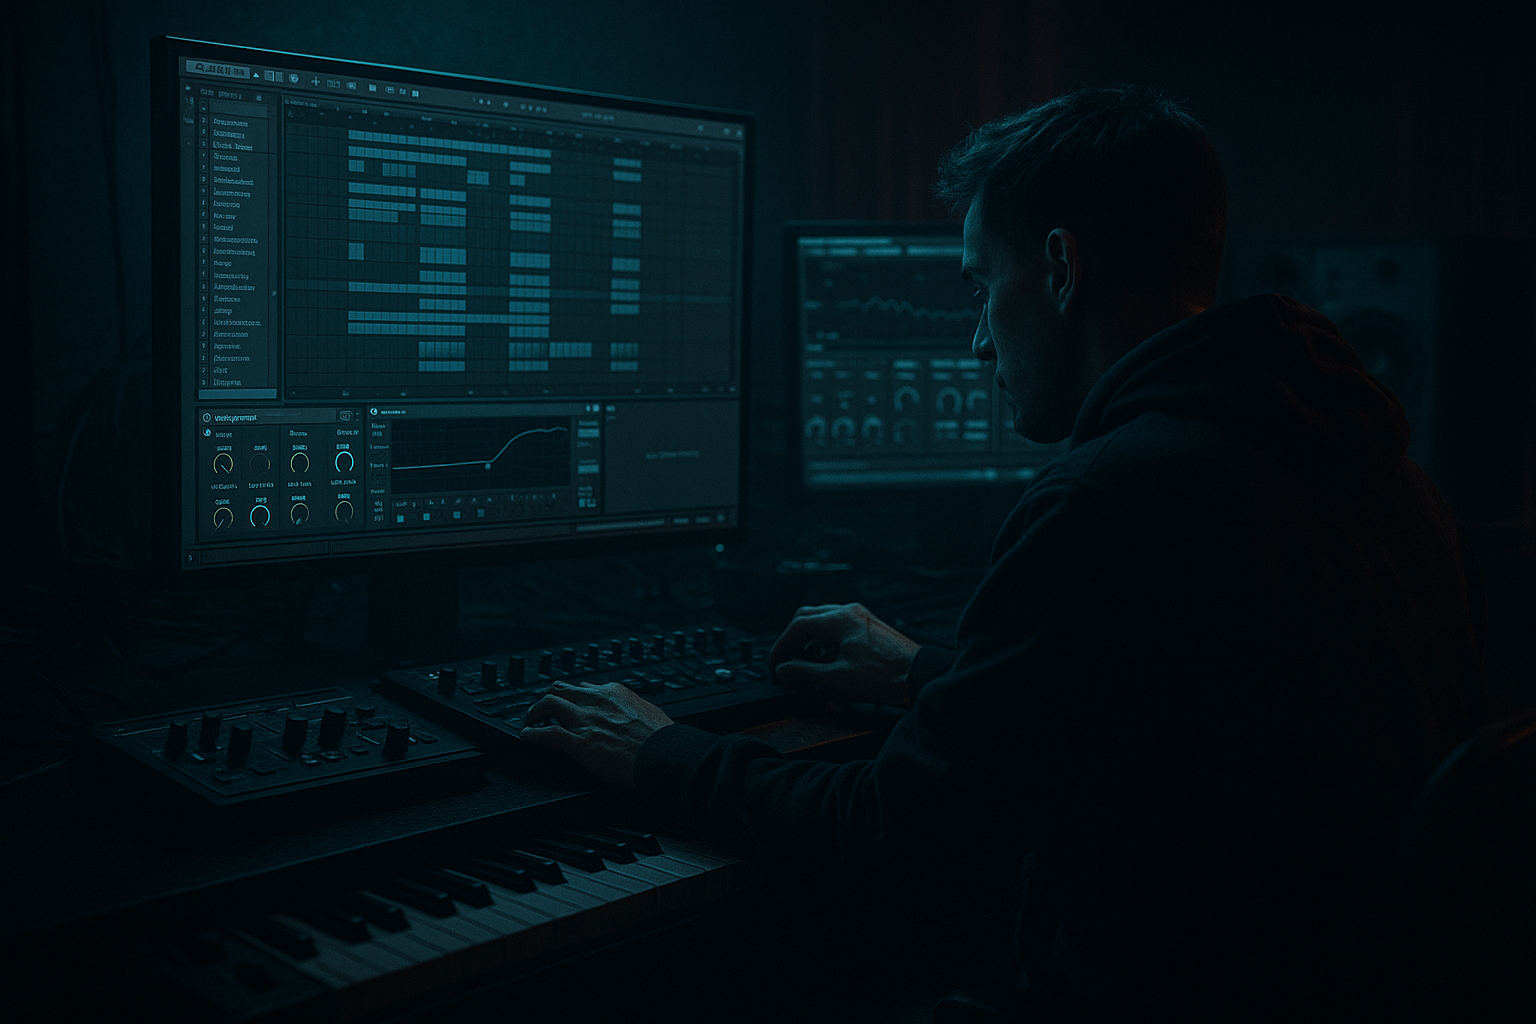
2. Build an FX chain on a Return or Audio track
For a beginner workflow, place your sound source on its own track, then create a dedicated processing chain using stock Ableton devices.
A practical FX chain for jungle/DnB:
- Auto Filter: low-pass or band-pass movement
- Saturator: add grit and density
- Echo: short dubby repeats or longer texture tails
- Reverb: small to medium space
- Utility: control width and mono compatibility
- Optional: Redux for lo-fi crunch, or Drum Buss for punch and saturation
Suggested starting settings:
- Auto Filter
- Low-pass mode
- Frequency around 200 Hz to 4 kHz depending on the sound
- Resonance around 0.5 to 1.5
- Saturator
- Drive around 2 to 6 dB
- Keep Soft Clip on if needed
- Echo
- Time: 1/8, 1/8D, or 1/4
- Feedback: 15–35%
- Filter the repeats so they don’t crowd the low end
- Reverb
- Decay: 1.2–3.5 sec
- Dry/Wet: 8–25%
- Utility
- Width: 0% to 80% depending on what you are processing
- Use mono if you’re working on low-end material
Beginner note:
If you’re processing bass, keep the sub controlled. If you’re processing drums, you can be more aggressive with saturation and reverb.
3. Automate one or two key parameters
The magic of transform sessions is movement. In DnB, a static effect is rarely enough.
Pick just 1–2 parameters to automate:
- Auto Filter cutoff
- Echo feedback
- Reverb dry/wet
- Saturator drive
- Utility width
Suggested automation ideas:
- Open the filter slowly over 4 or 8 bars to create a build
- Increase Echo feedback near the end of a phrase, then pull it down before the drop
- Push Saturator drive just for the last 1 bar of the buildup
- Narrow stereo width on the bass section, then widen the FX tail only
A useful musical example:
- Bars 1–4: filtered break + low reese
- Bars 5–8: filter opens and Echo gets more active
- Bar 8 last beat: delay spikes briefly, then everything cuts out
- Drop lands on dry drums and bass
Why this works in DnB:
Fast-tempo music needs clear arrangement cues. Automation gives the listener a sense of “something is coming” without overloading the mix.
4. Route the sound to a resampling track
Now comes the key move: record the processed output as audio.
In Ableton Live:
- Create a new Audio track
- Set its Audio From to the track or return where your processed sound is coming from
- If you want to capture the full chain, use Resampling or route from the source track output
- Arm the audio track for recording
- Set monitoring correctly so you can hear what’s being printed
Beginner-friendly option:
- Use Resampling if you want to capture everything coming out of the master
- Use direct routing from the processed source if you only want that one chain
Good workflow choice:
- Name the track PRINT FX or RESAMPLE FX
- Color it differently so you don’t lose it in the session
- Record in Session View if you want fast looping capture, or in Arrangement View if you’re building a song section
Keep an eye on levels:
- Aim for peaks around -6 dB to -3 dB
- Leave headroom so the print doesn’t clip unless distortion is part of the sound
5. Print a few passes, not just one
Don’t try to make the perfect resample in one go. In DnB, variation is gold.
Record at least 3 passes:
- Pass 1: clean-ish movement
- Pass 2: more aggressive automation
- Pass 3: extreme version with more feedback, drive, or filter motion
Record for:
- 4 bars if you want simple loopable texture
- 8 bars if you want more variation
- 16 bars if the chain includes long reverb tails or evolving delay
What to listen for:
- Nice snare tails
- Break fragments with texture
- Delay echoes that land in musical places
- Bass harmonics that sound interesting when printed
This is where the “oldskool” feeling comes from:
A lot of classic jungle energy comes from taking audio, printing it, then slicing the best moments into new rhythm patterns.
6. Chop the resampled audio into usable pieces
Once recorded, drag the audio clip into a new track or keep it in place and start editing.
Useful edits:
- Split out a single hit for a fill
- Chop a riser tail into a reverse lead-in
- Grab a snare echo and repeat it rhythmically
- Isolate a bass smear and use it under the drop
In Ableton:
- Turn on Warp if needed
- Use Cmd/Ctrl + E to split clips
- Duplicate selected bits to create rhythmic stutters
- Try moving tiny pieces just ahead of the beat for tension
Beginner tip:
- Don’t over-edit yet
- Start with 2–4 useful chops and place them at the end of 8-bar sections
A strong jungle-style use:
- Take a printed break-fill
- Chop 4 tiny hits
- Place them in the last 1/2 bar before the drop
- Add a reverse reverb tail from the same print to create lift
7. Use resampled audio as a new instrument
This is where the session starts feeling like sound design instead of just editing.
You can:
- Put the resampled clip into Simpler
- Use it as a one-shot texture
- Layer it with drums
- Pitch it down for darker vibes
- Reverse it for transitions
Best beginner approach:
- Load the resampled audio into Simpler
- Trigger it from MIDI
- Play it like a texture hit on the offbeat or before a fill
Suggested uses:
- A short impact before the drop
- A call-and-response with the snare
- A ghost texture under the main bassline
- A midrange stab that appears for only 1 bar
If the sample is too busy:
- Trim the start and end
- Use Fade handles
- Add a High-Pass Filter around 150–300 Hz to keep the low end clean
8. Shape the resample for arrangement
Don’t let the printed FX just loop forever. Place it intentionally.
Strong arrangement uses:
- Intro: filtered resample in the background
- Build: rising automation + repeating chopped print
- Drop: only one or two printed hits, so the drop feels cleaner
- Switch-up: bring the full resample back for 2 or 4 bars
Example arrangement context:
- Bars 1–8: drums and filtered break only
- Bars 9–16: bass enters, resampled delay tails appear every 4 bars
- Bars 17–24: full drop, no long FX tails, just tight fills
- Bars 25–32: switch-up with the resampled texture answering the drum fill
This creates contrast. In DnB, contrast is what makes the drop hit harder.
9. Tighten the mix so the effect stays powerful
Resampled FX can get messy fast, especially in the low end.
Use stock Ableton tools:
- Utility to mono the low-frequency material
- EQ Eight to cut unnecessary sub from FX prints
- Compressor or Drum Buss to control peaks
- Glue Compressor on a drum bus if your resampled drums need cohesion
Safe starting points:
- High-pass non-bass FX around 120–250 Hz
- Keep bass resamples mostly mono below the low mids
- If the print is harsh, gently dip around 2.5–5 kHz with EQ Eight
- If it’s too dull, add a subtle shelf above 8 kHz
Key discipline:
- Don’t let the resampled FX fight the kick and sub
- Treat it like a spice, not the main course
10. Freeze, flatten, or re-record if needed
If you like a chain but want a cleaner version, use Ableton’s workflow to commit and move on.
Good choices:
- Freeze/Flatten on a duplicate track if you want to keep CPU low
- Re-record with less reverb if the first print is too washed out
- Make a second resample that is more aggressive for the drop and a third that is more airy for the intro
Beginner rule:
- Commit when something sounds good enough
- Don’t endlessly tweak the chain while the arrangement is waiting
This speeds up finishing and keeps your session focused.
Common Mistakes
Fix: High-pass the effect chain or cut the resampled audio below 100–200 Hz if it’s not meant to carry sub.
Fix: Shorten decay, lower dry/wet, or chop the tail into smaller pieces.
Fix: Move at least one parameter over time. Even a small filter sweep helps.
Fix: Use it in the intro, fill, or switch-up. Pull it back when the main drums and bass arrive.
Fix: Use Utility and keep low-end elements centered. DnB needs solid club translation.
Fix: Record multiple passes and choose the best moments later.
Pro Tips for Darker / Heavier DnB
Mini Practice Exercise
Spend 10–20 minutes making a mini transition pack for one 8-bar phrase.
1. Create a 1-bar break loop and a simple 2-note bass stab.
2. Add Auto Filter, Saturator, Echo, and Reverb.
3. Automate the filter to open over 8 bars.
4. Resample two passes: one mild, one heavy.
5. Chop each resample into 3 useful pieces:
- one reverse tail
- one short fill
- one impact hit
6. Place the pieces at the end of the phrase:
- 1/2 bar before the drop
- last snare before the drop
- first beat of the switch-up
7. Bounce or freeze the best version and name it clearly.
Goal:
By the end, you should have a small custom FX toolkit you can reuse in future jungle/DnB tracks.
Recap
This workflow is one of the fastest ways to turn a basic loop into a real jungle / oldskool DnB sound design moment — and once you start resampling your own FX chains, your tracks begin to sound much more original and finished.

