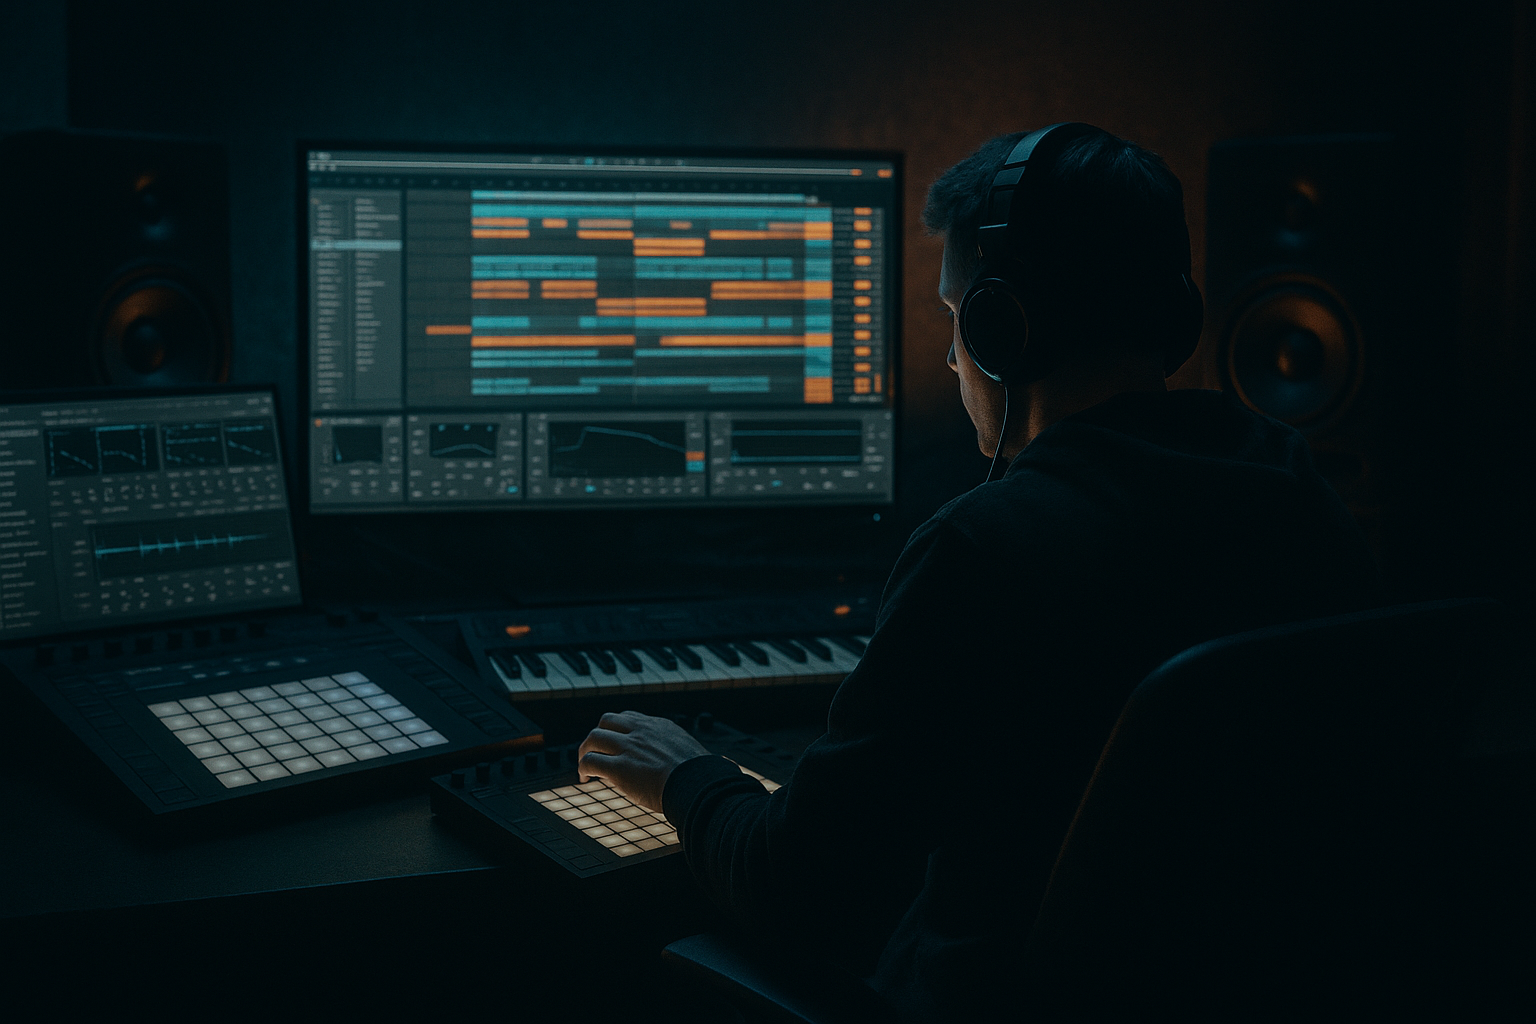
Main tutorial
```markdown
FX Chains for Breakdowns at 170 BPM (DnB in Ableton Live) 🔥
1) Lesson overview
Breakdowns in drum & bass aren’t just “the quiet bit” — they’re where you reset energy, build tension, and set up the drop. At ~170 BPM, changes feel fast, so your FX moves need to be intentional, rhythmic, and automated cleanly.
In this lesson you’ll build a few repeatable Ableton stock-device FX chains you can drop into any rolling/jungle/DnB project:
- A “DJ filter + space” breakdown rack for the whole mix
- A reese/rolling bass “evaporation” chain that keeps groove while clearing low-end
- A drum “ghost rinse” chain for jungle-style momentum
- A riser + impact return workflow that’s quick and clean
- Drum Group (Kick, Snare, Hats, Break)
- Bass Group (Sub + Reese)
- Music/Atmos
- Vocal/FX
- Mode: Stereo
- Use Filter 1 as a High-Pass:
- Optional: Filter 2 as Low-Pass for the “telephone” moment:
- Filter type: Clean LP or BP
- Set Resonance: 0.80–1.20 (careful: too much screams)
- Envelope: small (10–20%) if you want dynamic bite
- You’ll automate Frequency for a “closing in” feel.
- Algorithm: Hall or Shimmer (use shimmer sparingly for DnB)
- Predelay: 15–30 ms
- Decay: 4–8 s (breakdown swell), back to 1–2 s before drop
- Low Cut: 200–400 Hz
- High Cut: 7–12 kHz
- Mix: keep at 10–25% on the Master rack (you’ll do bigger throws via Return A)
- Width: automate from 100% → 130–160% in breakdown (not on sub!)
- Bass Mono: On
- Gain: use small trims if the rack adds loudness
- Ceiling: -0.3 dB
- This is not for loudness here — it’s just to catch reverb spikes.
- Macro 1: LOW CUT → EQ Eight HP Frequency
- Macro 2: LOW PASS → Auto Filter Frequency (or EQ LP)
- Macro 3: SPACE → Hybrid Reverb Mix (or Decay)
- Macro 4: WIDTH → Utility Width
- Macro 5: TENSION → Auto Filter Resonance (small range)
- Start breakdown: LOW CUT 80 Hz
- Over 8 bars: sweep to 220 Hz
- Last 2 beats before drop: LOW PASS down briefly (like 8 kHz → 2 kHz) then snap open on the drop
- SPACE up in the middle of the breakdown, then pull it down 1 bar before drop to make the drop feel huge
- EQ Eight (first!)
- Hybrid Reverb
- Compressor
- Echo
- Saturator
- EQ Eight
- HP at 80–120 Hz on the Reese (leave sub separate!)
- Optional notch if your reese has a nasty peak (often 200–400 Hz)
- BP filter for a “hollow” breakdown tone
- Frequency: 250 Hz – 2 kHz automated
- Resonance: 0.7–1.1
- Add a tiny LFO:
- Amount: 15–30%
- Rate: 0.2–0.6 Hz
- Width: 120–200%
- Keep it off the sub (again: split your sub!)
- Downsample: 2–6
- Dry/Wet: 5–15%
- DRUMS = main
- DRUMS GHOST = breakdown FX layer
- HP: 300–600 Hz
- Optional shelf boost at 8–12 kHz (+1 to +3 dB) for air
- Sidechain input: original DRUMS (or Kick/Snare)
- This makes the ghost layer rhythmically “open” with the groove.
- Threshold: set so hats/break transients open it
- Attack: 1–3 ms
- Release: 60–120 ms (tune to taste)
- Decay: 2–5 s
- Predelay: 10–25 ms
- Low cut: 400 Hz
- Mix: 20–40% (or 100% if you want pure wash)
- Drive: 2–6
- Crunch: 5–15%
- Boom: off (you’re removing lows)
- In breakdown, mute main DRUMS for 4–8 bars
- Keep DRUMS GHOST + occasional snare hits
- Add 1/16 hat ticks quietly so the tempo never “dies”
- Pull LOW CUT to ~120 Hz
- Bring atmos/vocal
- Minimal drums (ghost layer)
- Increase SPACE and WIDTH slowly
- Add delay throws on vocal chops/snare fills
- Start closing LOW PASS slightly (less top end)
- Bring back a filtered break (LP around 4–8 kHz)
- Add a riser + subtle pitch automation
- Shorter reverb decay (make room)
- Quick “telephone” moment: band-pass the master for 1 bar
- Last 1 beat: reverb tail cut + short silence (or a tiny gap)
- Drop: snap LOW CUT back to 30 Hz, WIDTH back closer to 100–120%
- Reverb on the sub: instant mud. High-pass your returns and keep sub mostly dry/mono.
- Automating too many things at once: pick 2–3 “hero” moves (filter + space + throws).
- No sidechain ducking on big verbs: the breakdown will feel smeared and small.
- Too-wide master during heavy bass moments: width is for mids/highs; keep low end tight.
- Not pulling FX down before the drop: if the breakdown is huge right up to the drop, the drop won’t feel like a jump in size.
- Use saturation on reverb returns (Saturator after reverb): makes space feel aggressive, not “pretty”.
- Dark halls > bright plates for techy/rolling vibes. Filter your verb highs to 7–9 kHz.
- Pre-drop “air vacuum” trick:
- Micro-stutters (without plugins):
- Tonal noise layer: a quiet vinyl/noise/field recording through Auto Filter + reverb makes breakdowns feel “cinematic” without adding melody.
- Build breakdowns around clear macro moves: filter + space + throws.
- Use returns for big FX, and duck them with sidechain so the groove stays alive at 170 BPM.
- Keep low end controlled: HP your reverb/delay, keep sub mono and mostly dry.
- Use a ghost drum layer to keep momentum in rolling/jungle breakdowns.
- Always reduce FX right before the drop — contrast is the secret weapon.
---
2) What you will build
You’ll end up with:
1. A Breakdown Master FX Rack (Macro-controlled) for: low cut, width, reverb swell, delay throws, and a “tape stop-ish” moment.
2. Bass Breakdown Chain that: removes sub safely, widens mids, adds movement, and transitions back into the drop.
3. Drum Breakdown Ghost Chain that: turns full drums into airy tops + rhythmic tails without losing the 170 swing.
4. A return-track FX setup to do throws the “pro” way.
All examples assume a typical DnB session:
---
3) Step-by-step walkthrough
Step A — Set up a clean breakdown routing (2 minutes)
Goal: Make breakdown FX powerful but controllable.
1. Create Return tracks:
- Return A: “Verb Long”
- Return B: “Delay Throw”
- Return C: “Smear / Texture” (optional)
2. Keep your Master clean (important):
- Don’t stack 5 huge reverbs on the Master. Use Returns for throws and keep the Master rack more “DJ-style”.
3. Group your core elements:
- Group all drums into DRUMS
- Group basses into BASS
- Anything musical into MUSIC
This makes breakdown automation fast: you can automate groups instead of 25 tracks.
---
Step B — Build the “Breakdown Master FX Rack” 🎛️
Where: Put this on your Pre-Master (recommended) or the Master if you must.
How: Create a new Audio Track named PREMASTER, route all groups to it, and put this rack there.
1. Add Audio Effect Rack → name it: `BREAKDOWN MASTER`.
2. Inside the rack, add devices in this order:
#### Device chain (stock) + practical settings
1) EQ Eight (DJ-style filter)
- Type: 24 dB/oct
- Start: 30 Hz
- Breakdown sweep to: 180–300 Hz (depends on how “thin” you want it)
- 12 dB/oct at 6–10 kHz
2) Auto Filter (movement + resonance)
3) Hybrid Reverb (space swell)
4) Utility (width + mono safety)
5) Limiter (safety)
#### Add Macros (important workflow)
Map these parameters to Macros:
Automation idea for 170 BPM:
---
Step C — Return A: “Verb Long” (big space without mud) 🌌
1) On Return A add:
- HP: 250–450 Hz (steeper: 24/48 dB if needed)
- Dip around 2–4 kHz if it gets harsh (2–3 dB)
- Hall / Dark Hall
- Predelay: 20 ms
- Decay: 6–12 s
- Modulation: small (5–15%) for movement
- Mix: 100% (because it’s a return)
- Sidechain from Snare (or Drum Group)
- Ratio: 2:1
- Attack: 3–10 ms
- Release: 120–250 ms
- Aim: 2–5 dB ducking so the verb breathes with the groove
DnB move: Send snare hits and vocal chops into this return only on the last 4 bars of breakdown.
---
Step D — Return B: “Delay Throw” (ping-pong tension) 🌀
1) Add:
- Sync: On
- Time: 1/4 or 1/8 dotted (dotted = instant jungle tension)
- Feedback: 25–45%
- Filter: HP 200 Hz, LP 6–10 kHz
- Modulation: small (10–20%)
- Stereo: 120–160%
- Drive: 1–4 dB
- Soft Clip: On
- Tighten highs if it’s spitty; notch resonances
Workflow: automate Send level from a vocal/bass stab/snare into Echo for one hit, then pull it back to zero. That’s a “throw”.
---
Step E — Bass “Evaporation” chain (keep roll, remove weight) 🧱➡️💨
Where: Put on the BASS group or specifically the Reese track (not the pure sub).
1) EQ Eight
2) Auto Filter (motion)
- Rate: 1/8 or 1/4
- Amount: subtle (so it pulses with 170)
3) Chorus-Ensemble (widen mids)
4) Redux (optional, for grit)
This can sound very modern neuro/techy when automated upward briefly.
Automation tip: In breakdown, gradually increase BP filter resonance + slightly reduce volume, then just before drop bypass chorus/redux so the drop hits clean.
---
Step F — Drum “Ghost Rinse” chain (jungle breakdown momentum) 🥁🌫️
This is how you keep “rolling” energy without full drums.
Where: Duplicate your DRUMS group and make a breakdown-only layer:
On DRUMS GHOST:
1) EQ Eight
2) Gate
3) Hybrid Reverb
4) Drum Buss (optional glue)
Arrangement move at 170:
---
Step G — Breakdown arrangement blueprint (16 bars that always works) 🧭
At 170 BPM, 16 bars is a sweet spot. Try this:
Bars 1–4: “Reset”
Bars 5–8: “Tension”
Bars 9–12: “Signal the drop”
Bars 13–16: “Final squeeze”
---
4) Common mistakes
---
5) Pro tips for darker/heavier DnB 🖤
- Automate a gentle high shelf down (EQ Eight) in the last 2 bars, then restore on drop.
- Use Beat Repeat on a return:
- Interval: 1 Bar
- Grid: 1/16
- Chance: 10–25%
- Filter: HP ~200 Hz
- Automate send for 1–2 beats only.
---
6) Mini practice exercise (15–20 minutes) ✅
1) Take an existing 16-bar drop section.
2) Duplicate it and turn it into a breakdown:
- Mute main drums for bars 5–12
- Keep DRUMS GHOST the whole time
3) Add the `BREAKDOWN MASTER` rack to PREMASTER.
4) Automate:
- LOW CUT: 60 Hz → 240 Hz over 8 bars
- SPACE: 10% → 25% (peak around bar 10), then back to 10% at bar 15
- WIDTH: 100% → 150% by bar 12, then back to 110% at the drop
5) Add exactly 3 delay throws using Return B:
- One vocal chop
- One snare hit
- One reese stab
6) Bounce/export and listen: does the drop feel bigger than before? If not, pull down FX earlier.
---
7) Recap
If you want, tell me your sub/bass setup (separate sub track or single rack?) and whether your drums are break-heavy or punchy 2-step — I’ll tailor a breakdown FX chain that fits your exact style.
```

