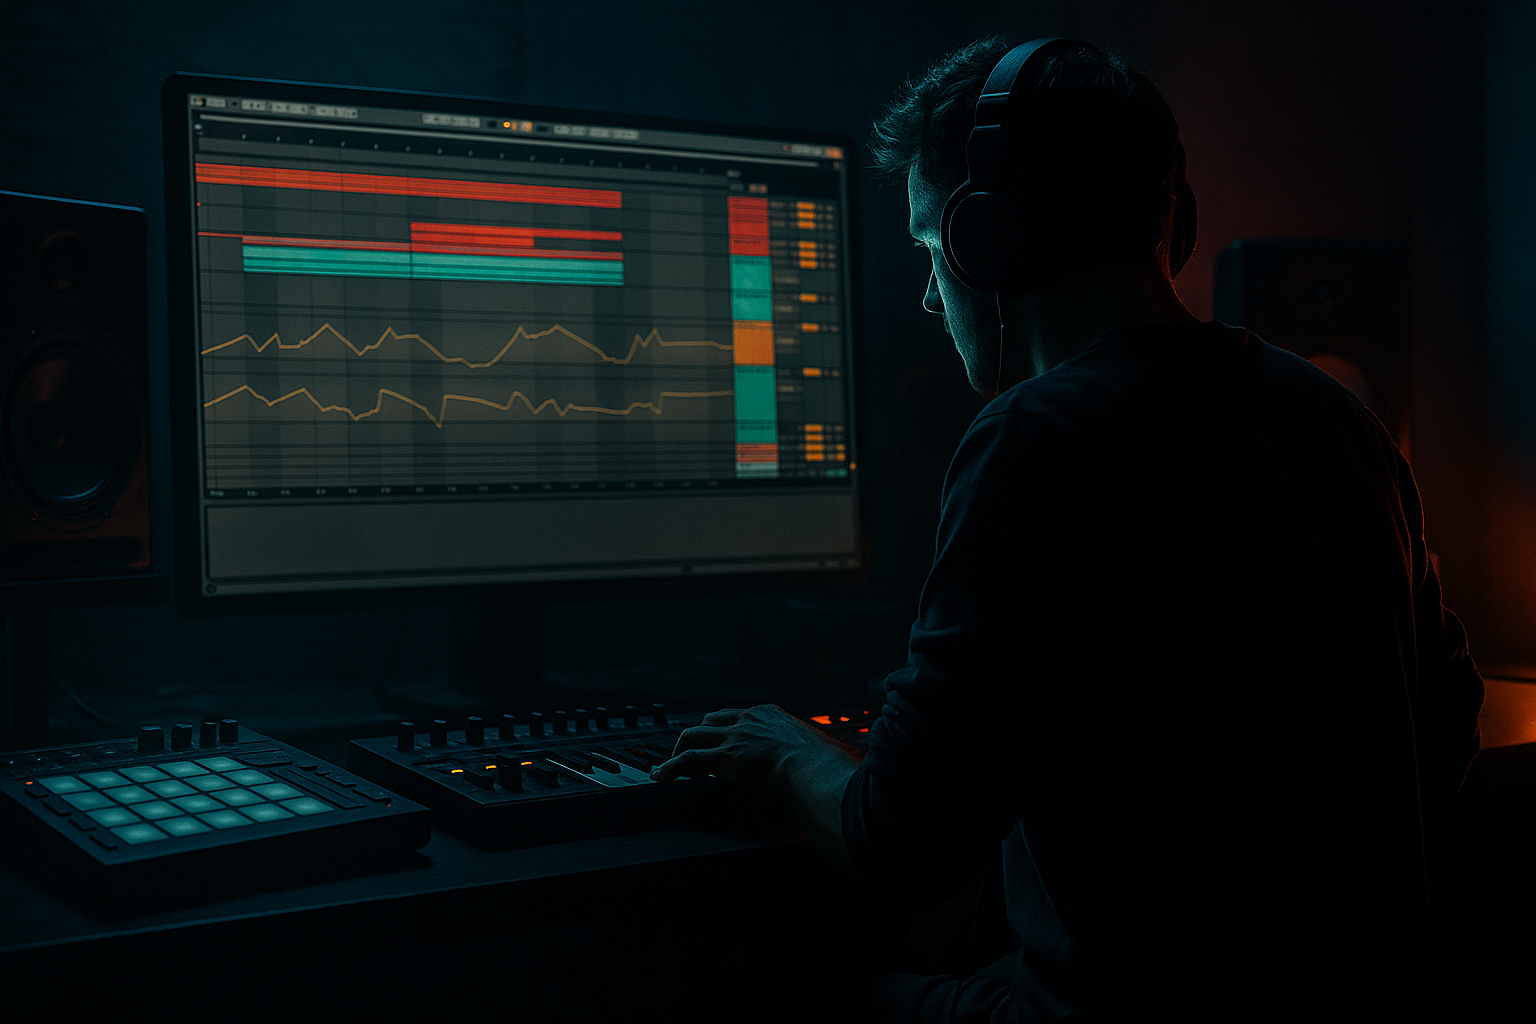
DNB COLLEGE

Drum & Bass Ableton Live 12 Tutorials

LESSON DETAIL

Gain staging your session for club mixes (Beginner)

An AI-generated beginner Ableton lesson focused on Gain staging your session for club mixes in the Mixing area of drum and bass production.

Back to lessons
Gain staging your session for club mixes (Beginner) cover image

Narrated lesson audio

The voice track includes the tutorial plus extra teacher commentary.

Open audio file

Main tutorial

```markdown

Gain Staging Your Session for Club Mixes (DnB in Ableton Live) 🔊🥁

1) Lesson overview

Gain staging is simply setting levels at every stage (samples → tracks → groups → master) so you:

  • keep headroom (so the mix can get loud later without distortion),
  • avoid plugins behaving weirdly because they’re being hit too hard,
  • get a clean, punchy drum & bass mix that translates to club systems.
  • In drum and bass, where kicks/snares hit hard and sub-bass is constant, good gain staging is the difference between “big” and “broken.”

    Goal for this lesson:

    Build an Ableton Live session gain structure that leaves ~6 dB headroom on the master, keeps drums punching, and keeps the sub controlled.

    ---

    2) What you will build

    A simple but pro club-ready gain staging template for DnB with:

  • Track-level gain targets
  • Group busses (Drums / Bass / Music / FX)
  • A clean pre-master (Mix Bus) chain using stock Ableton devices
  • A practical “DnB loudness pathway” (mix clean first, then get loud later)
  • You’ll end with:

  • Master peaking around -6 dBFS (no limiter required while mixing)
  • Drums and bass balanced in a way that stays stable when you push the volume
  • A workflow you can repeat every project
  • ---

    3) Step-by-step walkthrough

    Step 0 — Session prep (2 minutes)

    1. Set your project sample rate (optional but good practice):

    `Preferences → Audio → Sample Rate = 48kHz` (common for modern production).

    2. Turn off anything on the master that’s “making it loud” for now (limiters, clippers, maximizers).

    You can add it later for referencing.

    Why: Gain staging is easiest when the master isn’t hiding issues.

    ---

    Step 1 — Add metering so you stop guessing 🎛️

    Ableton’s meters are decent, but for practical gain staging:

  • Use the channel meters + Master meter
  • Add Spectrum on important channels (Sub/Bass, Drum Group, Master)
  • Do this:

  • On your Master, add:
  • 1) Utility (first in chain)

    - `Gain = 0 dB` (for now)

    - Use it later for quick reference volume trims

    2) Spectrum

    - Block size: `8192` (more stable low-end view)

    - Range: set bottom to `-96 dB` if you want clearer sub visibility

    DnB check: You want to see 40–60 Hz activity (sub fundamental range) and make sure it isn’t insane compared to the mids.

    ---

    Step 2 — Establish your headroom target (club-minded)

    A great beginner target for mix stage:

  • Master peak: around -6 dBFS
  • Master average: typically around -18 to -12 dBFS RMS-ish (don’t obsess; just keep it clean)
  • This gives enough space for later “loudness processing” (clip/limit) without destroying transients.

    ---

    Step 3 — Build a clean routing structure (DnB-friendly)

    Create these Groups:

  • DRUMS (kick, snare, hats, breaks, percussion)
  • BASS (sub + reese/mid bass)
  • MUSIC (pads, stabs, atmos, vocals)
  • FX (rises, impacts, noise sweeps)
  • Then route those Groups to a PREMASTER (optional but very useful):

  • Create an Audio Track named PREMASTER
  • Set each Group’s Audio To → PREMASTER
  • Set PREMASTER Audio To → Master
  • Why this is huge:

    You can treat PREMASTER as your “mix bus,” leaving the true Master clean for export, referencing, and safety.

    ---

    Step 4 — Gain stage from the source (clips/samples first) 🎚️

    This is where beginners often skip—and it causes the most problems.

    #### For audio samples (kicks, snares, breaks):

  • Click the audio clip → Clip Gain (the little gain control in Clip View)
  • Adjust so the channel meter isn’t slamming red before you even mix.
  • Practical targets (starting points):

  • Kick track peaks: around -10 to -6 dBFS
  • Snare track peaks: around -10 to -6 dBFS
  • Break loop peak: around -12 to -8 dBFS (depends on crunch)
  • These aren’t laws—just a stable baseline.

    #### For synths (Wavetable/Operator) and VSTs:

  • Lower the instrument output or use Utility first in chain.
  • Put Utility at the top of your bass synth chain:
  • - `Gain: -6 dB` as a starting trim (adjust by ear + meter)

    Why: Many synth presets are way too loud.

    ---

    Step 5 — Set a DnB drum balance first (anchor the mix) 🥁

    DnB mixes often live or die by kick + snare + sub relationship.

    Workflow:

    1. Mute everything except Kick + Snare

    2. Bring kick to a comfortable level first.

    3. Bring snare to match energy.

    Quick reference idea:

  • In rolling DnB, the snare often feels as loud or louder than the kick due to 200 Hz–5 kHz crack.
  • Ableton stock chain suggestion (DRUMS Group):

    1. EQ Eight (gentle cleanup)

    - High-pass at `20–30 Hz` (24 dB/oct) to remove rumble

    2. Glue Compressor (light bus control)

    - Ratio: `2:1`

    - Attack: `10 ms`

    - Release: `Auto`

    - Aim for 1–2 dB gain reduction on peaks

    3. Drum Buss (optional, subtle)

    - Drive: `1–5` (keep it modest)

    - Boom: OFF at first (Boom can wreck low-end headroom fast)

    Important: Gain stage into these processors. If you push them too hard, you’ll get unintended distortion and lose headroom.

    ---

    Step 6 — Lock the sub to the kick (without eating headroom) 🐍

    DnB club mixes = sub that’s loud but controlled.

    #### Sub track setup (simple + effective)

    On your SUB track:

    1. EQ Eight

    - Low-pass around `80–120 Hz` (depends on your sound)

    - Optional: tiny dip if there’s nasty resonance

    2. Utility

    - Width = 0% (mono sub!)

    - Gain trim to hit level targets cleanly

    Sub level target (starting point):

  • Sub track peaks often sit around -12 to -6 dBFS depending on how consistent it is.
  • The real goal: master stays below -6 dBFS peak while sub feels strong.
  • #### Sidechain (classic DnB move)

    On the SUB track add Compressor (Ableton stock):

  • Sidechain: ON
  • Audio From: Kick
  • Ratio: `4:1`
  • Attack: `1–5 ms`
  • Release: `50–120 ms` (sync to groove; faster for punchy, slower for rolling)
  • Threshold: adjust for 2–5 dB gain reduction
  • Result: Kick hits clean, sub stays loud, master headroom improves.

    ---

    Step 7 — Gain stage your bass group (mid/reese) so it bites, not blares 🧱

    On your BASS Group:

    1. EQ Eight

    - High-pass around `25–35 Hz` (clean inaudible rumble)

    - If it’s a reese: manage 200–400 Hz mud carefully

    2. Saturator (controlled harmonics)

    - Mode: `Analog Clip` (great for DnB)

    - Drive: start `2–6 dB`

    - Output: reduce so level matches bypass (critical!)

    3. Glue Compressor (optional)

    - 1–2 dB GR max, just to hold it steady

    Gain staging rule:

    Every time you add saturation/compression, match the output level when bypassed. If it’s louder, you’ll think it’s “better” even if it’s just louder.

    ---

    Step 8 — Control groups into the PREMASTER (this is where club headroom is won)

    Now bring up:

  • DRUMS Group
  • BASS Group
  • MUSIC Group
  • FX Group
  • Watch the PREMASTER meter.

    Target:

  • PREMASTER peaks around -6 dBFS
  • If it’s peaking higher, turn down groups, not the master.
  • Why: Turning down the master hides clipping inside plugins/groups. Turning down groups fixes the real problem.

    ---

    Step 9 — Add a safe, minimal PREMASTER chain (mix stage)

    On PREMASTER, keep it gentle:

    1. EQ Eight (optional)

    - High-pass at `20 Hz` (24 dB/oct)

    - Only do this if you truly have rumble. Don’t gut your sub.

    2. Glue Compressor (very light “glue”)

    - Ratio: `2:1`

    - Attack: `30 ms` (let transients through)

    - Release: `Auto`

    - GR: 0–1 dB most of the time

    3. Utility (final trim)

    - Use this to set PREMASTER peaks around -6 dBFS

    Keep the actual Master clean while mixing. If you want loudness for a reference, do it temporarily (next step).

    ---

    Step 10 — “Club loud” referencing without ruining your mix 🔥

    Create a Reference Loudness Rack on the Master that you can toggle ON/OFF:

    On MASTER:

    1. Utility (optional)

    - Gain: `0 dB`

    2. Limiter

    - Ceiling: `-0.3 dB`

    - Lookahead: `1 ms` (default is fine)

    - Turn it on ONLY for checking vibe

    When you enable it:

  • Watch how much it’s reducing. If you’re seeing 5–8 dB constantly, your mix balance/headroom is off (usually too much sub or too loud drums).
  • Best practice: Mix with limiter OFF, check with limiter ON briefly, then OFF again.

    ---

    Step 11 — Arrangement ideas that help gain staging (DnB specific)

    Gain staging isn’t just mixing—it’s arrangement choices that prevent overload:

  • Drop impact control:
  • Don’t add kick + snare + full sub + full reese + crash + ride all on the same first hit unless you plan headroom.

  • Use short “air gaps”:
  • Tiny 1/16 pauses or filtered pre-drop moments make the drop feel louder without needing actual level.

  • Layer smart:
  • If your snare has big low-mid body, your break doesn’t need the same body—HP it.

    ---

    4) Common mistakes (and fixes)

    1. Mixing into a limiter from the start

    - Fix: Disable it until the mix feels balanced.

    2. Turning down the master fader instead of the groups

    - Fix: Pull down DRUMS/BASS/MUSIC groups; keep master at 0 dB.

    3. Sub in stereo (club systems hate this)

    - Fix: Utility on SUB, `Width = 0%`.

    4. Over-saturating bass without output matching

    - Fix: Always level-match with device Output.

    5. Breaks and hats too loud = “fake loudness”

    - Fix: Pull hats/break top end down; let snare + bass be the power.

    6. Clipping inside plugins

    - Fix: Trim with Utility before heavy processors.

    ---

    5) Pro tips for darker/heavier DnB 🕶️

  • Clip the drums (subtly) instead of limiting the master hard
  • Ableton stock trick: use Saturator on drum group:

    - Mode: `Analog Clip`

    - Drive: `2–4 dB`

    - Output down to match

    This can add density while preserving punch.

  • Make the mid-bass audible on small systems without boosting sub
  • - Use Saturator or Overdrive on mid-bass layers

    - Then EQ Eight to control harshness around `2–5 kHz`

  • Control low-end dynamics with multiband (carefully)
  • - Multiband Dynamics on BASS group can stabilize a wild reese

    - Keep it gentle—DnB needs movement, not flatness

  • Pre-drop filtering for perceived loudness
  • - Automate Auto Filter on MUSIC/FX group before the drop (HP sweep)

    - Drop hits harder at the same peak level (free loudness)

    ---

    6) Mini practice exercise (15 minutes) ✅

    Use any rolling DnB loop set (kick, snare, break, sub, reese).

    1. Create groups: DRUMS, BASS, MUSIC, FX → route to PREMASTER.

    2. Set all faders to -inf, then:

    - Bring up Kick until it peaks around `-8 dBFS`

    - Bring up Snare to match energy (also around `-8 dBFS` peak-ish)

    - Add Sub, then sidechain it to kick (2–5 dB GR)

    3. Add Break and reduce it until it supports the groove without stealing snare crack.

    4. Check PREMASTER peak:

    - If above `-6 dBFS`, pull down DRUMS and BASS groups slightly.

    5. Toggle a Master Limiter on for 20 seconds:

    - If limiter is reducing more than ~3 dB constantly, identify what’s eating headroom (usually sub or low-mids).

    Deliverable: Export a 16-bar drop section with:

  • Limiter OFF: clean, peaks around -6 dBFS
  • Limiter ON: loud, but not pumping uncontrollably
  • ---

    7) Recap

  • Gain staging for club mixes in DnB is about headroom + stability, not quiet mixes.
  • Build a routing structure: Tracks → Groups → PREMASTER → Master.
  • Gain stage at the source, then keep levels sensible into processing.
  • Mono the sub, sidechain it, and don’t let it eat your headroom.
  • Mix with master processing OFF, then use a toggle limiter for loudness checks.

If you want, tell me what style you’re making (liquid, jump-up, neuro, jungle/140-ish) and what your current master peak is—I'll suggest exact starting levels and a clean PREMASTER chain for that sound.

```

Ask GPT about this lesson

Chat with the lesson tutor, get follow-up help, or use quick actions.

Bigup 👽 Ask me anything about this lesson and I’ll answer in context.

Narration script

Show spoken script
Title: Gain staging your session for club mixes, beginner drum and bass in Ableton Live

Alright, welcome in. Today we’re doing one of the most unglamorous, most important skills in drum and bass: gain staging. And if you want your mix to actually translate on a club system, this is where the power is.

Because in DnB you’ve got two things that are constantly trying to break your mix. One: kicks and snares with big transients. Two: a sub that’s basically always there. If your gain structure is messy, you end up with that “why does it sound huge at home but broken in the car or the club” problem. Or you’re slamming plugins and not realizing it, then wondering why everything feels crunchy and small when you push it loud.

So here’s the goal for this lesson: we’re going to build a simple Ableton session gain structure that leaves about six dB of headroom on the master while you’re mixing. No limiter needed during the actual mix. Drums stay punchy, sub stays controlled, and later on you’ll have space to get it loud without destroying it.

First, quick mindset: think “gain flow,” not just faders. In Ableton, level happens in a bunch of places: clip gain, instrument output, device output, track fader, group fader, premaster, then master. A clean workflow is this: your clip gain and instrument output set the health of the signal, and your faders set the balance. If you find every track fader living at like minus twenty-five just to survive, your sources are too hot. Fix it earlier in the chain.

Step zero: session prep. Two minutes.
If you want a modern default, set your sample rate to 48k in Preferences under Audio. Not mandatory, but solid practice.
Now, super important: turn off anything on your master that’s “making it loud.” So disable limiters, clippers, maximizers, whatever you slapped on there to vibe. We’re going to add a referencing setup later, but for now we need honesty. Gain staging is easiest when the master isn’t hiding problems.

Step one: metering, so we stop guessing.
Ableton’s meters are fine, but you want a little more visibility. So here’s what I want you to do on the Master channel: add Utility first, then Spectrum.
Utility stays at zero dB for now. Think of it as your master volume trim later if you need it, but we’re not using it to “fix” gain staging.
Then Spectrum after that. Set the block size to 8192 so the low end is smoother and easier to read. If you want, set the bottom of the range to minus 96 dB so sub activity is easier to see.

Teacher note: in drum and bass, Spectrum is not there to mix with your eyes. It’s there to catch you when you’re lying to yourself about the low end. You want to see energy in that 40 to 60 Hz zone for many DnB subs, depending on the key. But you don’t want it looking like a skyscraper compared to everything else.

Step two: pick a headroom target.
Here’s a great beginner target for club-minded mixing: aim for your master peak around minus six dBFS while mixing. Average level, don’t obsess, but you’ll often sit somewhere around minus eighteen to minus twelve-ish RMS territory depending on the material. The key is: clean, not pinned.
Why minus six? Because later, when you do loudness processing, you’ll need room for clipping and limiting without flattening transients. Six dB is a nice practical buffer.

Step three: build a clean routing structure. This is a big one.
Create four groups: Drums, Bass, Music, and FX.
Drums is kick, snare, hats, breaks, percussion. Bass is sub plus your reese or mid bass. Music is pads, stabs, vocals, atmos. FX is risers, impacts, noise sweeps, all that.

Now the pro move: add a premaster.
Create an audio track and name it PREMASTER. Set each group’s Audio To to PREMASTER. Then set PREMASTER Audio To to Master.
Why this is huge: your premaster becomes your mix bus. You can process gently there, and you keep the true Master clean for exporting, referencing, and safety. Also, you avoid that classic beginner trap of pulling down the master fader and thinking you fixed clipping. Because if you clip inside a group or plugin, turning the master down does not undo that damage. It just turns down the already-broken signal.

Step four: gain stage from the source. This is where mixes are won.
Let’s start with audio samples like kick, snare, breaks.
Click the audio clip and look for clip gain in the clip view. Adjust it so you’re not slamming the track meter before you even start mixing.

Practical starting targets:
Kick peaks somewhere around minus ten to minus six dBFS.
Snare peaks around minus ten to minus six as well.
Break loops often peak around minus twelve to minus eight depending on how crunchy the loop is.

Not laws. Just stable baselines. The point is: you’re giving your session breathing room.

For synths like Operator, Wavetable, or loud VST presets: assume the preset is too hot. Lower the instrument output, or put a Utility at the top of the chain and trim it. A good starting trim is minus six dB. Then adjust from there.

Coach note: if you notice that every time you add a plugin your sound gets “worse,” you might not be hearing worse. You might be hearing plugins being overdriven. Many devices change character drastically based on input level. So we’re going to keep everything hitting processors at sensible levels.

Step five: set the drum balance first. Drums are the anchor.
Mute everything except kick and snare.
Bring the kick up to a comfortable level. Then bring the snare up until the energy matches.

In rolling DnB, the snare often feels as loud or louder than the kick. Not because it has more sub, but because that crack and body in the 200 Hz to 5 kHz region is what your brain locks onto. If your snare doesn’t feel like it’s driving the track, you’ll compensate by pushing the whole mix louder, and then everything falls apart.

On your Drums group, here’s a simple stock chain:
First, EQ Eight for gentle cleanup. High-pass around 20 to 30 Hz with a steep slope to remove rumble.
Then Glue Compressor, light. Ratio two to one, attack around ten milliseconds, release on Auto. Aim for one to two dB of gain reduction on peaks.
Then optionally Drum Buss, but keep it subtle. Drive maybe one to five. And keep Boom off at first, because Boom can destroy your low-end headroom fast.

Big reminder: gain stage into these processors. If you hit Glue or Drum Buss too hard, you’ll get unintended distortion, your transients blur, and your headroom vanishes.

Step six: lock the sub to the kick, without eating headroom.
On your Sub track, make it simple and clean.
Put EQ Eight first. Low-pass around 80 to 120 Hz depending on the sound. If there’s an ugly resonance, make a tiny, narrow dip, but don’t go crazy.
Then Utility. Set width to zero percent. Mono sub. Always. Club systems hate stereo sub. Even if it sounds “wide” and cool in headphones, it can collapse or phase out in a real system.

Sub level target as a starting point: you might see peaks around minus twelve to minus six dBFS depending on how consistent the sub is. But here’s the real target: your premaster and master should still stay under that minus six dBFS peak goal while the sub feels strong.

Now sidechain, classic DnB move.
Add Ableton Compressor on the Sub track. Turn on sidechain. Set Audio From to Kick.
Start with ratio four to one. Attack one to five milliseconds. Release somewhere around 50 to 120 milliseconds. Faster for punchy stuff, slower for a more rolling groove. Set threshold until you’re getting about two to five dB of gain reduction when the kick hits.

What you should hear: the kick punches through cleanly, the sub stays loud, and the overall headroom improves. If the sub sounds like it’s sucking too hard, lengthen the attack slightly or shorten the release. If the kick still feels masked, increase the gain reduction or adjust the release to get out of the way quicker.

Step seven: gain stage the Bass group, the mid and reese stuff, so it bites, not blares.
On the Bass group: start with EQ Eight. High-pass around 25 to 35 Hz to remove inaudible rumble. That rumble is basically “limiter food” later.
If it’s a reese, pay attention to 200 to 400 Hz. That’s where mud builds and steals headroom while making the mix feel smaller.

Then add Saturator for controlled harmonics. Analog Clip mode is a great DnB-friendly choice. Drive maybe two to six dB.
And this is critical: output match. Every time you add saturation or compression, match the level to bypass. If it’s louder, your brain will call it better. We don’t want louder. We want better.

Optionally, a Glue Compressor on the bass group, very light, like one to two dB of gain reduction max, just to keep it steady.

Step eight: control your groups into the Premaster. This is where club headroom is won.
Now bring in the groups: Drums, Bass, Music, FX.
Watch the Premaster meter. Target peaks around minus six dBFS.
If Premaster is peaking higher than that, do not turn down the master fader. Turn down the groups. Especially drums and bass.

Quick diagnostic habit: if you can’t get under minus six without the mix feeling weak, it usually means your low end is eating headroom, or your low-mids are too thick, or your breaks and hats are doing “fake loudness” by spitting too much top end. Pull back the offenders rather than shrinking the whole mix.

Step nine: add a safe, minimal Premaster chain for mix stage.
On Premaster, keep it gentle. This is not mastering.
Optional EQ Eight with a high-pass at 20 Hz if you truly have rumble. Don’t gut your sub fundamentals.
Then Glue Compressor, very light glue. Ratio two to one, attack 30 milliseconds so transients can breathe, release Auto. You want zero to one dB of gain reduction most of the time.
Then Utility at the end as your final trim to set premaster peaks around minus six.

Teacher note: this is a great place to put a TRIM Utility in your template mindset. You can even put Utility first on every track and group and rename it TRIM. Then you keep faders in a comfortable range, like minus six to zero, which makes automation and balancing way easier. The TRIM sets the health, the fader sets the balance.

Step ten: “club loud” referencing without ruining your mix.
We’re going to make a simple referencing chain on the Master that you toggle on and off.
On Master, add a Limiter. Set ceiling to minus 0.3 dB. Leave lookahead around 1 ms, default is fine.
Only turn this on for quick vibe checks.

When you enable it, watch the gain reduction. If it’s constantly doing five to eight dB, your mix balance or headroom is off. Usually it’s too much sub, too much low-mid in the bass, or the drums are too hot.
Best practice: mix with limiter off, check with it on for like 20 seconds, then turn it off again. Don’t build decisions while being lied to by a limiter.

Extra coach note: if you bring in a reference track, it will be mastered louder than your mix. Always level-match it. Turn the reference down until it’s similar loudness to your un-limited mix. Otherwise you’ll chase loudness instead of tone, and you’ll overcook your low end.

Step eleven: arrangement choices that make gain staging easier, DnB specific.
Gain staging isn’t only a mixing thing. It’s also an arrangement thing.
At the drop, don’t stack kick, snare, full sub, full reese, crash, ride, impact, and a huge wide noise on the exact same first hit unless you’ve budgeted headroom for it. Pick heroes. Usually two or three. Like snare crack, kick thump, bass movement. Everything else supports.
Use micro breaks and air gaps. A tiny filtered moment before the drop, or a small pause, makes the drop feel louder at the same peak level. That’s free loudness.
And high-pass your FX more than you think. Risers and impacts often have low rumble you don’t notice until your limiter starts pumping.

Now, common mistakes to avoid, quick fire.
Mixing into a limiter from the start. Don’t. Balance first.
Turning down the master instead of groups. Fix problems upstream.
Stereo sub. Mono it with Utility width to zero.
Over-saturating bass without output matching. Always match.
Breaks and hats too loud. That’s fake loudness. Let snare and bass carry the power.
And plugin clipping inside devices. If a track meter looks fine but you hear grit, bypass the last plugin you added. If the distortion disappears, reduce the input to that plugin with a Utility before it. Not just the output after it.

Mini practice exercise, about 15 minutes.
Grab any simple rolling DnB set: kick, snare, break, sub, reese.
Make your groups and route them to Premaster.
Set all faders to minus infinity, then bring up the kick until it peaks around minus eight. Bring up the snare to match energy, also around minus eight peak-ish.
Add the sub, sidechain it to the kick for two to five dB of gain reduction.
Add the break, then reduce it until it supports the groove without stealing the snare crack.
Now check Premaster peak. If it’s above minus six, pull down the Drums and Bass groups slightly.
Finally, toggle your master limiter on for 20 seconds. If it’s reducing more than about three dB constantly, hunt the headroom thief. Usually sub, low-mids in bass, or FX rumble.

Your deliverable is a 16-bar drop export in two versions.
Version A: limiter off, clean, peaks around minus six.
Version B: limiter on, loud, but not breathing and pumping like crazy.

Last recap to lock it in.
Gain staging for club DnB is about headroom and stability, not making your mix quiet. You’re building a clean gain flow from sources to tracks to groups to premaster to master.
Trim loud sources early, keep levels sensible into processing, mono the sub, and sidechain it.
Mix with master processing off, then use a toggle limiter for quick loudness checks.

If you tell me what sub note you’re writing around and your tempo, I can suggest a sidechain release window and a good starting sub note length so your peaks stay consistent and your drop stays controlled.

mickeybeam

Go to drumbasscd.com for +100 drum and bass YouTube channels all in one place - tune in!

Generating PDF preview…