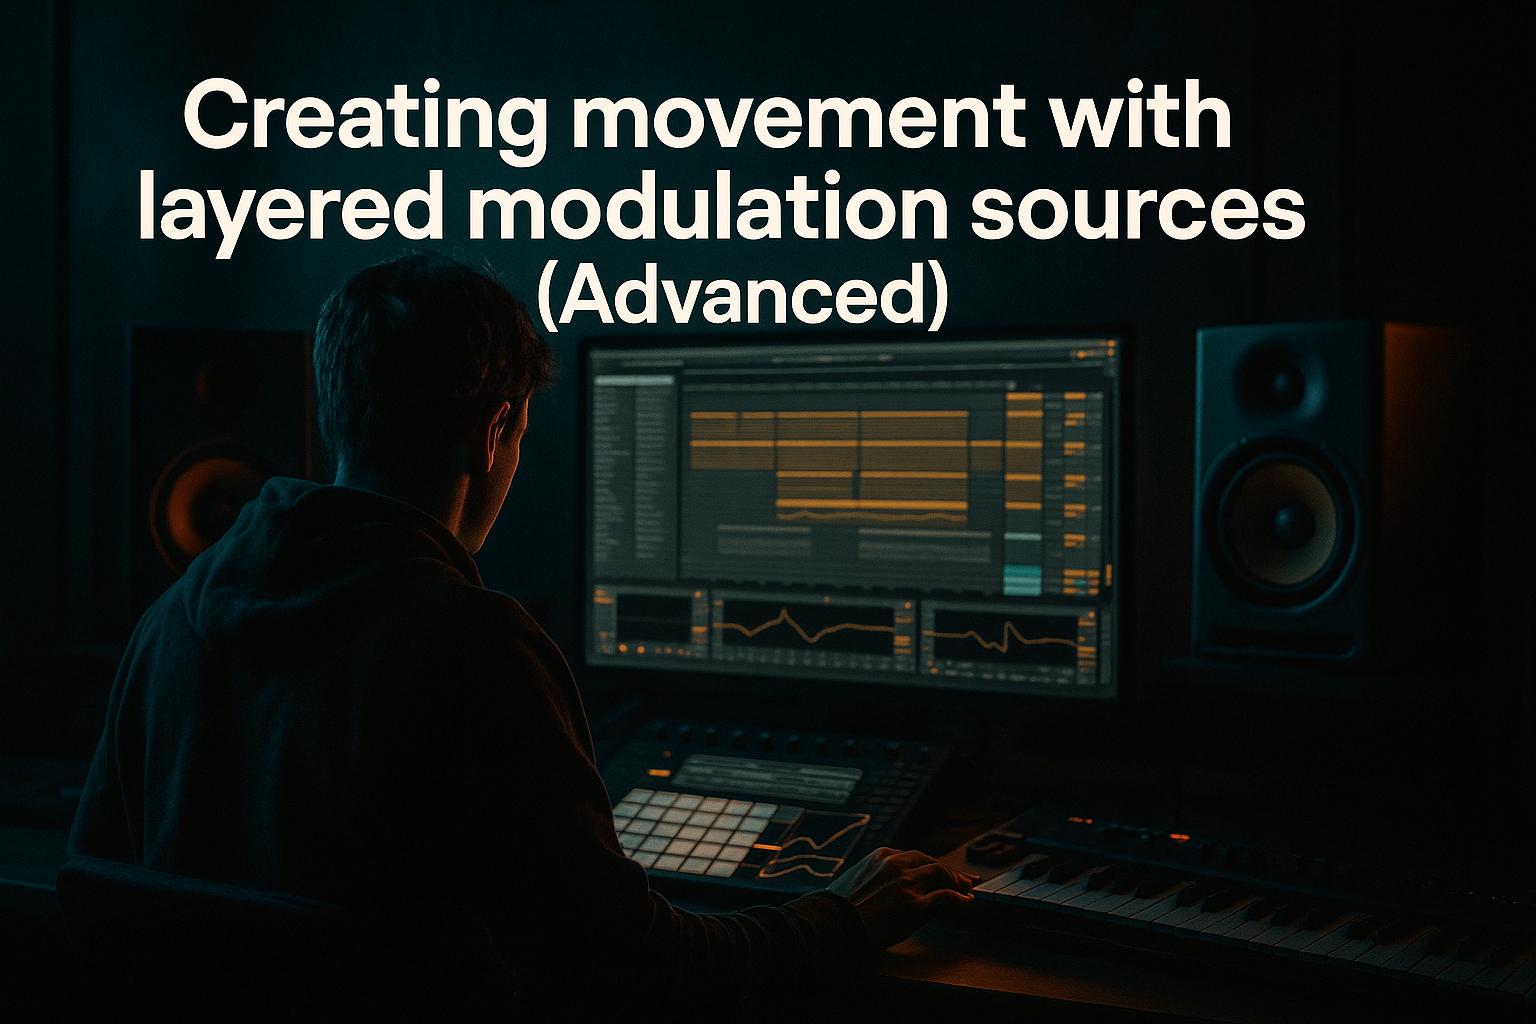
Main tutorial
Ghost a Top Loop with Macro Controls (Ableton Live 12) — Oldskool Jungle / DnB Vibes 🥁🔥
1) Lesson overview
In jungle and oldskool DnB, that “top loop” (hats/shakers/ride/perc) often breathes around the break rather than sitting on top like a static layer. “Ghosting” a top loop means you keep it present and rolling, but it ducks, thins, and flickers around key drum hits and sections—giving you that late-90s movement while staying clean at mastering stage.
In this lesson you’ll learn a simple mastering-style workflow in Ableton Live 12: build a controllable Top Loop Ghost Bus and drive it with Macros so you can perform tight, musical movement across your track.
---
2) What you will build
You’ll create a Top Loop Ghost Rack on a dedicated “TOPS” return/bus that includes:
- EQ + texture for oldskool grit
- Transient control to tuck tops behind breaks
- Sidechain ducking that you can dial in with a Macro
- Stereo + width that collapses safely when needed
- A “Ghost” Macro system (4–8 macros) for automation and live performance 🎛️
- Filter 1: High-pass at 250–500 Hz (12 or 24 dB/oct)
- Dip harshness: If needed, notch 7–10 kHz by -2 to -4 dB (Q ~2–4)
- Add air (optional): gentle shelf 10–14 kHz +1 to +3 dB
- Drive: 2–8 (taste)
- Crunch: 5–20 (subtle for tops)
- Transient: -5 to -20 (this is key to “ghosting”—softens attacks)
- Boom: OFF (tops don’t need boom)
- Enable Sidechain
- Audio From: your DRUM BREAK track (or drum group)
- Start settings:
- Mode: High-pass or Band-pass
- Start with:
- Turn on LFO (optional):
- Width: 80–130% depending on loop
- Use this for drops vs builds: wider in builds, tighter in drops.
- Compressor Threshold (most important)
- Drum Buss Transient (more negative as ghost increases)
- Threshold: from “barely ducking” → “strong duck”
- Transient: from 0 → -20
- EQ Eight high shelf gain (10–14 kHz)
- Saturator/Roar Drive (if used) small range
- Drum Buss Drive small range
- Auto Filter cutoff (HP up/down or BP center frequency)
- Auto Filter resonance (small range)
- Utility Width (e.g., 70% → 140%)
- Compressor Release (e.g., 60 ms → 220 ms)
- Drum Buss Crunch (e.g., 0 → 25)
- Saturator Drive (optional)
- Intro (0:00–0:32):
- Build (0:32–1:00):
- Drop (1:00):
- Mid-16 fill (every 16 bars):
- Over-ducking: If Ghost Amount is too high, tops vanish and groove collapses. Aim for “moving,” not “missing.”
- Too much width on fast hats: Super wide hats can smear and feel phasey in mono. Keep width controlled.
- Harsh top end boosts: Jungle tops can get sharp fast. A tiny EQ shelf goes a long way.
- Sidechaining from the wrong source: Sidechain from the break/drum group, not the full mix—otherwise bass notes will duck your hats randomly.
- Filtering too aggressively for too long: Long high-pass sweeps can make your drop feel thin.
- Make ghosting more “menacing” with band-pass + resonance:
- Use Roar (subtle) for industrial texture:
- Tighten with short release pumping:
- Keep hats out of the snare crack:
- Print and slice variations:
- “Ghosting” tops in jungle/DnB = controlled ducking + transient softening + movement.
- Build a Top Loop Ghost Rack using stock devices: EQ Eight → Drum Buss → Sidechain Compressor → Auto Filter → Utility.
- Map key parameters to Macros so you can automate vibe changes like a pro.
- Use arrangement automation to create oldskool energy without wrecking your mastering headroom.
Result: your top loop feels glued to the groove, dynamic, and mix-ready.
---
3) Step-by-step walkthrough
Step A — Choose/prepare your top loop (the “source”)
1. Create an audio track named TOP LOOP (SRC).
2. Drop in a loop like:
- 2-step hats, shuffled shaker loop, ride loop, or classic jungle top from a break (high-passed).
3. Set the loop to warp well:
- Warp Mode: Beats
- Preserve: 1/16 (good starting point for hats)
- Transient Loop Mode: try Transient or Forward depending on the loop.
DnB vibe tip: pick something with swing—oldskool tops usually feel slightly human, not perfectly quantized.
---
Step B — Route the top loop into a dedicated ghost bus
You’ve got two clean options:
Option 1 (recommended): Group Bus
1. Group the top loop track (Cmd/Ctrl+G) → name group TOPS BUS.
2. Keep your top loop inside.
Option 2: Return Track
1. Create a Return track called TOPS GHOST.
2. On TOP LOOP (SRC), turn up the send to TOPS GHOST.
3. Set Return to Pre if you want the ghost layer independent of track fader.
For beginners, Group Bus is simplest because you can see everything in one place.
---
Step C — Build the “Top Loop Ghost Rack” chain (Ableton stock)
On TOPS BUS (or the Return), insert these devices in order:
1) Audio Effect Rack (we’ll macro everything from here)
2) EQ Eight
3) Drum Buss
4) Compressor (sidechain)
5) Auto Filter
6) Utility
7) (Optional) Saturator or Roar (if you want more bite)
Now we’ll dial them in with jungle-friendly settings.
---
Step D — Set core device settings (starting points)
#### 1) EQ Eight (clean the loop + focus the “air”)
- Jungle tops usually don’t need low mids—keep space for the break + bass.
#### 2) Drum Buss (control transients + add smack)
#### 3) Compressor (sidechain ducking from the break)
- Ratio: 4:1
- Attack: 1–5 ms
- Release: 80–160 ms (sync it to groove; faster = more pump)
- Threshold: adjust until you see 3–6 dB gain reduction on kick/snare hits
This makes tops step out of the way of the break—super oldskool.
#### 4) Auto Filter (movement + “ghost thin” moments)
- HP at 300–800 Hz (or BP around 3–8 kHz)
- Resonance: 0.5–1.5
- Rate: 1/8 or 1/16
- Amount: small (so it “flickers” rather than sweeps)
#### 5) Utility (width control + mono safety)
---
Step E — Create Macros that make it musical 🎛️
Open the Audio Effect Rack, click Map, and assign:
#### Macro 1 — Ghost Amount
Map to:
Suggested mapping ranges:
Use: Turn it up in busy sections or when break hits hard.
---
#### Macro 2 — Air / Bite
Map to:
Use: Add sparkle on builds, reduce on heavy drops.
---
#### Macro 3 — Thin / Filter
Map to:
Use: Classic jungle trick—tops “telephone out” briefly during fills.
---
#### Macro 4 — Width
Map to:
Use: Wider in intro/build, narrower when bass + break are full.
---
#### Macro 5 — Pump Time
Map to:
Use: Longer release = more audible pump (oldskool vibe), shorter = cleaner.
---
#### Macro 6 — Grit
Map to:
Use: Adds that slightly battered tape/rave texture without killing headroom.
---
Step F — “Ghosting” arrangement moves (oldskool-friendly)
Now automate your Macros across the timeline like a DJ/engineer.
Try this structure:
- Ghost Amount: low
- Width: higher (110–140%)
- Thin/Filter: slightly filtered for anticipation
- Slowly increase Air/Bite and Width
- Add small LFO filter movement (subtle shimmer) ✨
- Snap Width slightly down (80–110%)
- Increase Ghost Amount so tops tuck under the break
- Reduce Air/Bite a touch if harsh
- Quick 1-beat Thin/Filter spike
- Tiny Grit boost for “ragga tape” feel
DnB realism tip: In jungle, tops often feel like they’re part of the break. Ghosting helps them follow the break’s dynamics rather than fighting it.
---
Step G — Mastering-category sanity checks (so it translates)
Even though we’re doing creative movement, keep it mastering-safe:
1. Check headroom: keep your TOPS BUS peaking around -10 to -6 dB.
2. Mono check: drop Utility Width to 0% briefly—make sure hats don’t disappear.
3. Harshness check at low volume: if hats pierce, reduce 8–10 kHz or lower Air/Bite Macro.
4. Limiter awareness: if your master limiter starts “spitting” on hats, reduce transients (Drum Buss Transient more negative) or ease Air/Bite.
---
4) Common mistakes
---
5) Pro tips for darker/heavier DnB 🖤
Band-pass around 4–7 kHz with a touch of resonance gives that eerie, radio-ish edge during fills.
Put Roar after EQ, use light drive and keep output trimmed. Map it to Grit Macro.
Faster compressor release (60–100 ms) can make tops chatter rhythmically—great for techy rollers.
If your snare lives around 180–220 Hz + 2–5 kHz, don’t hype those exact zones in your tops. Let the snare speak.
Once it grooves, resample the TOPS BUS, then slice the audio into 1–2 bar variations for that authentic, edited jungle feel.
---
6) Mini practice exercise (10 minutes) ⏱️
1. Load a classic-style break (Amen-style or any crunchy break) and a hat loop.
2. Build the Top Loop Ghost Rack with the 4 main macros:
- Ghost Amount, Air/Bite, Thin/Filter, Width
3. Write automation for 32 bars:
- Bars 1–8: Thin/Filter slightly up, Width high
- Bars 9–16: Air/Bite rises slowly
- Bar 17 (drop): Ghost Amount jumps up, Width slightly down
- Bar 25: 1-beat Thin/Filter spike + small Grit bump
4. Bounce a quick draft and listen on headphones + laptop speakers.
Goal: tops feel alive and tucked, not harsh or detached.
---
7) Recap
If you want, tell me what kind of loop you’re using (ride-heavy, shuffly hats, break-derived tops) and your track BPM—I'll suggest macro ranges that match your groove exactly.

