Main tutorial
Lesson Overview
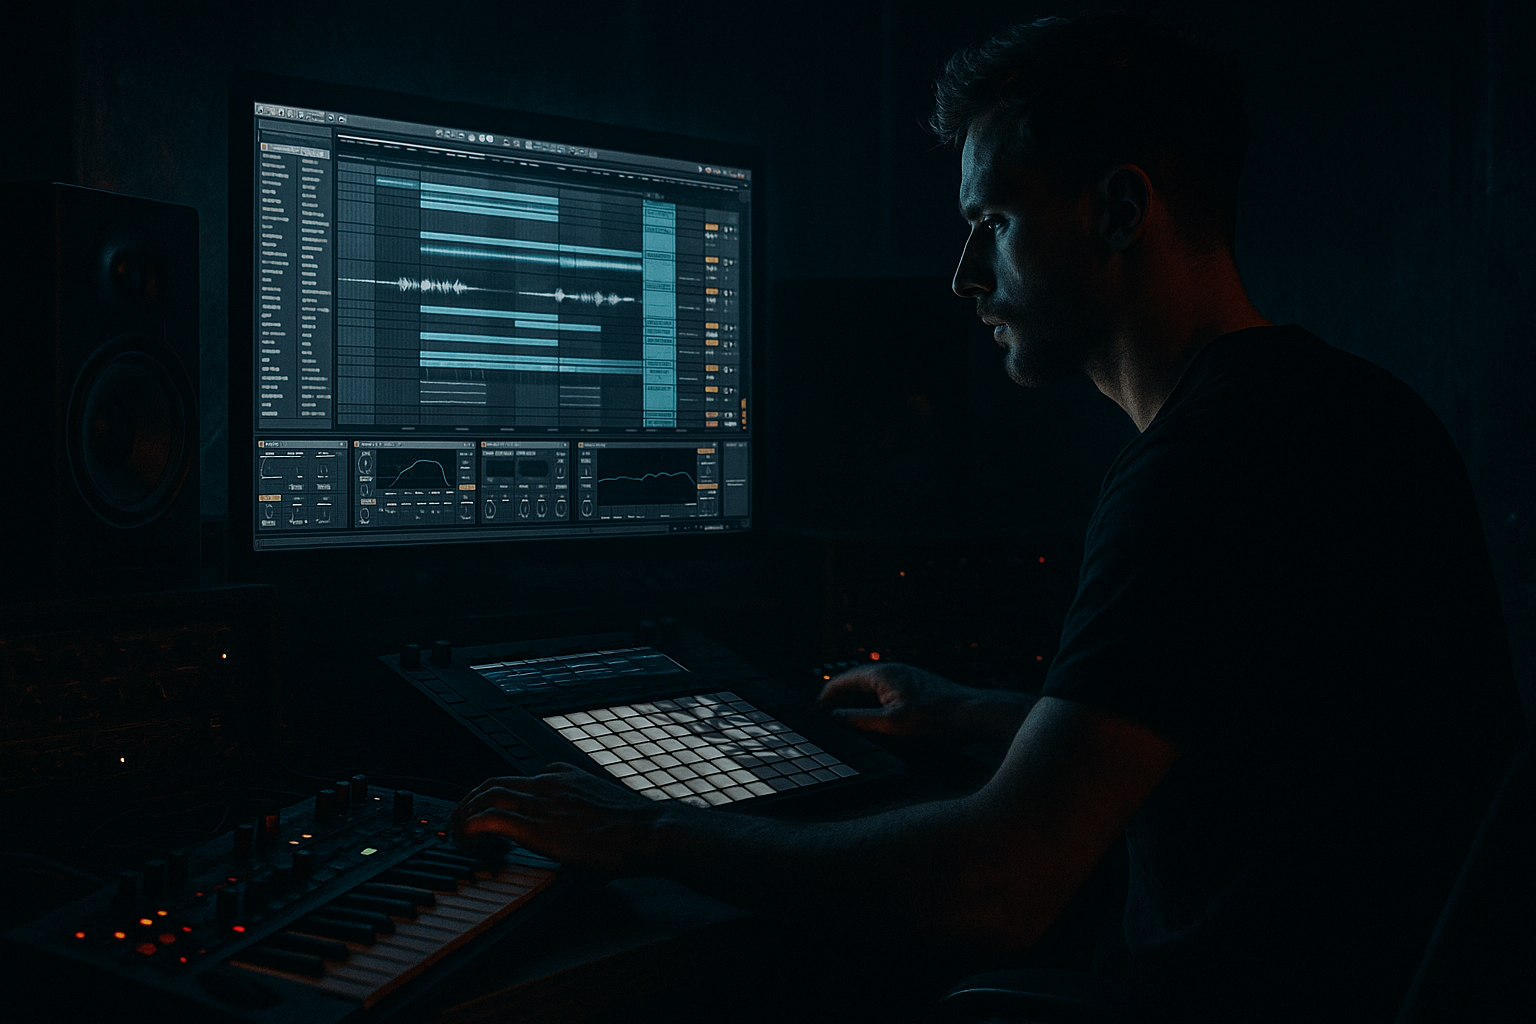
A Ghost an Amen-style impact is one of the most effective edit tools in deep jungle and darker DnB because it can punch a hole in the groove without killing momentum. Think of it as a short, spectral punctuation mark: a hit that feels like it belongs to an old Amen edit, but with modern low-end discipline and atmospheric depth. In an Ableton Live 12 drum & bass session, this technique sits between a fill, a transition, and a tension device.
In practical terms, you’ll use a chopped break hit, transient shaping, spectral or resonant ambience, and controlled reverb/delay to create a “ghosted” impact that sounds like it appears out of the break itself. This works especially well before a drop, at the end of an 8- or 16-bar phrase, or as a call-and-response moment with the bassline. In deep jungle, rollers, darkstep, and neuro-adjacent DnB, this kind of edit keeps the energy unstable in a good way: the drums breathe, the atmosphere flickers, and the listener feels motion even when the arrangement is sparse.
Why it matters: in DnB, the difference between a flat loop and a living arrangement is usually in the edits. A ghosted impact can imply a new section, disguise a loop repetition, or add menace without cluttering the mix. It’s especially valuable when you want a darker, more underground feel with authentic break-led phrasing.
What You Will Build
You’ll build a compact, repeatable Ableton Live 12 edit chain that turns an Amen-style break slice into a ghostly impact usable in jungle intros, roller switch-ups, and pre-drop tension. The result will be:
- A short impact with a sharp initial crack and a hollow, atmospheric tail
- A break-derived transient that feels connected to the drum loop rather than pasted on
- A controlled low-mid “thump” that supports the sub without masking it
- A stereo ambience layer that opens briefly, then collapses back to mono-friendly focus
- A musical edit you can place on the “and” before a drop, on bar 8 or 16 turnarounds, or as a fill leading into a bass variation
- Making the impact too long
- Boosting too much low end on the edit
- Over-widening the transient
- Using too much reverb
- Placing the edit without phrase logic
- Letting the ghost impact mask the snare
- Layer the ghost hit with a very quiet vinyl crackle or room sample, then low-pass it hard. This can make the edit feel like it exists inside the same dark world as the break.
- Use subtle clip pitch movement: automate a quick downward bend of 1–2 semitones on the reversed layer for tension.
- Try a tiny amount of Redux on the atmosphere layer only. Even 8-bit-style degradation at low mix can give the hit a gritty, underground edge.
- Use a second reverb return with a much shorter decay, around 0.3–0.6 seconds, for an early reflection “shell.” Blend it very quietly under the main space.
- For neuro-leaning darkness, automate a narrow notch or resonant sweep with Auto Filter on the tail. Keep it subtle so it feels like movement rather than an obvious effect.
- If the arrangement is dense, remove the ghost impact’s body above 200 Hz and let the atmosphere imply the hit. This keeps the mix cleaner while sounding bigger.
- Resample your finished ghost chain and chop it again into a new edit. Second-generation edits often sound more organic and less “preset,” which is ideal for jungle and rollers.
The finished sound should feel like an Amen ghost hit that’s been dragged through a dark warehouse hallway — not a generic impact. It should sit naturally with chopped breaks, rolling subs, and a slightly distorted reese or stab line. 🥁
Step-by-Step Walkthrough
1. Start with an Amen break slice and choose the right transient
Load a clean Amen break into an audio track and duplicate the track so you can work non-destructively. In Simpler, use Slice Mode if you want to stay edit-friendly, or manually chop in Arrangement View if you already have a break pattern. Focus on one strong transient: a snare hit, rim/ghost combination, or a slightly open kick-snare collision.
For the most authentic jungle feel, choose a hit that already has a bit of room tone or decay. If it’s too clean, the ghost effect can feel disconnected. If the hit is too long, trim the tail aggressively so the impact stays edit-sized. A good starting point is 80–180 ms of source material.
Advanced workflow choice: duplicate the chosen slice to a new track and consolidate it. This makes it easier to warp, reverse, pitch, and resample later without losing your original break edit.
2. Build the core transient with transient control and filtering
Insert an EQ Eight first to clean the slice. High-pass gently around 90–140 Hz so the ghost impact doesn’t fight the sub, and if the break slice is boxy, dip 250–450 Hz by 2–4 dB with a medium Q. If the hit is too sharp, lightly tame 3–6 kHz.
Then add Drum Buss. Keep Drive subtle at 5–15%, Boom low or off at first, and Transients around +10 to +25 to accent the impact without over-thickening it. This is one of the fastest ways to get the “Amen punch” while preserving the edit character.
If the source slice is too flat, try Saturator before Drum Buss with Drive around 2–6 dB and Soft Clip on. This creates harmonics that help the hit read on smaller systems while keeping the transient ghost-like rather than oversized.
3. Resample the hit into a new ghost layer
Create an audio track set to resample your edited slice. Print the hit with your EQ and transient shaping already in place. This gives you a committed sound that can be mangled creatively without constantly tweaking the original break.
Now create a second layer from the resampled hit and reverse it. In many jungle edits, a reversed slice leading into an impact creates that unsettling suction effect. Keep it short — usually 1/8 or 1/16 note in length, or even shorter if the groove is busy.
For additional texture, try Pitch Shifter or simply transpose the clip down by 3–7 semitones for a darker undertow, then use a slightly shorter fade-in to preserve the ghostly attack. If you want a more spectral version, transpose up 3–5 semitones on the reversed layer only, then low-pass it so it acts like a haunting lead-in rather than a bright riser.
4. Shape the atmosphere with reverb and delay on a return track
Create Return A for reverb using Hybrid Reverb or Convolution Reverb. For deep jungle atmosphere, start with a decay of 1.2–2.8 seconds, pre-delay around 10–25 ms, and low-cut the reverb return at 200–350 Hz. High-cut between 6–9 kHz to keep the space dark and believable.
Send only a small amount of the ghost impact to the reverb at first — often 10–25% is enough. The goal is not a huge wash; it’s a spectral halo around the hit. A short room or a grainier space often works better than a lush hall because it preserves the edge of the Amen transient.
If you want motion, place Echo after the reverb on the return with very low feedback, around 8–18%, and a short delay time synced to 1/8 or 1/16. Filter the delay so it doesn’t clutter the kick/snare lane. This can produce a subtle call-and-response smear that feels very “tape room in a warehouse” without going full FX overload.
5. Create the ghost through volume shaping and clip envelopes
Open the clip’s envelopes in Arrangement View or the Clip View and draw a quick fade-in on the reversed layer, then a steep fade-out after the transient. For the main impact layer, keep the tail short with a fast release so the hit feels like it appears and disappears in one motion.
For more advanced edit character, use Clip Gain or track automation to slightly dip the level of the ghost impact right before the actual transient, then let it peak for just 50–120 ms. This creates a “sucked in” feel that makes the hit sound like it is emerging from the break rather than sitting on top of it.
A useful starting level is to keep the ghost impact 6–12 dB quieter than your main snare or kick transient. In DnB, the edit should suggest power, not compete with the core drum engine.
6. Add low-end shadow without muddying the sub
If the ghost impact needs more weight, layer a very short low-frequency thud underneath it rather than boosting the full break slice. Use Operator, Wavetable, or even a sampled kick body. Keep it mono and short. Aim for a sine or filtered triangle around the 50–90 Hz area, with an envelope decay of 80–180 ms.
Route this layer to a separate group and low-pass it around 120–180 Hz if needed. Use Utility at the end of the chain to force mono. This lets the ghost impact have body without widening or muddying the sub lane.
Why this works in DnB: the sub and kick need priority, but a tiny low-end shadow can make an edit feel huge at low volume. The ear reads the transient + short low body as impact, even if the actual level is modest.
7. Automate width, filter, and decay for the edit moment
Put Auto Filter on the ghost chain and automate a gentle opening into the hit, then close it quickly after. A low-pass moving from 700 Hz to 5–8 kHz over a short ramp can create the impression of a hit materializing out of fog. For darker styles, a band-pass sweep can sound even more haunted.
Add Utility after the atmosphere layer and automate Width from 0% to 120% only on the tail. Keep the transient itself narrower and more centered. That contrast makes the impact feel larger when the space blooms afterward.
If you’re in a drop turnaround, automate Send A to increase only on the final ghost impact before the next section. This is a classic jungle move: the last hit before the drop briefly opens the room, then the arrangement slams back into a dry, tight drum/bass pocket.
8. Place the edit musically, not randomly
In advanced DnB arrangement, ghost impacts work best when they complement phrase logic. Try placing one on bar 8 or bar 16 just before the next drum variation. Another strong spot is the “and” of 4, especially if the next bar drops into a new bass phrase or a chopped break variation.
Example: in a 174 BPM jungle roller, use a ghosted Amen impact at the end of an 8-bar loop right before the bassline switches from a straight root note to a syncopated call-and-response phrase. The impact should feel like the room inhaling before the next movement.
In a breakdown-to-drop transition, layer the ghost impact with a filtered noise riser, then mute the riser early and let the impact speak alone for the final half-beat. This is often more effective than stacking too many FX. The edit reads as confident and heavy.
9. Glue the edit into the drum bus for cohesion
Group your drums and ghost layers into a Drum Bus. Use Glue Compressor lightly, with 1–2 dB of gain reduction on peaks, attack around 10–30 ms, and release synced or set around 0.1–0.3 seconds depending on groove. You want the ghost impact to feel part of the drum ecosystem, not pasted on.
If the hit needs more aggression, add a tiny amount of Parallel compression on the group rather than smashing the individual impact. This preserves the transient shape while lifting the ambience and low-mid density around it.
Check the edit in context with the bass. If the ghost impact is masking the reese movement or the sub, trim the low mids more aggressively and narrow the stereo on the transient layer. The atmosphere can stay wide; the punch should stay disciplined.
Common Mistakes
Fix: shorten the sample and use faster fades. Ghost impacts in DnB are usually felt more than heard.
Fix: high-pass the main impact and use a dedicated mono low shadow if needed.
Fix: keep the attack centered and widen only the tail or reverb return.
Fix: reduce send amount and shorten decay. The atmosphere should haunt the hit, not wash out the groove.
Fix: align it with 8-bar or 16-bar structure, or use it as a pickup into a bass change.
Fix: notch the low mids, reduce sustain, and compare in the full drum context.
Pro Tips for Darker / Heavier DnB
Mini Practice Exercise
Spend 10–20 minutes building three versions of the same Amen-style ghost impact in Ableton Live 12:
1. Version A: dry and punchy
Use one break slice, EQ Eight, and Drum Buss. Make it short and mono.
2. Version B: spectral and haunted
Reverse the slice, add Hybrid Reverb on a return, and automate a quick filter opening into the hit.
3. Version C: dark and heavyweight
Add a mono low shadow layer under the impact, then resample the whole thing and trim it until it feels tight.
Place each version at the end of an 8-bar drum loop before a bass change. Compare which one creates the strongest sense of anticipation without cluttering the groove. Then choose one and duplicate it across a full arrangement as a recurring edit motif.
Recap
A Ghost an Amen-style impact works because it fuses break edit energy with controlled atmosphere. In Ableton Live, the winning formula is: choose a strong Amen slice, shape the transient, keep the low end disciplined, add a dark space on returns, and place the edit with phrase logic. In DnB, this technique is powerful because it adds tension, identity, and movement without breaking the mix. Use it like punctuation — sharp, intentional, and always in service of the groove.

