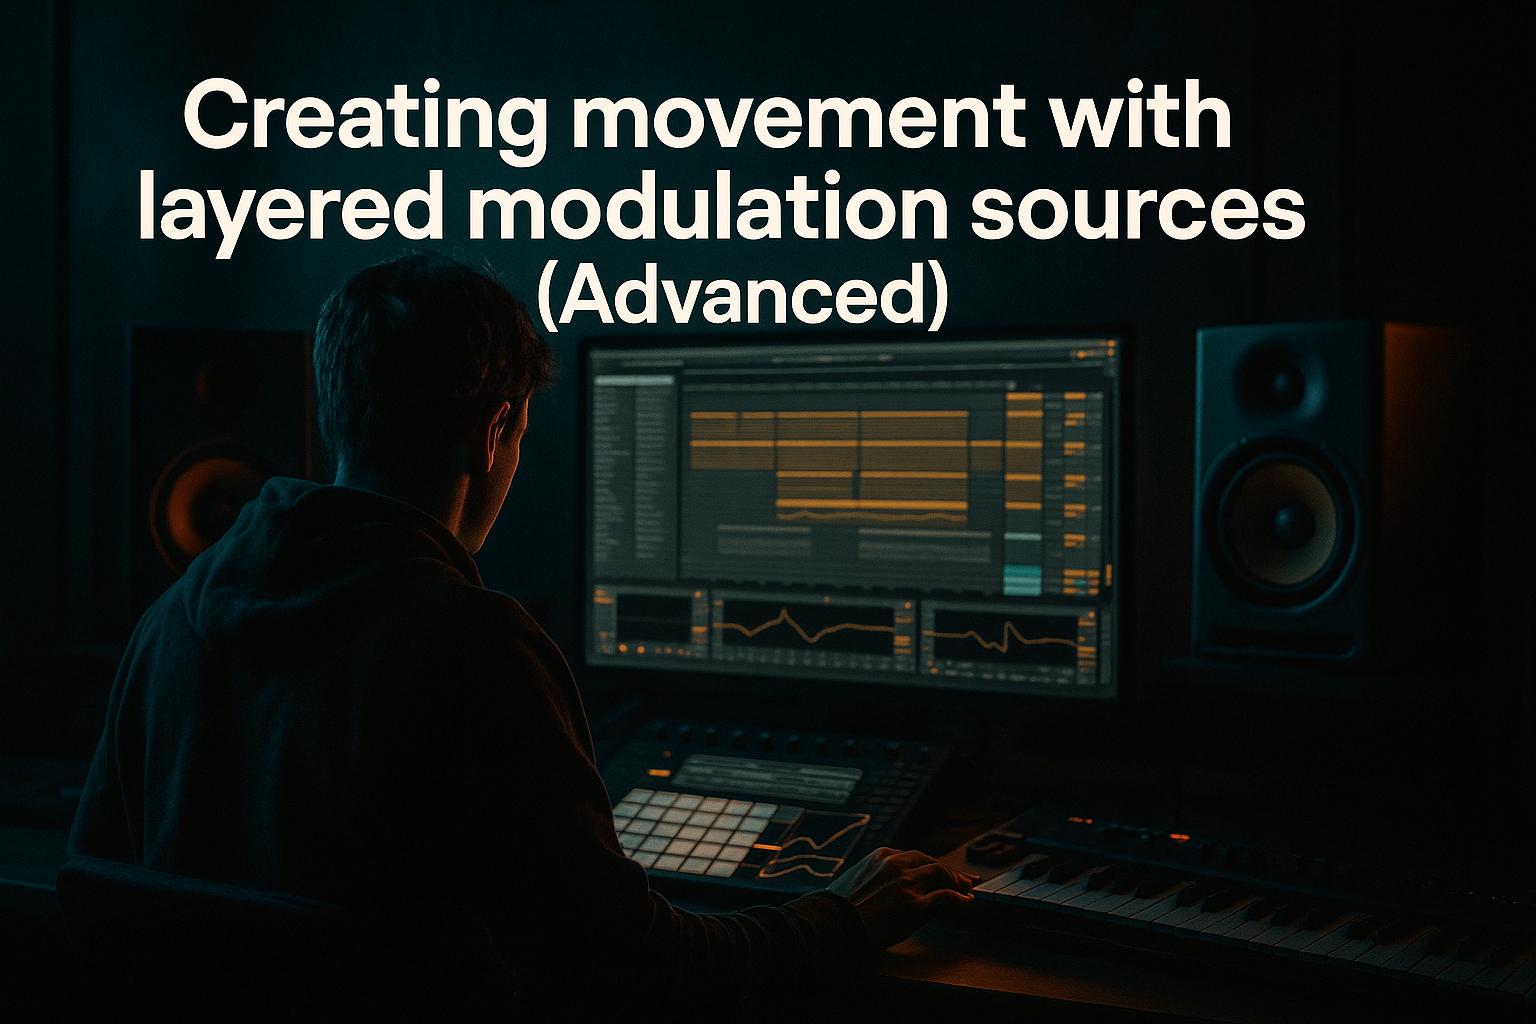
Main tutorial
Ghost Jungle Ghost Notes for Smoky Warehouse Vibes (Ableton Live 12) 🏭🥁
Skill level: Advanced
Category: Edits (micro-groove, dynamics, vibe engineering)
---
1. Lesson overview
Ghost notes in jungle/DnB aren’t just “quiet hits”—they’re micro-edits that imply momentum, fill negative space, and make a loop feel like it’s breathing in a big warehouse. In this lesson you’ll build a ghost-note system that sits behind the main break: subtle snares, hats, and percussion that pump with the groove, darken the pocket, and create that smoky, late-night roll.
You’ll do this with:
- Velocity + timing micro-edits
- Parallel filtering/saturation
- Sidechain shaping
- Reverb-as-atmosphere (not wash)
- Break slicing + ghost layers using stock Live 12 tools
- The main snare/kick stay punchy and forward.
- A “ghost layer” provides subconscious shuffle (quiet snare drags, hat ticks, rim/paper hits).
- The ghost layer is filtered, slightly distorted, and spatialized for warehouse depth.
- The groove feels rolling and ominous without cluttering the mix.
- A Ghost Notes Group (Audio/MIDI) with a device chain
- A Repeatable edit workflow for any break
- Arrangement moves: ghost builds, drop contrast, and tension automation
- A break (think Think, Amen-style, or a modern rework)
- A clean kick/snare layer for consistency
- A ghost-only layer that’s darker and smaller
- `DRUMS MAIN (Group)`
- `DRUMS GHOST (Group)` 👻
- Duplicate this sliced track.
- Name it: Ghost Break Slice
- On Ghost Break Slice:
- Main snare typically on beat 2 and 4.
- Add ghost hits:
- Add tiny hat ticks on off-positions:
- Velocities: 10–35
- Nudge timing:
- Use a rim/wood/foley click at ultra-low velocity:
- Filtered heavily so it’s felt more than heard.
- Use the printed ghost audio as a movement layer in drops and as a lead-in texture pre-drop.
- Drop 1: Ghosts at 60–80% intensity (keep it rolling but controlled)
- Mid-16: Automate ghost filter cutoff slightly down (darker pocket)
- Pre-drop (last 2 bars): Increase ghost send to reverb + slightly raise ghost velocities
- Drop 2: Bring in extra ghost hat ticks and a couple more snare drags for escalation
- Auto Filter cutoff on Ghost Group
- Reverb send amount
- Drum Buss Drive (tiny rise in intensity)
- Utility gain (±1–2 dB to push/pull energy)
- Make ghosts midrange-weighted:
- Parallel “dirt bus” for ghosts:
- Stereo control:
- Micro-reverses and tails:
- Contrast is king:
- Ghost notes in jungle/DnB are micro-dynamics + micro-timing edits that create roll.
- Build ghosts as a separate layer: filtered, saturated, quiet, and spatialized.
- Use Slice to MIDI for break-based ghosts, and control vibe with EQ Eight, Saturator, Auto Filter, Drum Buss, Utility.
- Sidechain gently for movement, use dark controlled reverb for warehouse smoke, and resample for authentic edited character.
---
2. What you will build
A tight DnB/jungle drum loop where:
Deliverables:
---
3. Step-by-step walkthrough
Step 0 — Session setup (fast but important)
1. Set tempo: 170–174 BPM (classic modern DnB).
2. Warp mode:
- Break audio: Complex Pro for full break if needed, but for slicing/editing prefer Beats with:
- Preserve: Transients
- Transient Loop Mode: Off
- Envelope: 100–130 (keep snappy)
3. Global groove: load a Groove from the Groove Pool:
- Try MPC 16 Swing 55–58 or any shuffled 16th groove
- Set Timing 15–25%, Velocity 10–20% (subtle; we’ll do the rest manually)
---
Step 1 — Pick the source: break + clean hits
You’ll get the best “ghost jungle” vibe by combining:
Track layout suggestion:
- `Break Main (Audio)`
- `Kick Layer (Simpler/Drum Rack)`
- `Snare Layer (Simpler/Drum Rack)`
- `Ghost Break Slice (Simpler in Slice mode)`
- `Ghost Hats/Rides (MIDI)`
- `Ghost Perc/Clicks (MIDI/Audio)`
---
Step 2 — Create a Ghost Break Slice track (the secret weapon) 👻
1. Drop your break on an audio track.
2. Right-click the clip → Slice to New MIDI Track.
3. In the dialog:
- Slice by: Transients
- Create one-slice per: Transient
- Slicing preset: Built-in > Slicer (or empty; we’ll build our chain)
4. Now you have a Drum Rack with slices.
Now make it a ghost-only instrument:
- Low-cut aggressively and reduce transient dominance (we want shadow, not smack).
Device chain (Ghost Break Slice) — stock devices only:
1. EQ Eight
- HP at 220–350 Hz (24 dB/oct)
- Dip 2–5 kHz by -2 to -5 dB if it gets clicky
- Optional: small boost around 700–1.2 kHz (+1–2 dB) for “boxy warehouse” body
2. Saturator
- Mode: Analog Clip
- Drive: 2–6 dB
- Soft Clip: On
- Output: adjust so level matches bypass (don’t let loud fool you)
3. Auto Filter
- Type: LP 12 or LP 24
- Cutoff: 2.5–6 kHz (adjust to taste)
- Resonance: 0.7–1.2 (subtle character)
- Envelope: small negative amount if you want it to tuck after transients
4. Drum Buss
- Drive: 3–10
- Crunch: 0–10 (careful)
- Damp: 5–20 kHz depending on brightness
- Boom: Off (ghost layer shouldn’t add sub)
5. Utility
- Gain: start around -8 to -14 dB
- Width: 80–120% (tiny widen for “space”, but keep mono compatibility in mind)
---
Step 3 — Program ghost notes like a jungle drummer (timing + velocity) 🥁
Ghost notes work when they’re intentionally placed. Use these placements as a starting grid in 4/4 DnB (16th-note grid):
#### A) Ghost snare drags (behind the main snare)
- 1/16 before the snare (the “drag”)
- Occasionally 1/32 before if you want a tighter flam feel
How to do it in Live 12:
1. Open the Ghost Break Slice MIDI clip.
2. Find slices that contain snare tail / room / hat spill (not full snare cracks).
3. Place notes:
- Just before 2 and 4: e.g., at 1.4.4 → snare at 2.1.1
4. Velocity:
- Drag ghosts: 18–45
- Occasional accent ghost: 50–65 (rare; use for fills)
#### B) Ghost hats that imply shuffle (not obvious hats)
- Between the kick and snare, especially 3rd 16th of the beat
- Select a few ghost hat notes → Shift+Arrow (or nudge)
- Push some late by 5–12 ms for drunken warehouse swing
- Pull a couple early by 3–6 ms to keep energy alive
#### C) “Air hits” (micro percussion)
- Velocities: 5–20
Workflow tip:
Turn on Fold in MIDI editor to focus only on slices you’re using. Keep it surgical.
---
Step 4 — Make ghosts pump with the groove (sidechain without killing them) 🔧
Ghost notes should move with the main drums, but not disappear.
Option 1: Sidechain via Compressor (classic)
1. On `DRUMS GHOST` Group, add Compressor
2. Enable Sidechain
3. Input: `DRUMS MAIN` (or Kick + Snare bus)
4. Settings:
- Ratio: 2:1 to 4:1
- Attack: 10–30 ms (let initial ghost presence through)
- Release: 60–140 ms (breathes musically at 170 BPM)
- Threshold: aim for 1–3 dB gain reduction on hits
Option 2: Ducking with Auto Pan (clean + vibey)
1. Add Auto Pan on Ghost Group
2. Set:
- Amount: 30–60%
- Rate: 1/4 or 1/8 synced
- Phase: 0° (this becomes tremolo)
3. Map Amount to a macro so you can increase in breakdowns.
---
Step 5 — Warehouse smoke: “reverb you don’t notice” 🌫️
Put reverb on ghosts, not mains. Keep it dark, short-to-medium, and controlled.
Return track: “GHOST VERB”
1. Hybrid Reverb
- Mode: Convolution (warehouse/room IR) or Hybrid blend
- Decay: 0.8–1.6 s
- Predelay: 10–25 ms (keeps transients clear)
- High Cut: 3–7 kHz
- Low Cut: 200–400 Hz
2. EQ Eight after reverb
- Cut 300–600 Hz a bit if it gets boxy
3. Compressor (optional)
- Light control: Ratio 2:1, slow attack, medium release
Send Ghost Group to this return at around -18 to -10 dB send level.
Goal: you feel the room when ghosts play, not hear “a reverb effect.”
---
Step 6 — Glue the edit with resampling (advanced editing workflow) 🎛️
To get that “edited break” vibe: resample your ghost layer and re-cut it.
1. Create a new audio track: GHOST PRINT
2. Set input: Resampling
3. Solo `DRUMS GHOST` group and record 8 or 16 bars
4. Now warp the recording:
- Warp mode: Beats
- Preserve: Transients
5. Chop micro moments:
- Split at transients (Cmd/Ctrl+E)
- Reverse a tiny tail occasionally
- Fade edges to avoid clicks
Arrangement idea:
---
Step 7 — Arrangement moves (where ghost notes really shine) 🧱
Try these DnB-native moves:
Automation targets:
---
4. Common mistakes
1. Ghost notes too loud
If you notice them as separate hits, they’re probably not ghosts anymore. Pull them down and/or filter more.
2. Too much top-end on ghosts
Bright hats + reverb = fizzy mess. Darken with Auto Filter or EQ Eight high shelf cut.
3. Over-quantized ghosts
Jungle swing lives in micro-timing. Nudge some notes late/early by a few ms.
4. Sidechain too aggressive
If ghosts vanish on kick/snare, reduce threshold or use slower attack.
5. Reverb washing the groove
High-cut your verb and keep decay reasonable. Warehouse vibe is space + darkness, not shimmer.
---
5. Pro tips for darker/heavier DnB 🖤
Focus ghosts around 500 Hz–2 kHz (boxy/roomy), cut extreme lows and highs.
Create a return called GHOST DIRT:
- Saturator (Drive 6–12 dB)
- EQ Eight (band-limit 300 Hz–4 kHz)
- Drum Buss (Crunch 10–20)
Send ghosts lightly to it for grime without raising dry level.
Keep main drums mostly mono-ish; let ghosts carry a touch of width.
Use Utility: Width 110–130% on ghosts, but check mono.
Reverse only tiny ghost tails (not main hits). It adds that spooky edited feel fast.
In heavy DnB, drops feel harder when the ghosts thin out briefly right before impact (1/2 bar of less ghost density).
---
6. Mini practice exercise (15–20 minutes) ✅
1. Take any 2-step DnB drum loop (your own or a break).
2. Create a Ghost Break Slice track (Slice to MIDI).
3. Program:
- 4 ghost snare drags (before beat 2 and 4 across 2 bars)
- 8–16 ghost hat ticks with varied velocity (10–35)
4. Add the Ghost Group chain:
- EQ Eight HP 250 Hz
- Saturator 4 dB Drive
- Auto Filter LP around 4 kHz
- Drum Buss Drive 6
5. Add GHOST VERB return and send lightly.
6. Resample 8 bars of ghost group → chop 3 micro edits (reverse 1, stutter 1, fade-tail 1).
7. A/B test:
- Ghost group muted vs active
You want: same beat, more roll + depth + menace.
---
7. Recap
If you want, tell me your drum style (amen-heavy, 2-step steppers, techy rollers) and I’ll give you a specific 2-bar ghost note MIDI pattern plus a matching ghost chain tuned for that subgenre.

