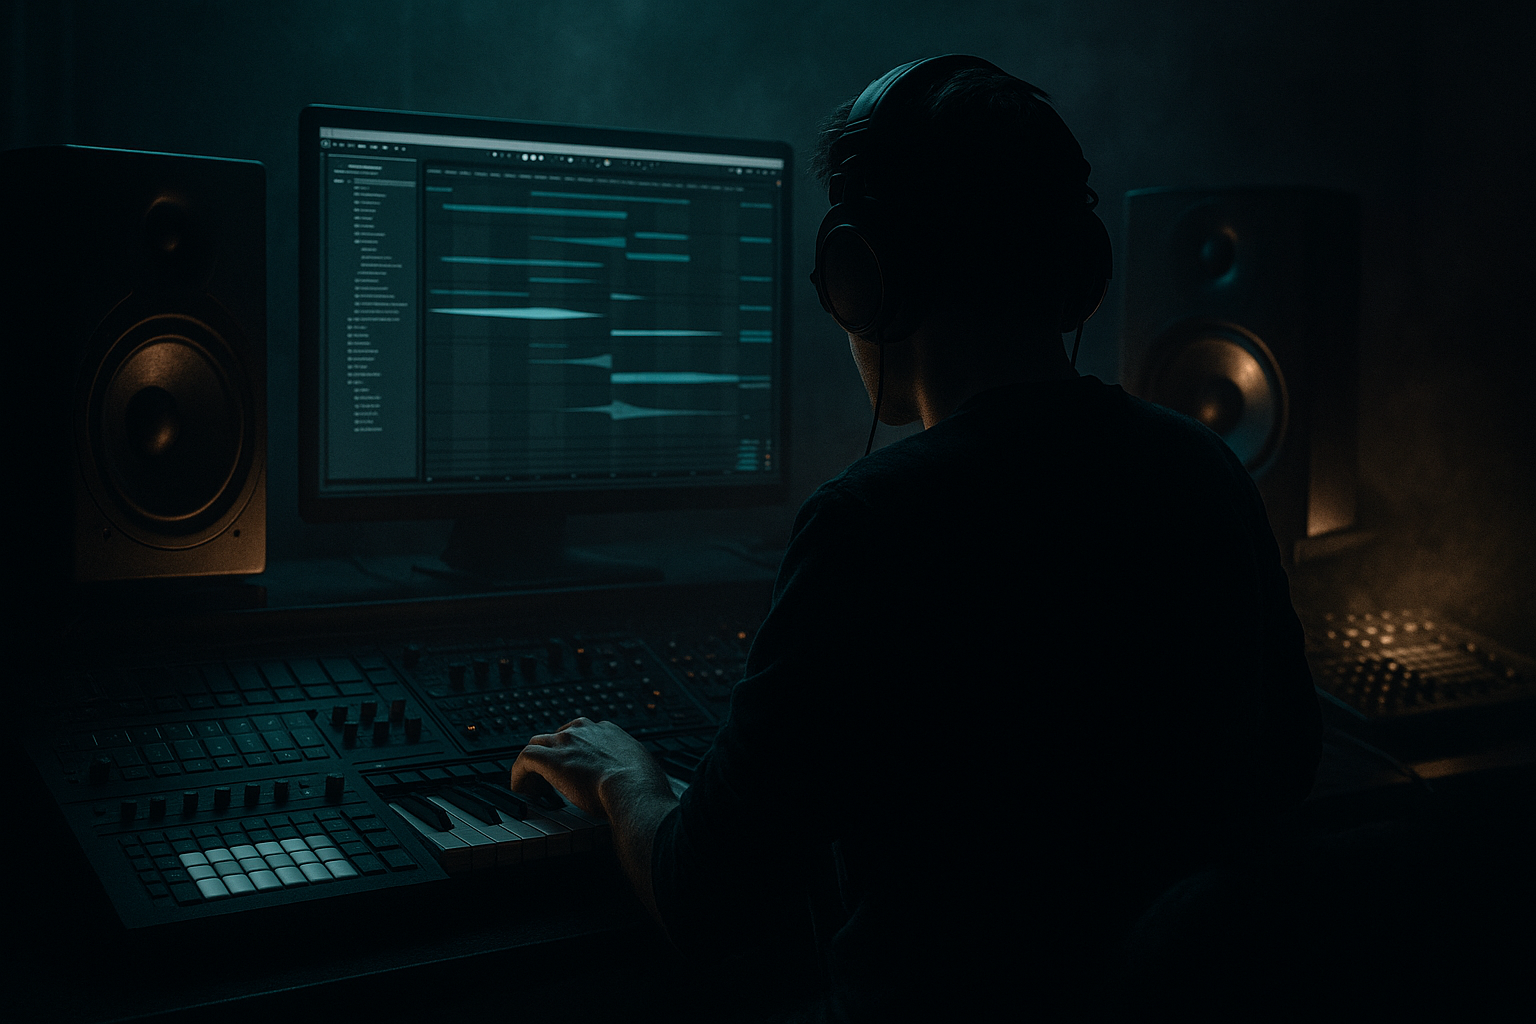
Main tutorial
Ghost Jungle Switch‑Up Using Macro Controls (Ableton Live 12)
Beginner Sound Design lesson for Drum & Bass / Jungle producers 🥁⚡️
---
1. Lesson overview
In jungle and modern rolling DnB, a “ghost switch‑up” is when the groove changes character (more shuffle, more grit, different room, extra ghost hits) without sounding like a new beat. It’s subtle—but it feels huge in the club.
In this lesson you’ll build a macro-controlled Drum Rack in Ableton Live 12 that can morph between:
- Tight, clean roller (minimal ghosts)
- Ghosty jungle shuffle (extra low‑level hits, breaks vibe, room, grit)
- Heavier switch‑up (distortion + transient shift + more reverb splashes)
- A subtle ghost switch at bar 9
- A heavier switch for a fill into the drop
- Kick on C1
- Snare on D1 (or E1 depending on your layout)
- Closed hat on F#1
- Open hat on A#1
- Ride/shaker on another pad
- Kick: 1.1, 1.3 (optional variation), 2.1
- Snare: 1.2, 2.2
- Hats: 1/8 notes or 1/16 for energy
- Ghost snare hits: try 1.1.3, 1.2.3, 2.1.3, 2.2.3
- Keep velocities low: 10–35 (these should be felt, not heard)
- Ghost hat pattern: do a 1/16 pattern but drop velocities randomly (e.g., alternating 20/45/15/40)
- Add EQ Eight:
- Lower track volume to around -18 to -24 dB initially
- Keep empty (or add subtle EQ if needed).
- Hybrid Reverb
- Optional: Compressor
- Saturator
- Drum Buss
- Macro `Room` → ROOM chain volume (e.g., -inf to -12 dB)
- Macro `Grit` → GRIT chain volume (e.g., -inf to -10 dB)
- Utility Gain mapped to the same `Ghost Level` macro
- Range: -inf to -14 dB
- Add Auto Filter
- Map Filter Frequency to `Ghost Level` so that:
- Verse (bars 1–8): Amount 10–20%
- Switch-up (bars 9–16): Amount 30–45%
- On ghost hat pad: use Delay in Simpler? (not ideal)
- Better: in the MIDI clip, nudge ghost notes later by a tiny amount (5–15 ms). Keep it musical.
- `Switch‑Up` macro mapped to:
- Ghost Level: from 0 → 70%
- Room: from 0 → 40%
- Grit: from 0 → 50%
- EQ shelf gain: 0 → +1.5 dB @ 9–12 kHz
- Transients: 0 → +6
- Bars 1–8 (Intro roller): Switch‑Up low (0–10%)
- Bars 9–16 (Ghost jungle section): Switch‑Up medium (30–45%)
- Bars 17–24 (Back to clean): Switch‑Up down (10–20%)
- Bars 25–32 (Fill into drop): ramp Switch‑Up to 60–80% for 1–2 bars, then snap back at the drop for impact
- Use Resonators subtly on the ROOM chain
- Add a parallel “crush” chain
- Sidechain the ROOM chain only
- Macro a quick “darken” for the switch
- Keep sub clean
- A ghost jungle switch‑up is a subtle transformation: more shuffle, ghosts, room, grit—without changing the core 2‑step.
- You built a macro-driven rack in Ableton Live 12 using stock devices:
- You mapped macros so one knob can deliver a convincing jungle-leaning variation instantly.
- You applied it in a DnB arrangement so the groove evolves naturally and builds energy. 🎚️🥁
All controlled via Macro knobs so you can automate switch‑ups quickly in arrangement.
---
2. What you will build
A single Drum Rack containing your main DnB drums, plus a parallel “ghost layer” and texture chain—controlled by Macros:
Macro goals (example set)
1. Ghost Level – brings in ghost hats/snare drags
2. Shuffle – pushes swing and micro-groove feel
3. Room – blends a tight room reverb on drums
4. Grit – adds saturation/overdrive for jungle bite
5. Break Blend – mixes in a break layer quietly
6. Snare Drag – controls snare ghost timing/length feel
7. Air – brightens hats/room
8. Switch‑Up – “one knob” combo for quick transitions 🎛️
You’ll also build two 8‑bar arrangement moments:
---
3. Step‑by‑step walkthrough
Step 0 — Session setup (DnB defaults)
1. Set tempo to 174 BPM (classic DnB range 172–176).
2. Create one MIDI track → load Drum Rack (stock).
3. Optional but recommended: set Global Groove later, but we’ll start clean.
---
Step 1 — Load a solid “roller” kit (foundation)
Inside the Drum Rack, add:
Keep it simple. The magic comes from controlled ghost layers.
Quick sound selection tip: choose samples that already feel “DnB-ready”—short kick, snappy snare with body around 180–220 Hz.
---
Step 2 — Program a basic 2‑step DnB pattern
Create a 2‑bar MIDI clip:
Classic 2-step skeleton
Now loop it. We’ll build the ghost switch‑up around this.
---
Step 3 — Create the “Ghost Layer” inside the Drum Rack
We’ll add extra hits that can be faded in via macro.
1. Add a new pad for a ghost snare (e.g., a softer rim/snare or filtered snare).
2. Add a new pad for ghost hats/shuffles (lighter hat sample or shaker).
3. Group them conceptually: we’ll control them as a layer.
Program ghost notes (very important):
If it already sounds too busy at low volume, you’re over-programming. Ghosts are seasoning.
---
Step 4 — Add an Audio “Break Layer” (optional but very jungle)
This is where the jungle DNA creeps in.
1. Create an Audio track named `Break Layer`.
2. Drop in a classic break sample (or any break loop).
3. Warp it:
- Warp Mode: Beats
- Preserve: Transients
- Set a little transient envelope if needed (Start around 20–40)
Make it ghosty:
- High-pass around 150–250 Hz (so it doesn’t fight kick/snare)
- Optional: slight dip at 3–5 kHz if it’s harsh
We’ll macro-control the blend later using a Rack.
---
Step 5 — Build a Macro Rack on the Drum Buss (main trick) 🎛️
On the Drum Rack track, after the Drum Rack device, add:
1. Audio Effect Rack (stock)
2. Create 3 chains inside:
- `DRY`
- `ROOM`
- `GRIT`
#### DRY chain
#### ROOM chain
Add:
- Type: Room
- Decay: 0.35–0.8s
- Pre‑Delay: 5–15 ms
- Low Cut: 200–400 Hz
- High Cut: 7–10 kHz
- Mix: 100% (since this is a parallel chain)
- Ratio: 2:1
- Attack: 10–30 ms
- Release: 80–150 ms
- Aim: gentle glue on the reverb tail
#### GRIT chain
Add:
- Type: Analog Clip or Soft Sine
- Drive: start 2–6 dB
- Soft Clip: On
- Drive: 5–15%
- Crunch: 0–10
- Boom: Off (or very low; we don’t want low-end mess)
- Transients: -5 to +10 depending on how snappy you want it
Now map chain volumes to macros:
This lets you bring in space and dirt without changing the core groove.
---
Step 6 — Macro-control ghost note presence (clean → jungle)
We’ll control ghost hits in two ways: volume and tone.
#### A) Control ghost hits volume (simple and effective)
Inside the Drum Rack:
1. Click your ghost snare pad → open its chain.
2. Add Utility after the sample/simpler.
3. Map Utility Gain to Macro `Ghost Level`
- Range suggestion: -inf to -12 dB (or -18 dB if subtle)
Do the same for ghost hats pad:
Now one macro fades the ghost layer in/out.
#### B) Make ghosts “darker” when quiet (more authentic)
On the ghost hat pad chain:
- Filter: LP 12
- Frequency: start around 8–12 kHz
- Resonance: low (0.2–0.8)
- When Ghost Level is low → filter is lower (darker)
- When Ghost Level increases → opens slightly (brighter)
This makes the ghosts feel like they’re “coming forward” naturally.
---
Step 7 — Add swing/shuffle control (without breaking timing)
For beginners, the cleanest macro approach is Groove Pool + automation.
1. Open Groove Pool.
2. Add a groove like:
- `Swing 16-65` (or any 16th swing)
3. Apply groove to your drum clip.
4. Now automate groove Amount (not a macro, but acts like one control).
Automation suggestion:
If you want Macro-only control: you can approximate swing by delaying ghost hats slightly:
---
Step 8 — Create the “Switch‑Up” one-knob macro (the payoff) 🔥
Now we’ll make a single macro that moves multiple things at once.
In your Audio Effect Rack (after Drum Rack), add macros:
- `Ghost Level` (increase)
- `Room` (increase)
- `Grit` (increase)
- Optional: EQ Eight high shelf on DRY chain (tiny lift)
- Optional: Drum Buss Transients (slightly up for hype)
Example mapping ranges (starting point):
Now when you turn up Switch‑Up, it sounds like the beat “turns into jungle” without changing the main hits.
---
Step 9 — Add a tiny “snare drag” feel (very jungle)
A classic jungle hint is a mini flam/drag before the snare.
1. Duplicate your main snare to a new pad: `Snare Ghost Drag`.
2. Make it quieter and shorter:
- Lower volume in Simpler/Utility
- Shorten decay if needed
3. In MIDI, place it just before the main snare:
- Around 10–30 ms earlier (zoom in)
4. Map its Utility Gain to a Macro `Snare Drag`:
- Range: -inf to -18 dB
This is super effective for ghost switch‑ups because it adds movement without new elements.
---
Step 10 — Arrangement: where to automate it (DnB‑realistic)
Create a 32‑bar loop:
Pro arrangement move:
On bar 31–32, cut the kick for half a bar while Switch‑Up rises. The ghosts and room fill the gap and the drop hits harder.
---
4. Common mistakes
1. Ghost hits too loud
If you clearly hear the ghost snare as a “new snare pattern,” it’s not ghosting anymore. Keep it felt.
2. Too much reverb tail
Long decay smears fast DnB transients. Keep room decay under ~1s for this technique.
3. Grit destroying the snare transient
If distortion flattens your snare, reduce saturation drive or blend via chain volume instead.
4. Break layer fighting the main drums
Always high-pass the break layer and keep it low in the mix.
5. Swing applied to everything equally
If the kick swings too much, the groove collapses. Swing hats/ghosts more than the core kick/snare.
---
5. Pro tips for darker/heavier DnB 🖤
Add Resonators after Hybrid Reverb with very low Dry/Wet (5–12%) tuned to a note like F or G. Gives ominous tone.
In the rack, add a 4th chain:
- Redux (bit reduction subtle)
- Auto Filter (band-pass 1–3 kHz)
Blend at very low volume. This adds that scraped jungle texture.
Add Compressor with sidechain from kick to ROOM chain so the room breathes with the kick.
Map an EQ Eight low-pass on the DRY chain to Switch‑Up slightly (e.g., 18 kHz down to 10–12 kHz). Darker = heavier.
Your switch-up should mostly live in mids/highs (ghost hats, breaks, room), not in the sub range.
---
6. Mini practice exercise (10 minutes)
1. Build the rack with Ghost Level, Room, Grit, and Switch‑Up.
2. Program a 2‑bar roller groove.
3. Automate Switch‑Up:
- Bar 7–8: ramp from 0% → 50%
- Bar 9: drop back to 10%
4. Export a quick bounce and listen on low volume:
- If the switch-up still feels noticeable, you nailed it.
- If it feels like “new drums entered,” lower Ghost Level range and reduce Room.
Bonus: add the break layer and automate it to rise only on bars 15–16.
---
7. Recap
- Audio Effect Rack, Hybrid Reverb, Saturator, Drum Buss, EQ Eight, Utility
If you want, tell me what drum samples you’re using (punchy modern vs classic breaks) and I’ll suggest macro ranges that fit that exact vibe.

